Today’s post is twice the treat! Not only do we have a beautiful new cake design to showcase, but we’re going to learn something new as well! Our contributor, Miso of Miso Bakes, created this incredible cake and is kindly sharing one of her techniques with us. So once we finish swooning over Miso’s lovely design, we’ll learn how to make one of the elegant sugar flowers she used. Frilly and flirty, carnations are not just a filler flower! They’re a great place to start if you’re new to making gumpaste flowers. The layers of ruffly petals are more forgiving for beginning hands. Plus, carnations would be perfect for your upcoming Valentine’s Day cakes! I can just envision the pink carnations now! So first, let’s enjoy the beauty of Miso’s Modern Sugar Flower Cake and then we’re on to her Frilly Handmade Carnations.
Miso of Miso Bakes shared a few thoughts about her design:
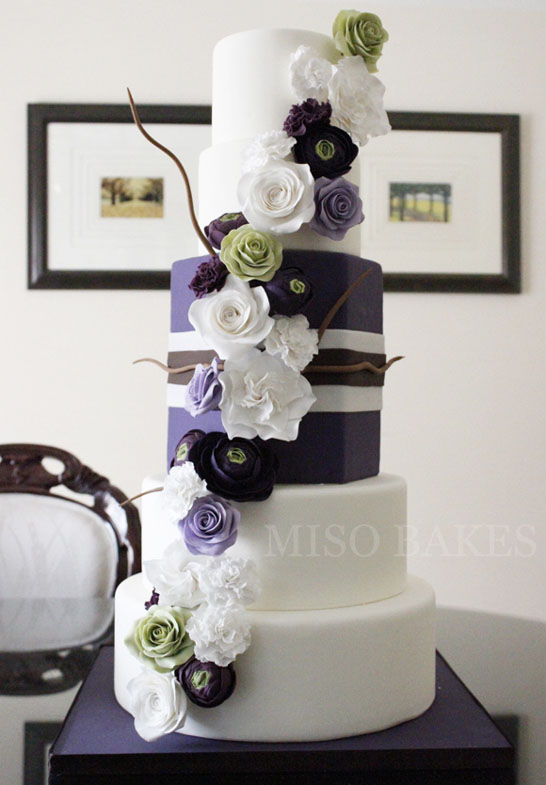
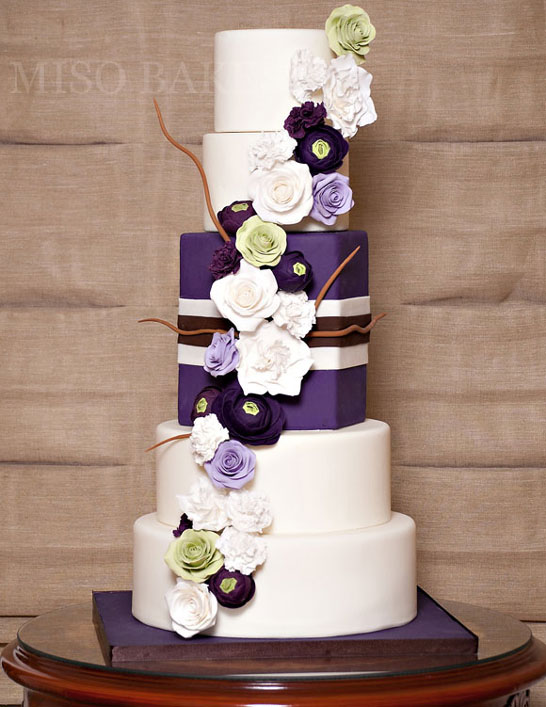
“I have always wanted to create a cake using my favorite colors but never really got around to it until early last Spring. I spent a couple of weeks creating tons of roses, carnations, ranunculus, and gardenias out of gumpaste so I could pick and choose the finest ones to be displayed on the cake. I wanted the cake to be covered in flowers but at the same time be chic, bold, and crisp.”
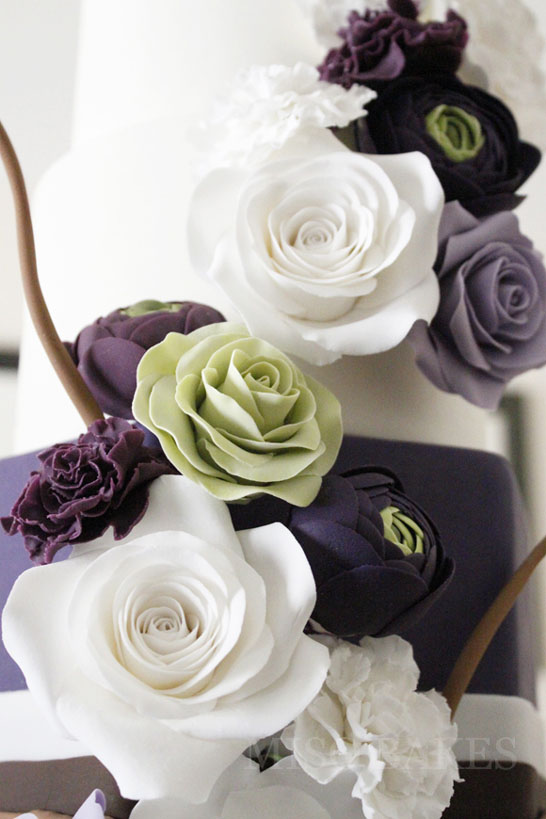
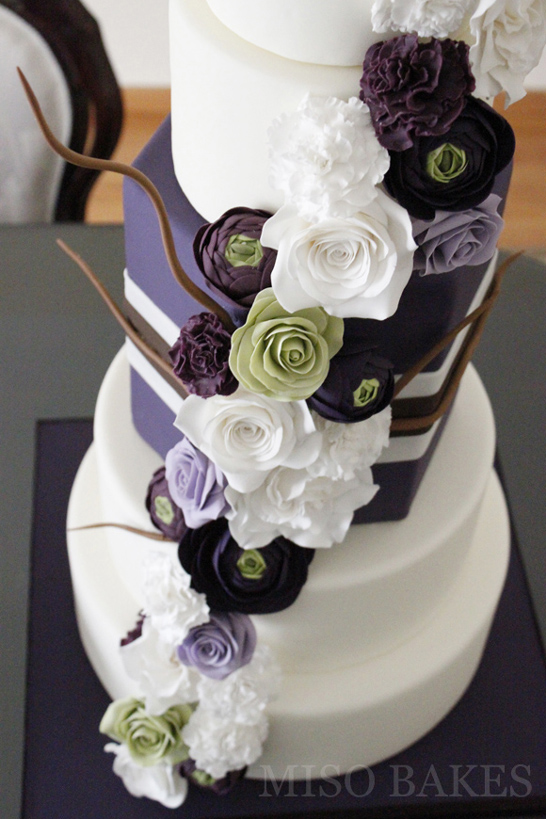
Be still my heart! From the striking color combination to the elegant flowers, this design is just stunning! I love the varying shades of purple against the white contrast with just a few pops of green. And now… the promised tutorial. Frilly and flirty, handmade carnations!
 FRILLY SUGAR CARNATIONS
a Tutorial by Miso Bakes
STEP 1: Create a core using a pea-sized ball of gumpaste. Dry until hard.
STEP 2: Cut out a flower or a circle using a flower or round cutter.
STEP 3: Using a knife, make slits all around the edge of the flower or round gumpaste.
STEP 4: Frill the edges.
STEP 5: Slide through the wire all the way to the base of the core.
STEP 6: Wet and fold in half.
STEP 7: Glue a corner to the center.
STEP 8: Repeat on the other side, but this time, folding it the opposite way.
STEP 9: What it looks like with the first layer.
STEP 10: Repeat with as much layers as desired. You should increase the size of the cutters every 2-3 layers. When you get to the last few layers, folding the petals is not needed. Just slide it to the base, wet the petals, and gently mold it to the shape of the flower. This is what a completed carnation looks like!
A special thanks to Miso for sharing her exquisite Modern Sugar Flower Cake with us today! And for teaching us all how to create our own Frilly Handmade Carnations! If you give Miso’s carnation tutorial a try, be sure to come back and tell us about it! Happy flower making!
Vendors & Credits:
Cake & Carnation Tutorial : Miso Bakes
Photography (cake images) : Sylvia G Photo

