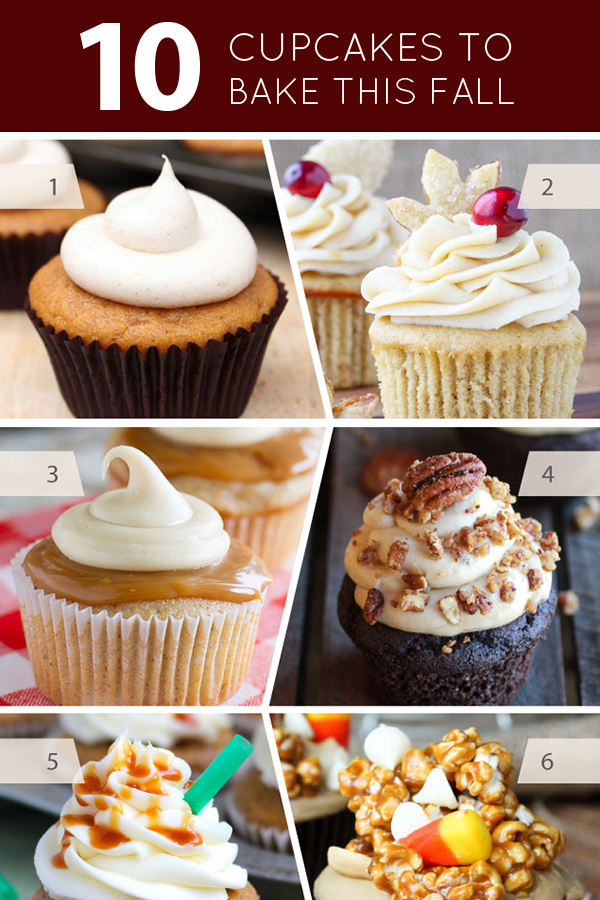
Autumn is officially here and I could not be more excited about the change of season! There's just something about the crisp chill of jacket weather and changing leaves - fabulous tall boots and football season - that gets me every year. But the best part of fall simply has to be the baking season. From now until January, there's just so many opportunities to bake up something delicious! Today I wanted to share some of the cupcakes recipes that I'm personally eyeing this year. A few of ... Continue Reading
10 Cupcakes to Bake this Fall
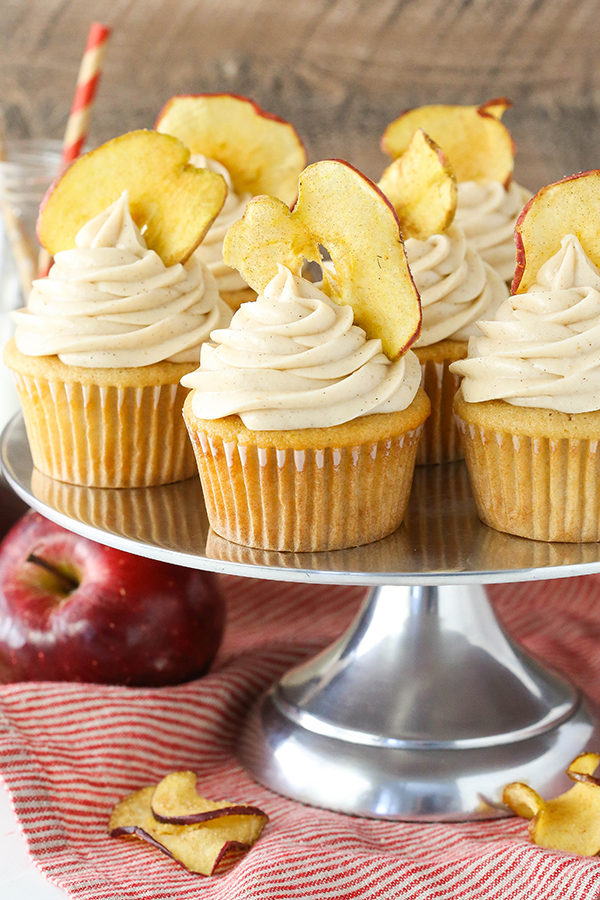
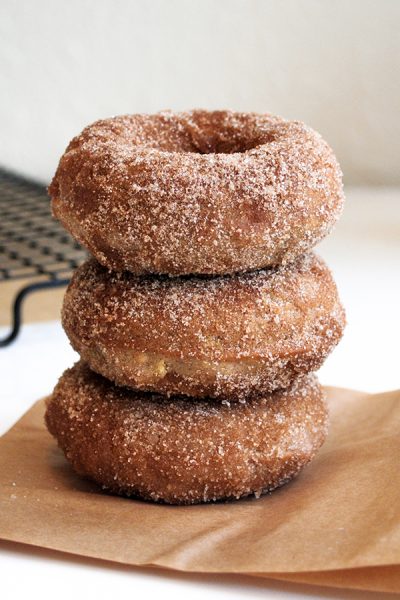
Apple Butter Cupcakes
Apple Butter Cupcakes - a deliciously easy cupcake recipe with apple butter in both the cupcake and frosting for lots of great apple flavor. Created by our contributor, Lindsay Conchar. Although it's not quite fall and we're still enjoying the final bit of summer that remains, I must admit that I'm looking forward to fall. It has been so hot in Georgia lately - between 95 and 100 degrees most days - that I'm ready for some cooler weather. Not to mention apple treats, apple picking, ... Continue Reading
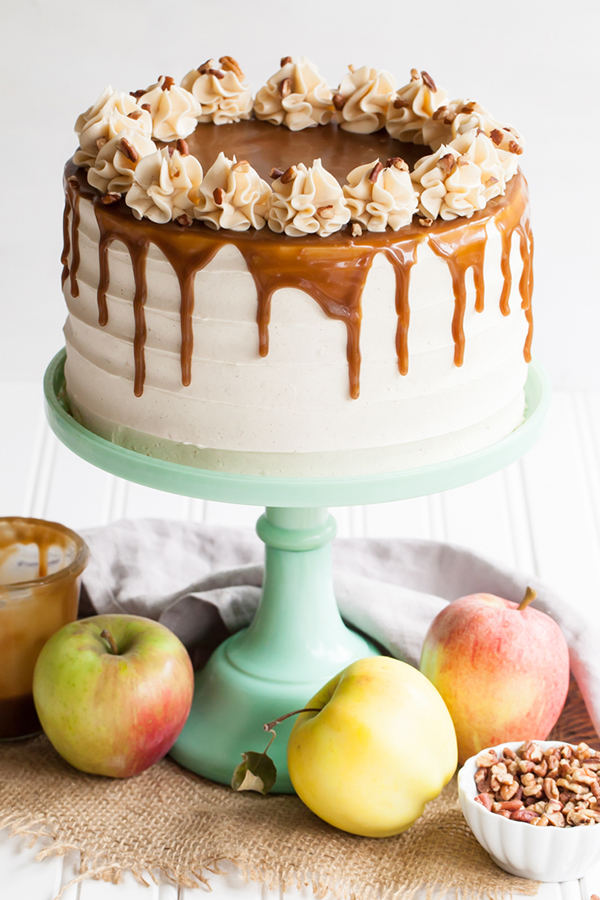
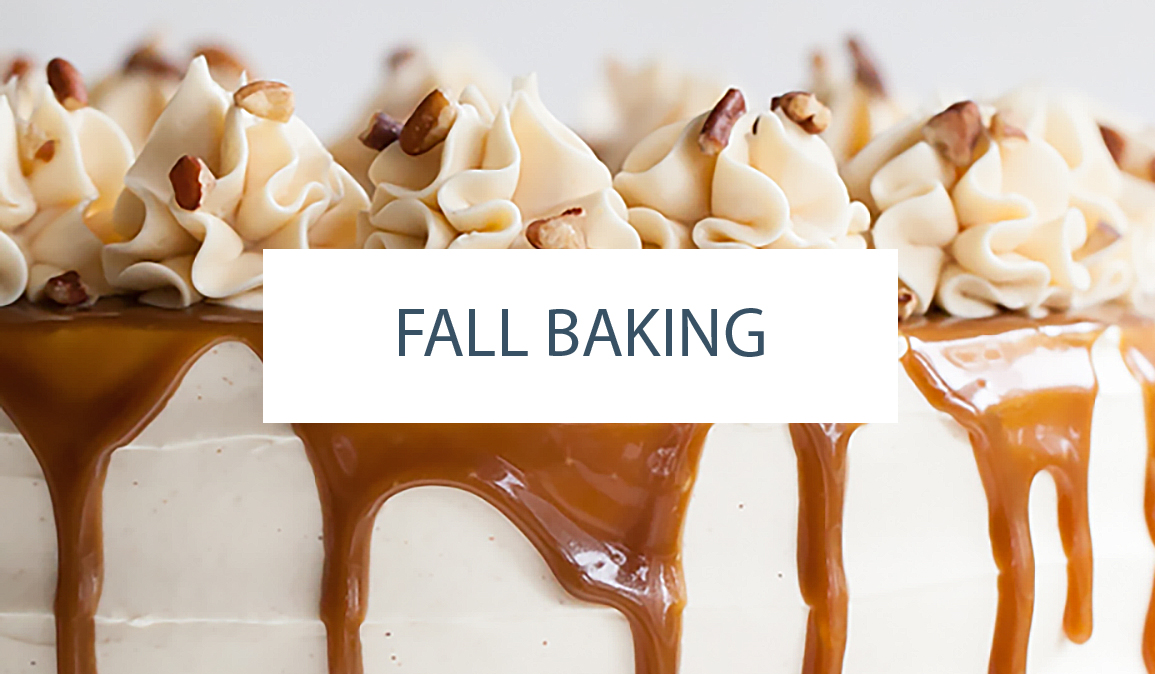
Apple Toffee Crunch Cake
Apple Toffee Crunch Cake - fresh apple cake with crunchy pecans, cinnamon buttercream and a toffee sauce drip. A new layer cake recipe by our contributor, Tessa Huff. I’ve resisted all-things apple, pumpkin, and spice for too long, but now it is definitely time to dive into fall baking head on! I’m kicking off my favorite season with this Apple Toffee Crunch Cake, and I can’t wait to share it with you all. So bundle up in your boots, scarves, and favorite flannels, and let’s get to ... Continue Reading
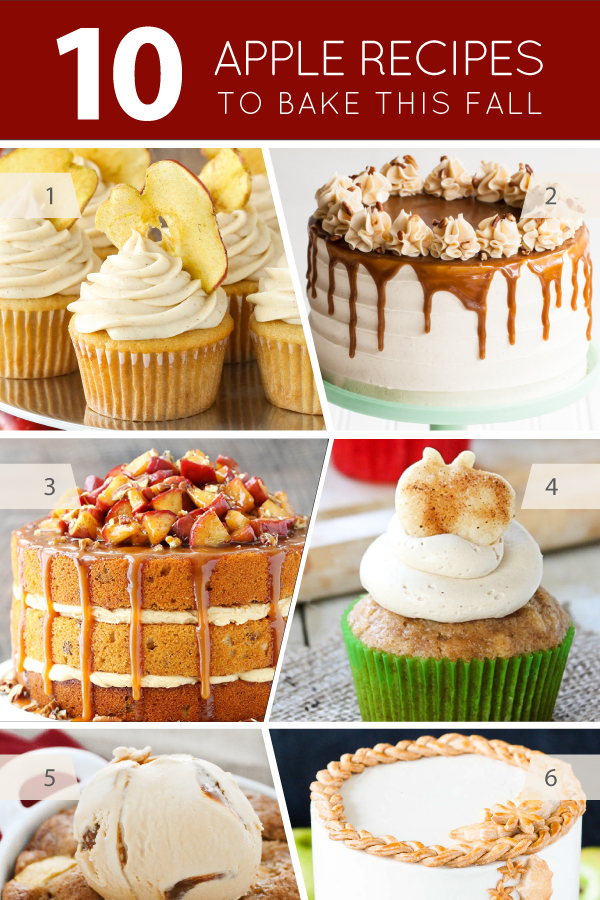
10 Apple Recipes to Bake
Everywhere you look, there's signs that autumn has arrived. The heat is finally breaking and lower temperatures are slowing appearing in the forcast. Football fills our weekends and the apple selection at the market is overflowing with abundance. Now is the perfect time to head out to an orchard for some apple picking! I have to admit, this is the first year in quite a while where apple picking is not on our family bucket list. Since moving to Austin, we're still adjusting to the the lack of ... Continue Reading
Start feeling the fall vibes with our Fall Baking Gallery!
I absolutely love this time of year! The crisp chill in the air and leaves turning every shade of golden. Apples and pumpkins are at their ... Continue Reading

Pumpkin Cupcakes 8 Ways - Eight ways to decorate a pumpkin cupcake with buttercream frosting. Learn how to pipe rosette pumpkins, short ... Continue Reading
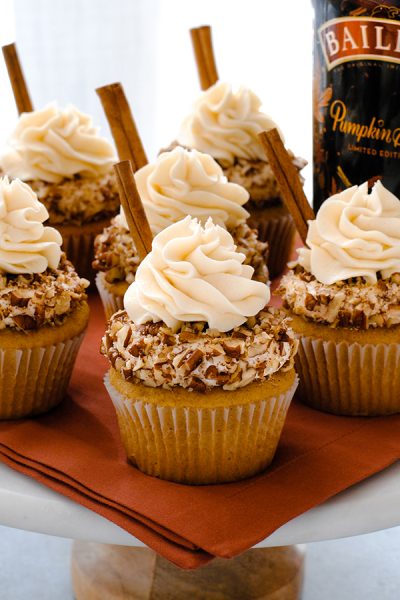
Baileys Pumpkin Spice Cupcakes - moist pumpkin cupcakes topped with silky smooth buttercream frosting spiked with a splash of Baileys ... Continue Reading
Scare up some frightening fun with our Halloween Gallery!

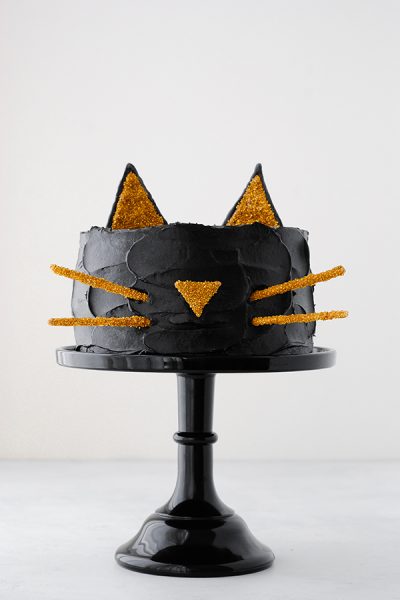
Black Cat Cake! Celebrate Halloween with this adorable cat cake with a simple silhouette face and gold glitter cat ears! If you ... Continue Reading
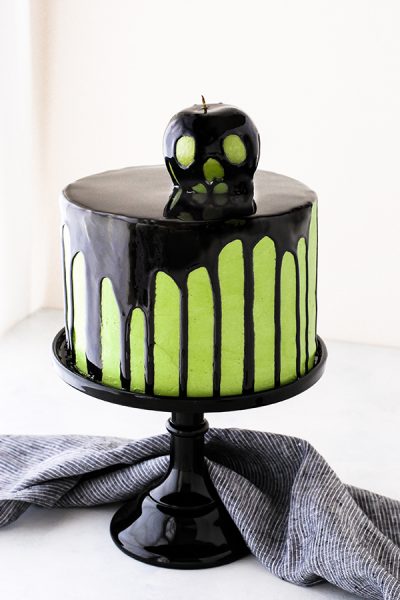
Poison Apple Cake - a black mirror glaze cake with an edible "poison apple" for Halloween. Mirror mirror on the wall, who's the ... Continue Reading
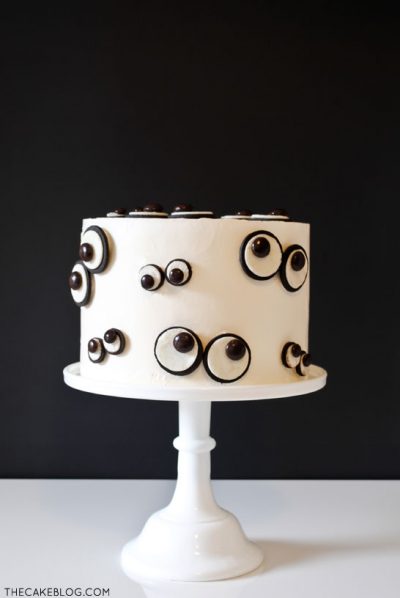
How to make a Monster Eye Cake. Make this easy Halloween monster cake at home using cookies and candies. It's Friday and the month ... Continue Reading
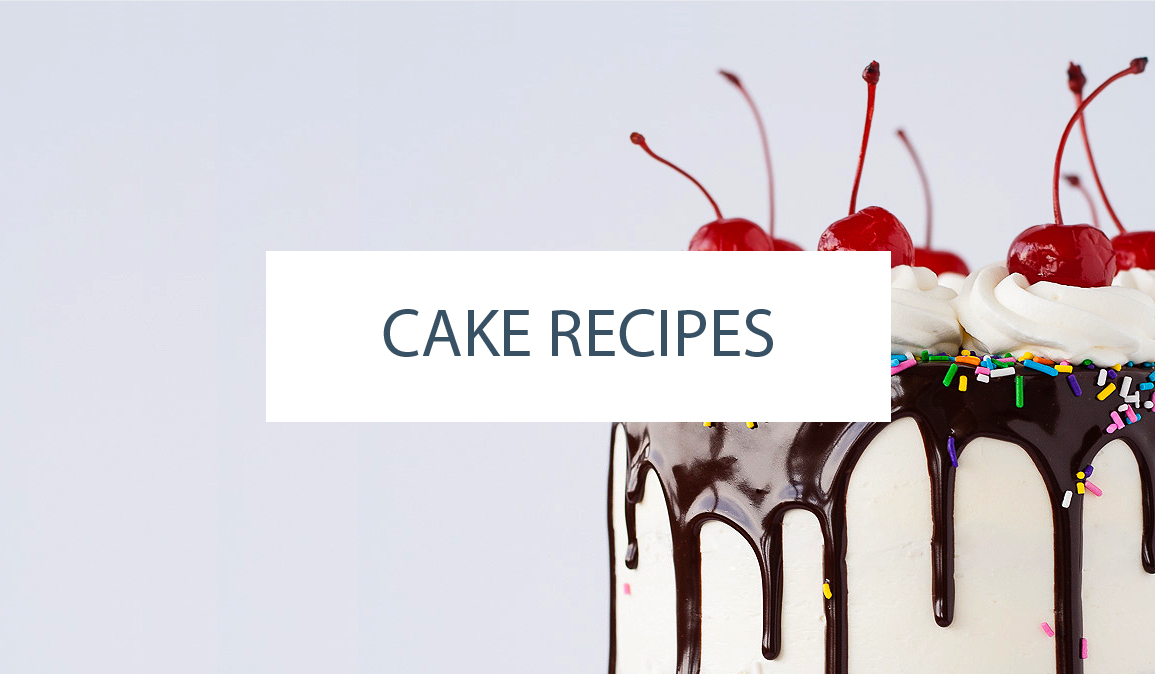
Our most popular cake recipes - find a new one to try!
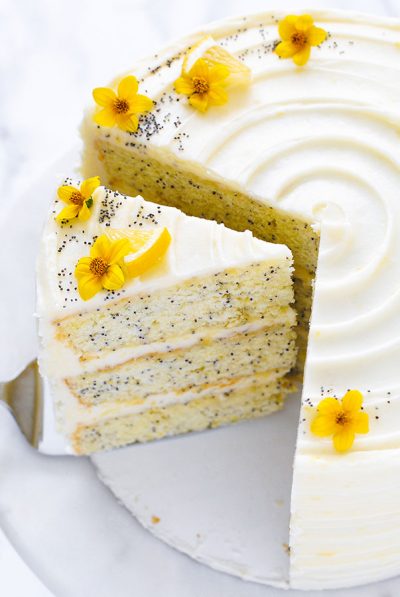
Lemon Poppyseed Cake. A tender layer cake recipe brightened with lemon juice, lemon zest and poppy seeds, frosted with a tangy sweet lemon ... Continue Reading

Chocolate Truffle Cake - a chocolate layer cake recipe with dense, moist chocolate cake, silky chocolate truffle frosting and chocolate ... Continue Reading

Lemon Blueberry Cake. A tender layer cake recipe brightened with lemon juice, lemon zest and wild blueberries, frosted with a tangy sweet ... Continue Reading
