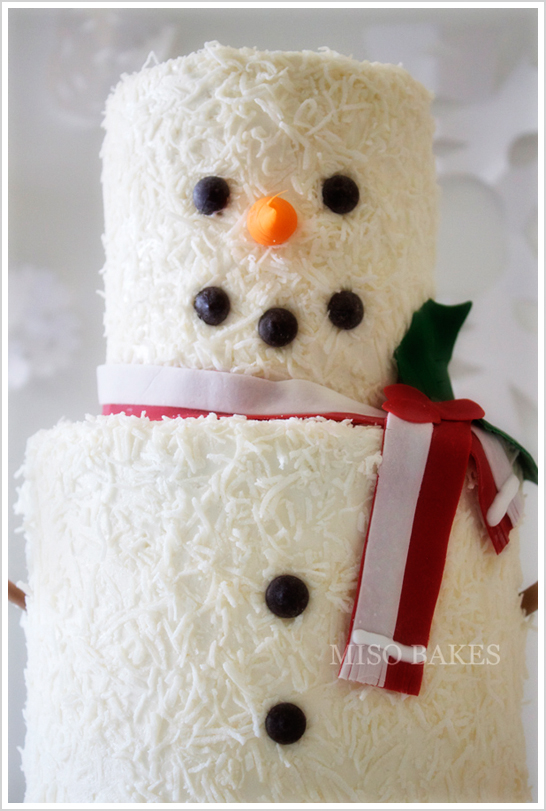
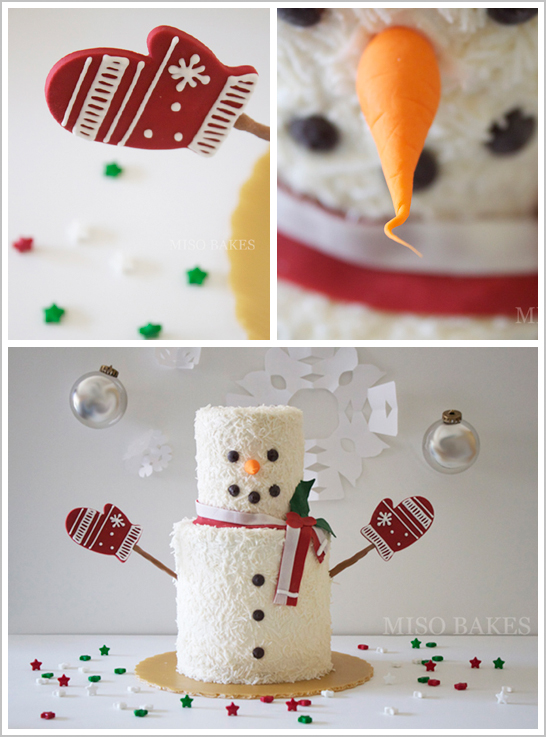
Thumpetty Thump Thump! With a corncob pipe and a button nose, and two eyes made out of…. chocolate chips? No wait, that’s not how the song goes. But that’s how this pint-size snowman is bringing a big dose of merry to us today! Our Christmas cake inspiration continues with The 7th Cake of Christmas. A jolly DIY cake from Miso Bakes! This adorable little guy is much smaller than he appears. Made from 4″ and 6″ rounds, this Mini Merry Snowman would be a great activity to share with your little ones. He’s made of cake but the children know how he came to life one day….


Mini Merry Snowman
Here’s what you’ll need:
Four 4-inch Cake Layers
Four 6-inch Cake Layers
Bag of Coconut
Chocolate Chips
Two Skewers
Mitten Cookie Cutter
Sugarpaste / Fondant (orange, brown and red)
Six dowels
Royal Icing and Additional Embellishments {optional}
Here’s what you’ll do a few days before:
- Cover skewers with brown sugarpaste. Leave an inch at the top uncovered for the mittens.
- Roll out red sugarpaste thick. Cut out a pair of gloves or mittens with cookie cutter. Slide on to skewer. Leave out to dry. {Optional: use white royal icing to pipe on fun details like stripes, snowflakes and dots.}
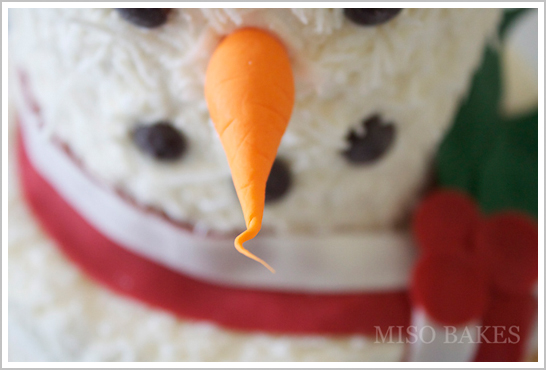
- Roll orange sugarpaste into the shape of a carrot. Slide in a toothpick so it can be attached to the face. Leave out to dry.
- Bake cakes.
- Make icing.
Here’s what you’ll do the day of:
- Stack, fill and cover the 6-inch layers in white icing. Repeat for the 4-inch layers.
- Carefully cover the icing with shredded coconut.
- Insert dowels into the 6-inch cake and stack 4-inch cake on top.
- Roll out sugarpaste about 18″ long. Cut into a strip for the scarf. Use only one red strip for a solid scarf. Or add a smaller strip of white (on top of the red) for a striped scarf. Wrap around ‘neck’ of snowman. {Optional: add small red berries and green holly leaves for an extra touch}.
- Insert carrot nose.
- Use chocolate chips to create eyes, mouth and buttons.
- Insert arms last or after transportation.
If you want to be a rock-star mom, prep several of these cakes and let your little ones assemble their own snowman. Kids of all ages would enjoy covering the snowman in coconut and adding the eyes, nose, arms and scarf. Older children would enjoy piping the mitten details as well. What a fun alternative to the traditional gingerbread house! And in the end, you’ll have your own hillside of snowmen.
A huge thank you to Miso at Miso Bakes for creating such a fun tutorial for us! Hope you enjoy creating her super cute, Mini Merry Snowman with your family and friends!


That is just brilliant! Leave t to Miso Bakes to do something so clever!
What an adorable snowman cake!! Love the simplicity and that kids can help decorate it – especially if you don’t get snow where you live, this is a great (and tastier!) alternative!
This snowman is sooo cute!! Thank you and Miso for posting this, now I know what to bake for my kids at christmas 🙂
Such a cutie patootie cake! I couldn’t eat it (sweetened coconut, no thanks) but it is SO cute.
I am sooooo trying this! Just brilliant. Ofcourse you make it look so easy!!!