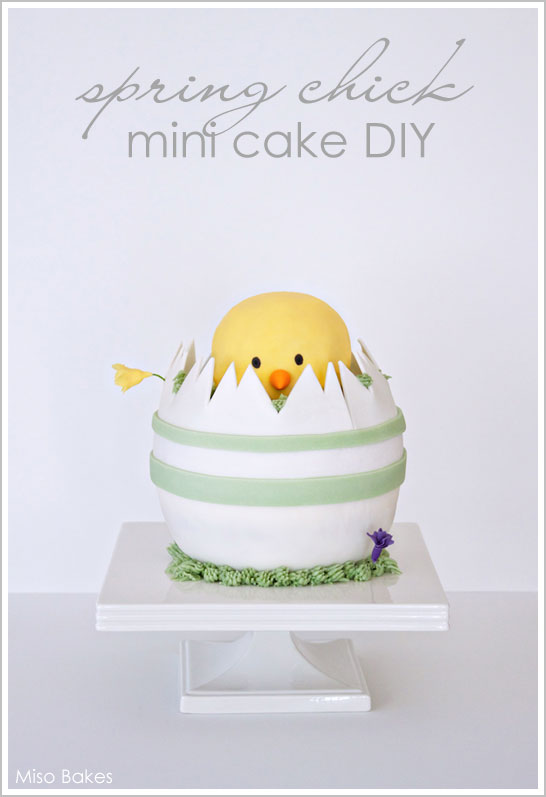
Our contributor, Miso of Miso Bakes, is sharing a fabulous new tutorial just in time for Easter…

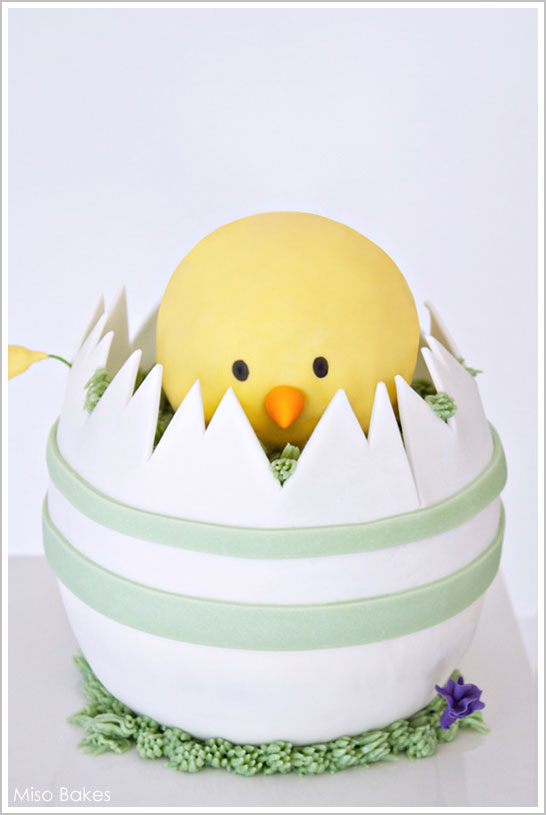
Chirp chirp. Tweet tweet. Spring is here and I am so excited for the gorgeous days we have ahead of us! Hi, it’s Miso from Miso Bakes. I am also very thrilled to be sharing this Spring Chick Mini Cake tutorial with you. This little egg cake is actually the size of a small bowling ball! It is another fun project the whole family can enjoy! The hardest part about it is eating it. Hope you enjoy!


TO DECORATE THE EGG CAKE:
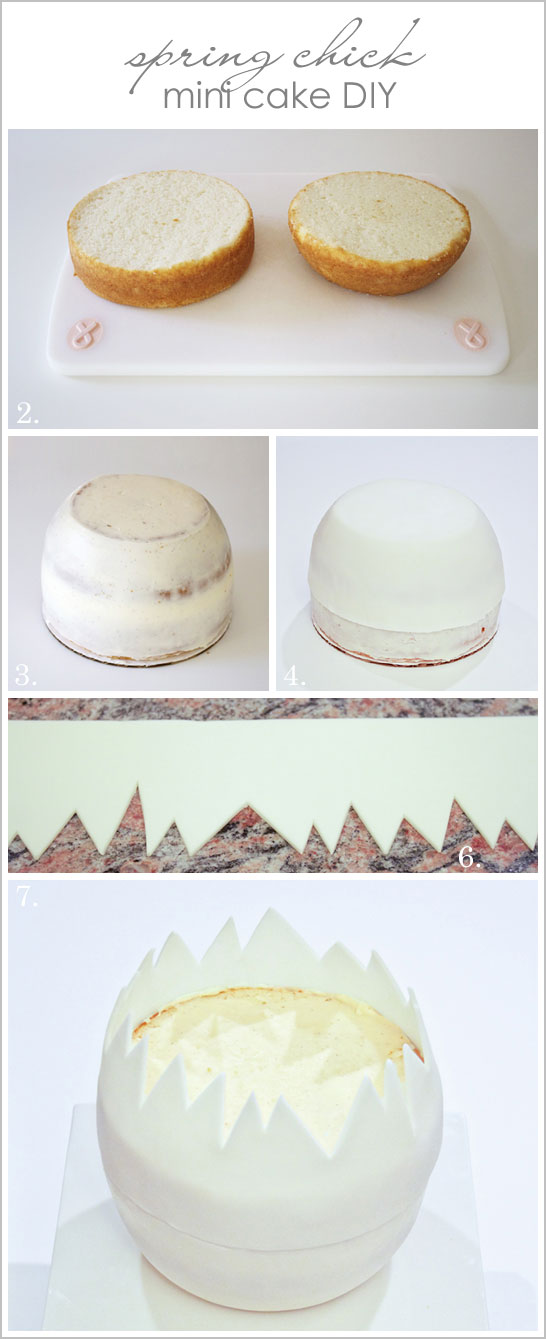
- You will need a dense (I made pound cake) 6-inch cake and a semi-sphere cake. I used the sports ball cake pan from Wilton. Or, if you would like, you may carve your own.
- Cool the baked cakes and trim the rounded part of the sphere cake so you have a flat, even surface. Do not cut too much off because you still want the rounded curves.
- Fill and crumb coat the cake. It is a lot easier to work with the cake wrong side up. Trust me! We will flip it over.
- Chill and cover it with fondant. Trim about 1.5 inches of fondant off from the bottom (it is actually the top) of the cake. Don’t stress about getting the cut straight. We will cover it.
- Flip the cake over right side up. If you would like, you can ice the top. However, I left mine bare as I filled it in with buttercream grass.
- Roll out a piece of fondant into a long strip about 4 inches thick. Cut all the edges to make a clean strip. Keep one edge straight, and cut the other edge in a zig-zag pattern with a knife. Don’t make them perfect! Cut some thicker and deeper than the other. Have fun!
- Let the fondant dry out for about thirty minutes or so until it can hold its shape. Then, gently roll the fondant and gently adhere to cake; slowly unraveling as you go. (Same concept as adding a band to the bottom of your fondant cakes.)
- Decorate to your heart’s desire! To cover the ‘crease’ I added a band.
TO MAKE THE CHICK
- Make or purchase marshmallow rice treats.
- Mold into a tight ball; comparing the ball to the cake as you go as you don’t want the head to be too big or too small.
- Ice with buttercream.
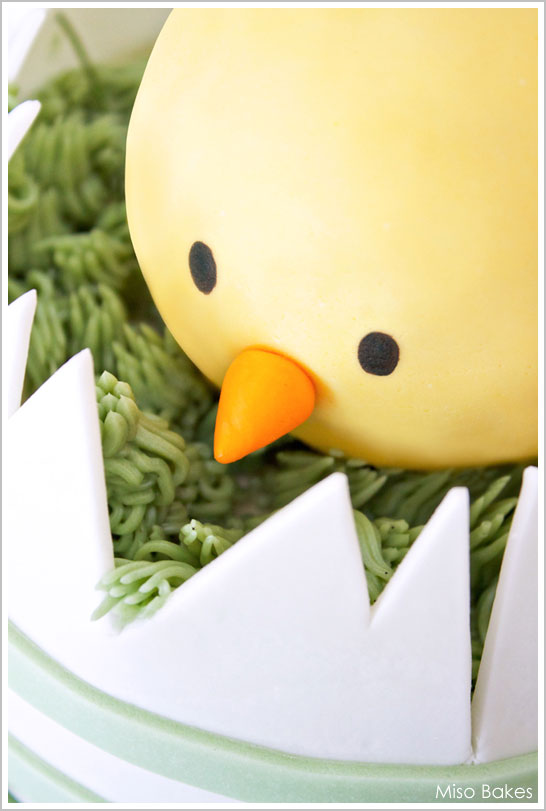
- Cover with fondant and give it eyes and a beak.
- If you would like, feel free to make bunny ears instead! Or, fill the cavity with candy.
Happy Spring!


I LOVE this!! ;0)
Stunning and adorably cute
Soooo cute!!! Thanks for sharing!
Adorable!!!
Miso, your talent amazes me!!!
Wow! This is such an adorable cake and such a great idea too!
Did you only use one half of the sports ball mold for the cake?