With the hustle and bustle of the holiday season, it’s nice to slow down for a moment and do something special for your friends and loved ones. One of the most classic ways to show we care is to give the gift of baked goods! Because really, who doesn’t appreciate a sweet homemade treat? So today some of my blogging and baking friends are swapping cookies… virtually! And can you guess the best part? You’ll enjoy six new recipes to add to your holiday baking list. Plus some creative packaging ideas for gifting! It’s a Virtual Holiday Cookie Exchange!!
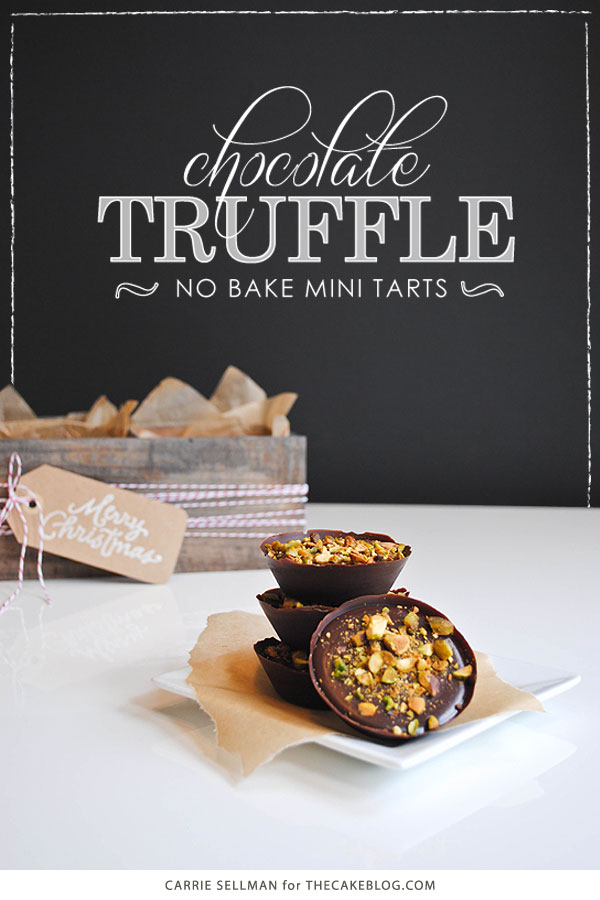
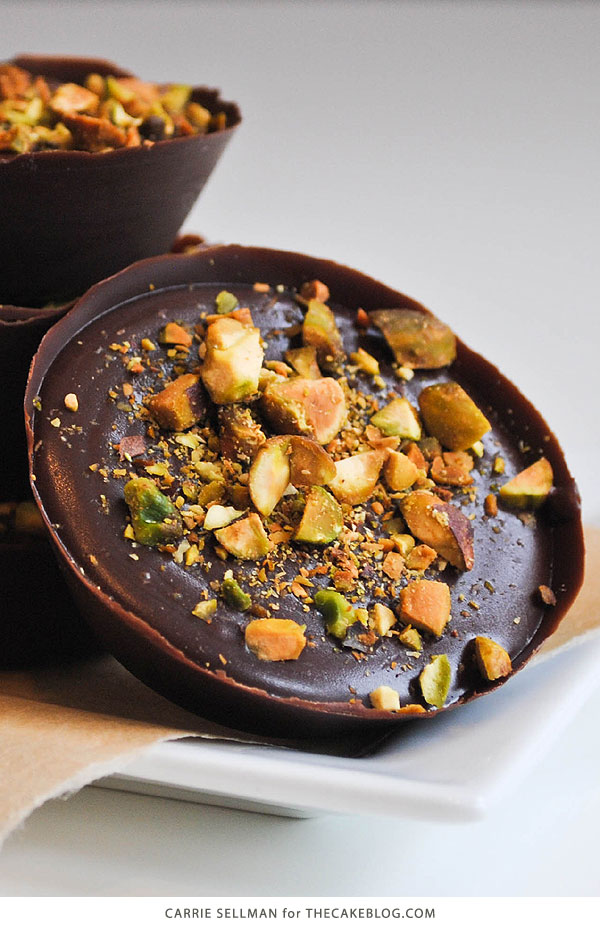
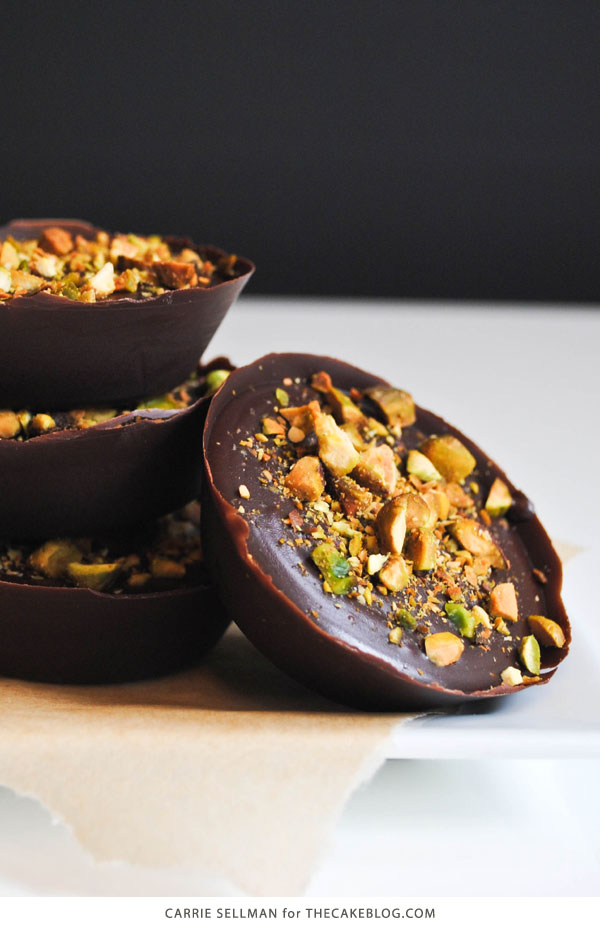
My recipe is sort of a cookie, but more like a mini tart. I know, I know. It’s a cookie exchange!! {I almost made a cake but figured that was one step too far… I’m not a rule breaker!} But trust me, these are delicious. I wanted to do something that was both beautiful and impressive, but most importantly quick. We are all so short on time, especially during the month of December! Me included! These little minis are like a chocolate truffle but with less steps. The crispy tart-like shell is made of pure dark chocolate and provides the snap you normally get from the outside of a truffle. The filling is a creamy and smooth chocolate ganache, just like a traditional truffle center. Topped with pistachios, peppermints or any crunch topping of your choosing! It’s a super simple, no bake, decadently delicious Chocolate Truffle Mini Tart!
Seriously! If you love chocolate, this one’s for you! Although it’s ‘mini’ in terms of a traditional tart, it is equivalent to two (maybe three) regular truffles. But hey, it’s Christmas. And nothing spreads joy like chocolate. Lots and lots of chocolate!
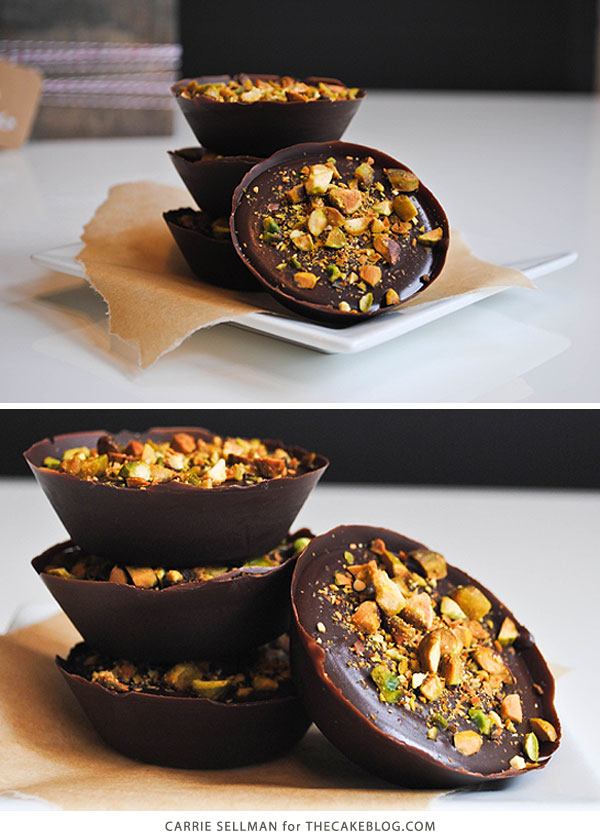
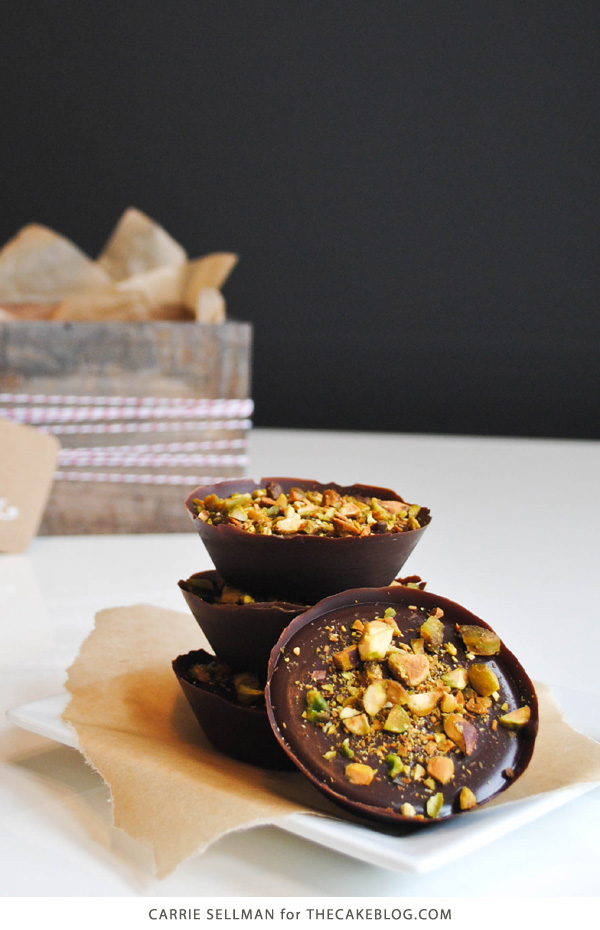
Top with chopped pistachios to give them a festive green shade and a nice salty crunch. Or top with chopped peppermints for a traditional holiday combo. I like the soft mint kind. Really, any crunchy topping would work. During my officially taste testing, I personally liked the pretzel topping best. Chopped toffee bars or fleur de sel would be excellent as well.
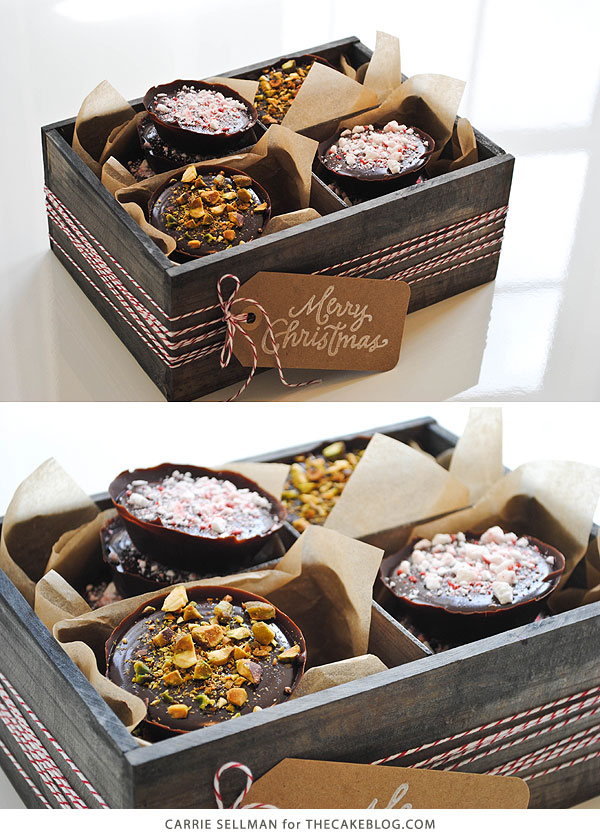
To package them up, I found this adorable wooden crate in the clearance section at Target. Since it’s not intended for food use, I lined each section with unbleached parchement paper to protect my ‘cookies’. Then I wrapped the box with red baker’s twine (from The TomKat Studio) and tied with a kraft tag.
CHOCOLATE TRUFFLE MINI TARTS
a recipe by Carrie Sellman
(makes 24)
Ingredients:
- 12 oz Dark Chocolate
- 12 oz Semisweet Chocolate
- 12 oz Milk Chocolate
- 12 oz Heavy Cream
- 2 Tablespoons prepared coffee, cooled (or liquor of choice)
- Assorted toppings (chopped peppermints, pistachios, pretzels, etc)
STEP 1 : In a microwavable bowl, melt dark chocolate. Heat for 30 seconds on 50% power. Stir. Repeat until chocolate is melted, smooth and shiny.
STEP 2 : Using a flexible silicon cupcake pan, scoop 1 tablespoon of melted chocolate into each cavity. Using a brush, paint the entire cavity with melted chocolate. Pop into refrigerator for 10 minutes while making ganache.
STEP 3 : In another microwaveable bowl, combine semisweet chocolate, milk chocolate and cream. Heat for 30 seconds on 50% power. Stir. Repeat until chocolate is completely melted and mixed with cream. Stir in coffee. This chocolate ganache will be smooth and shiny.
STEP 4 : Pull chocolate cups out of the fridge. Pour enough ganache into each cavity to almost fill the entire cup. Top with chopped peppermints, pistachios, pretzels, etc.
STEP 5 : Refrigerate 2 hours or until the entire cup is solid. Gently remove from baking mold. Store in refrigerator until ready to serve.
BAKERS NOTES : This process goes much faster if you happen to have two silicon baking molds. You’ll be finished with all 24 tarts before you know it! If you don’t have a silicon mold, you can also use a regular muffin tin lined with candy wrappers. This will give you a slightly different final appearance but will taste equally as delicious. And while this recipe was written for a holiday cookie exchange, it is an easy go-to recipe any time of year. Simply swap out the toppings to customize it for the occasion. Anytime of year is a good time for chocolate! Enjoy!

Thank you to the wonderful ladies participating in this Virtual Holiday Cookie Exchange!! Be sure to hop over and check out the incredible recipes they are sharing today as well!
- Jenn at Hostess with the Mostess
- Glory at Glorious Treats
- Marian at Sweetopia
- Kim at The TomKat Studio
- Jessica at Pen N’ Paperflowers
Wishing you oodles of holiday baking and memory making! Remember… The 12 Cakes of Christmas continues on today and throughout the month of December! Don’t miss today’s cake. The 2nd Cake of Christmas goes up soon!
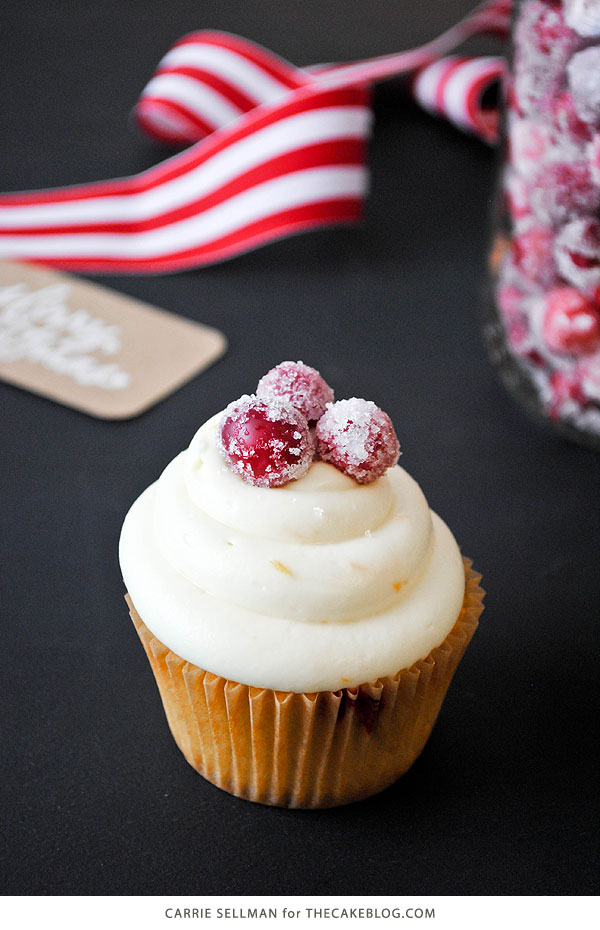
Now check out my Sugared Cranberry Orange Cupcakes!
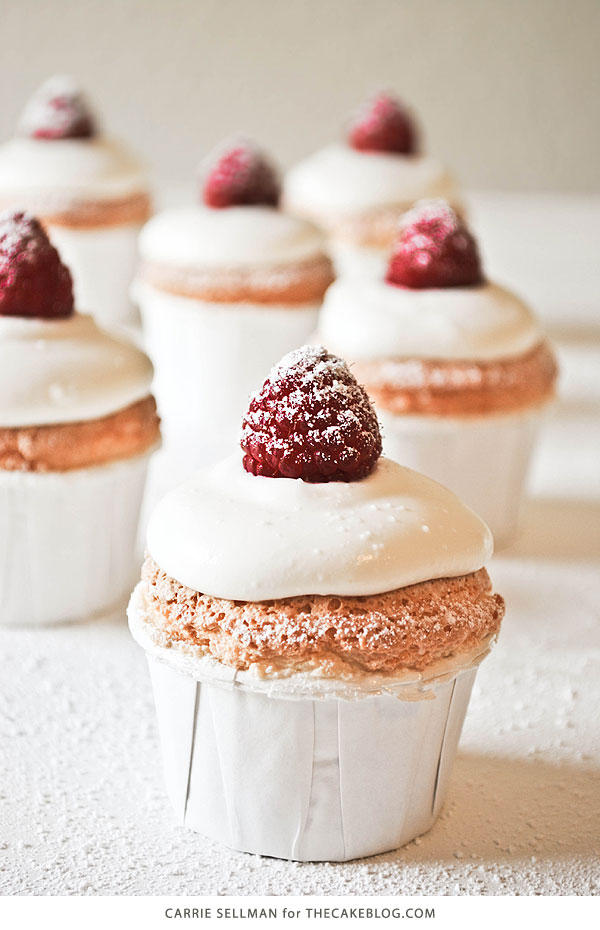
And my Snow Angel Cupcakes are elegant and easy!
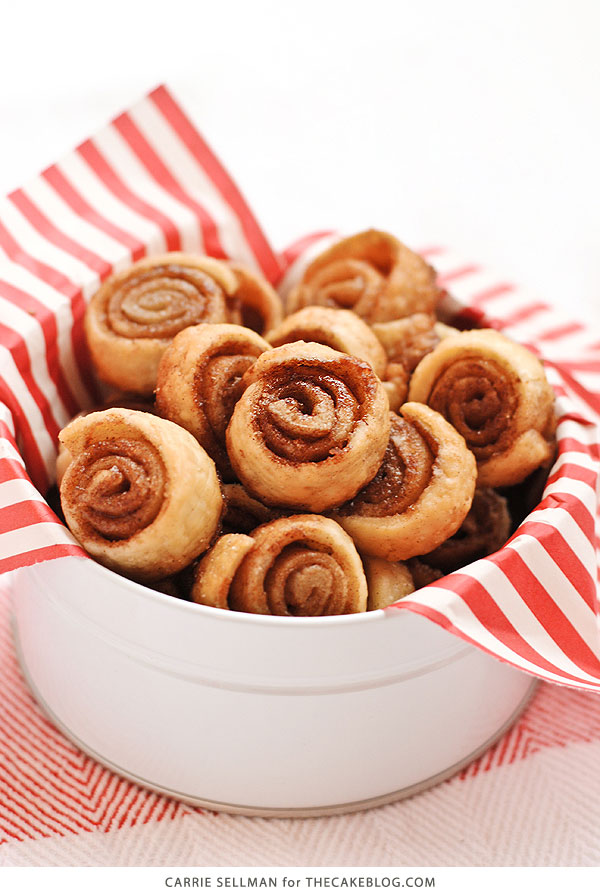
You’ll also love my Pie Crust Cookies!
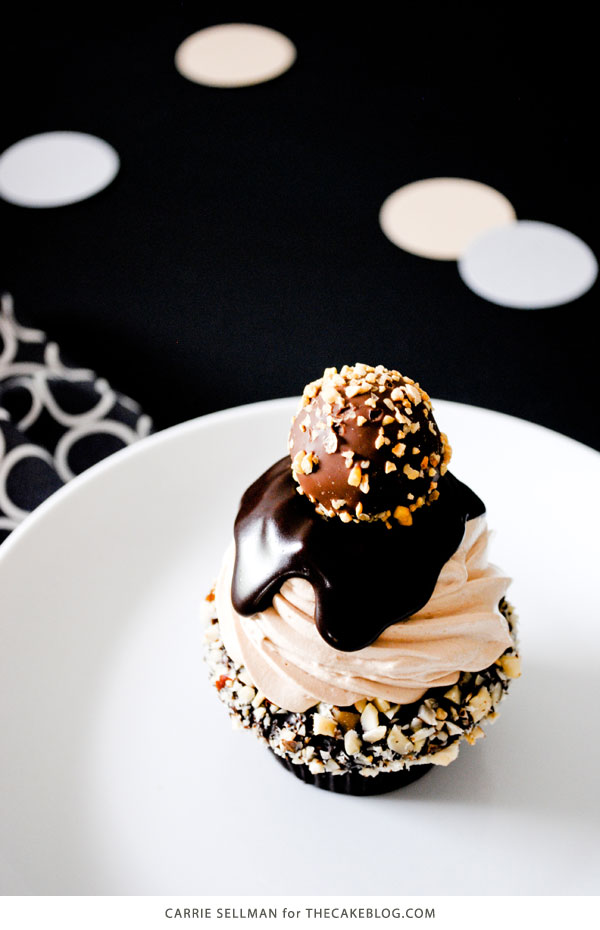
Go all out with my Chocolate Hazelnut Truffle Cupcake!
Find more of The Cake Blog’s projects, tutorials and recipes in the Christmas Gallery!


Oh Carrie!! Not only do these look amazing – the simple recipe will make this a MUST-BAKE cookie for the Holidays. (and more). LOVE what you did with the packaging too! You never disappoint.
Thanks so much for participating. I’m definitely inspired!!
WOW, Carrie! These look fantastic!! I want one right now. And that packaging…perfection! Beautiful job!
Just in time for my Holiday bake sale next week! Can’t wait to try them!
Hi Carrie, just one question: Is it 2 table spoons prepared black coffee?
Yummm! Can’t wait to try this. Looking for some silicone baking molds on Amazon right now. Thanks for sharing!
Thank you ladies!
Liza – yes, it is 2 tablespoons of prepared coffee. Just whatever you have leftover from the morning will work! No need for it to be hot. It just adds an extra layer of depth to the chocolate…. but you won’t actually taste the coffee.
Oh, and one more note. Since this dessert is all about the chocolate…. it’s best to use a good quality chocolate. I used Ghirardelli and it was delicious!
Hope you all enjoy!
This looks delicious!! Little works of art! And I agree the packaging makes it all the more fab!
These are ridiculously gorgeous, Carrie! I just want to grab that one photo of the peppermint topped tart that’s cut in half right off the screen 😉
They look amazing, I’m going to try and make some for Christmas presents.
Carrie, these are so elegant and scrumptious-looking! I need to try these!
Oh yum! I have to make these! They look so decadent!
Carrie, these look very delicious. I need to try these. I agree with Kim, love the packaging.
Ok, these look divine!! I was going to make little chocolate tartlets similar to these, but with a pastry crust, for my end of year client “thank you.” But this chocolate shell just looks too good! Question though: is it possible to make them in a regular muffin tin (I don’t have any silicone ones.) Thanks!!
Molly – yes! You could certainly make these in a regular muffin tin. Just use a candy wrapper to line the tin. It won’t have quite the same look but will be equally delicious. Enjoy!
Finally coming back for the recipe to make this this evening!
Made these…twice in a week! Gave some as gifts to neighbors. Used individual silicone cups from Crate and Barrel – so incredibly simple (too simple – all done in under an hour). I used Trader Joe’s pound plus bar (72% cocoa) for the cups, and Ghiardelli (chips, actually) for the ganache. So, so, so good. Used same toppings as you, but for the peanut topped, separated a bit of the ganache and added some peanut butter, for peanut/peanut buttery goodness! Thanks for sharing, this one’s a keeper. I used to make a whipped raspberry dessert in chocolate cups like these – will defintely do again now that I have the silicone cups – invert with amazing ease after they’ve been refrigerated. have two sets so all 24 can be done at once. Mixed reviews on their site, but for THIS purpose, a can’t miss. Here they are: https://www.crateandbarrel.com/set-of-12-clear-silicone-baking-cups/s369497
Carrie,
We love the packaging! Where is it from?
wow! the chocolate doesn’t need to be tempered?
how long do these keep? do you think anything bad would happen to them in the freezer?
Microwaving the chocolate on 50% power is a quick and easy way to temper chocolate. They’ll keep for about two weeks, at least. While I haven’t tried freezing them, it should be fine. Ganache lasts even longer when frozen.
Hi, How long do these keep for and how do I store them? They look so decadent!
Thanks Cindy. You’ll want to store these in the refrigerator. They’ll keep for about two weeks, but somehow they always disappear sooner. 😉
Wonderful inspiring beautiful and tasty looking.
Can these be made in mini cupcake size?
Sure, absolutely Bonnie!
Just curious what is a candy wrapper?