Our contributor, Miso of Miso Bakes, is here with a new tutorial perfect for Spring and Mother’s Day.
This past December, I traveled to Europe again but this time with my mom accompanying me. Together we visited many museums and looked at hundreds, if not thousands, of paintings. Though I have been to and have seen some of the museums and paintings a few times before, my fingers still tingled in excitement and my heart still smiled at the sight of works by Leonardo da Vinci, Vincent Van Gogh, Claude Monet, Georges Seurat, etc. The use of colors and textures, brushstrokes and lighting in some of the paintings left me so in awe that I talked about them for days. Months later, I still sit here and daydream about them.
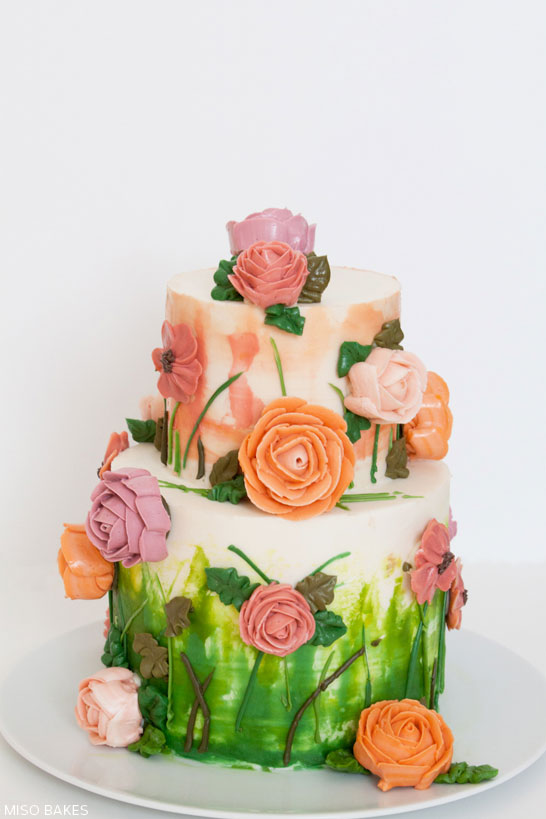
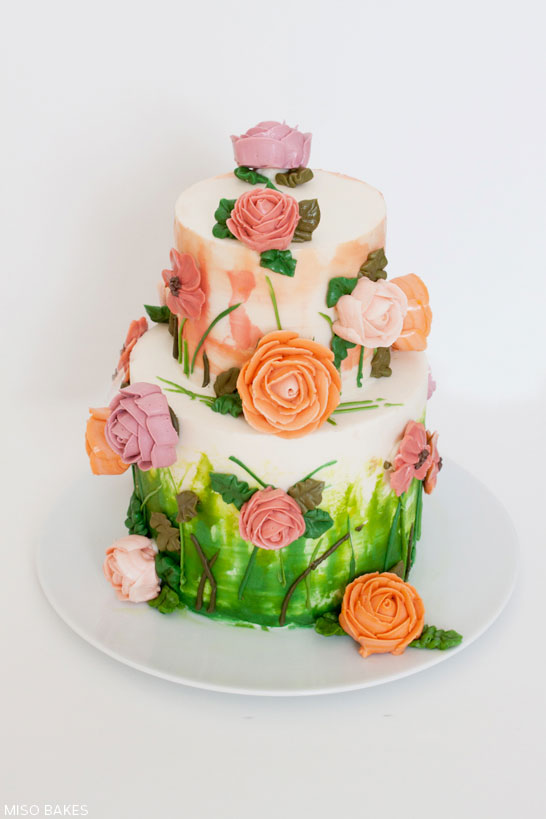
I returned wanting to create a cake inspired by all the art I saw. I wanted to add texture and depth using various buttercream colors, but at the same time, I wanted it to be season appropriate. This is what I created…

Today we’re going to talk about how to “paint” your cake using shades of buttecream and a palette knife. Let’s get started with this Watercolor Painted Cake Tutorial…

WATERCOLOR PAINTED CAKE
a DIY by Miso Bakes
STEP 1: Tint small amounts of buttercream to your liking. If you have time to spare, do this the night before so the colors can fully develop and you can adjust the colors if needed.
STEP 2: Have your cake iced in buttercream and ready to go. Make sure the cake is well chilled.
STEP 3: Using the tip of your palette knife, dab a little buttercream to the chilled cake.
STEP 4: Using the side of your palette knife, smooth it out.
STEP 5: Continue doing this throughout the whole tier. If the white buttercream starts clinging to your palette knife or dragging along with the green buttercream, chill your cake and try it again.
STEP 6: Once you have your first layer of green on, you may chill your cake and apply a second coat of green buttercream in a different color. By applying your green in separate coats, you can control the overall look and effect of your cake.
STEP 7: However, if you wish to be a bit more daring or artsy, you can mix your colors and then dab it onto the cake like this.
STEP 8: Similar effect, but different technique. You may choose either technique. It’s ultimately what you feel most comfortable with.
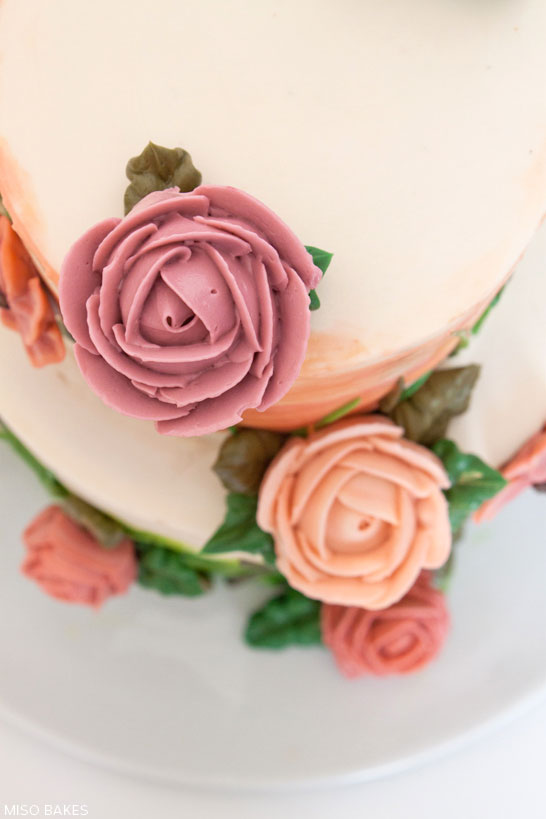
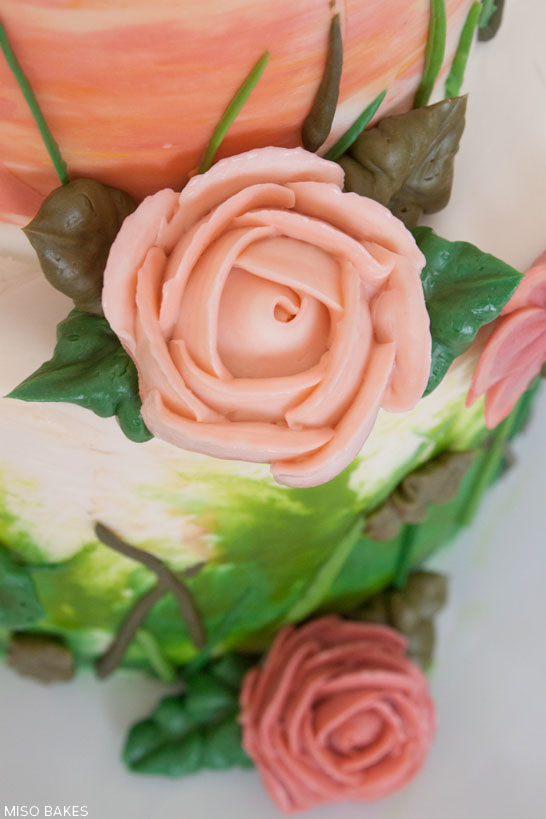
STEP 9: Chill your cake and design the cake to your heart’s desire. I piped buttercream roses, grass and leaves since it’s Spring.

TIP: If you would like to add ‘brushstrokes’ you can brush over some areas with a clean paintbrush.


While the concept of watercolor painted cakes is not new, I hope you enjoy my approach to this technique! Happy Caking!


Stunning! The colors and technique are really beautiful. Thanks for sharing.
Your cake design is lovely, Miso. I recently took a class in painting on a porcelain coffee cup and you did your cake just about the same way so I was able to easily understand your tutorial. Well done.
Very beautiful cake. Thanks for your nice job to make the tutorial. I will make one myself. But i think it would take many times for me to practice.
What kind of buttercream are you using? Swiss Meringue, American, Italian?
very well done
Thats an amazing piece of art..How can i get your buttercream recipe?if there is any online payable tutorial,kindly share the link please☺️
How did you get the roses/flowers to stay on the cake?
This absolute stunning, I wish I can make this! Maybe after a couple of times of trying. I have enjoyed painting (not perfect at it yet) and placing watercolors on a cake is simply creative. I think this is the most creative kind of cake I have ever seen. I hope my baking skills will reach this point soon, I know with a lot of practice it will. thank you for sharing this recipe I will be trying this one day!
Beautiful cake. I am so fond of water colors. Been doing it for 30 years.