Our contributor, Miso of Miso Bakes, is here with a new tutorial…
“I will leave the decoration up to you.”
“You can do whatever you would like.”
I bet most of us have a love-hate relationship with the statements above. I know I do.
A part of me gets excited because I can finally execute a design I had in mind, but at the same time, there’s that fear of disappointing the paying client or friend you’re creating the cake for. And you cannot help but wonder if you really can do whatever you’d like. Is that even appropriate?
Speaking from my experience, I have learned that most people have a general idea of what they want in their mind, it’s just that they are unsure of putting that picture or idea into words. Majority of the time though, if you listen carefully and take notes of what the client or friend says up to the point of giving you the freedom to do whatever your heart desires, they list what they more or less expect.
“She likes pastels…. patterns like stripes and dots. I would say…clean, simple, no ruffles… something different… but you can do whatever you want.” (Paraphrased with permission.)
In a nutshell, that’s what my friend listed here and there as she described what her, to-be 15 year old, niece liked during the hour and a half we chatted over coffee.
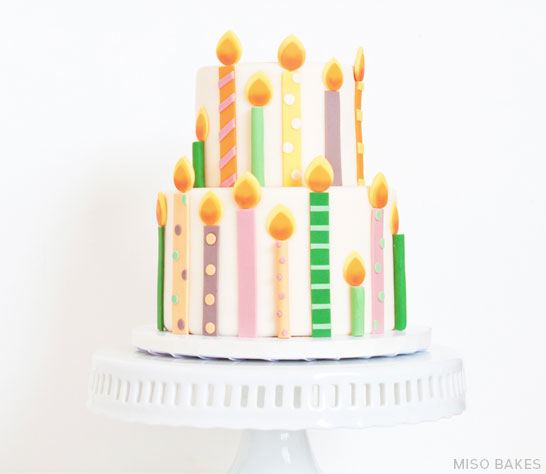
During my drive home I thought about possible designs. I did not want to create a striped or polka dot cake as I felt those designs were common. If anything, I wanted these elements to be the accent point. In the midst of the listed facts that may potentially change overnight, there was one solid fact: that she was turning fifteen. Therefore, I wanted to create a cake that was personalized to her age.
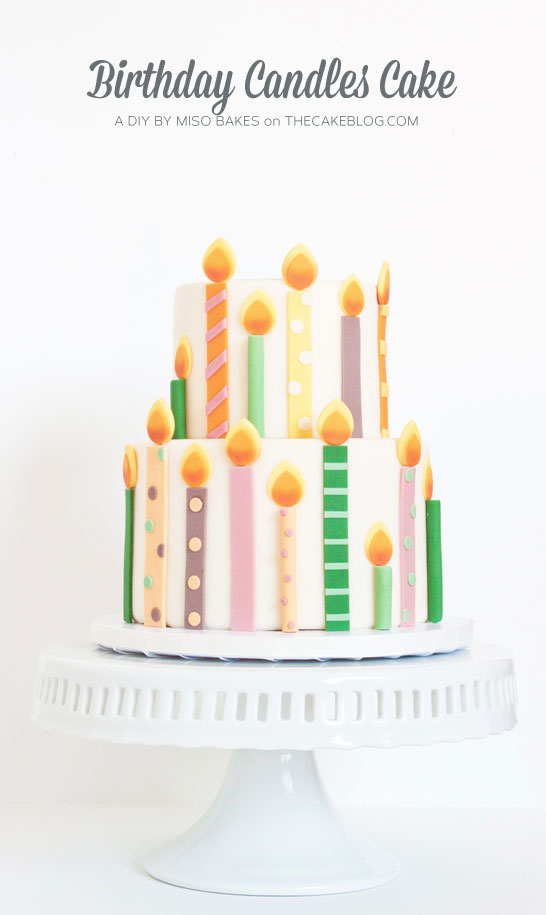
That is how this Candles Birthday Cake was created.
CANDLE CAKE
a DIY by Miso Bakes
Supplies:
- Cake (however many tiers you need) covered in buttercream or fondant.
- Yellow tinted fondant
- Orange tinted fondant
- Colored fondant of choice for candles
- Two teardrop cutters (1 small, 1 slightly bigger)
- Toothpicks
- Ruler
- Pizza cutter or straight-edge knife
- Red petal dust or food coloring
- Round cutters or Round piping tips (you can use the tip to cut out smaller dots)
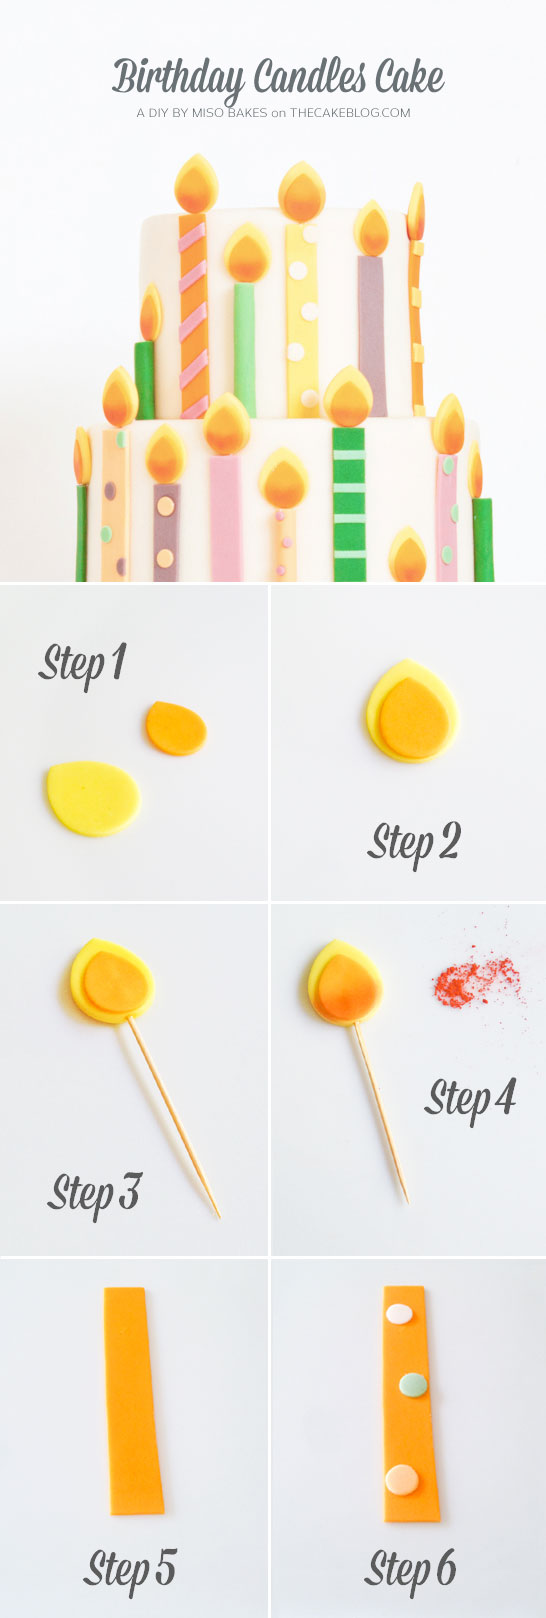
To Make the Flame:
STEP 1: Using the bigger cutter, cut out yellow teardrop and using the smaller cutter, cut out orange teardrop.
STEP 2: Glue orange teardrop onto center of yellow teardrop.
STEP 3: If you are making candles the height of the cake, you will need to insert a toothpick into the bottom of the flame so it can securely sit upright on top of the cake. Insert about halfway and pinch the opening.
STEP 4: Dust the bottom with a bit of red powdered food coloring or luster dust. Let dry completely or let it sit while you design candles.
To Make the Candles:
STEP 5: Using a pizza cutter (or knife) and ruler, cut out rectangles. Thickness and height depends on preference.
STEP 6: Decorate to liking– I cut out small dots using a piping tip, but you can use sprinkles, etc.
To Assemble the Cake: Glue candles and flames to cake with water or insert flame topper.
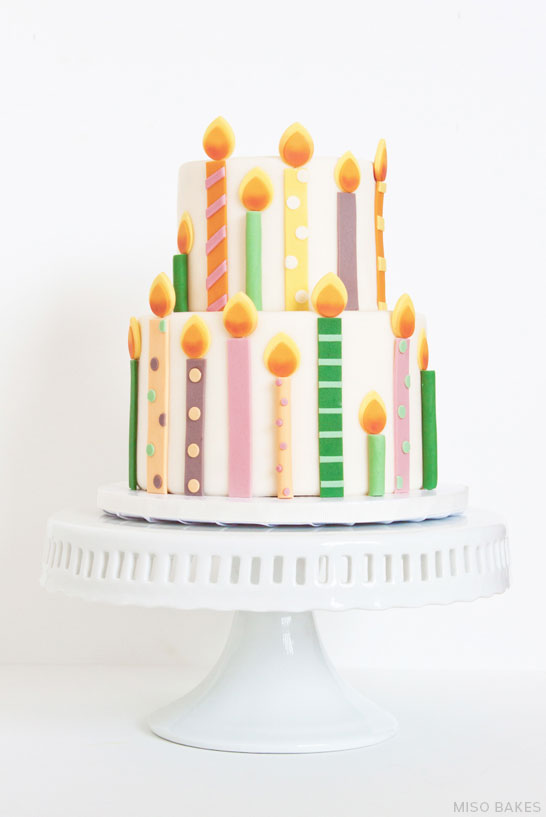
Voila! You are done! Simple, fun and very easy to personalize, right? If you are wondering, the birthday girl loved the cake!


I desperately, deeply love this cake! It feels like I constantly struggle to find cute-yet-simple designs – this is perfect! Thank you for the tutorial on the flames; can’t wait to try it!
I love this cake!! It’s a fun and versatile design that I’d love to incorporate into one of my cakes soon!
I love this! A really great design for a simple yet different birthday cake. Certainly, as you say, more interesting than just stripes or spots
Those look yummy!!! I caught the baking fever a couple of days ago, and have not been doing much else since:
https://lasagnolove.blogspot.de/2013/07/something-sweetbest-brownies-ever.html
Love from Europa,
Birdy and Bambi
So cute! What a great idea with the guidance you had to go on. Definitely have that love-hate relationship you mentioned with the words “do whatever you think is best” too!
I love the ingenuity here. I run a pastry shop and frequently look at these kind of blogs for inspiration. I can truly say that I am inspired here. Birthday cakes cakes are a huge deal, this is fantastic!
Keep up the good work 🙂
This is absolutely beautiful! What a great tutorial! Pinning for the future 🙂
Love the simplicity and the vibrancy. It dances on the stand!
I love this! I was just wondering what size your layers are? For some reason, I often find cakes of only two layers to be somehow disproportionate (is that a word?) when I make them, but I really like this one. Maybe it’s the height too, I’m not sure. Any details would be great, thank you very much.