You might want to sit down for today’s post. That way you can literally jump for joy when you see what we have in store for you. We’ve been looking forward to today’s tutorial for months now. Ever since the talented Jenna Rae Illchuk of Jenna Rae Cakes wowed us with her Silver Sequin Cake as part of our 12 Cakes of Christmas series. We loved her sequin cake to pieces — and you did too! Sequin cakes are everywhere and definitely one of the hottest new techniques going, thanks to originator of this fabulous trend, Lori Hutchison of The Caketress. After we featured Jenna Rae’s cake last December, the emails and comments started rolling in with requests for a tutorial. Well, we heard your cry and asked the lovely Jenna Rae if she would be so kind as to teach us. And needless to say, we were beyond thrilled when she agreed to show us her techniques. Yes, you read that right! We’re learning how to make a fabulous sequin cake today, in gold!!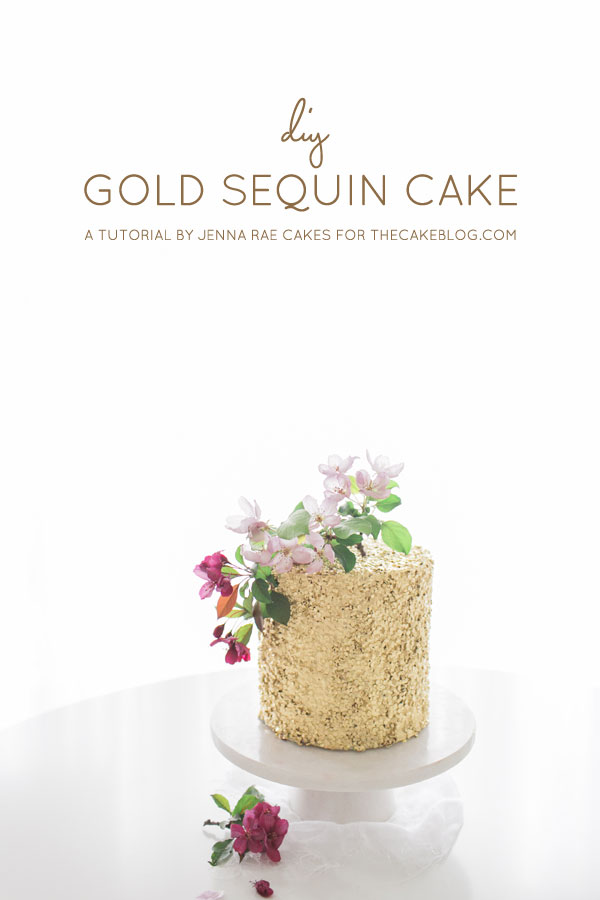
For months, I’ve been dying to tell you this was coming! The anticipation built as Jenna Rae had some other little things on her plate — you know, like opening her very first storefront in Winnipeg, Canada! So today we’re celebrating a glorious new tutorial AND the launch of Jenna Rae’s new bakery. And I have no doubt you’ll want to join in the celebration because this may just be the most beautiful tutorial we’ve ever posted. The stunning sequin cake, gleaming in gold luster, is breathtaking. The technique is so incredibly genius you’ll never believe it’s that simple. Add in the impeccable styling of Ashley Nicole (who just happens to be Jenna Rae’s twin sister and business partner) and dreamy images by Brittany Mahood Photography — and you have one spectacular cake tutorial!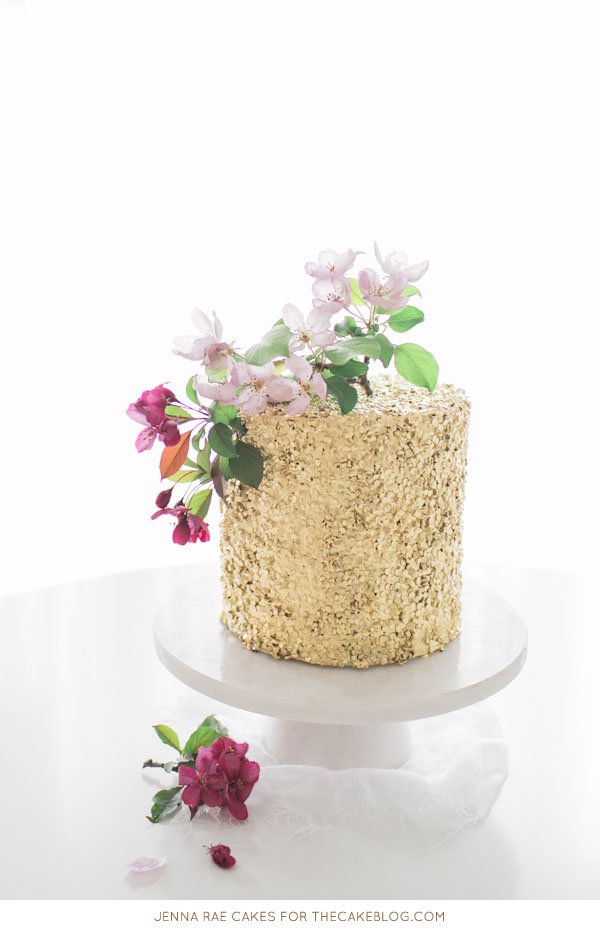
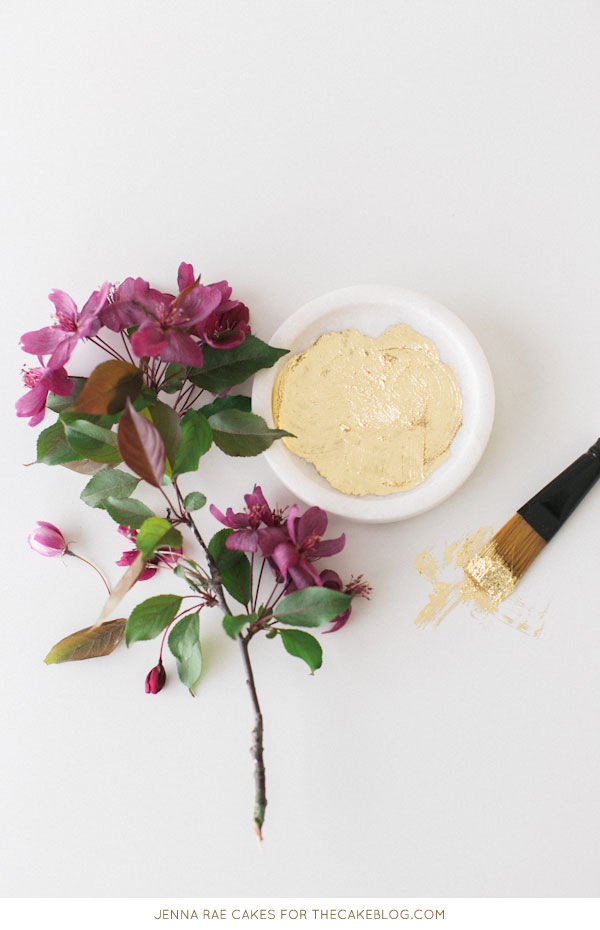
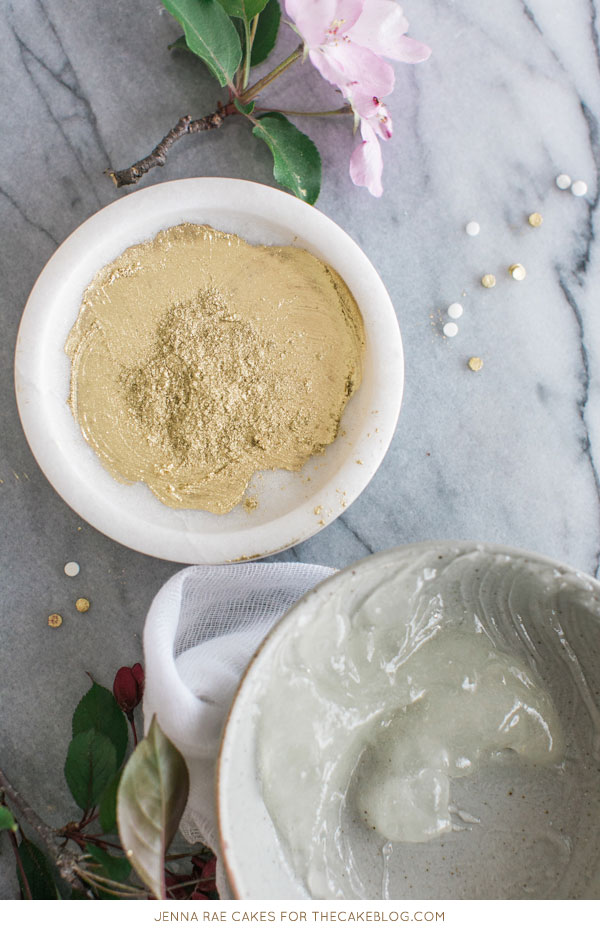
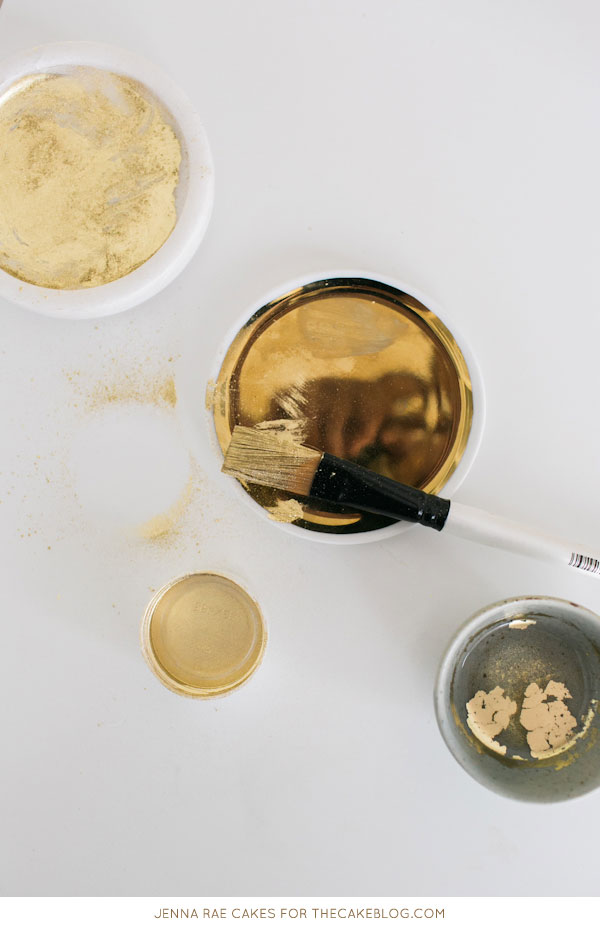
I know you’re about to burst right now… so let’s do this! Just click on the link below to open the full step-by-step tutorial. Enjoy!
View the Step-by-Step Tutorial
GOLD SEQUIN CAKE
a tutorial by Jenna Rae Cakes
Supplies:
Fondant Covered Cake
Piping Gel
Edible Sequin Sprinkles
Gold Dust*
Vodka
Wide Paintbrush
*PLEASE NOTE : Not all metallic dusts are meant for consumption. If you’re creating a fake tier for display purposes only, you can use any metallic dust (edible or non edible). If you are making an edible tier to be sliced and served, be sure to use the appropriate products. You can find a wide selection of both edible and non edible metallic dusts HERE.
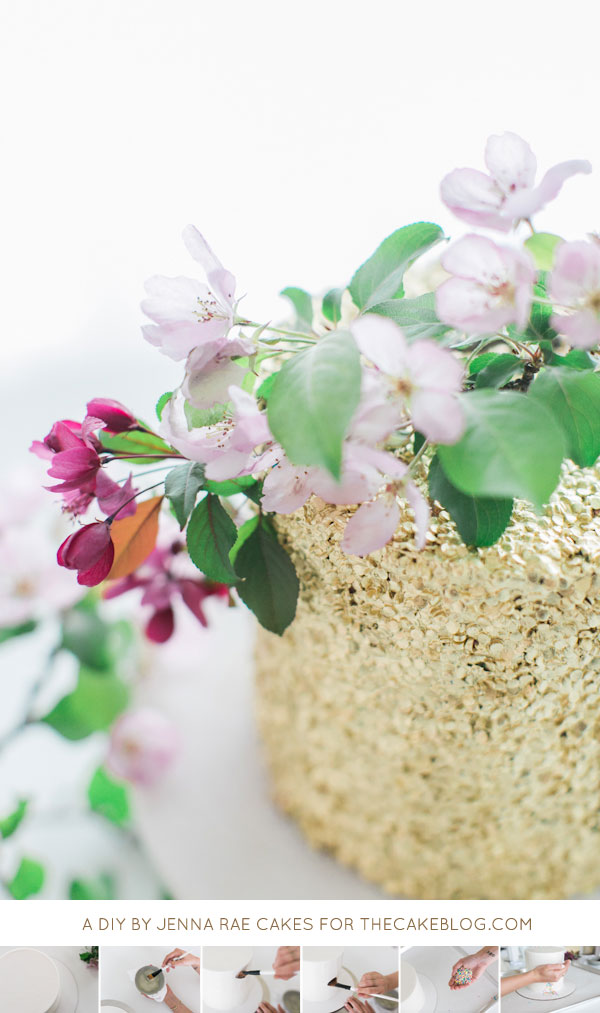
View the Step-by-Step Tutorial
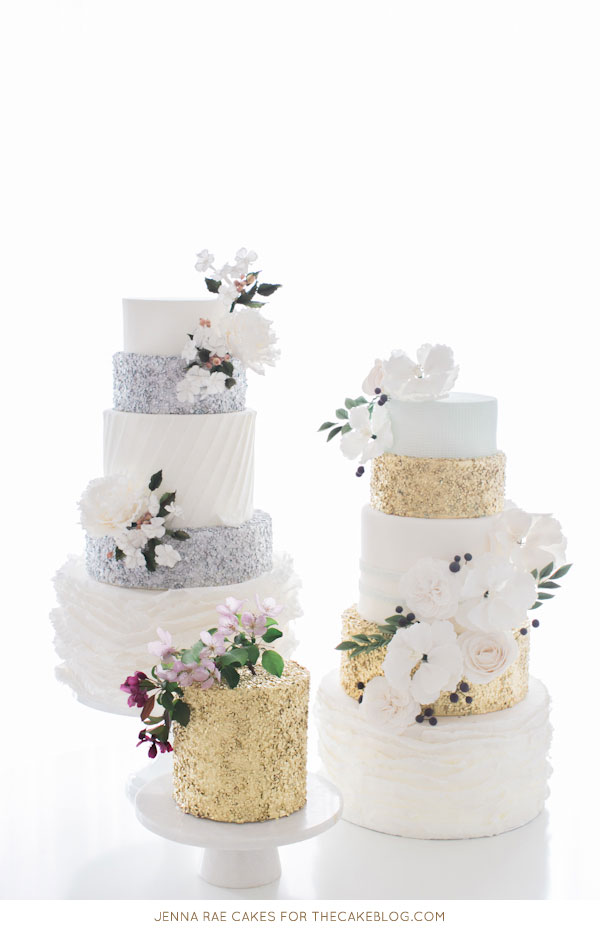
VENDORS & CREDITS
Cake & Tutorial Creation : Jenna Rae Cakes
Photo Styling : Ashley Nicole
Photography : Brittany Mahood Photography
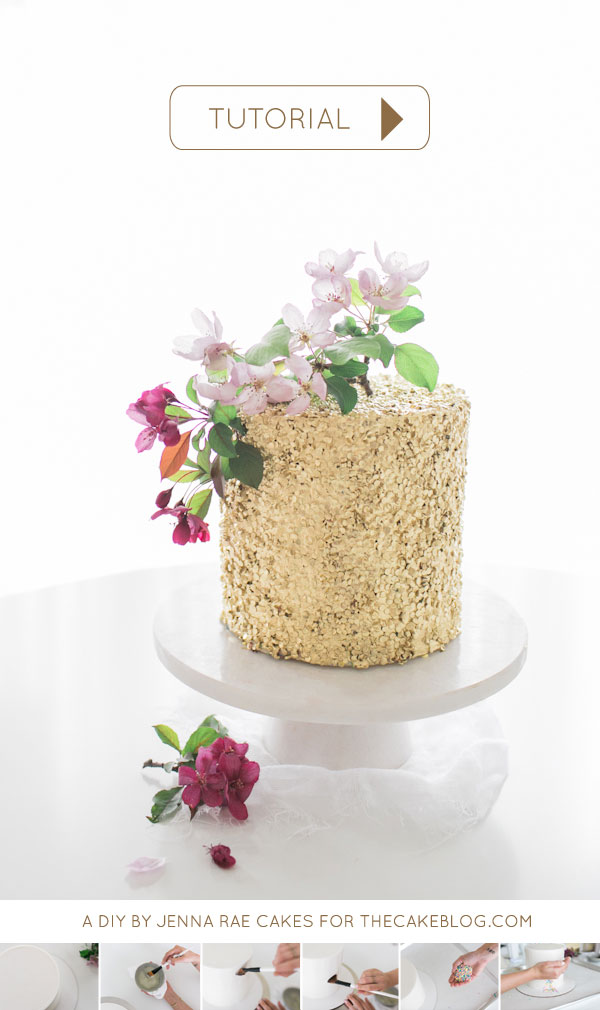


Hi!
Great tutorial. I have a question. What can be used instead of vodka to mix with the metallic dust? I have “Edible Gold Glaze” (fondant gum paste cake decorating). Will it work with this?
Thank you! I haven’t seen that so i’m not sure what would work with it! I know instead of using vodka, some people use lemon extract or a clear vanilla extract. Maybe just experiment a little bit and see what works!
What exact gold was used on this!?
Very frustrating that questions aren’t answered here!
This is amazing! Thank you for sharing your technique! And with such a beautiful tutorial!
This is everything!!
what is the brand and colour code or number of the gold dust that you use ? Its hard to find a nice true gold colour 🙂 Thx !
I was so surprised how simple this tutorial was considering the look screams extravagance, thanks for sharing it with us and good lunch with your new bakery launch!
I always wondered how people achieved the sequin look on cakes! Now I know and I will surely give it a try!
Can this technique be used on a buttercream cake?
Amazing- I want to try this!
What colour dust did you use? Also, as someone said above, can this be done on a buttercream cake?
Many thanks
Thanks for the excellent tutorial! I can’t wait to try this out, it looks great complicated, but is actually really easy!
Do you think that this might work on modeling chocolate? I’m just wondering how you would adhere the sequins, maybe piping gel? Any insight would be appreciated!
This looks amazing!!! I love this style. What make of gold dust did you use to achieve such a shiny metallic?
I would also like to know what color/brand of gold dust you used. It’s perfect!!!
What color gold & brand is used here. Its a beautiful color. I’ve tried painting with gold before but this looks to spread evenly & dries shiny & metallic, mine went dull for some reason. Thanks
It looks so beautiful. I also would like to know what type of color dust is used.
NEED to know what brand the gold dust is! *Completely understand that non-edible non-toxic gold dust should be used to the decorative tier and that you cannot recommend using it for consumption.. now can we be in on the secret 🙂
What a beautiful cake! I can’t believe I only just discovered metallic sequin cakes were a *thing*. Since I’m planning to make this cake for my birthday in May – and I’ve never worked with gold lustre before – can you say more or less how much gold luster you used for the cake in the tutorial. Golda’s Kitchen sells lustre in 2.5 and 25 gram pots – would 2.5gr be enough??
Thank you! Emma
Curious, did you ever make this, and figure out how much lustre dust it would take? Please email me at [email protected] if you don’t mind.
Thanks!
Beautiful! How much gold dust did you use for this cake?
Just curious, did you ever make this cake and figure out how much gold dust to buy?
THanks, Amber
beautiful..
Hi! Nice tutorial! Thank you.
I would like to know if I can airbrush the cake instead to make the metallic color with a brush?
Thank you
Love it– wonderful tutorial!! What brand gold dust did you use and how much? I followed the tutorial using Wilton Silver pearl dust which only covered a very small section of my cake layer 🙁 Any recomendations on gold/silver dust is greatly appreciated!!
Thanks!
Kimberly
I have a number of brides looking for this idea here in South Africa. I was very happy to find your website and tutorial. I however id a slight change I cover the cakes with fondant and place in cold room overnight. The fondant becomes wet and the crystals stick immediately with out the gel. Best Regards Jonathen
Did anyone ever figure out how much gold dust you need to buy to do this? I’m wanting to do a four layer six inch cake. Thanks for any help!!
Thanks for this great tutorial, God bless u real gud
Can you use glucose gel instead of piping gel?
I mean liquid glucose sorry
Hi, did you receive an answer to your question ?
Just wondering if this technique can be applied to a buttercream cake. I have an order coming up, and the client wants this design on the cake, but she does not want fondant. Thanks!
Love this! But I’m wondering if you have to use fondant… Will this work on buttercream as well? Like icing/decorating buttercream consistency.