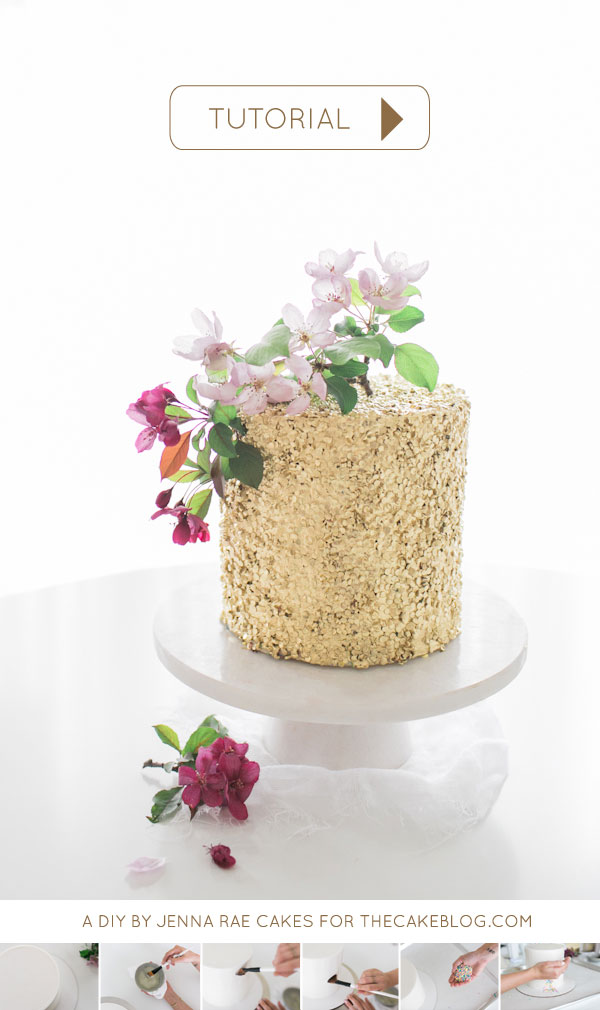
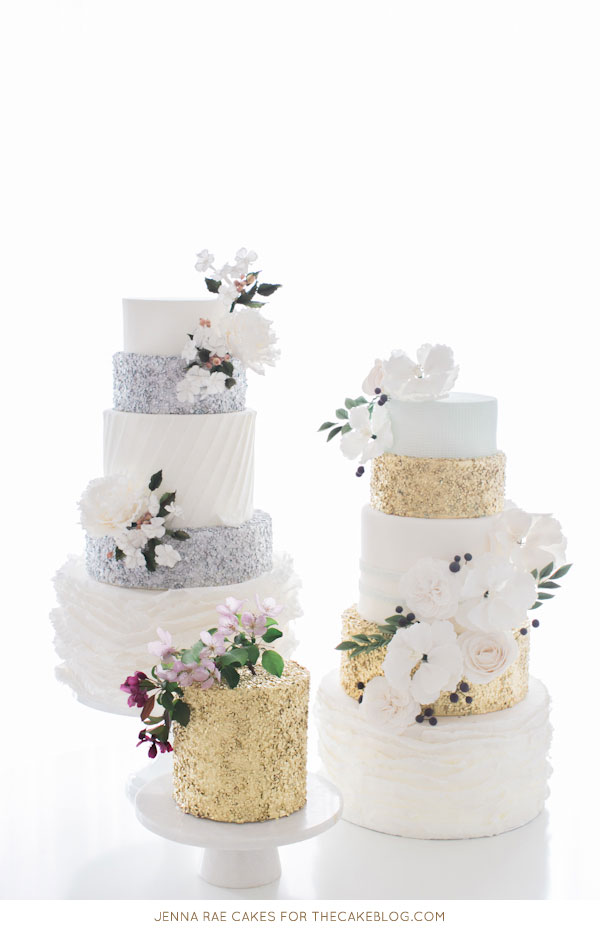
You might want to sit down for today’s post. That way you can literally jump for joy when you see what we have in store for you. We’ve been looking forward to today’s tutorial for months now. Ever since the talented Jenna Rae Illchuk of Jenna Rae Cakes wowed us with her Silver Sequin Cake as part of our 12 Cakes of Christmas series. We loved her sequin cake to pieces — and you did too! Sequin cakes are everywhere and definitely one of the hottest new techniques going, thanks to originator of this fabulous trend, Lori Hutchison of The Caketress. After we featured Jenna Rae’s cake last December, the emails and comments started rolling in with requests for a tutorial. Well, we heard your cry and asked the lovely Jenna Rae if she would be so kind as to teach us. And needless to say, we were beyond thrilled when she agreed to show us her techniques. Yes, you read that right! We’re learning how to make a fabulous sequin cake today, in gold!!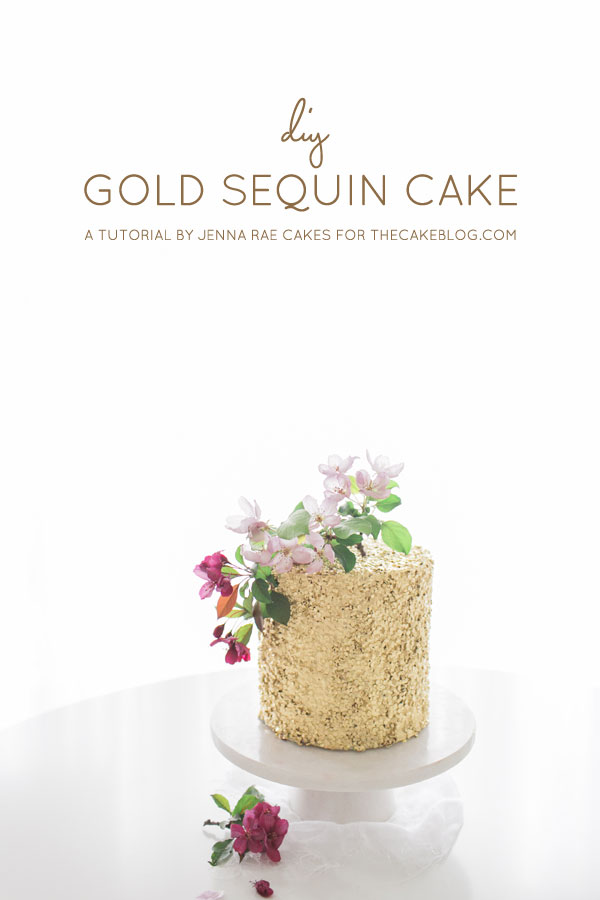
For months, I’ve been dying to tell you this was coming! The anticipation built as Jenna Rae had some other little things on her plate — you know, like opening her very first storefront in Winnipeg, Canada! So today we’re celebrating a glorious new tutorial AND the launch of Jenna Rae’s new bakery. And I have no doubt you’ll want to join in the celebration because this may just be the most beautiful tutorial we’ve ever posted. The stunning sequin cake, gleaming in gold luster, is breathtaking. The technique is so incredibly genius you’ll never believe it’s that simple. Add in the impeccable styling of Ashley Nicole (who just happens to be Jenna Rae’s twin sister and business partner) and dreamy images by Brittany Mahood Photography — and you have one spectacular cake tutorial!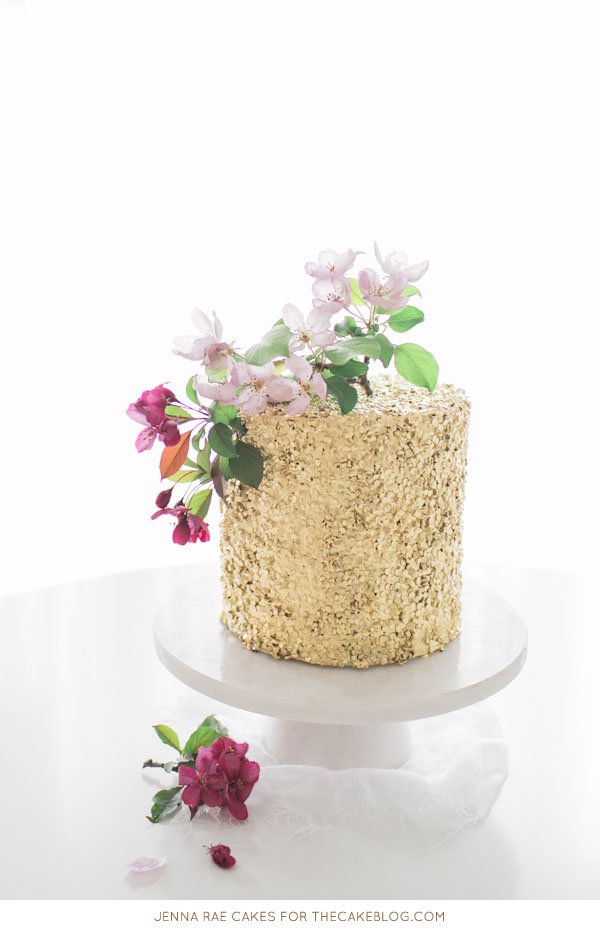
I know you’re about to burst right now… so let’s do this! Just click on the link below to open the full step-by-step tutorial. Enjoy!
View the Step-by-Step Tutorial
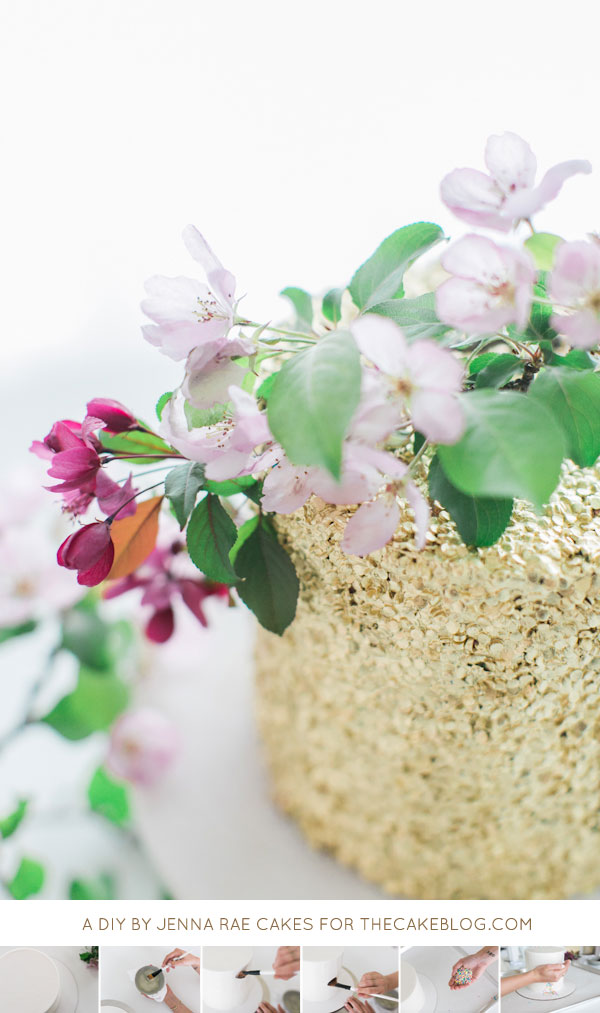
GOLD SEQUIN CAKE
a tutorial by Jenna Rae Cakes
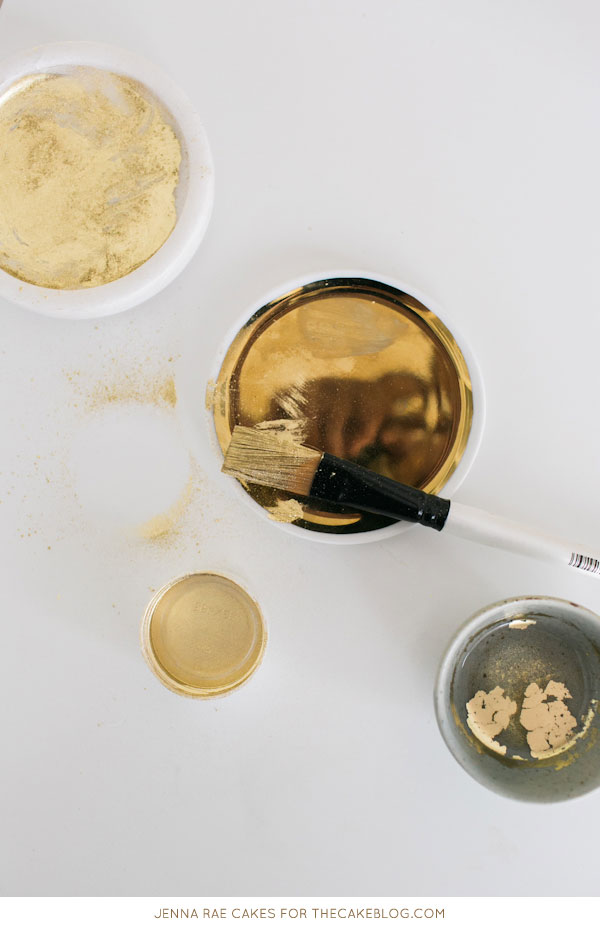
Supplies:
Fondant Covered Cake
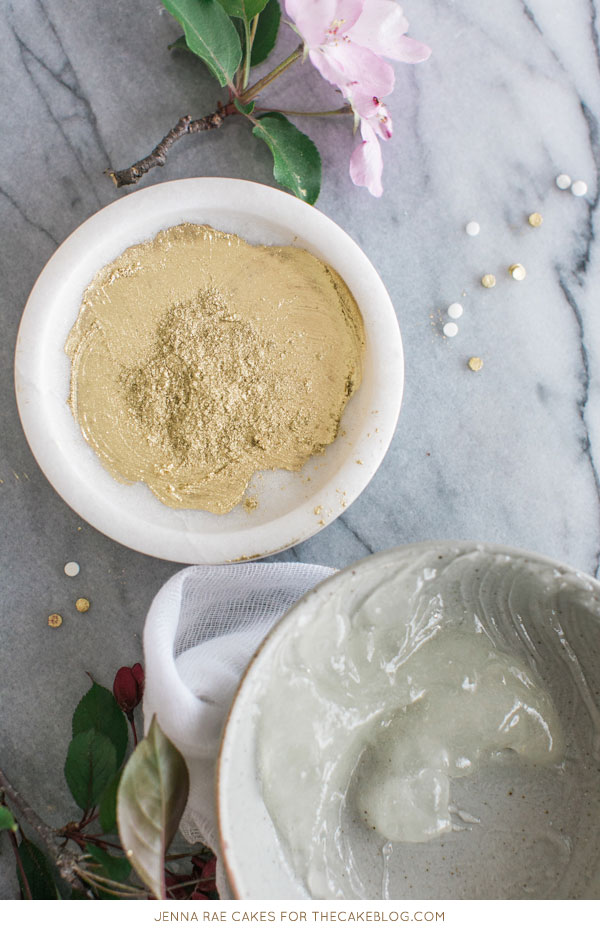
Piping Gel
Edible Sequin Sprinkles
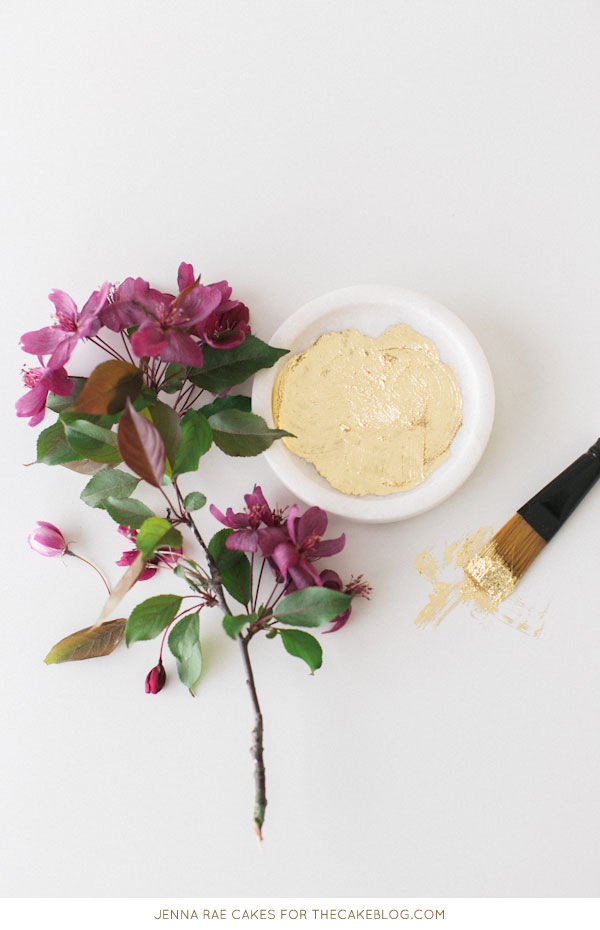
Gold Dust*
Vodka
Wide Paintbrush
*PLEASE NOTE : Not all metallic dusts are meant for consumption. If you’re creating a fake tier for display purposes only, you can use any metallic dust (edible or non edible). If you are making an edible tier to be sliced and served, be sure to use the appropriate products. You can find a wide selection of both edible and non edible metallic dusts HERE.
View the Step-by-Step Tutorial
VENDORS & CREDITS
Cake & Tutorial Creation : Jenna Rae Cakes
Photo Styling : Ashley Nicole
Photography : Brittany Mahood Photography


Great tutorial! Can you do this with buttercream instead of fondant? Also, can you store in the fridge after or should it be stored at room temp?
Hi,
Very interesting cake decoration. Gonna try this at now next week.
Very beautiful cake! What brand/color gold did you use on this cake?
How manu grams of confetti would you need to cover an 8 inch cake please?
To paint the gold on…how much of the gold will I need to cover a 8 inch round cake would you say? Would one of the 2.5 gram lustre dusts be enough? I have done these as airbrushed before, but would love to try the lustre dust instead. Advice?
I am thinking about how simple this tutorial was considering the look screams extravagance, thanks for sharing it . Keep it up and make few more for us. Ready to try this.
how many confetti sprinkles needed to cover cake?
Thank you so much to share this recipe with us. I will definitely try it at home and will share with you via facebook or Instagram.
Knowledgeable Tutorial. Liked it!