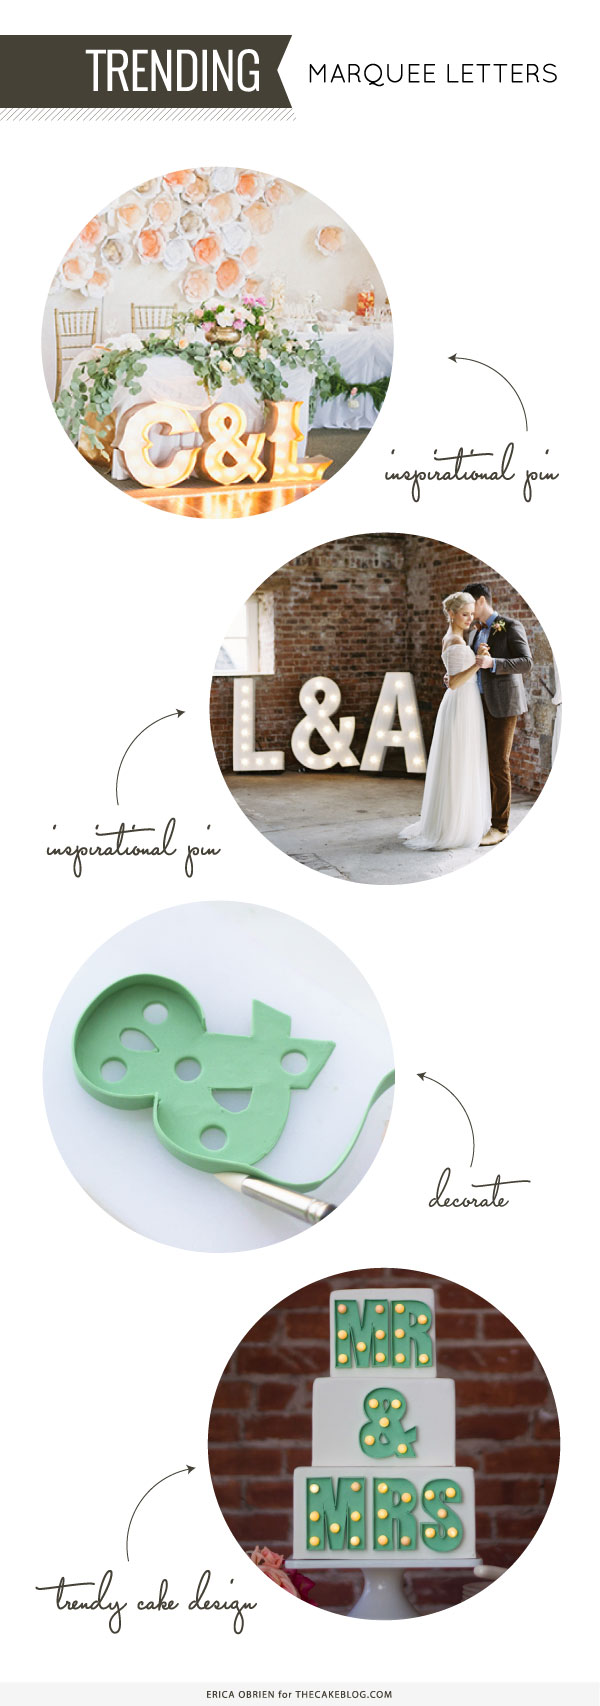
Our contributor, Erica OBrien, is back for the next post in our Trending series. Join Erica as she goes from inspiration on Pinterest to cake concept and then the final cake design.
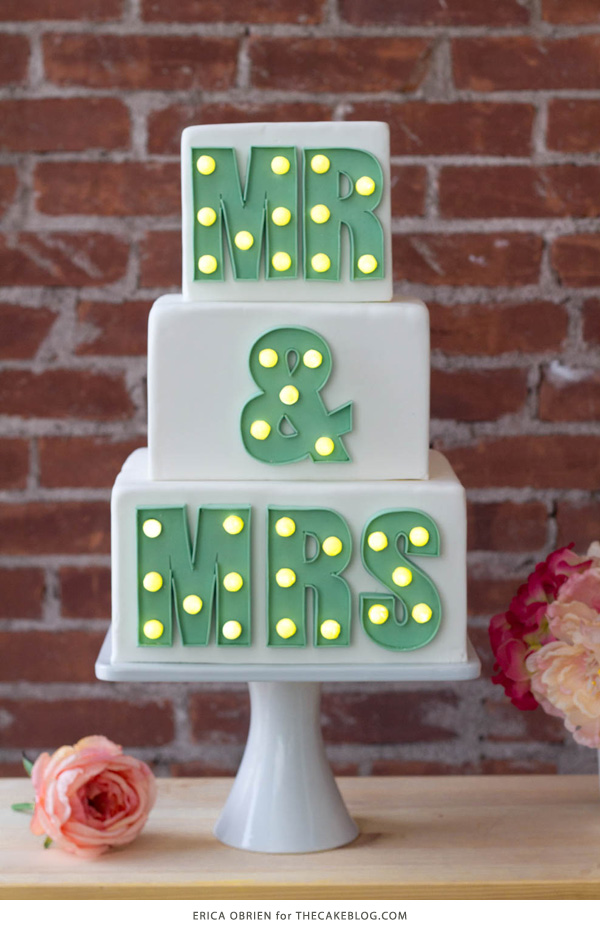
We have an ongoing joke at the shop about who comes up with the best design concepts. My sister, the soup maker (with whom I share the kitchen), always has lots of ideas that we promptly dismiss. Most of the designs are either mine or a collaborative effort between me and Callan, my wonderful assistant. The credit for this vintage marquee letter cake, however, goes completely to Callan. Although I was skeptical at first, Callan really came through with this design.
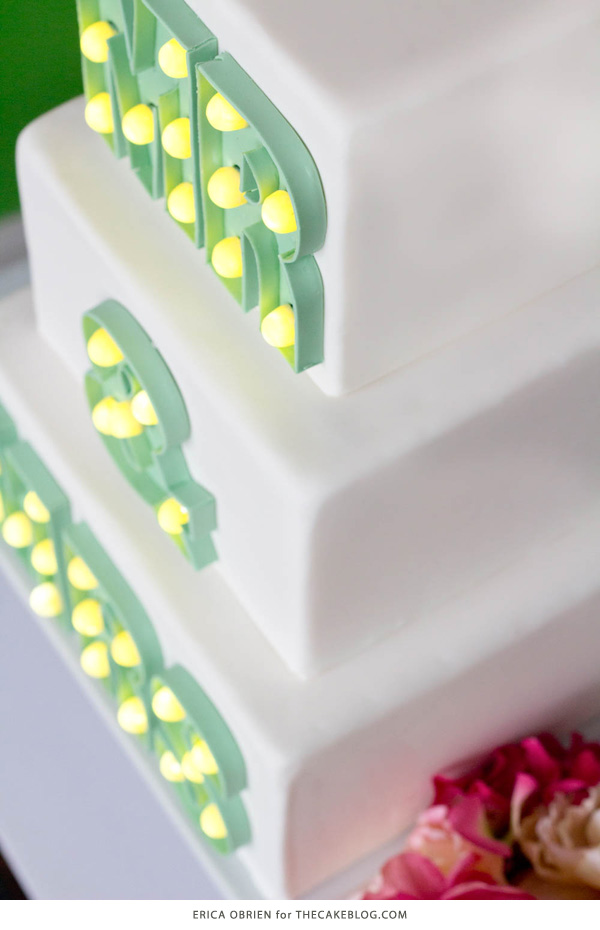
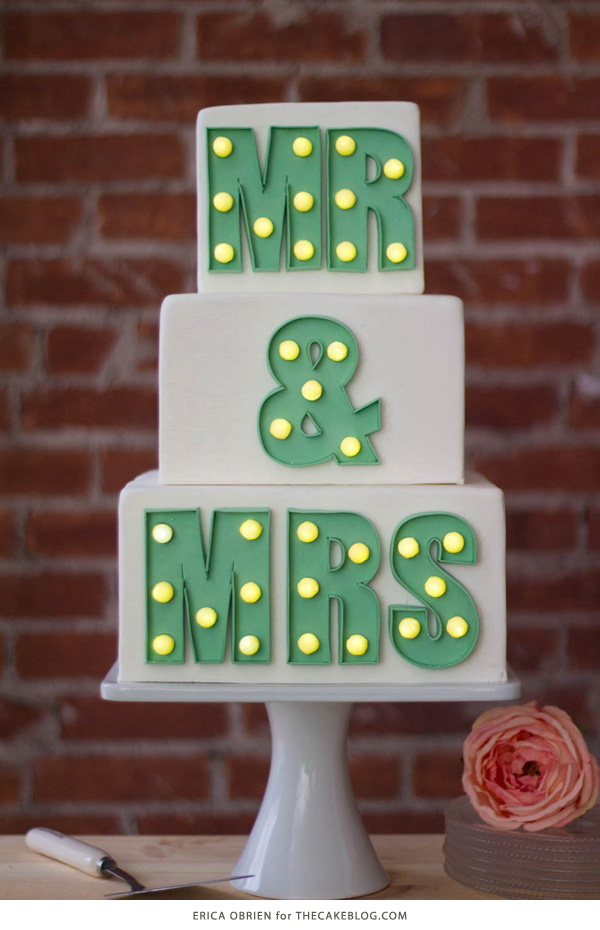
Any design can be great on paper, but executing it is a whole different animal. This cake presented its challenges, from the font to the design, to the lighting, we really had to think it through. The first step was the LED lights. The sizing of the letters and even the cake tiers was completely dependent on the size of the lights. We ordered two packages of these decorative LED lights. We initially planned to wrap the base of each light with fondant or gumpaste before inserting into the cake so that the lights would not come into contact with the cake. But when we tested the lights, they gave off a very cold, very blue light. Ultimately we ended up wrapping the entire light in yellow gumpaste. This solution ensured that (1) the lights would not come into contact with the cake and (2) they cast a very yellow light that was much truer to a vintage marquee letter.
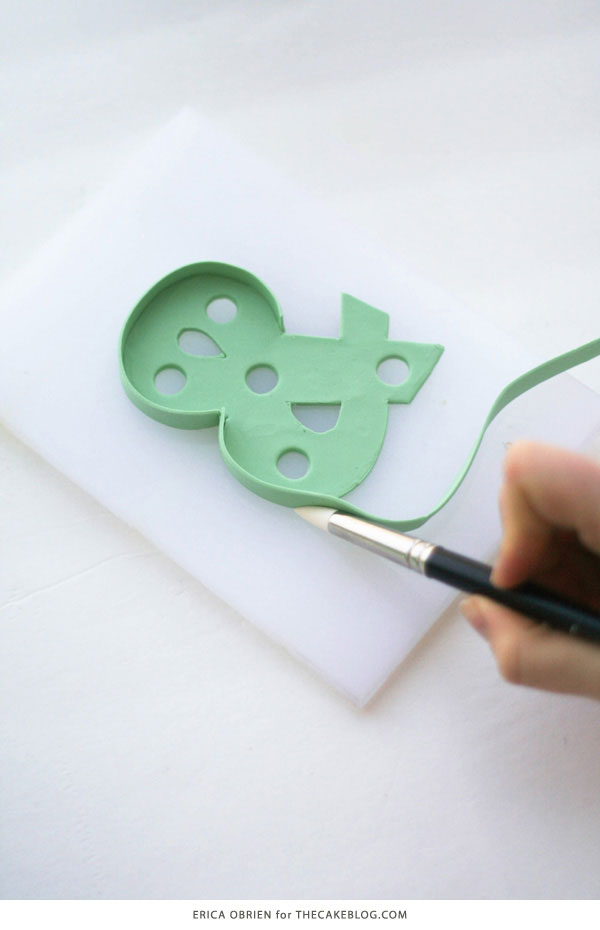
We selected a sans-serif font and printed out a template sized it to fit our cake. We cut the letters out of gumpaste and used a large pastry tip #6 to cut holes in the letters. Once the base of the letters had set up a bit, we cut gumpaste into strips and adhered it to the edge of the letters with piping gel to form the sides of the letters. Finally, we attached the letters to the cake and carefully inserted the lights.
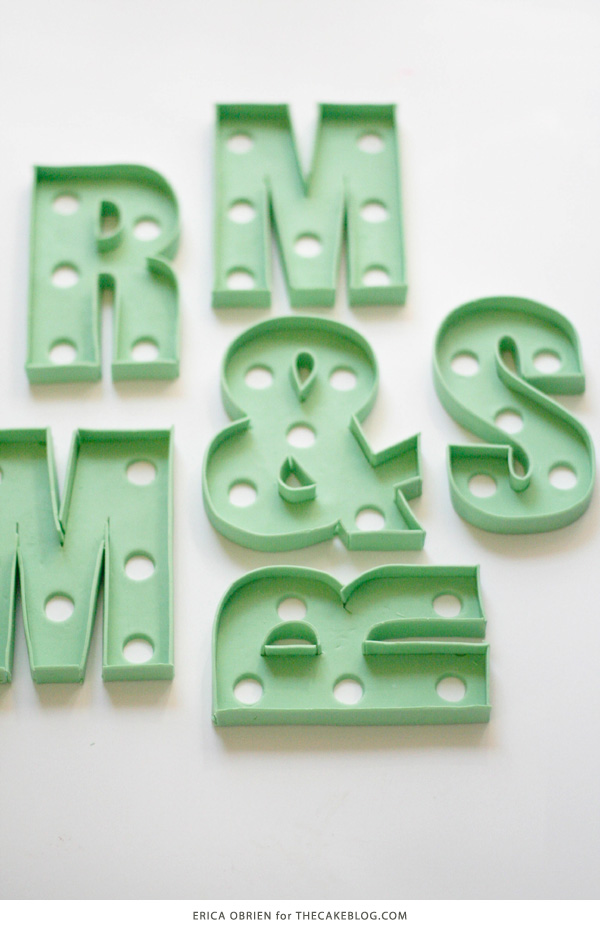
A few caveats to keep in min: The lights are supposed to have a working time of 8 hours, but we found that some of them began to dim after about an hour. Also, the cake was tricky to photograph. In natural lighting, which is usually ideal, the lights were barely visible. We had to photograph the cake in lower light conditions to really allow the lights to shine.
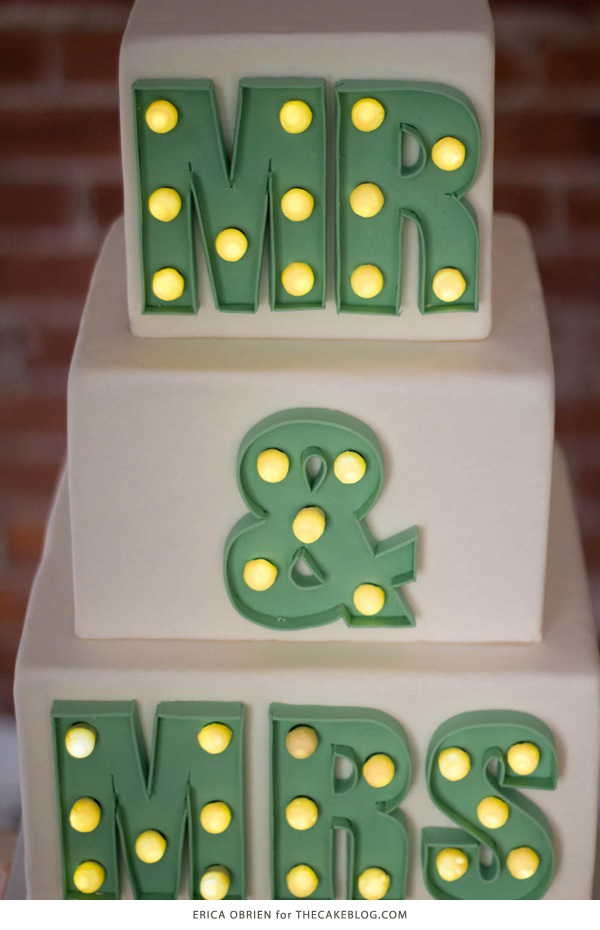
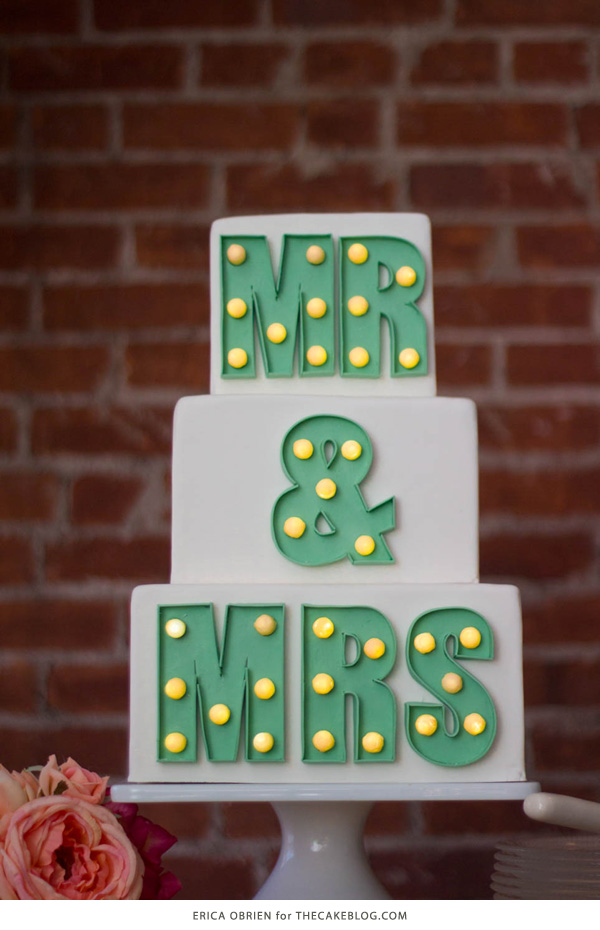
We were absolutely thrilled with the final design. It’s always a treat when a design looks as good in real life as it does in your imagination, and this was definitely one of those cakes. Ultimately, this was one of the funnest designs we’ve ever done.
VENDORS & CREDITS
Cake : Erica OBrien Cake Design
Inspiration : Marquee Pin #1
Inspiration: Marquee Pin #2
Learn From This Baker : Erica OBrien’s Cake Class online at Craftsy
Next, catch my Chocolate Painted Cake.
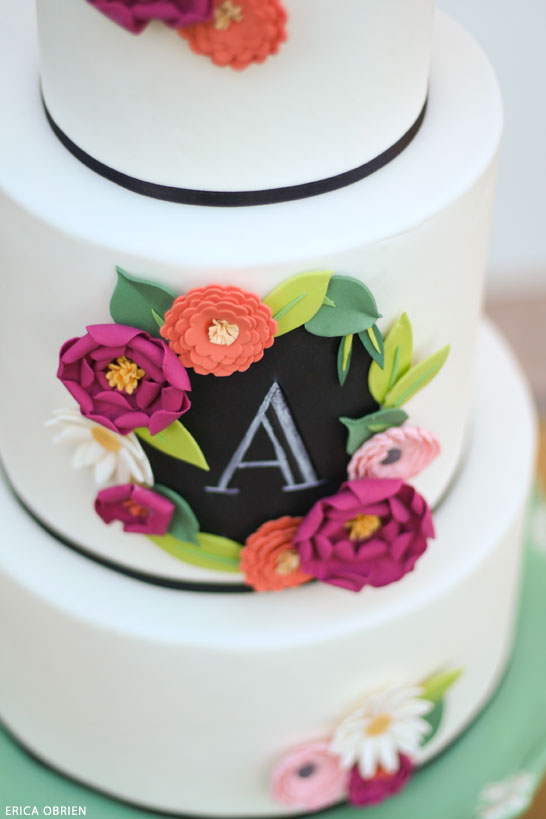
I think you’ll also enjoy my Chalkboard & Paper Flowers Cake.
And don’t miss my Pastel Geometric Cake!
Have you seen my Edible Garland Cake?
Now, hop over to my Golden Pineapple Cake!
