Our contributor, Erin Gardner of Erin Bakes, is back with a new tutorial today!
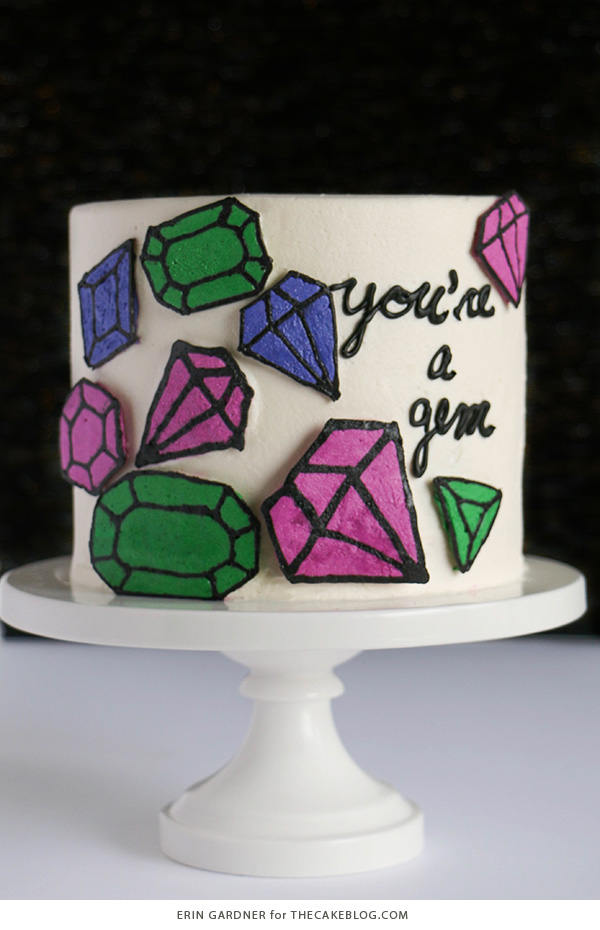
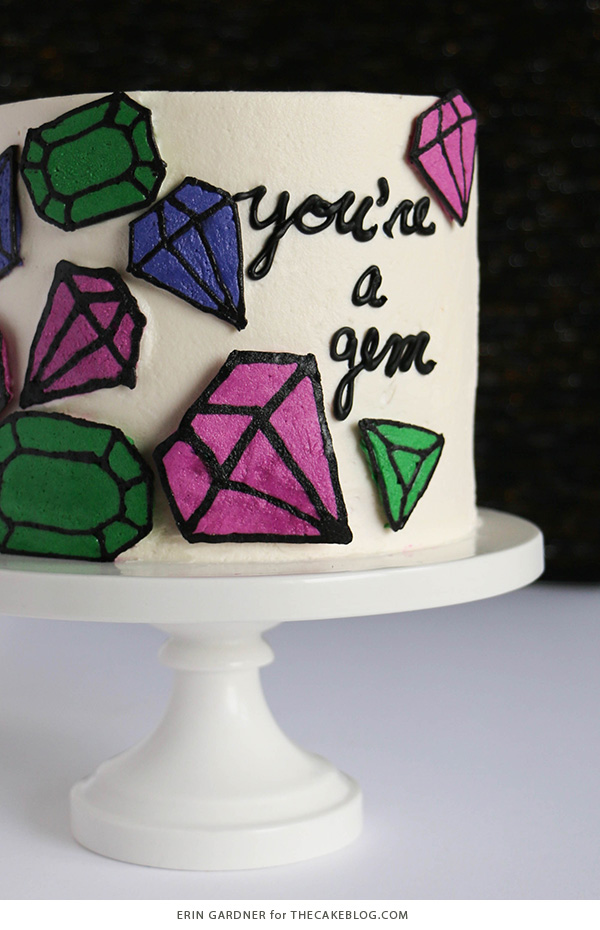
If hearts and roses aren’t your thing, then this is the Valentine’s Day cake for you! Bright, bold, buttercream jewels help convey the message that your lovey is a real gem. It’s a sweet sentiment perfect for your partner, bff, or the little ones in your life. This frozen buttercream transfer is an easy way to add detail to a design without the pressure of piping directly onto the cake, especially when we’re working with such rich gem tones. Plus it creates a slight 3-D effect making your jewels really pop. Definitely go for an American buttercream for this technique since meringue-based buttercreams have a tendency to crack when frozen.
YOU’RE A GEM CAKE
a tutorial by Erin Gardner
Supplies:
Cake of choice, frosted with white buttercream and thoroughly chilled
Tinted buttercream in assorted shades
Black buttercream
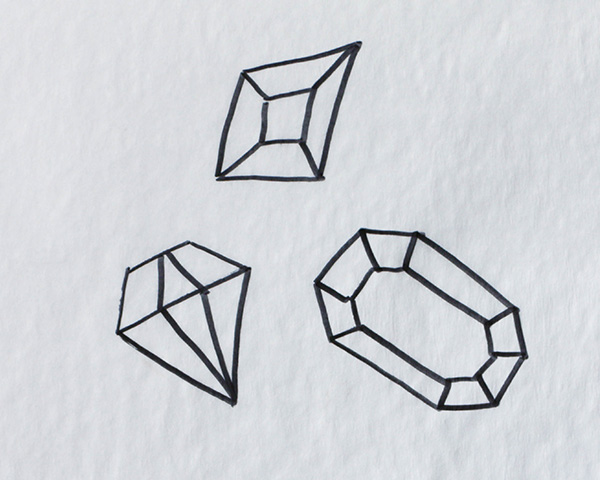
Gem template (optional)
Parchment paper
Fine tip black marker
Scissors
Piping bags or paper cones
Small round piping tip (optional)
Sheet pan
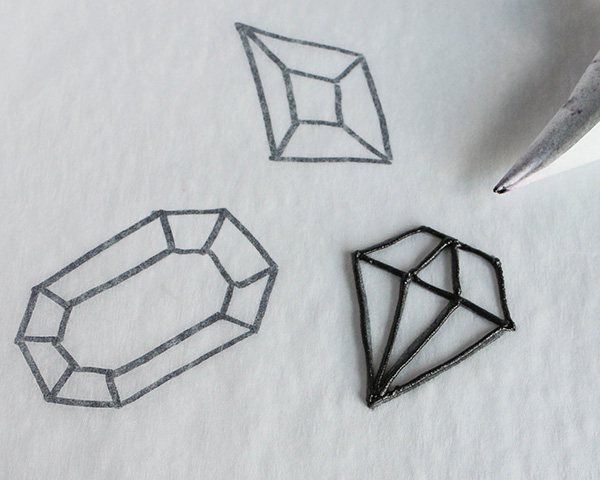
Free-hand a few gem outlines, or lay a piece of parchment paper over a template and trace the image with a fine tip black marker.
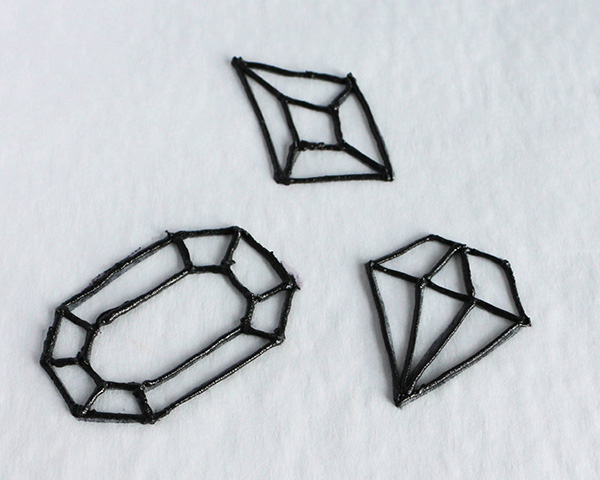
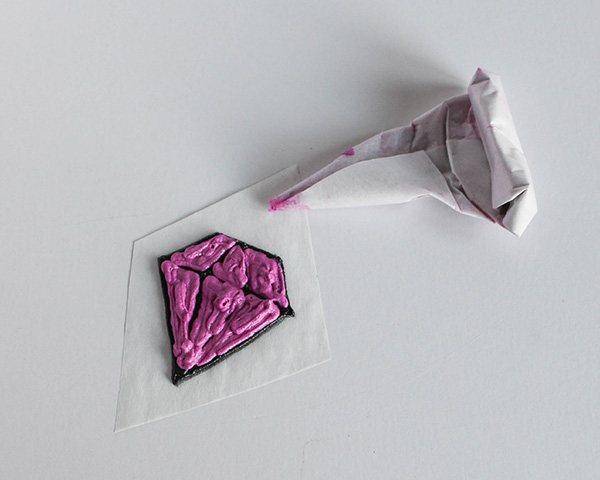
Fill piping bags or paper cones with small amounts of buttercream. Flip the parchment paper over and use the black buttercream to trace the gem outlines. Keep in mind that the gems you’re piping will be viewed in reverse. Make sure all of your lines make contact with the parchment paper and meet up with each other at the corners. Pick up your paper from time to time and hold it in the light to find any gaps.
Place the parchment paper with the finished gem outlines onto a cookie sheet and pop it into the freezer until the lines are completely solid, about 10-15 minutes.
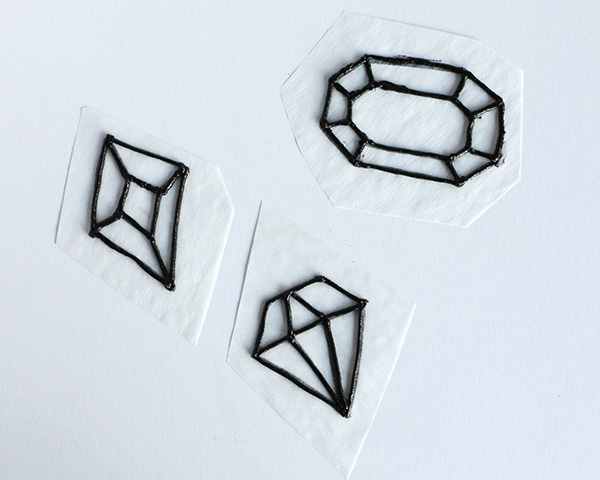
Once frozen, cut the shapes out leaving about a 1/2-inch space around each gem. This will make applying the shapes to your finished cake much easier.
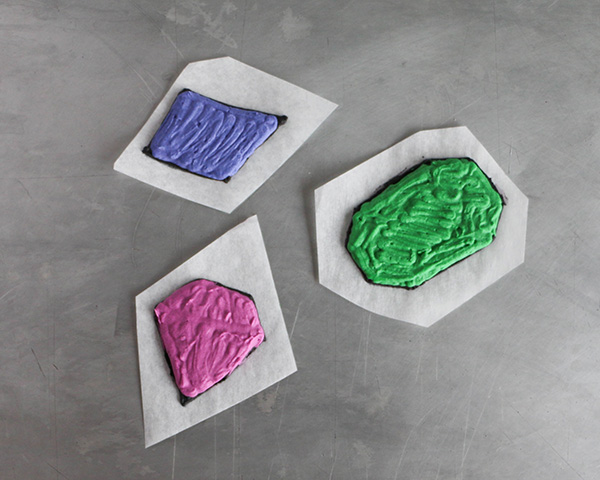
Fill in the gem outlines with colored buttercream. Again, hold the paper up to the light every now and then to make sure that there aren’t any gaps.
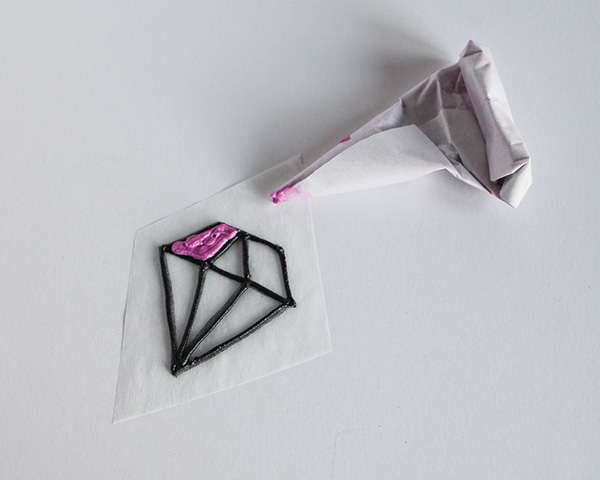
Once you’ve filled in all of the outlines, place them onto the cookie sheet and give the sheet a few taps against your work surface. This will help spread the buttercream into any nooks or crannies you may have missed. Go over the entire surface once more with the colored buttercream to make the surface level. If the outlines begin to soften at all, pop them back into the freezer until firm again. Once all of the gems have been filled, place them all back into the freezer until they’re firm, 10-15 minutes.
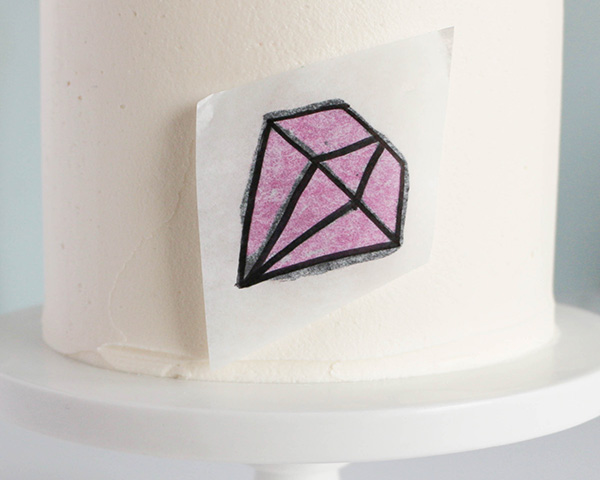
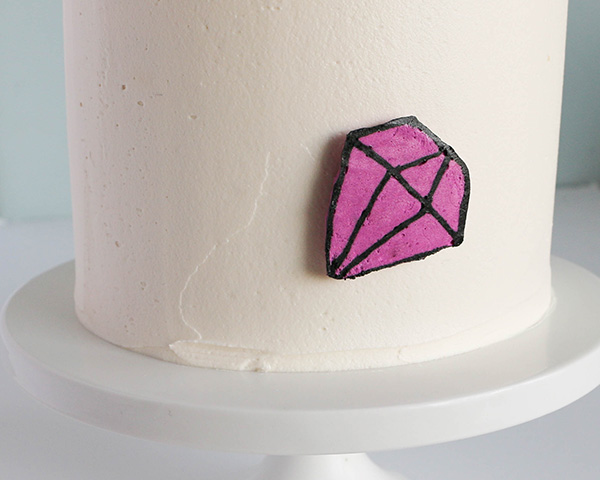
Place a chilled gem onto the side of a buttercream iced cake. Firmly press it into place, making sure that the gem comes into contact with the cake on all sides. If you feel the buttercream has softened at all, place the cake back into the fridge before removing the parchment paper. I know you want to head straight for the big reveal, but a little bit of patience will pay off in the end!
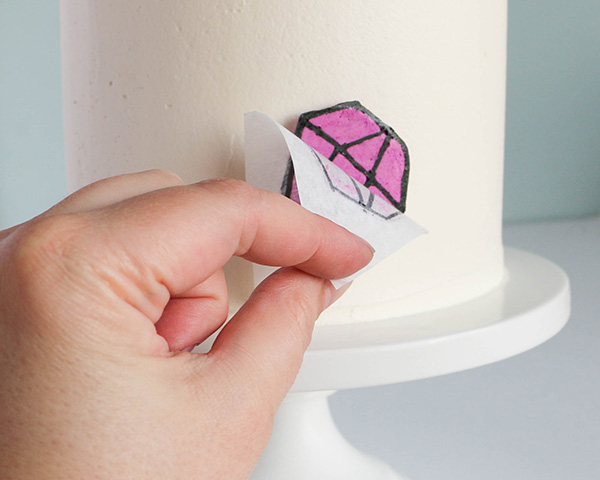
Once the gem is firm again, peel away the parchment paper. Fill in any gaps the remaining buttercream.
Add as many gems as you wish to create desired pattern. Pipe You’re a Gem with black buttercream, to complete the look.
YOU MAY ALSO ENJOY:
Champagne and Raspberry Cupcakes
Raspberry Blood Orange Cake
Love Bug Cupcakes
Valentine’s Candy Box Cake
Rose Cake Pops
Find more recipes and tutorials in our Valentine’s Day Gallery!