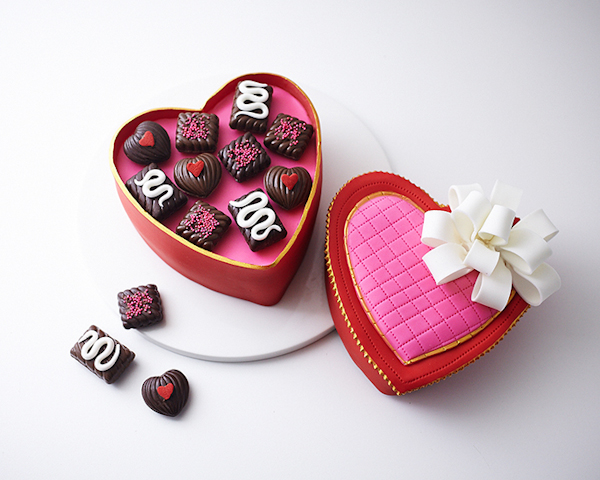
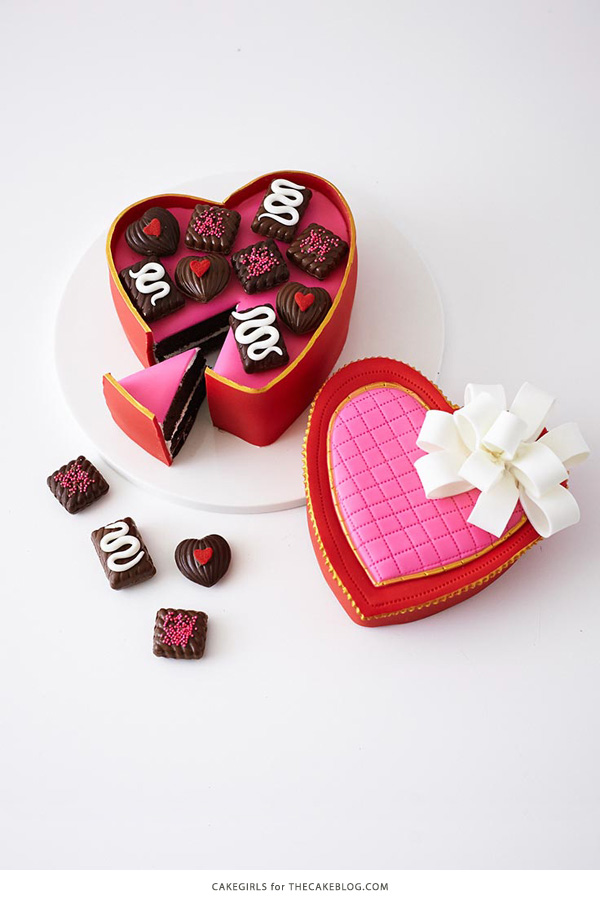
Valentine’s Heart Candy Box Cake! Learn how to make this romantic Valentine’s Day cake that looks just like a heart-shaped box of chocolates with a simple step-by-step tutorial by our contributors, Mary and Brenda Maher of Cakegirls.
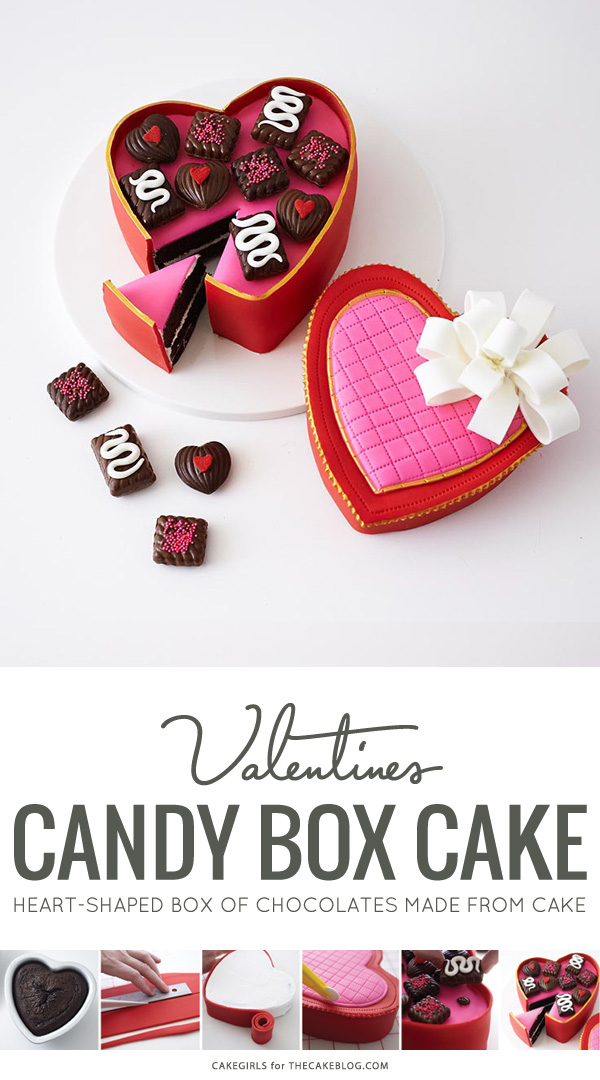
Okay, there is just no way around stating that this cake is a kind of a show stopper. People will assume it’s a real box of chocolates (well, it kind of is) but at least they won’t know that the box is actually made out of cake.
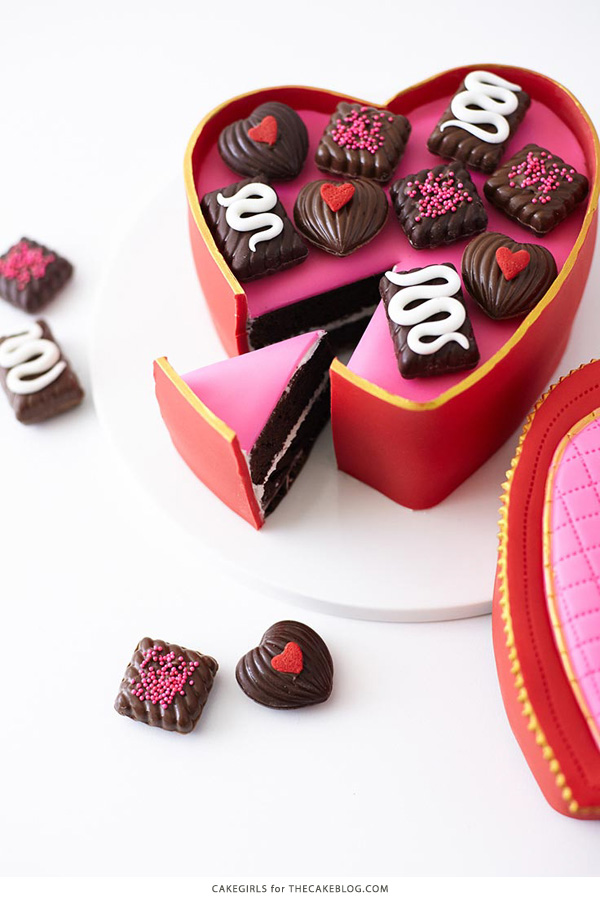
By separating the typical layered cake, you get a much more exciting presentation and a chance to dress up both layers. You could even present two different flavors of cake if you are feeling really ambitious, but we went with chocolate which seems fitting for the occasion.
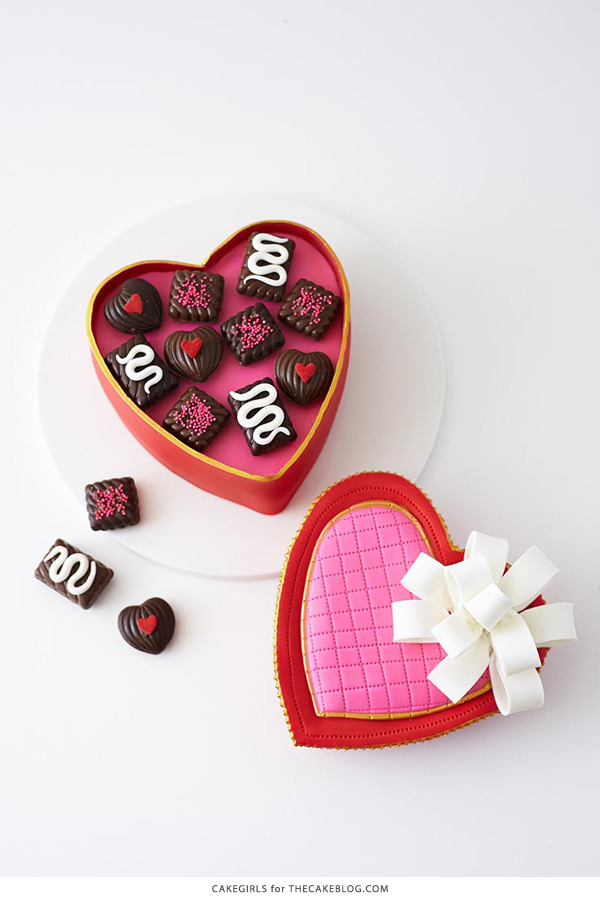
This tutorial is choc full of techniques and is so much fun to make. You should get things started a few days ahead to make sure that your bow loops dry in plenty of time. But, often times, it takes the pressure off of making a more elaborate cake by having as much as you can prepped and ready to go ahead of time, including your cake and buttercream. That said, this tutorial is challenging without being overwhelming and a perfect manageable size to serve to one or a few on Valentine’s Day. So give it a try and watch your guests’ jaws drop when you present this life like box of chocolates.
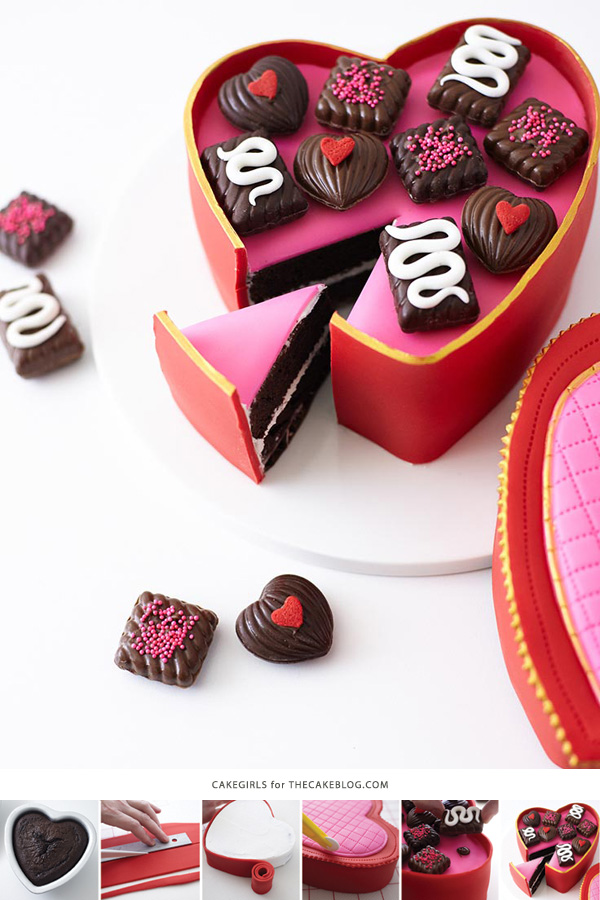
VALENTINE’S HEART CANDY BOX CAKE
a tutorial by Cakegirls
Supplies:
Chocolate Cake Recipe of Choice
White Buttercream
Dark Chocolate Candy Coating Discs
Pink Non Pareils
Large Heart Sprinkles
Vodka or Clear Extract
White Fondant
Red Fondant
Hot Pink Fondant
Antique Gold Luster Dust
Tools:
6″ Heart Shaped Pan
Assorted Candies Chocolate Mold
Paintbrushes
PME Stitching Wheel Tool
Strip Cutter (Optional)
TWO DAYS IN ADVANCE: Bake Cake Layers, Make Buttercream, Create Chocolates, Create Bow Loops
Using your 6″ Heart Shaped Pan, bake two layers of chocolate cake. Once cool, wrap the layers in two layers of plastic wrap and place in the fridge.
Prepare your buttercream ahead as well. Once finished, place plastic wrap directly on the surface and place in the fridge. You will need to bring it back to room temperature before using.
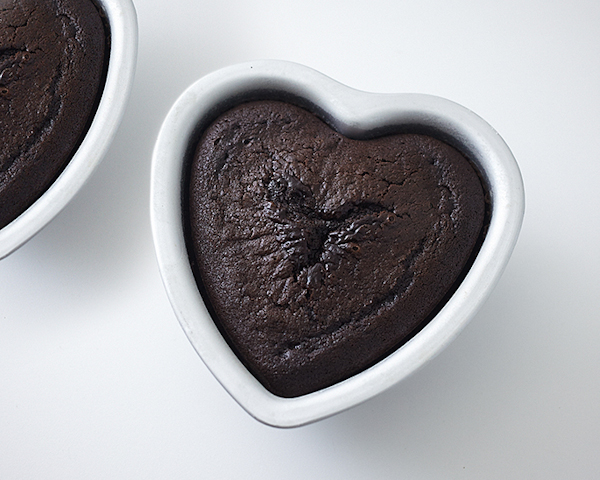
To create your chocolates, place your candy coating in a microwave safe container and heat on half power, stirring every 30 seconds until melted.
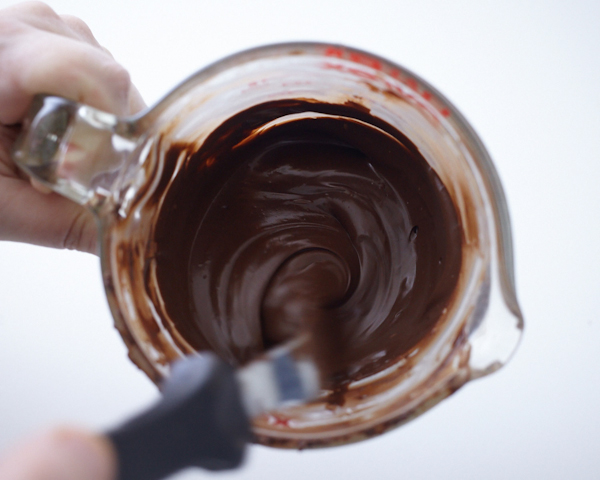
Fill each cavity with melted coating and then tap the mold firmly on the counter to pop any air bubbles.
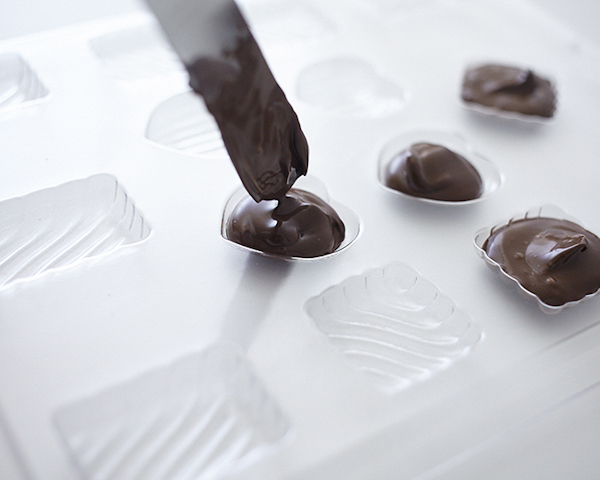
Place the mold in the freezer for 10 minutes. Remove and flip the mold to release the candies. You will need two sets of these, so repeat this process.
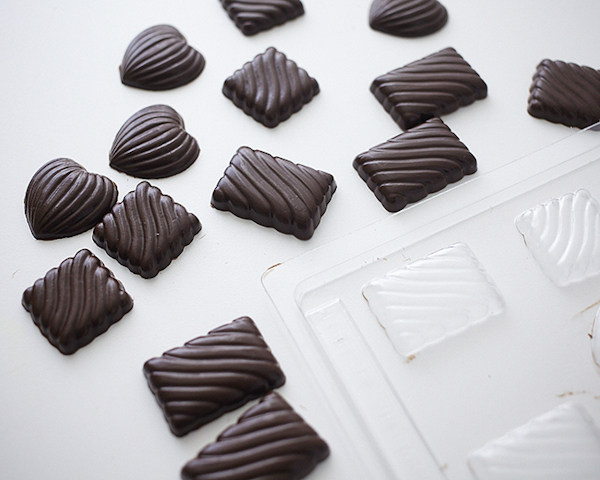
Let all the candies come to room temperature and then use a dab of melted coating to attach two matching sides together.
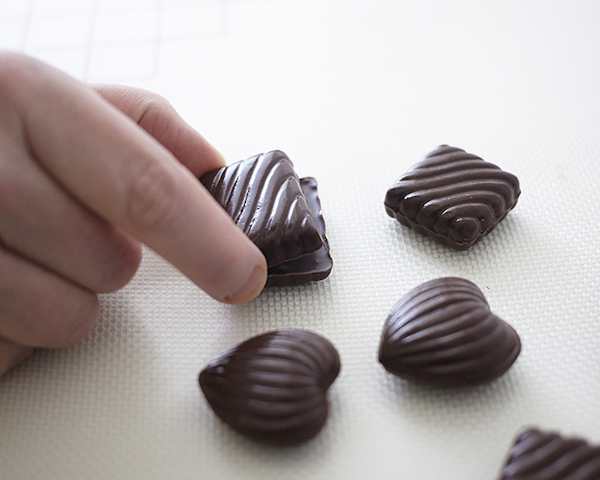
To Decorate The Hearts: Use a paintbrush to dab a dot of coating and place a heart sprinkle on the hearts.
To Decorate The Squares: Add some dabs of coating and then quickly sprinkle with bright pink non pareils.
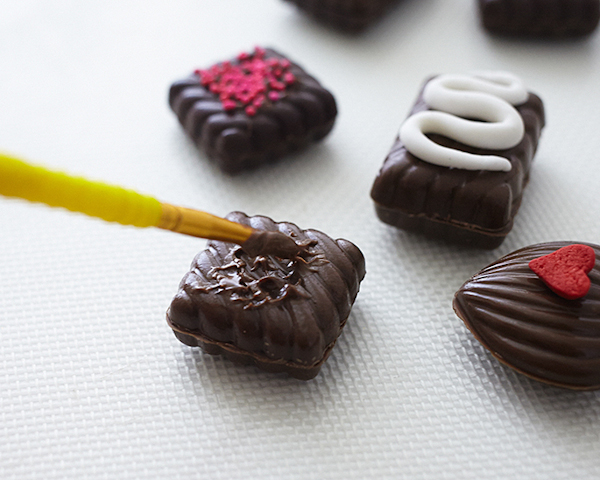
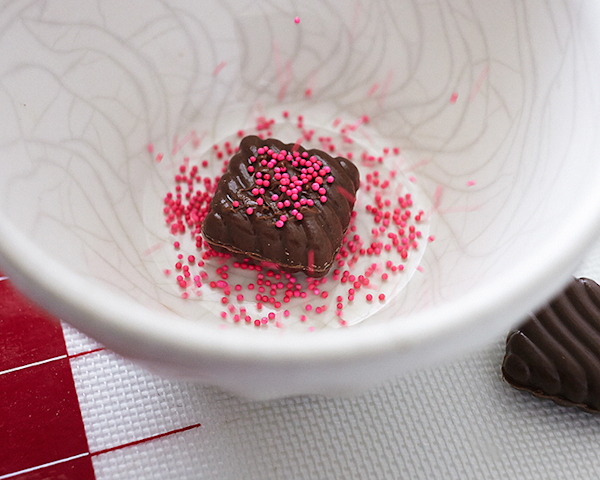
To Decorate The Rectangles: Roll a very small rope of white fondant and then wind it on top of the candy. Brush a small amount of water on the back of the rope to attach.
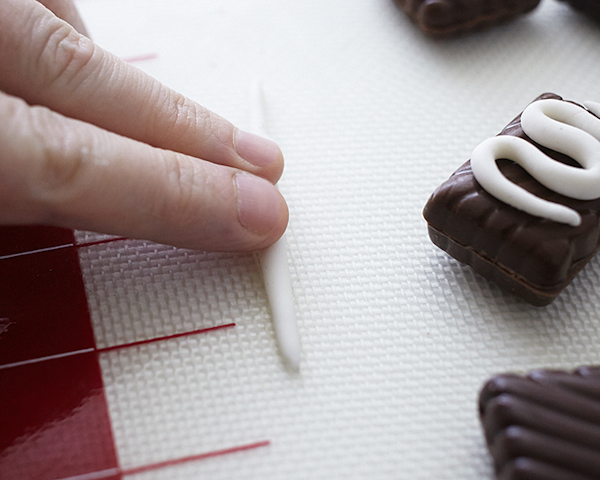
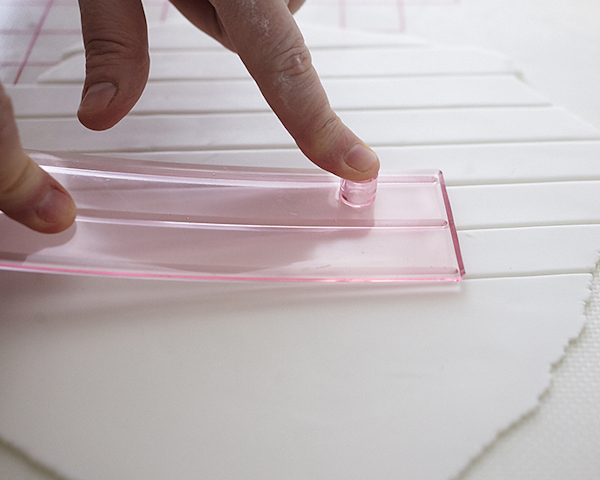
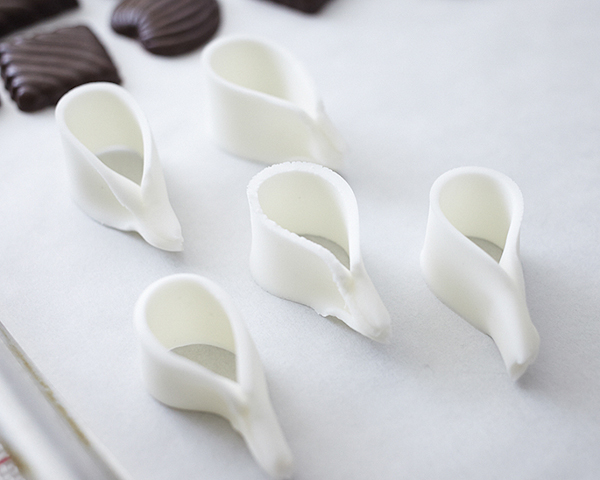
To Create The Bow Loops: Roll your white fondant about 1/8″ thick. Use the strip cutter to cut several strips. Make sure your fondant is not sticky and then gently pull the strip cutter through the sheet of fondant while pressing firmly on the top.
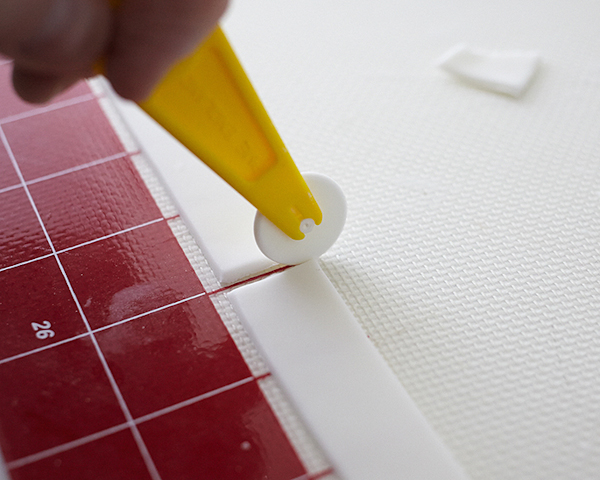
Then, cut each strip into 4″ segments.
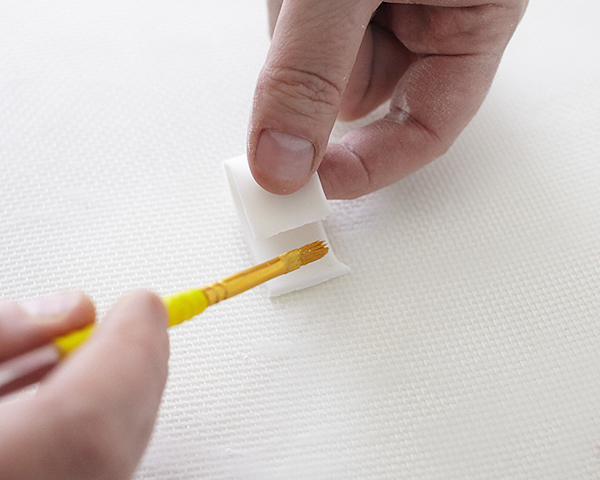
Gently fold the segment in half and attach at the bottom with a touch of water.
Pinch it at the bottom with your fingers to give it a taper.
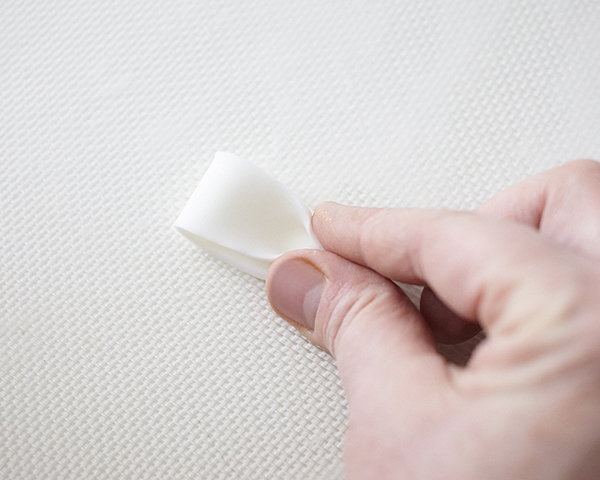
Place the loop sideways on a tray to dry. Make a total of 16 bow loops. This is more than you’ll need, but always have a few extra on hand in case of breakage.
ON THE DAY OF: Ice Your Cake, Cover With Fondant, Create Bow, Finish With Gold
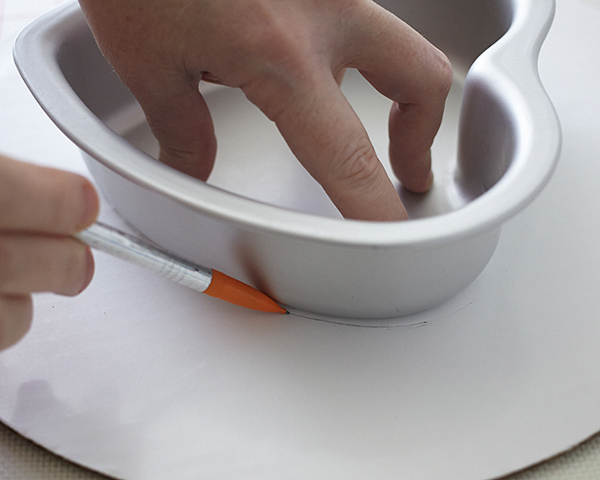
Trace the bottom of your heart pan onto a cake support cardboard and cut out with scissors. You will only need one of these.
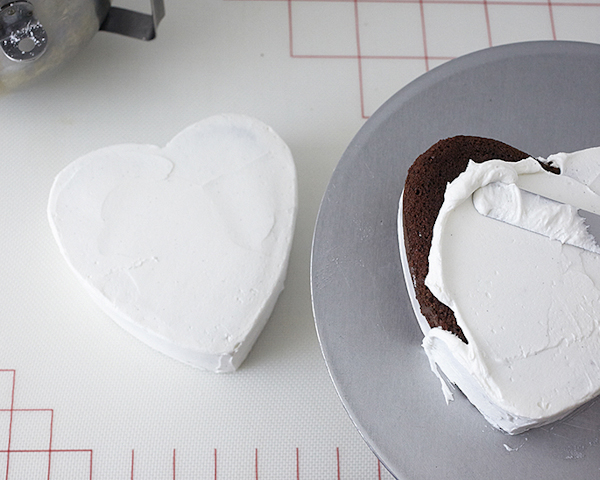
Ice one cake layer on the heart card board (this will be the lid). Ice the other layer and then place it on the platter that you are displaying the cake on (this will be the candy box). Place your layers in the freezer so the buttercream gets firm while you roll out your fondant.
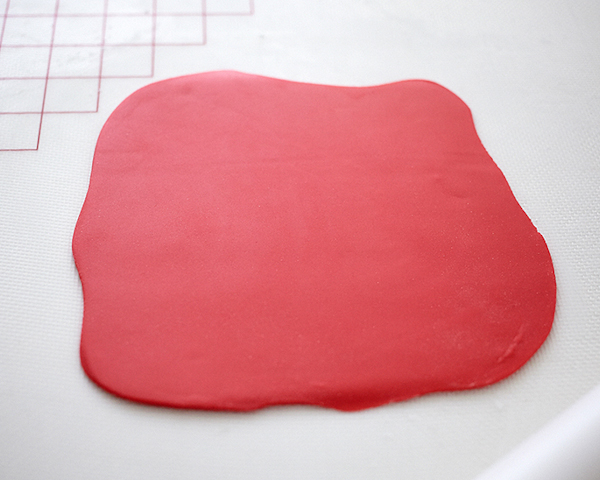
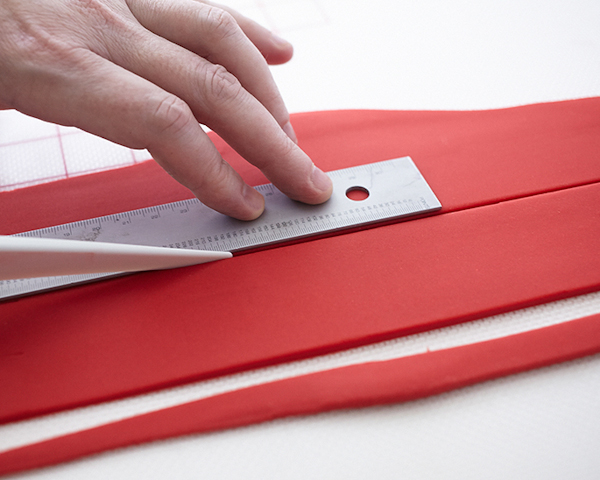
Roll out a sheet of red fondant.
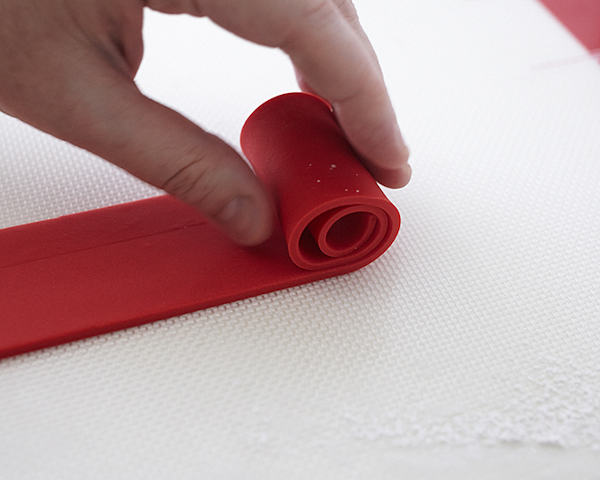
Measure the side height of the cake that will be your lid (the layer on the cardboard). Cut a strip of fondant the same width and then gently roll it up. Lift and unroll it around the side of the cake.
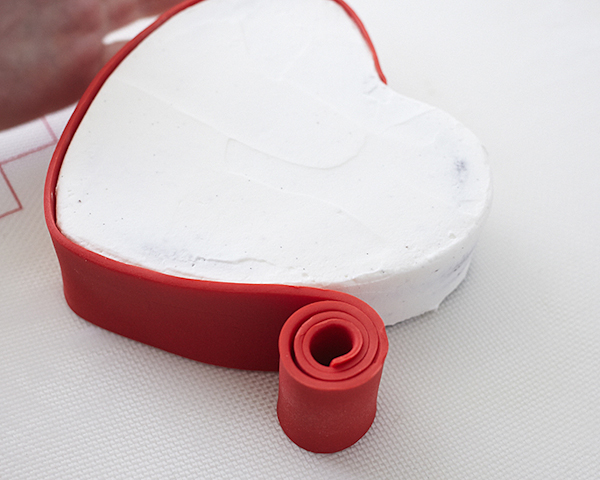
Repeat this process for your cake that is the “candy box”, except add an extra 1/2″ to the width of your fondant strip, so that the fondant is higher than the side of the cake.

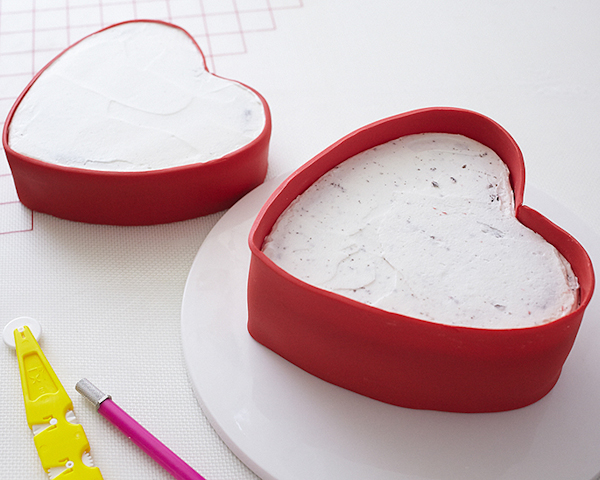
Next, roll out some additional red fondant. Use the bottom of your pan as a guide and cut 3/4″ or so outside of the edge of the pan using the ridged texture wheel. Press the wheel firmly so that you get a clean cut. Remove the excess fondant.
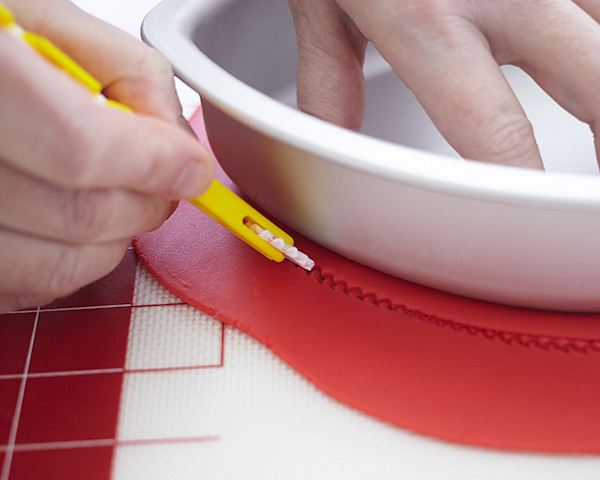
Switch your tool to the stitching wheel and freehand an inner line on the cutout heart. Push gently so that you don’t cut the fondant.
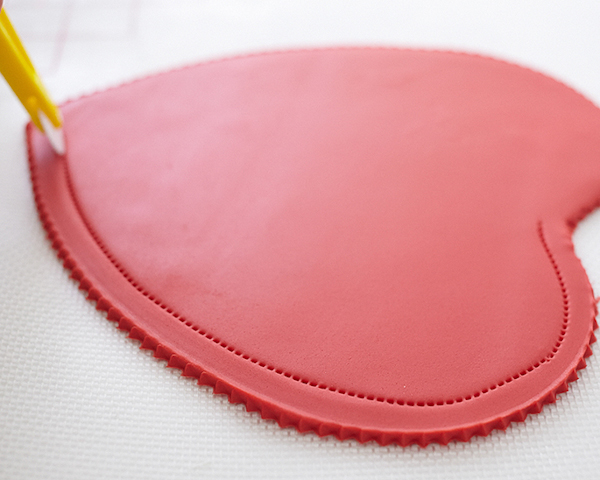
Lift and place the heart lid on the box top. Stretch the edges a bit as necessary to make sure that you have a bit of overhang.
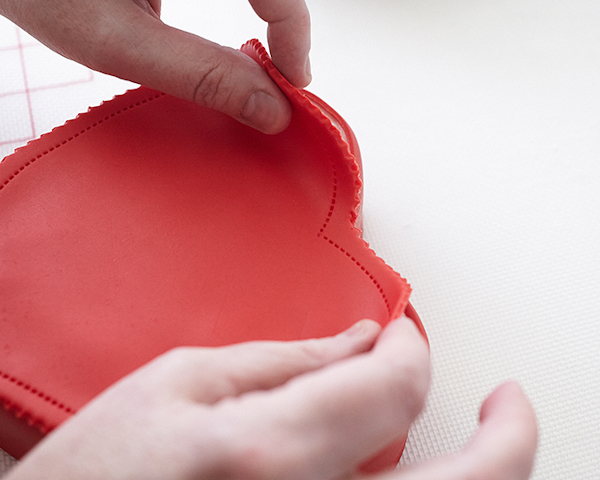
Next, roll out some hot pink fondant and cut out a heart shape (if you are not comfortable doing this freehand, use a small paper template). Use the stitching wheel to make angled lines, but push gently so that you don’t cut the fondant.
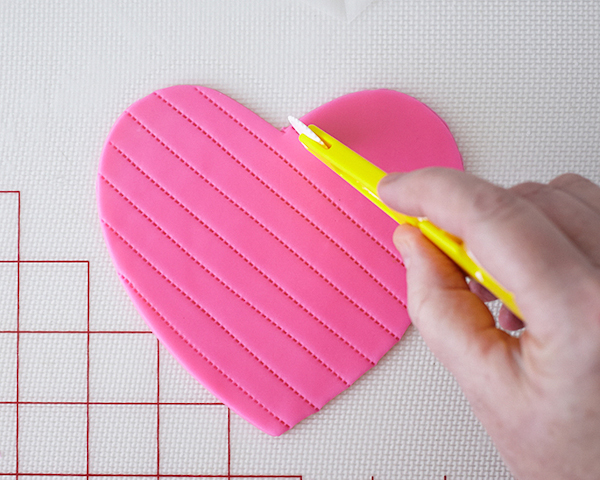
Repeat angled stitching in the opposite direction to create a quilted pattern.
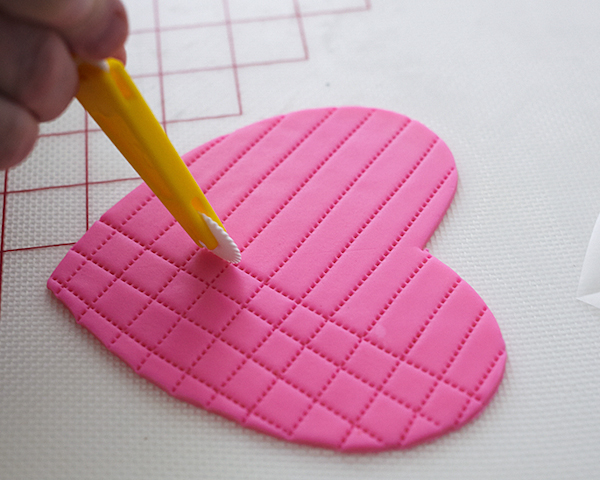
Use some water to attach the heart to the top of the box.
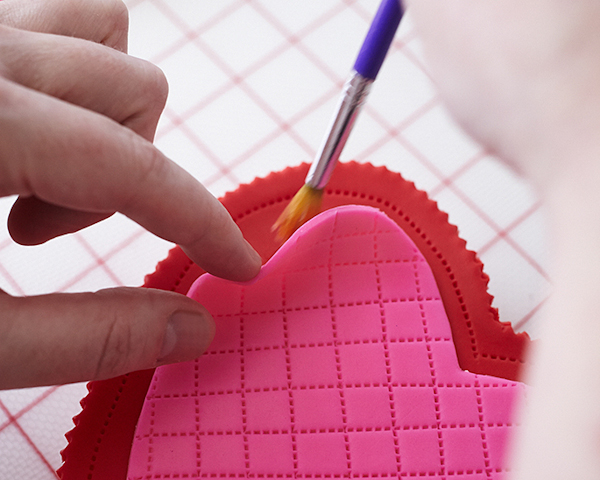
Once in place, use the plain wheel to create an edging on the heart to make it look finished. Place this cake in the fridge while you work on the remaining layer.
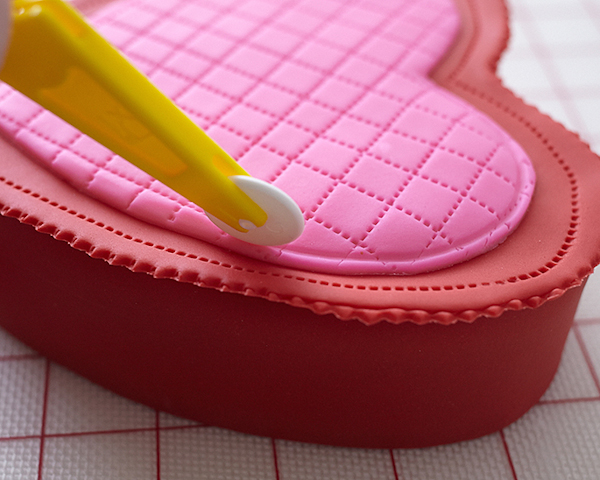
Roll out some additional hot pink fondant and then use the bottom of your pan as a cutting guide to cut a heart lining for the inside of the candy box. Place the fondant inside the “candy box” layer, stretching as necessary to make it fit.
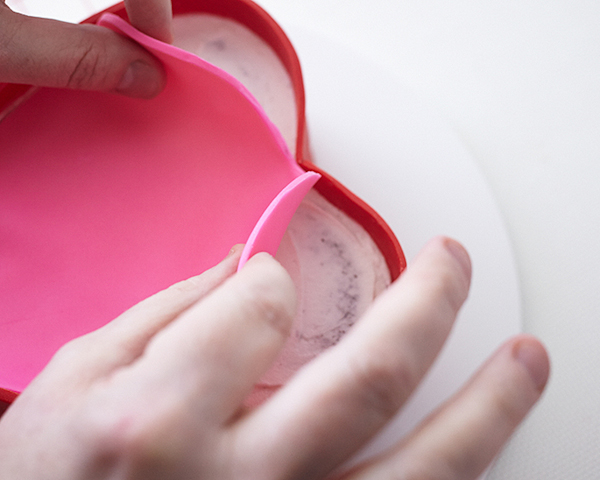
Then, melt a bit of candy coating and attach the candies inside the box. Now, this layer is complete.
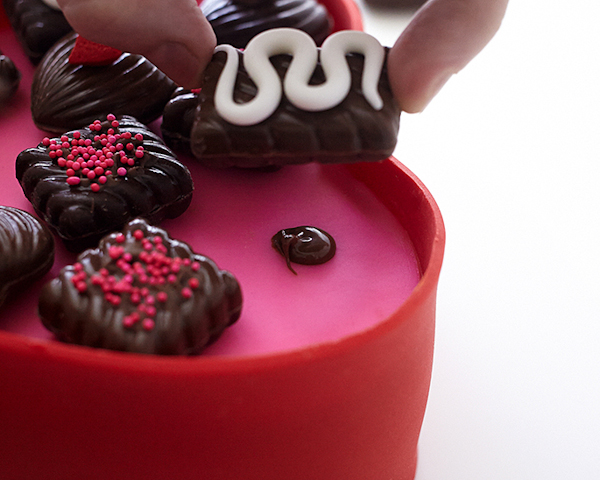
To Create The Bow On The Lid:
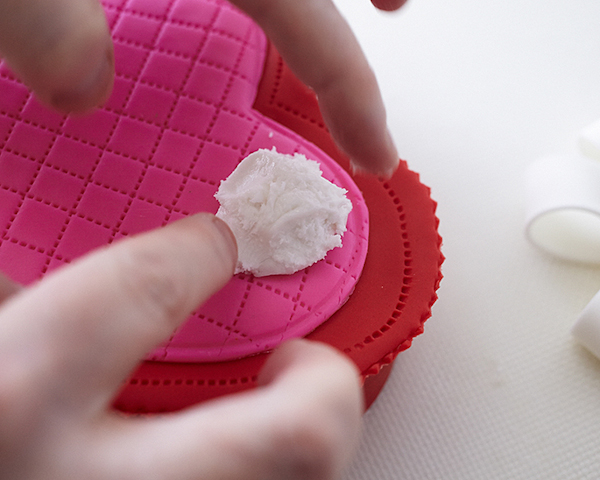
Take a golf ball sized clump of white fondant and very quickly run it under water. Knead it with the water until you have a sticky mass (it should be sticky but not slippery, adjust with more fondant if necessary). Remove 1/3 of it and press the remaining amount onto the box top, insetting it from the edge. Make it adhere by mashing the edge of the lump onto the cake with your finger.
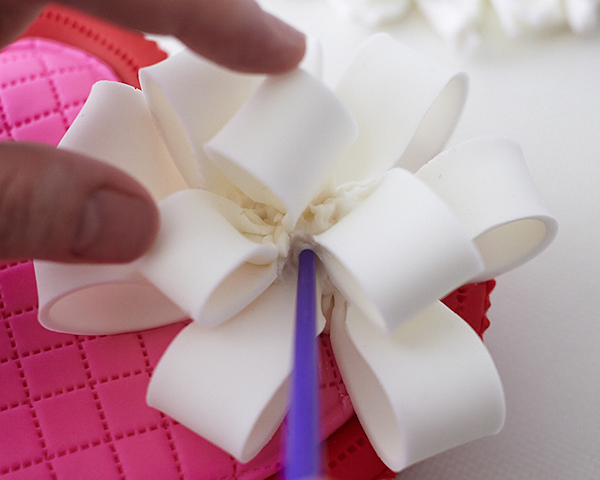
Next, brush the tapered end of your bow loops with a touch of water and insert a ring of them into the fondant. (Be gentle with your loops, they could break easily if handled too roughly.) Then mash a little additional fondant on top to help keep the bow loops in place.
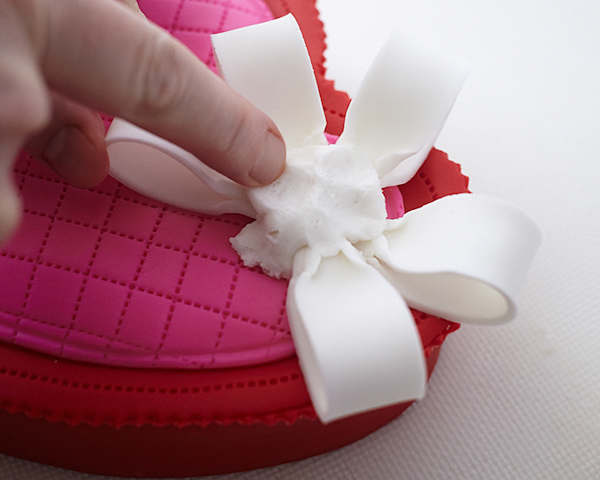
Finish the bow by placing loops where they fit and then mashing a bit of additional fondant around the bottom as you add them, to hold them in place. When done, use the back of a paintbrush to tuck in any fondant that is squeezing out between the bow loops. This will help hold it all in place as well.
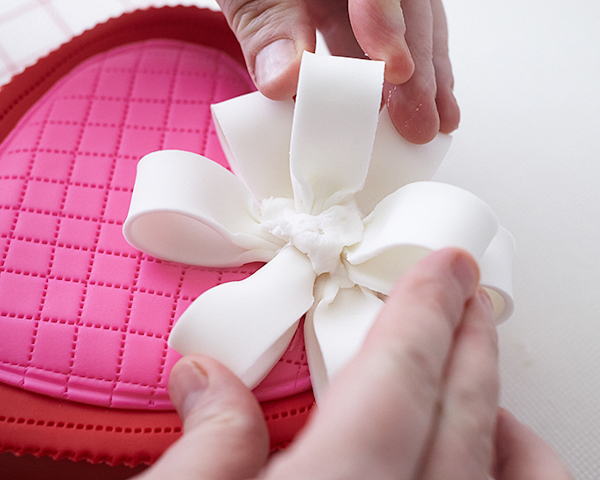
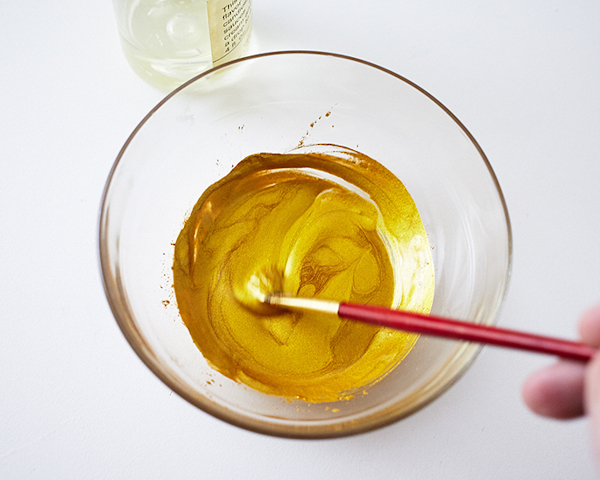
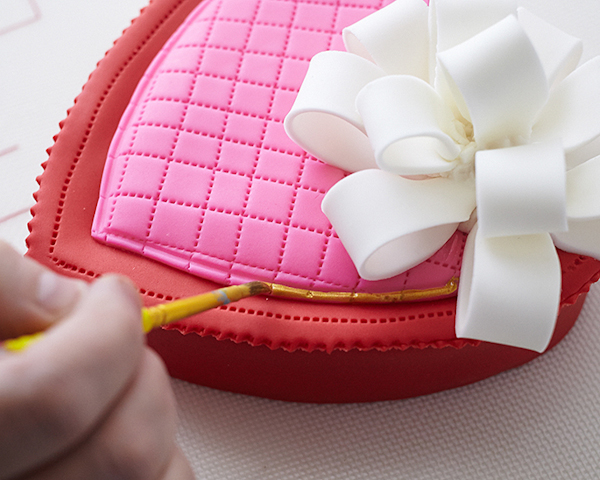
Mix some gold luster dust with a few drops of extract, until you have a paintable consistency. Paint the edge of the pink quilted heart, the edge of the lid and the edge of the candy box to finish.
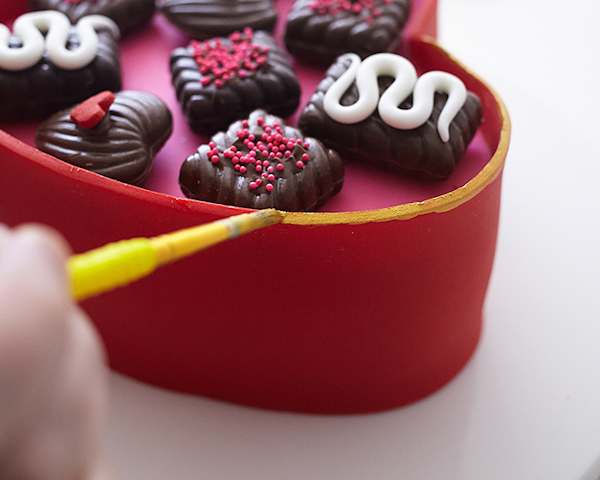
Once finished, prop the lid on the display plate to achieve a realistic presentation!
YOU MAY ALSO ENJOY:
Marble Chocolate Hearts
Rose Cake Pops
Love Bug Cupcakes
Heart Cut Out Cake
Heart S’more Cookies


That cake is a real showstopper! Just gorgeous!
Wow, this is gorgeous!
Wow, this is amazing! I love it! Thanks for the post! I cannot wait to try it out myself as well.
I enjoy watching your tutorial
Your buttercream looks so smooth and nummy. Could you share the recipe?
Should have read better, Found it! Thanks!
This is gorgeous! Question: instructions say to bake 2 heart shaped cakes. The “box” part of the cake appears to be 2 layers and the “lid” appears to be one layer. Did you use 2 full layers for the box or did you cut one layer horizontally? Thank you!
Hi Robin – the “box” and the “lid are each one layer. The box was torted horizontally and filled with buttercream. You may do this step as well or simply omit it. Enjoy!