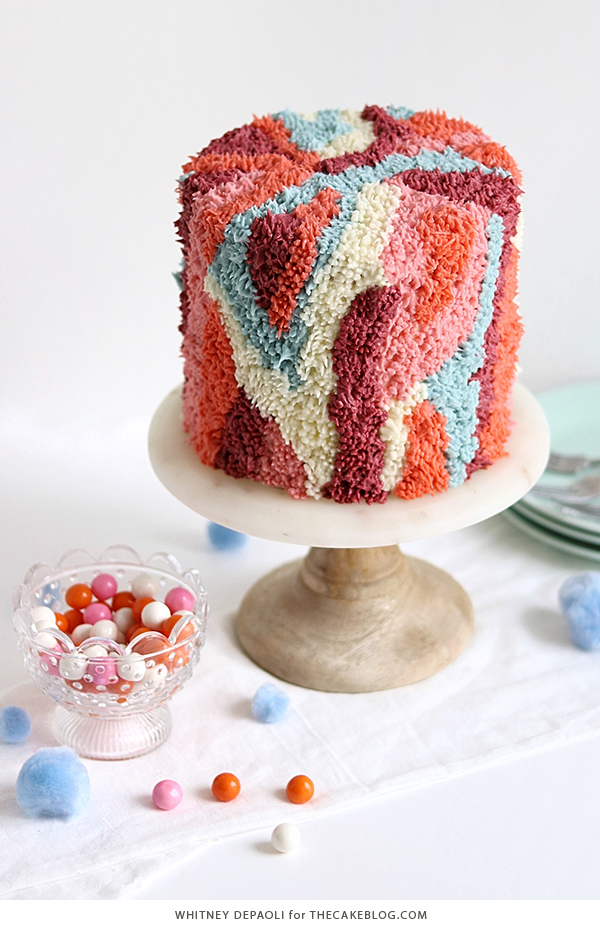
Shag Cake – how to make a fuzzy textured buttercream cake inspired by 70’s shag carpet. A new tutorial by our contributor Whitney DePaoli.
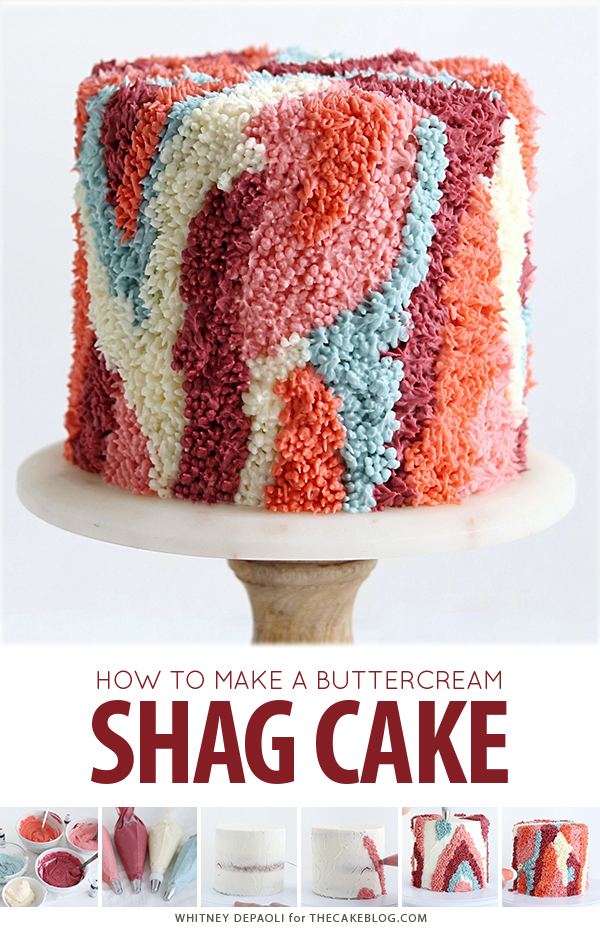
If you’ve been following cake trends on Instagram, chances are you’ve seen shag cakes popping up on your feed. Named for their texture being similar to the shag carpets of the 70’s, these retro looking cakes are not only captivating, but so easy to replicate with the right color palette and piping tips. I’m going to show you everything you need to know to get this look:
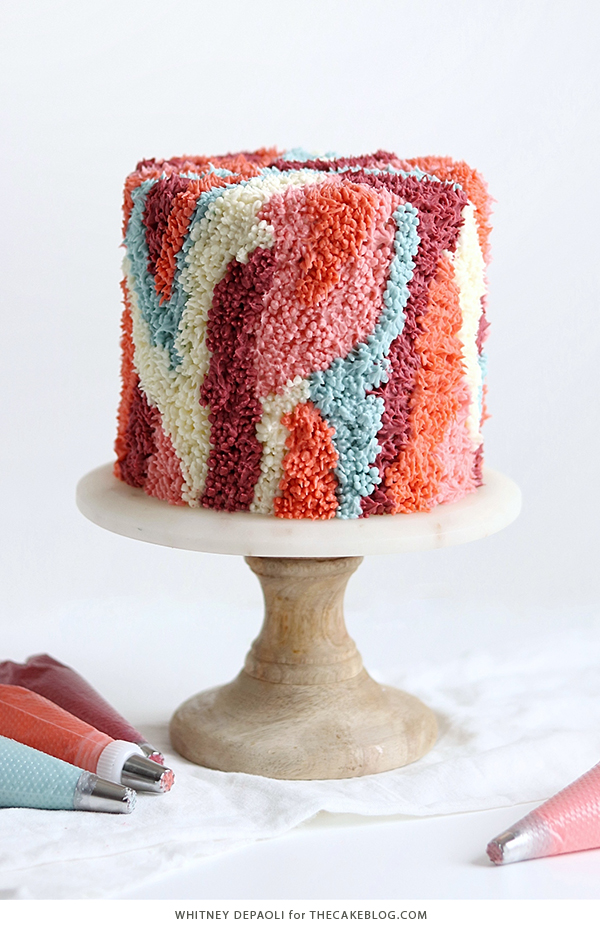
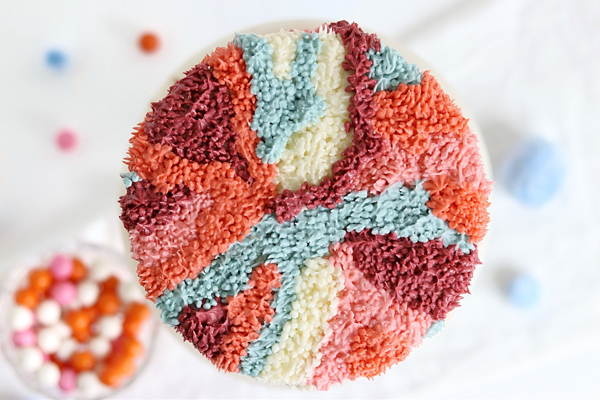
Pretty, right? When the cake was finished, I had to resist the urge to run my fingers through that buttercream. It just looks so soft and fuzzy! I went with a retro Fall color palette for this one, but shag cakes look great in all sorts of color schemes. From neon to neutral, the texture of a shag cake will make any color palette pop.
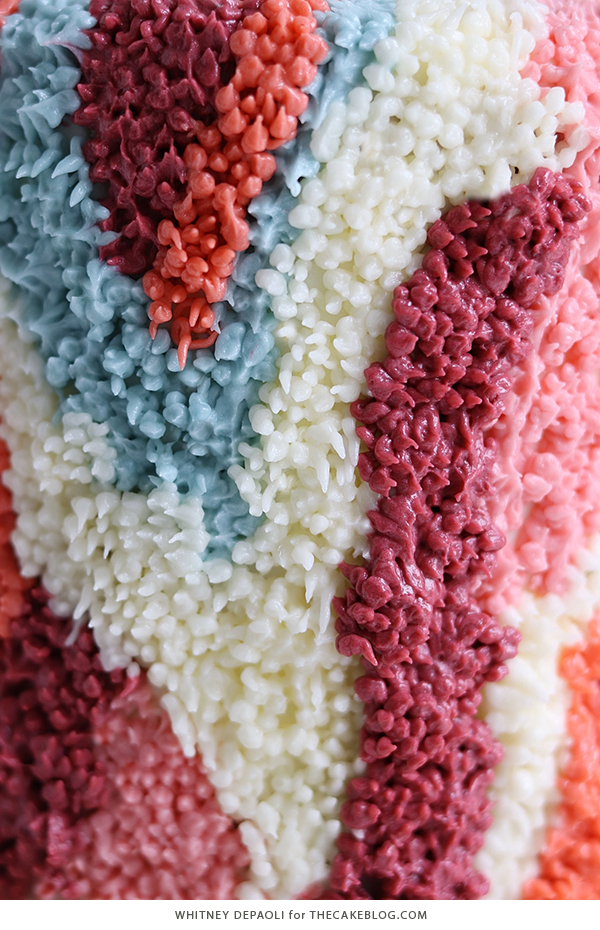
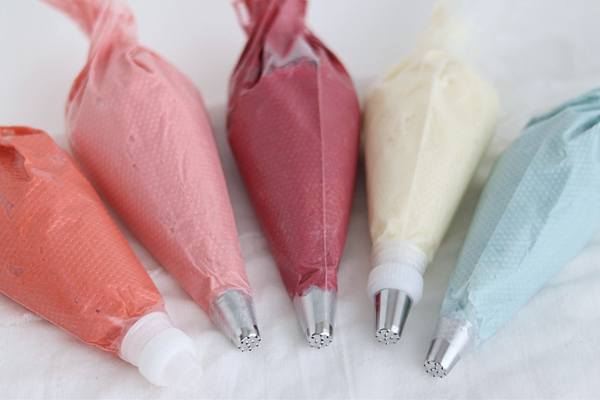
The best part about the shag cake technique is that it’s super failproof. The piping tips do all the work, so all you have to worry about is coming up with the perfect colors and having enough #233 piping tips on hand. You should have one for every color you’re using, or a few piping bags fitted with couplers so you can easily change out the tip between colors.
BEST BUTTERCREAM FOR SHAG CAKES
The shag piping technique will work with any go-to buttercream recipe, but I went with an American Buttercream recipe. Whatever recipe you use, keep in mind that the length of your shag piping is directly affected by the consistency of your buttercream. If your buttercream is stiff consistency, the shag will be shorter and more spiky in nature. The thinner the consistency of your buttercream, the longer and shaggier the piping will be.
Before you start on your shag cake, determine whether you want the length of the shag to be short and spiky or long and wild. Either way, you end up with really amazing texture and the perfect party cake for any event!

Also keep in mind the heat in your kitchen and the heat of your hands. As you work, your icing will warm from simply holding the piping bag and you can lose definition as you go. If you notice that your texture looks different than when you started, simply refrigerate your piping bags for a few minutes for the icing to cool and regain consistency.
SHAG CAKE TUTORIAL
a tutorial by Whitney DePaoli
Supplies:
- A 6-inch cake that’s been filled, crumb coated and chilled
- 4-5 cups of buttercream frosting
- gel food colors of your choice
- cake turntable
- toothpick
- bowls and spoons for mixing
- piping bags
- piping tip #233 (one for each color in your palette)
MIX UP THE COLOR PALETTE
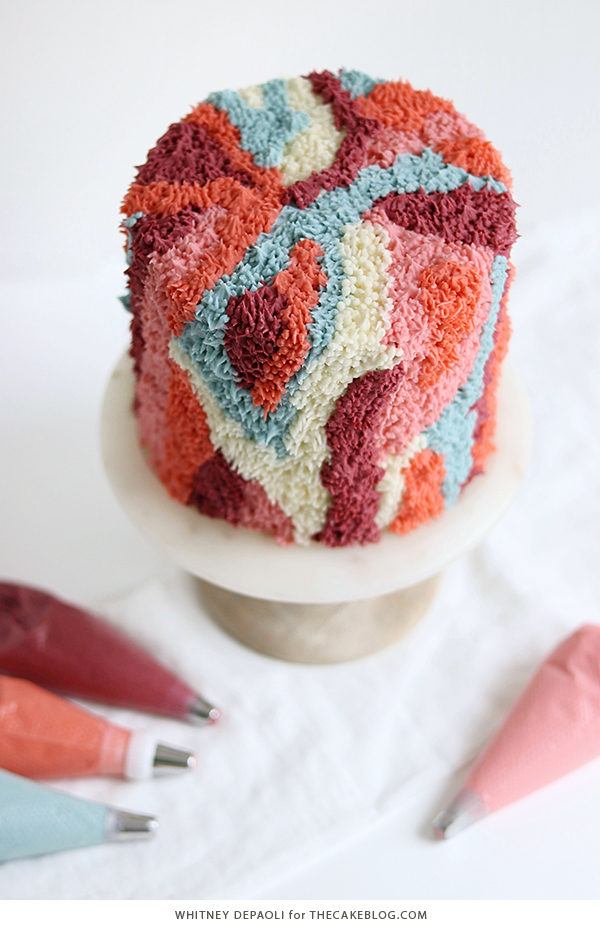
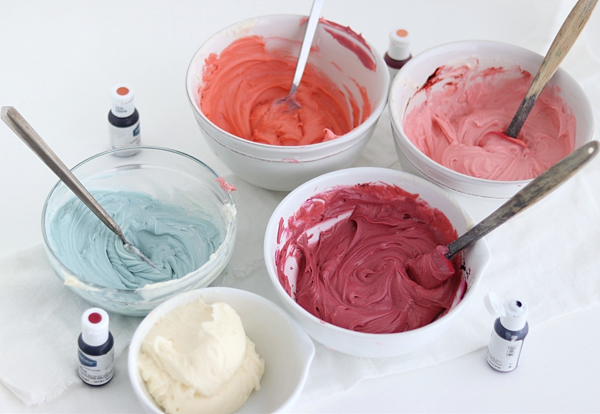
The shag technique looks great in all sorts of colors, so pick five or more of your favorite and divide the buttercream into separate bowls for color mixing. Using your color gels, mix away. For my retro autumnal color palette, I left some of the buttercream white, then used Americolor Maroon, Terracotta, Dusty Rose, and Wedgewood to create the other colors.
PREPARE THE PIPING BAGS
Fit each piping bag (one for every color you’ve got) with Wilton Tip 233. If you don’t have enough piping tips for each color, you can also choose to fit some of the piping bags with a coupler for easily switching out the piping tip between colors. With your piping bags prepped, fill each piping bag with the colored buttercream.
CREATE THE GUIDELINES
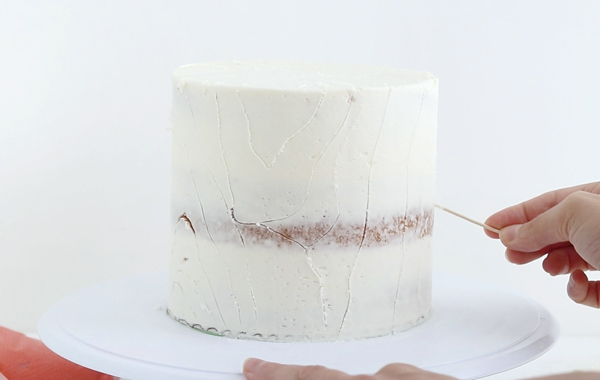
With your chilled and crumb coated cake on the turntable, use a toothpick to mark the design you want for your shag cake. You’ll be piping each color within the lines you create, so feel free to get as elaborate or simple as you’d like. With your markings on the cake, it’s much easier to plan out how the final design will end up. You can also feel free to wing this part if you’re feeling extra creative.
PIPE THE SHAG
Color by color, add your shag piping within the lines you’ve marked out. The piping technique is really simple: hold the piping tip about two centimeters away from the cake and squeeze to form the shag, then release and pull away from the cake.
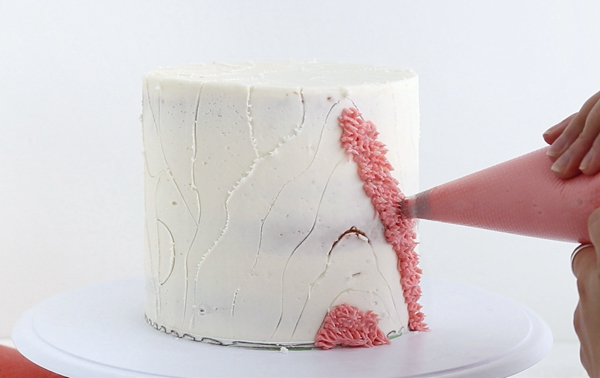
If you feel the need to pipe outside of the lines, that is totally ok! Consider the lines as guides and not strict rules. Improvising is totally part of the creative process.
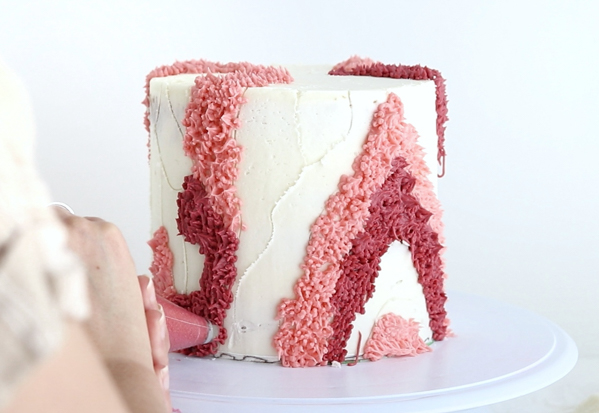
Repeat the piping with each color in your palette until all of the markings are filled in and the cake is covered in colorful shag.
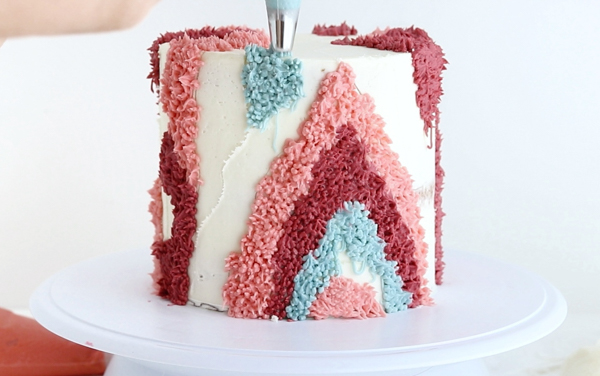
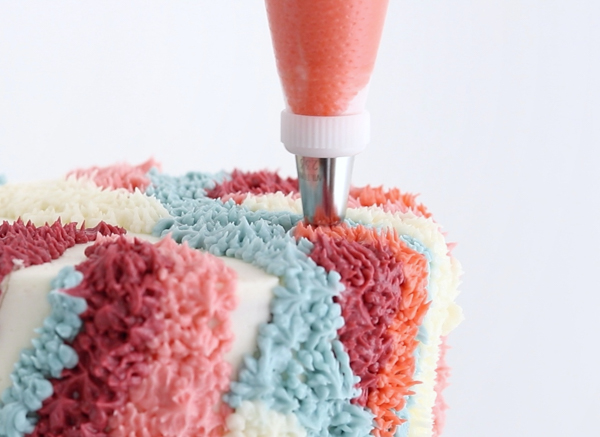
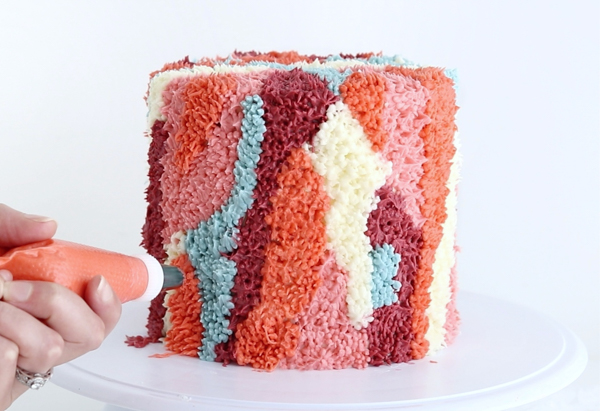
Once every inch of your cake is covered, all that’s left to do is stand back and marvel at your amazing shag creation!


[…] Source link […]