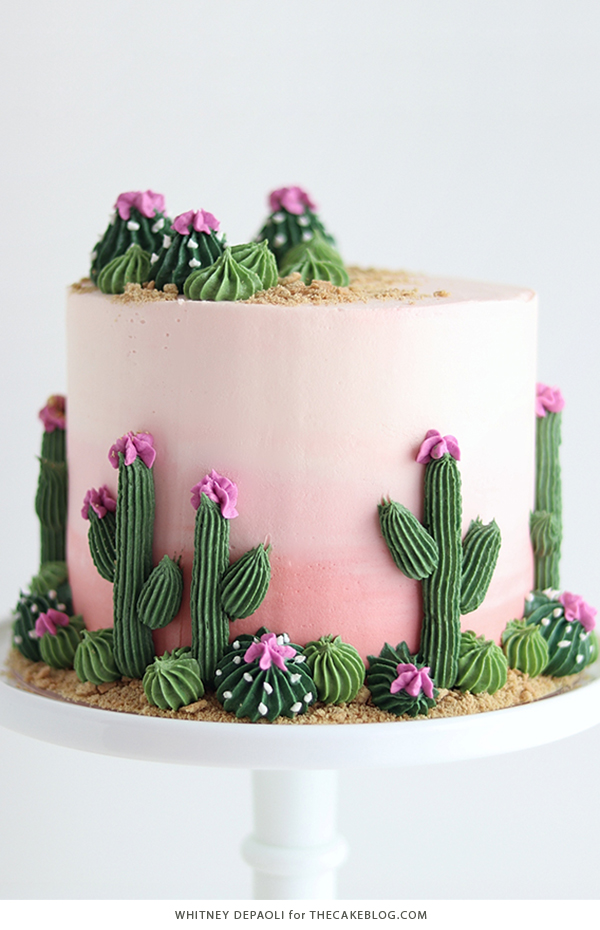
Cactus Cake – how to make a cute cactus themed cake with ombrè buttercream, edible sand and piped buttercream cacti. A new tutorial by our contributor Whitney DePaoli.
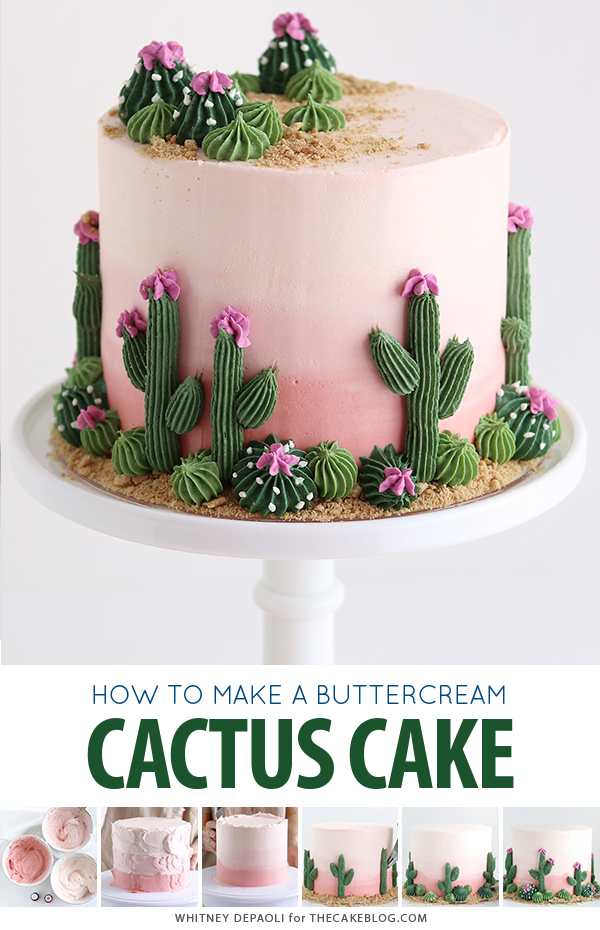
There are few plants I love more than cactus. Whether they’re in pretty terracotta pots or speckling an arid landscape, I just can’t get enough of the look. I can’t help but create cake designs inspired by the things I love in everyday life, hence this cactus cake was born. Paired with a sunrise-esque buttercream ombrè and edible (graham cracker) sand, this cake gives off all the desert vibes I love.
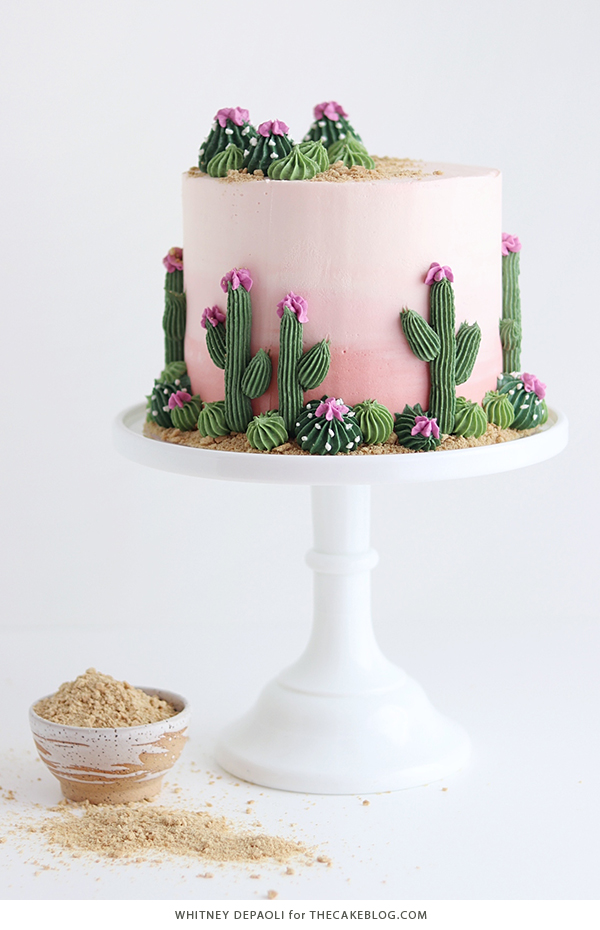
So pretty, right? It’s the perfect themed cake for a birthday, shower, or any old day. And I think a tiered-version would look so gorgeous as a wedding cake, much like this painted cactus cake from the archives! It’s a really versatile design that would satisfy the cactus-lover in anyone, and the best part is it’s super easy to create with a just a few piping tips and some imagination.
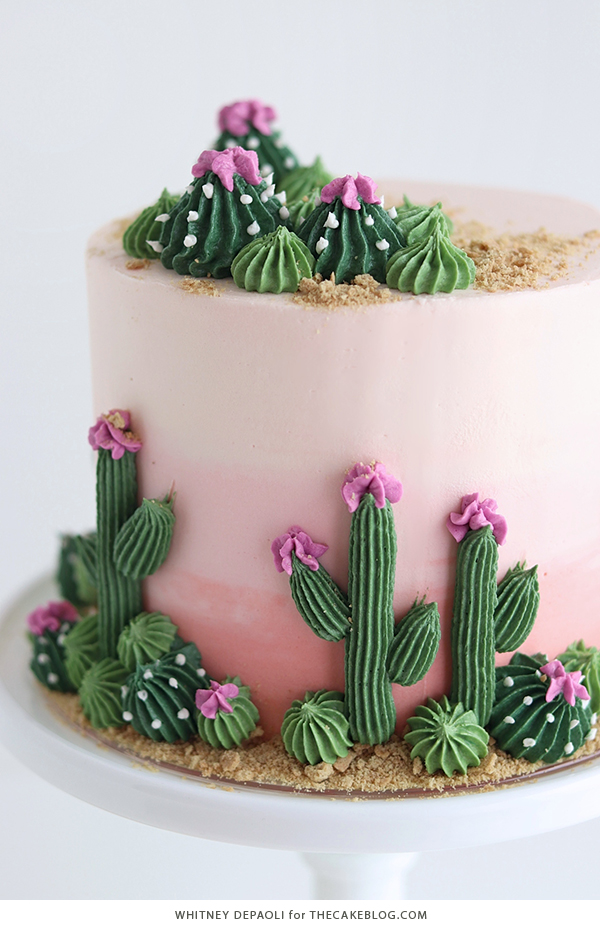
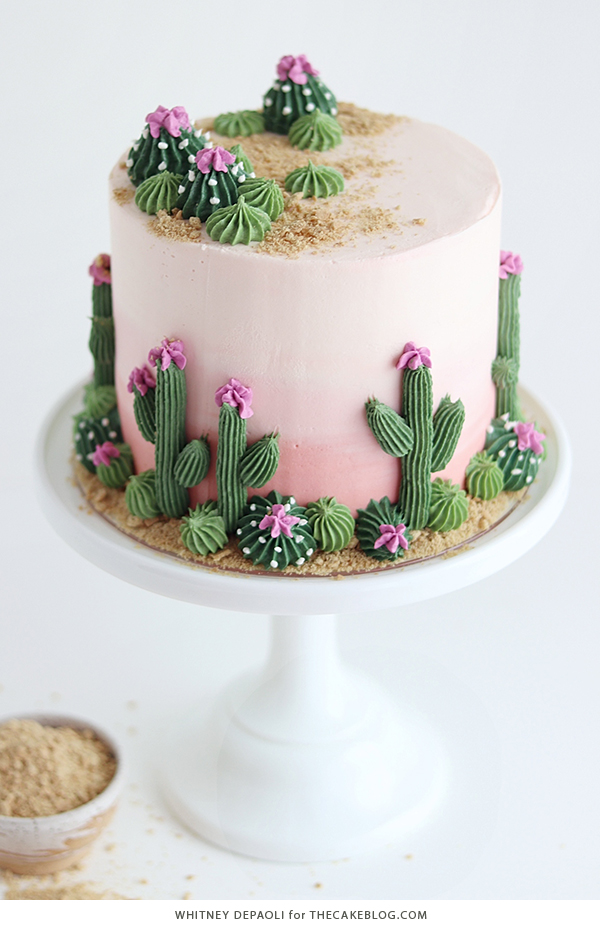
Although I’ve used an American buttercream in this tutorial, this look will work with all types of buttercreams as long as they’re easily pipeable and tintable. The thing I love most about American buttercream is it’s easy to work with and doesn’t take a whole lot of food color gel to create rich, vibrant color. Whatever kind of frosting recipe is your go-to, follow along below to see how to get the look.
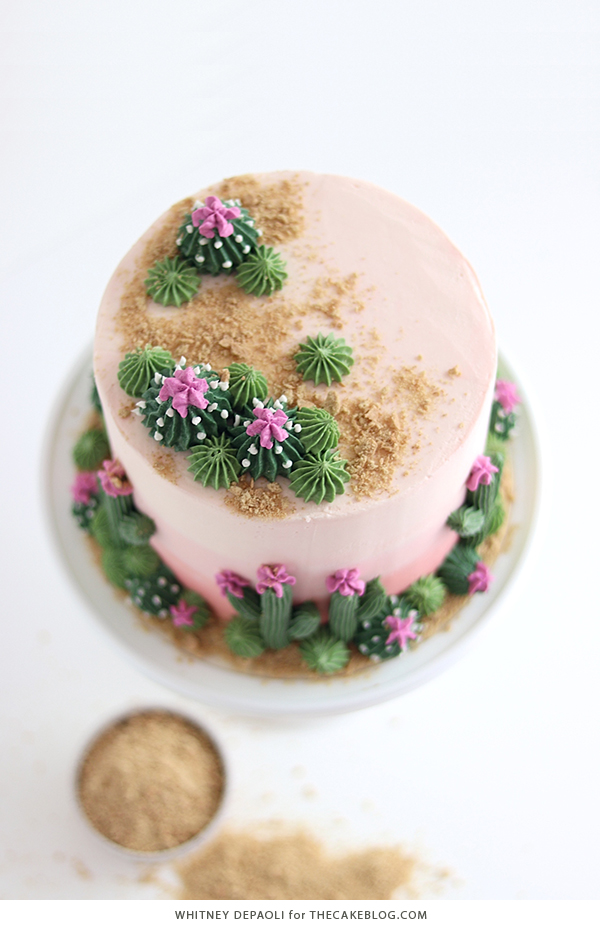
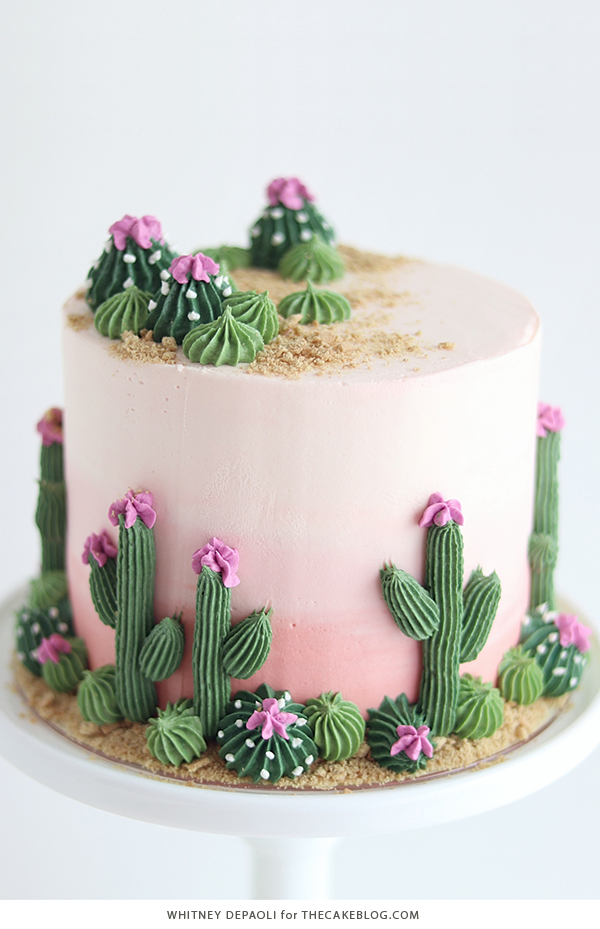
CACTUS CAKE
a tutorial by Whitney DePaoli
Supplies:
- 6-inch cake that’s been crumb coated and chilled
- approximately 6 cups of buttercream
- gel food colors of your choice
- cake turntable
- icing smoother
- angled spatula
- 8-inch cake circle
- 1 cup crushed graham crackers
- piping bags
- piping tip 4B (2)
- piping tip 6B
- piping tip 2
- piping tip 109 (or any drop flower tip)
CREATE AN OMBRE COLOR PALETTE
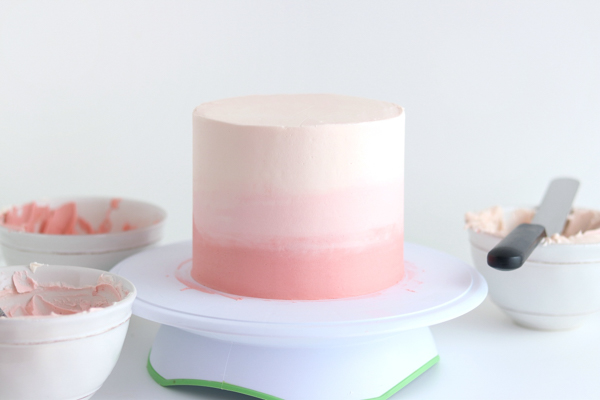
Divide about 4 cups of buttercream amongst three separate bowls. In one bowl, mix in your favorite food color gel to create the darkest color in your ombrè. I went with a mix of Americolor Dusty Rose and Americolor Peach.
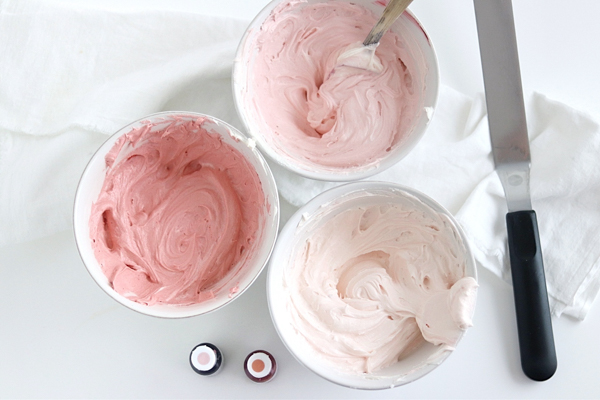
In the second bowl, add a little bit less of the same color(s) to create a lighter version. And in the third bowl, add just a touch of those colors to create an ultra-light colored version. You should now have a gorgeous ombrè color scheme to add to your cake.
FROST THE BUTTERCREAM OMBRE
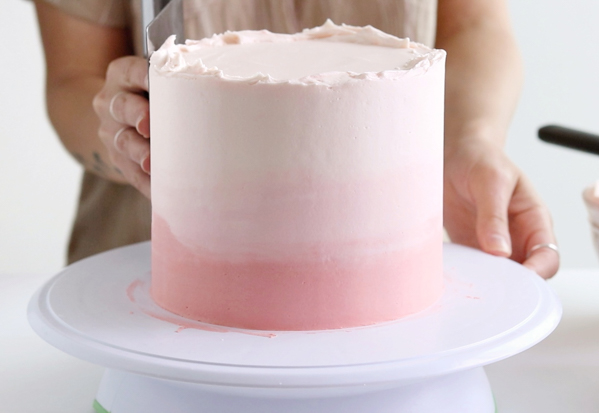
Place your crumb coated cake onto the turntable. Starting from the bottom of the cake up, add the darkest buttercream to the bottom third of the cake, the mid-toned buttercream to the middle third, and the lightest color to the top third and top of the cake.
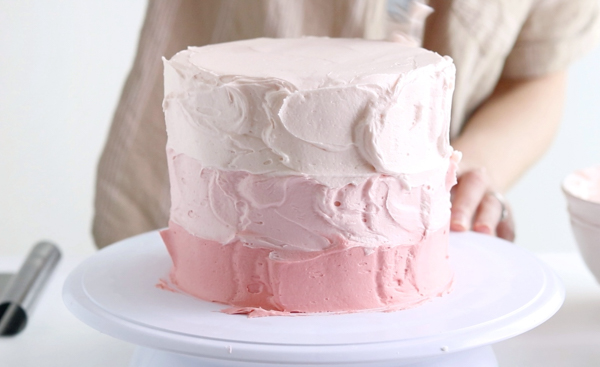
Smooth the cake with your icing smoother to blend the colors together, then use your angled spatula to smooth the top edges inward and make them sharp. At this point in the process I like to chill the frosted cake for at least 30 minutes and allow it to firm up.
ADD THE CRUSHED GRAHAM CRACKER SAND
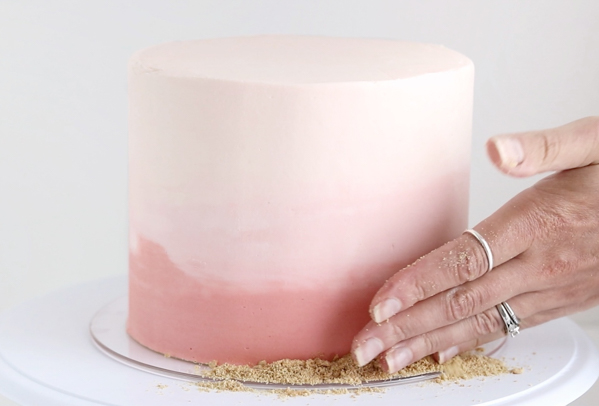
Transfer the frosted ombrè cake to an 8-inch cake circle and place it back onto the turntable. Add crushed graham crackers around the base of the cake. Reserve the rest of the graham cracker crumbs for decorating the top of the cake in the later steps. If you’re feeling extra adventurous, try making your sand out of extra cake scraps using our edible sand tutorial.
CREATE THE CACTUS COLOR PALETTE
Set about ¼ cup of the remaining buttercream into a separate bowl and keep it plain white. Then, divide the remaining buttercream amongst four other bowls for color mixing. For this cake, I created three different shades of green buttercream for the cactus piping and colored some of the buttercream Fuschia for the flowers.
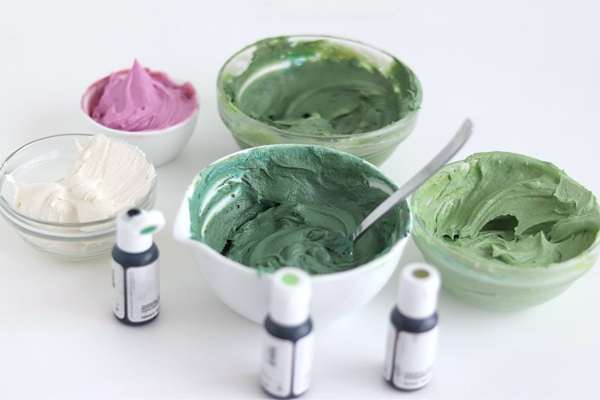
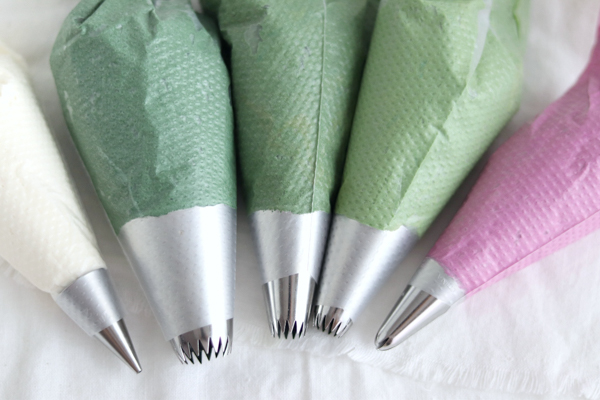
Add the buttercream into separate piping bags. For the cactus shapes, you’ll want to fit two of the piping bags with Wilton Tip 4B and one with Wilton Tip 6B. Fit the piping bag for the white buttercream with Wilton Tip 2 and the piping bag for the Fuschia buttercream with Wilton Tip 109 (or any drop flower tip).
PIPE THE CACTI
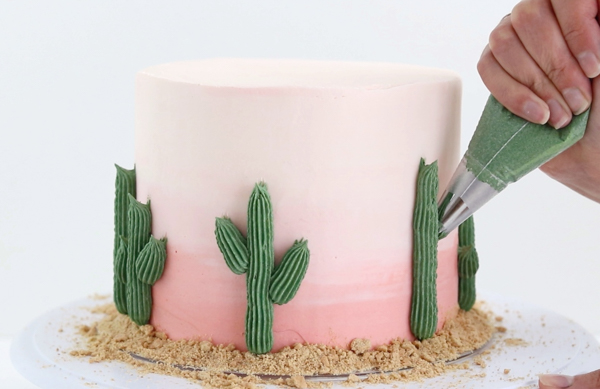
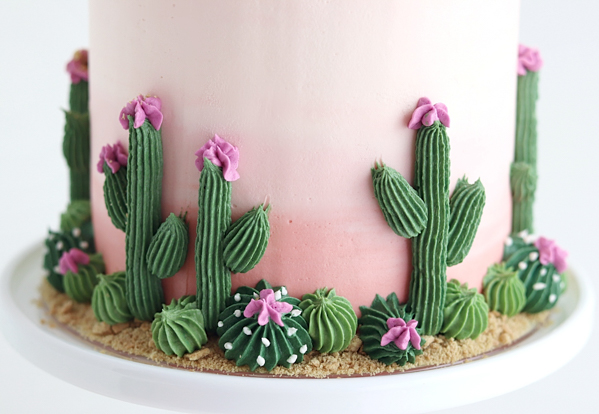
Using the green piping bags, pipe cactus designs around the base of the cake. I used piping tip 4B to create the tall cacti by piping one vertical line, then adding the arms from there.
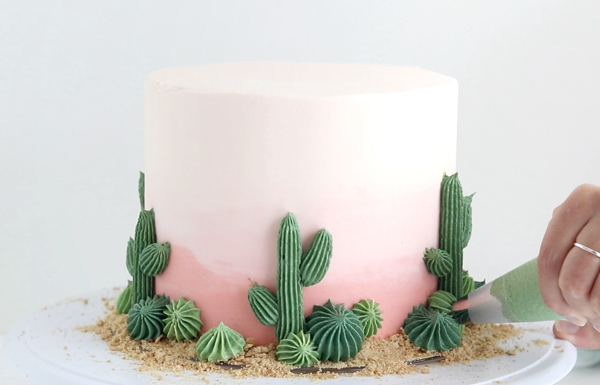
For the shorter cacti, pipe a few open stars with piping tip 4B (for the smaller cacti) and piping tip 6B (for the larger cacti).
ADD SOME DETAILS
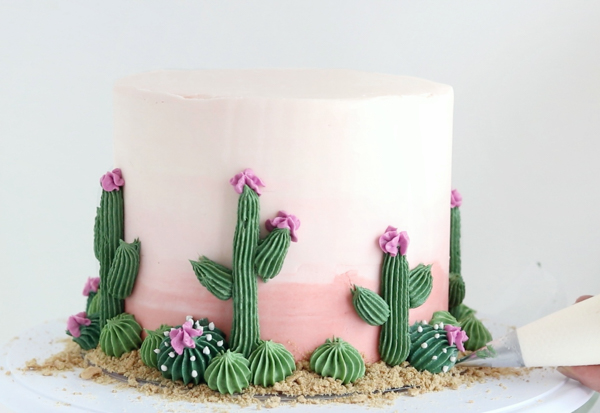
Pipe some drop flowers on the tops of some of the cacti using your piping bag fitted with the drop flower tip. Then, on the 6B cactus shapes, pipe some dots with the white buttercream to create the look of spines.
DECORATE THE TOP
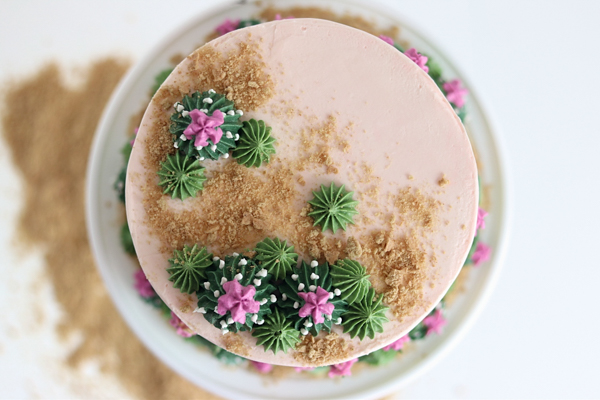
Use the piping bags with tip 4B to create the cactus shapes on top of the cake and repeat the process of adding flowers and tiny dots. Then, sprinkle the reserved graham cracker crumbs around them.
Easier than it looks, right? This cactus cake tutorial will help you make the most eye-catching desert scene that is meant to be marveled at! It will work in all sorts of color schemes, so feel free to get creative with your colors and use your imagination.
MORE CACTUS CAKES TO MAKE:


Wow! This is the first new cactus cake I’ve seen in a few years that looks quite different from others–and it’s SO pretty! The ombré background really looks like a desert sky, and the saguaros particularly make it look like a desert scene. It’s so realistic that my husband happened to be walking by my computer as I was looking at it, and he didn’t realize at first that it was a cake! I can’t wait to make it!
Gorgeous! I’m curious what flavor cake and frosting you chose?
Hi! I loved your cactus cake! The ombre is gorgeous for the background, but, what colors did you use for the cacti?
This is so original and pretty! I love it so much!
Hi, how many 6 inch cakes did you use to get the height? And how many layers did it have? I’m going to attempt it for my daughters birthday. Thanks
Thank you for sharing your beautiful cactus cake. I’m wondering, does the graham cracker sand have any type of adhesion that helps secure it to the border? In my past failed attempts at any type of cake, I can see the sand and lovely decorations sliding off the board just trying to move the cake from point A to point B 😬