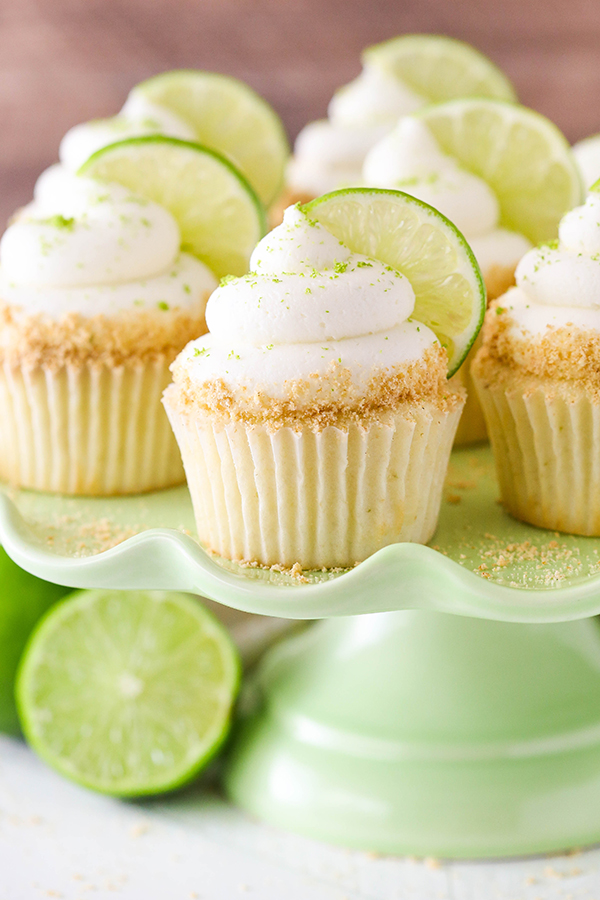
Key Lime Cupcakes - light, fluffy cupcakes full of key lime flavor! With lime juice and zest, topped with a tangy sweet lime frosting and graham cracker crumbs. A new cupcake recipe by our contributor, Lindsay Conchar. So there’s a long-standing debate in our household. My husband has long been a fan of lemon and lime – but only when it involves savory food. As for me, well I will take it any way it comes. Sweet or savory - bring it on! Even just the other day, I gave him a ... Continue Reading
Key Lime Cupcakes
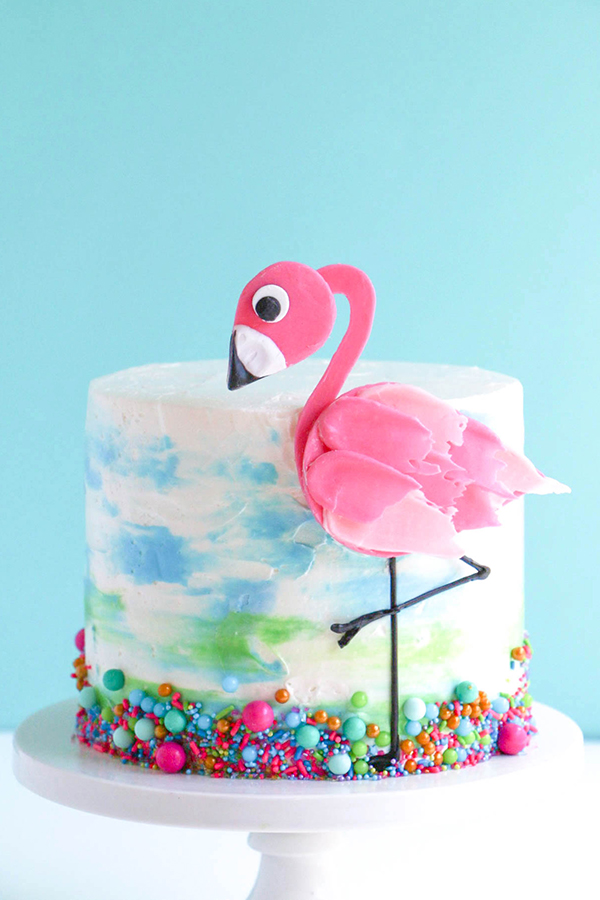
Flamingo Cake
Flamingo Cake - how to make a pink flamingo cake topper using chocolate candy melts and brushstroke feathers, perched on a watercolor buttercream cake. A new tutorial by our contributor, Erin Gardner! It’s easy to see why flamingos have fast become the design icon of the moment. Their tropical lifestyles are the stuff of envy. They live in warm beach locales, have legs for days, and their lush pink feathers are the stuff dreams are made of. What could make an already fantastic ... Continue Reading
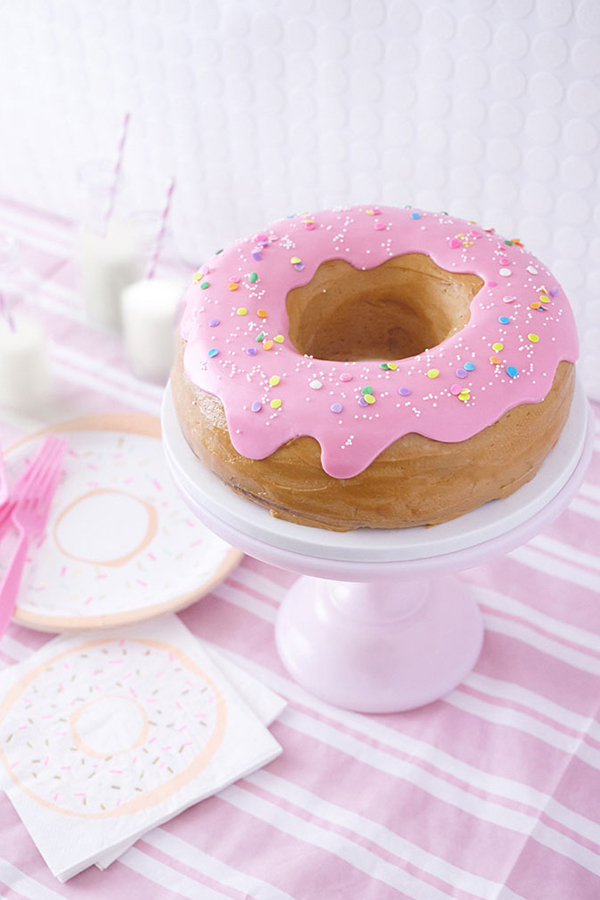
Giant Donut Cake
Giant Donut Cake! Learn how to make this adorable, sprinkle-coated, giant donut cake with a simple step-by-step tutorial by our contributors, Mary and Brenda Maher of Cakegirls. So, I think it's pretty safe to say that everyone loves a good donut. They're not just sweet little wheels of deliciousness, but covered in colorful glaze and sprinkles, they just scream fun. And well, the only thing better than a donut, is a giant donut cake. Since we've seen the all-occasion sheet cake time ... Continue Reading
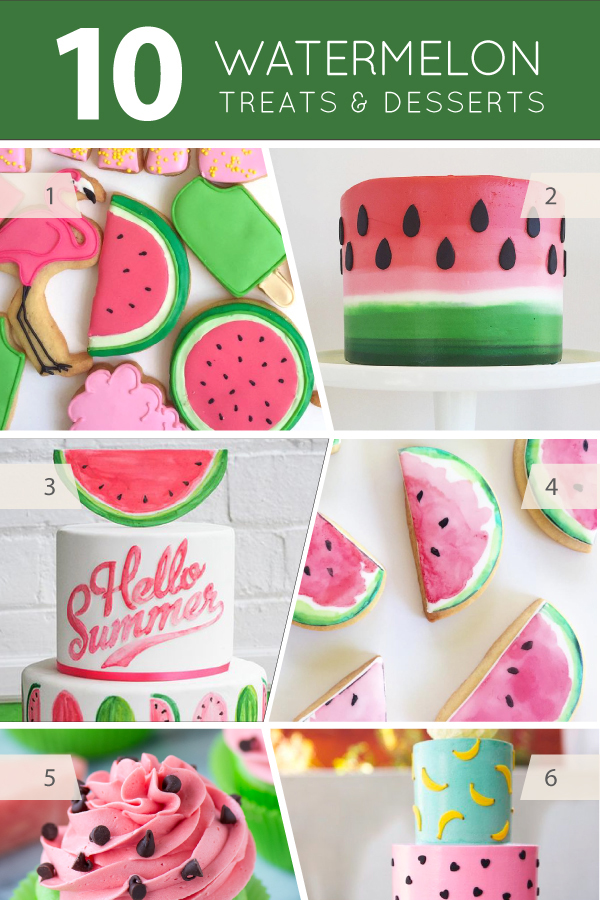
10 Watermelon Treats
Watermelon has been on trend for several years now, with our first loves popping up back in 2014. Three years can be an eternity when it comes to trends and the internet. Is it possible that watermelon's heyday is over? Possibly. But once you get a look at today's post, I have a feeling you'll agree with me. Watermelon is just as fresh and juicy as ever. Its shades of pink and red with that strong pop of green are vibrant, refreshing and absolutely perfect for summer! With everything from an ... Continue Reading
Hello Summer! Find the perfect treat for those long sunny days in our Summer Gallery!

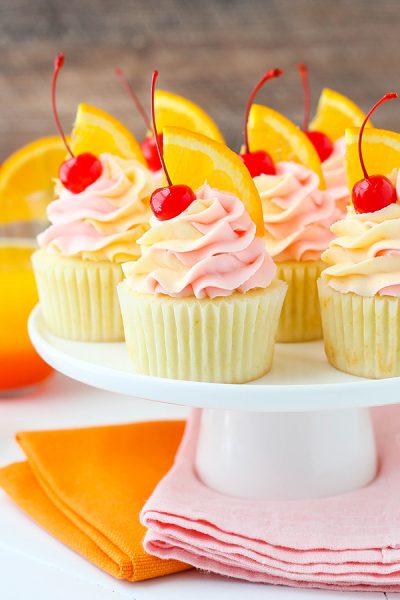
Tequila Sunrise Cupcakes. A cupcake recipe inspired by the cocktail with orange juice, grenadine and tequila decorated with two-tone ... Continue Reading
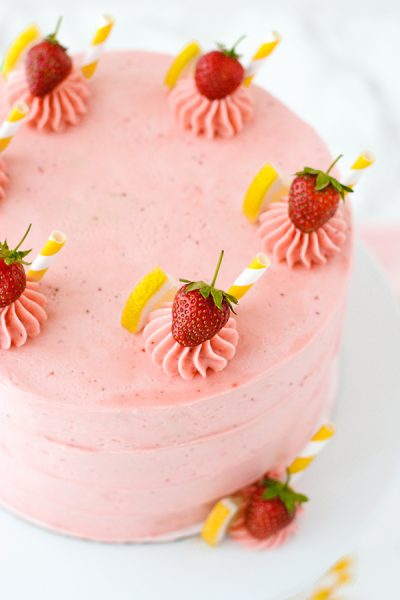
Strawberry Lemonade Cake. A tender layer cake recipe brightened with lemon juice, lemon zest and fresh strawberries, frosted with a tangy ... Continue Reading
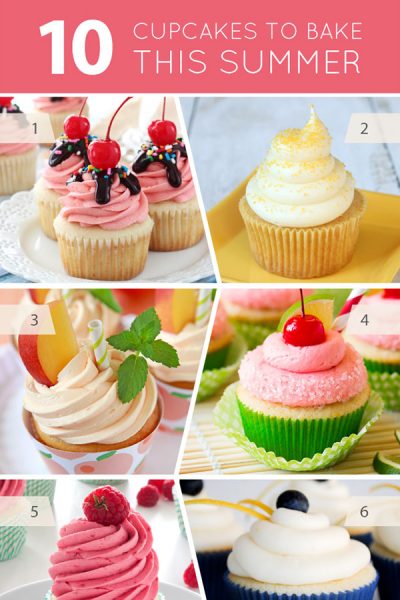
Summer is a season of fresh berries and stone fruits, pool parties and popsicles, fireflies and backyard BBQ’s. Seriously, what's not to ... Continue Reading
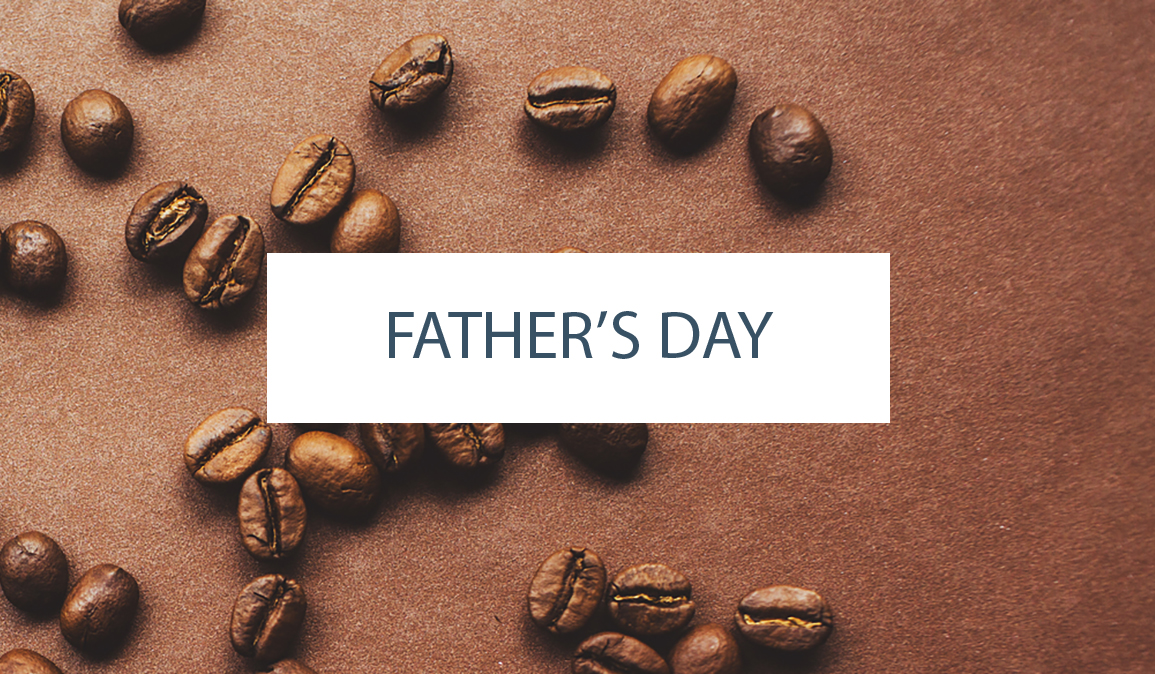
You're The Best Dad! Find the perfect treat for your dad in our Father’s Day Gallery!
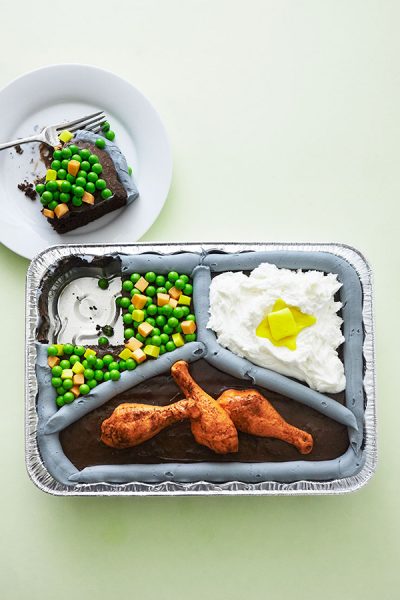
TV Dinner Sheet Cake! Learn how to make this old school, frozen TV dinner sheet cake -- perfect for Father's Day and/or April Fool's Day -- ... Continue Reading
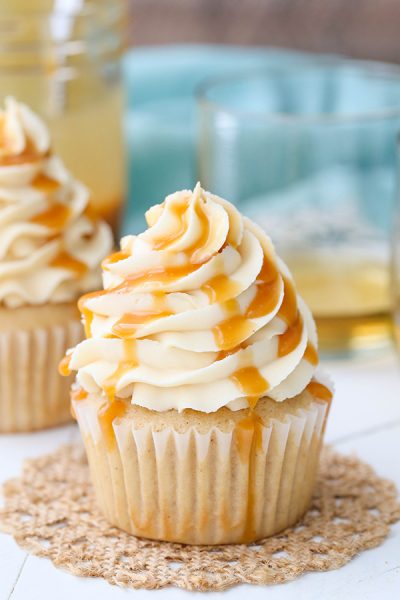
Caramel Bourbon Vanilla Cupcakes - a brown sugar bourbon cupcake topped with caramel vanilla frosting for a unique combination that is full ... Continue Reading
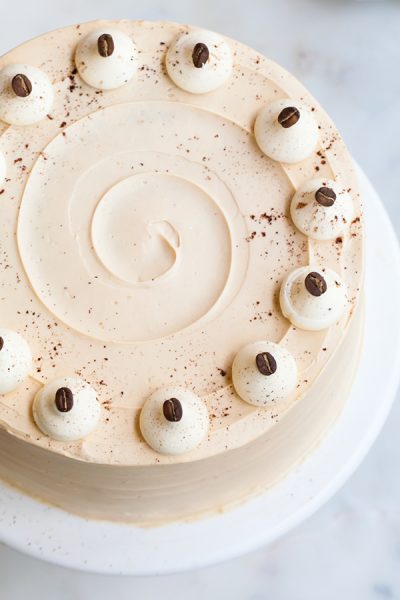
Caramel Cappuccino Cake - espresso cake paired with caramel buttercream frosting, topped with whole coffee beans and a sprinkle of cocoa ... Continue Reading
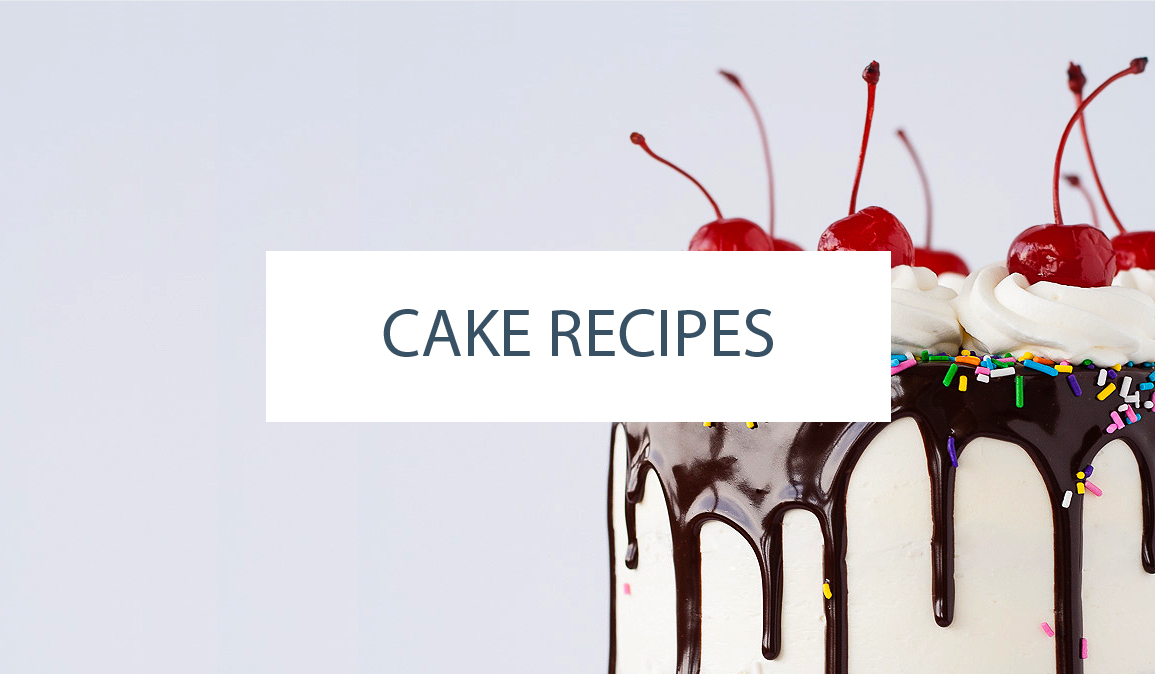
Our most popular cake recipes - find a new one to try!
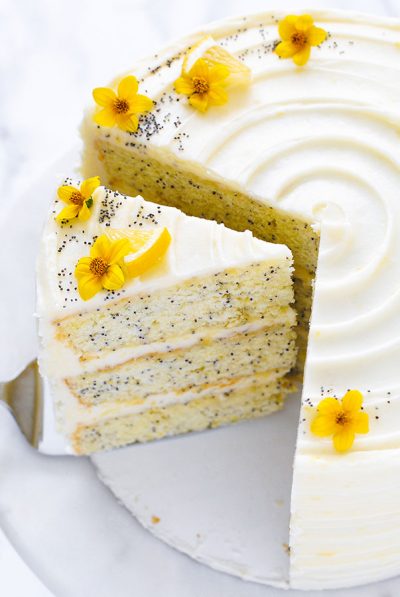
Lemon Poppyseed Cake. A tender layer cake recipe brightened with lemon juice, lemon zest and poppy seeds, frosted with a tangy sweet lemon ... Continue Reading

Chocolate Truffle Cake - a chocolate layer cake recipe with dense, moist chocolate cake, silky chocolate truffle frosting and chocolate ... Continue Reading

Lemon Blueberry Cake. A tender layer cake recipe brightened with lemon juice, lemon zest and wild blueberries, frosted with a tangy sweet ... Continue Reading
