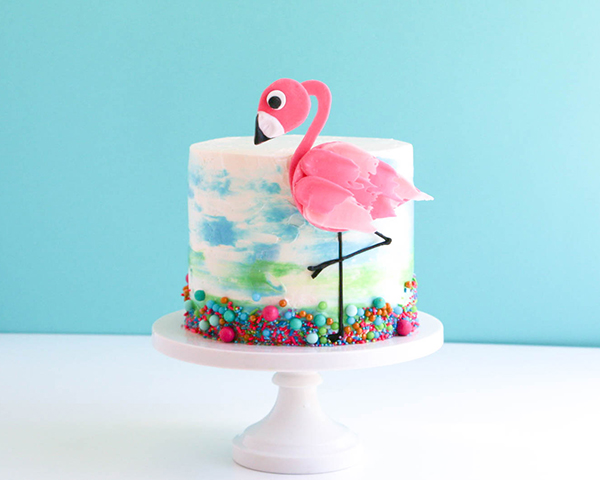
Flamingo Cake – how to make a pink flamingo cake topper using chocolate candy melts and brushstroke feathers, perched on a watercolor buttercream cake. A new tutorial by our contributor, Erin Gardner!
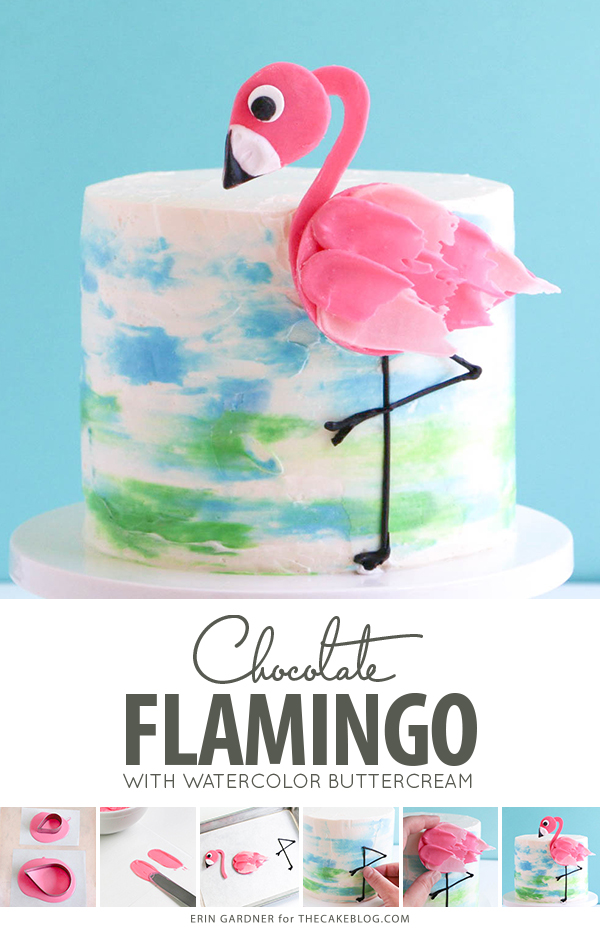
It’s easy to see why flamingos have fast become the design icon of the moment. Their tropical lifestyles are the stuff of envy. They live in warm beach locales, have legs for days, and their lush pink feathers are the stuff dreams are made of. What could make an already fantastic flamingo even better – chocolate, of course!
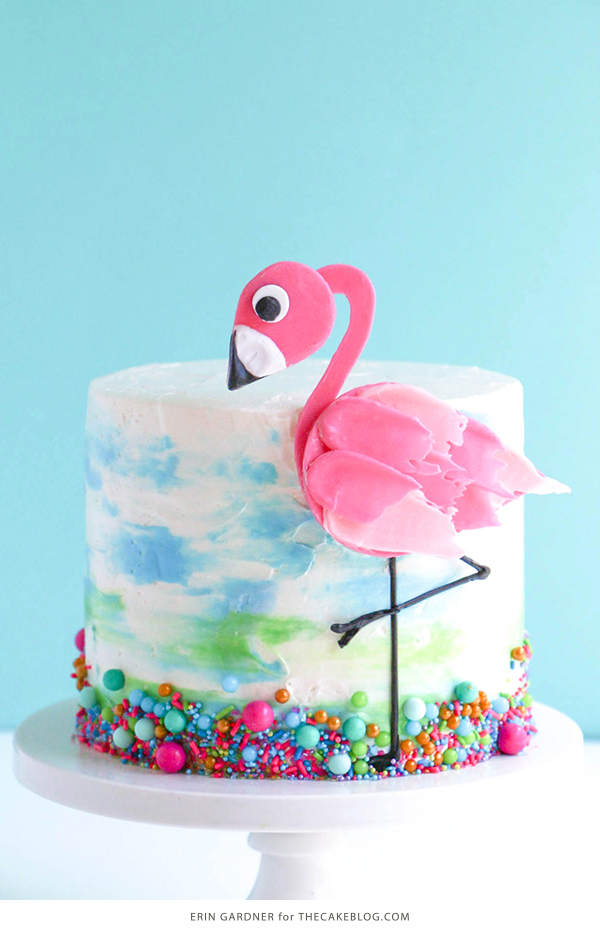
When I approached The Cake Blog with the idea for a chocolate flamingo cake, Carrie had the brilliant idea to use the brushstroke/feather technique from my last post for the feathers. Genius! The jagged brushstroke edges create the illusion of softness and fluff, which is not always easy to do with a rigid medium like chocolate. I used coating chocolate to create my flamingo, but these techniques work equally as well with regular chocolate that’s been tinted and tempered.
FLAMINGO CAKE
a tutorial by Erin Gardner
Supplies:
- Coating chocolate in bright pink, light pink, black and white (or tinted and tempered white chocolate)
- Parchment paper
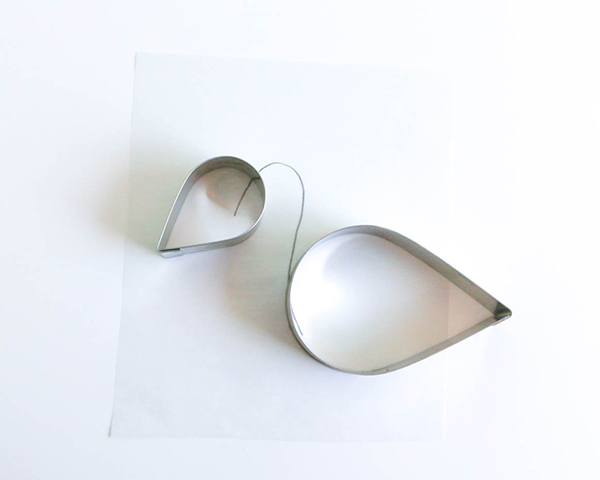
- Small tear drop cutter (approx. 1 1/2” long)
- Large tear drop cutter (approx. 4” long)
- Small round circle cutter or round piping tip (approx. 1/2” in diameter)
- Baking Tray
- Offset spatula
- Paper cones or piping bags
- 6” round cake finished in white buttercream
- Revolving Cake Turntable
- Extra white buttercream
- Blue buttercream
- Green buttercream
- Icing smoother or large straight icing spatula
- Assorted blue, green, pink, purple, and gold sprinkles
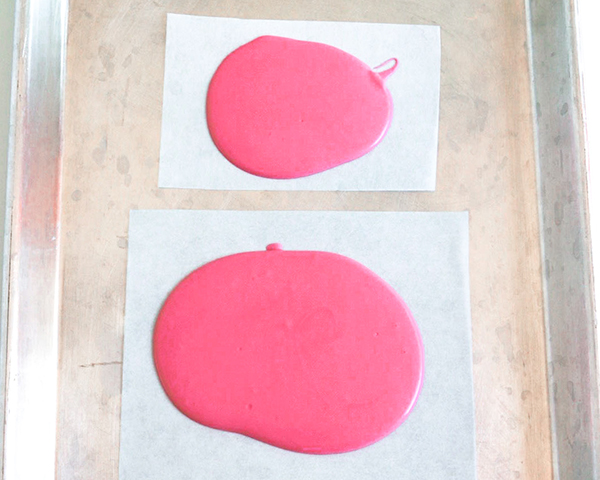
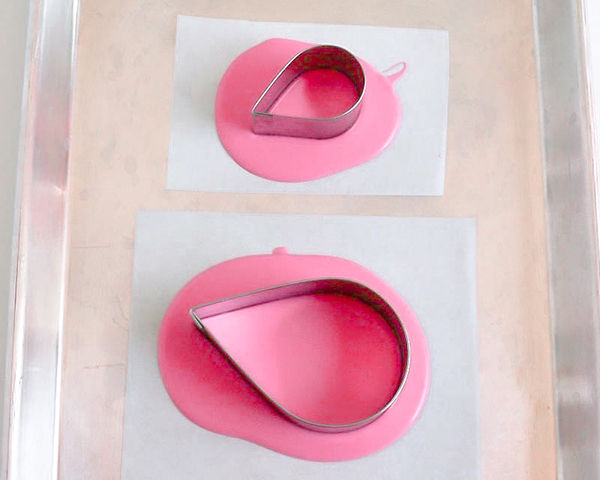
Melt the bright pink coating chocolate in a heatproof bowl. Line a cookie sheet with pieces of parchment paper a few inches larger than each tear drop cutter you’ll be using. Pour puddles of chocolate onto the pieces of parchment paper. Gently tap the tray against your work surface to smooth the puddles out and release any air bubbles. Place the cutters onto the chocolate until it’s set up firm, about 5 minutes. Pop the tray in the fridge to speed up the process.
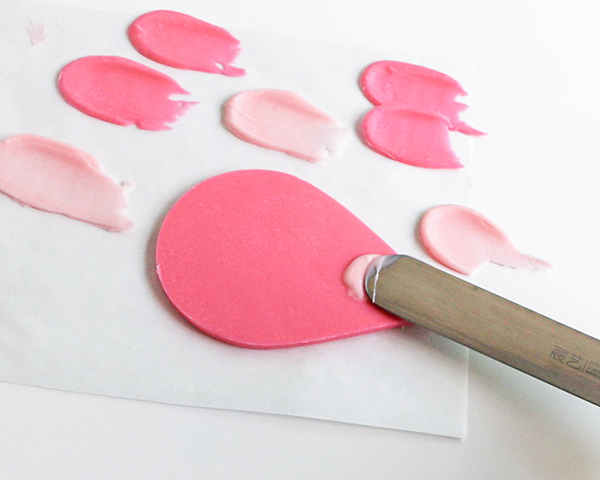
Melt the light pink coating chocolate in a heatproof bowl. Re-warm the bright pink coating chocolate if it’s begun to harden. Dip the flat bottom of a small offset spatula into the bright pink chocolate. Place the dipped side of the spatula against a piece of parchment paper 1 to 2 inches away from the edge. Smear the chocolate onto the paper, pulling the spatula away from the edge of the paper.
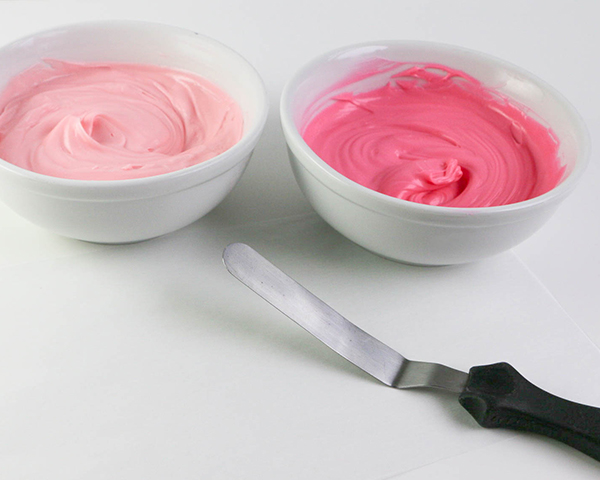
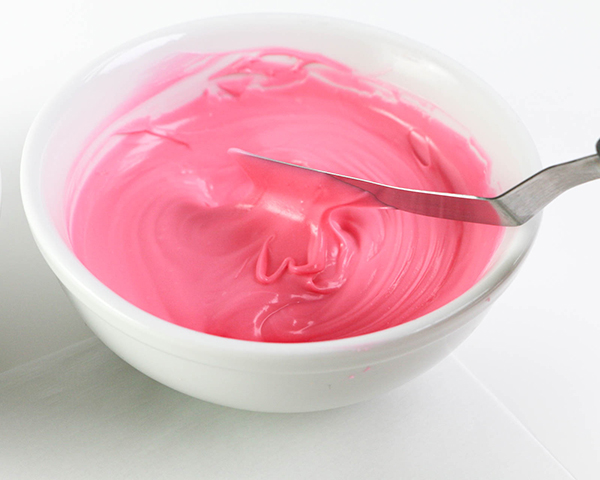
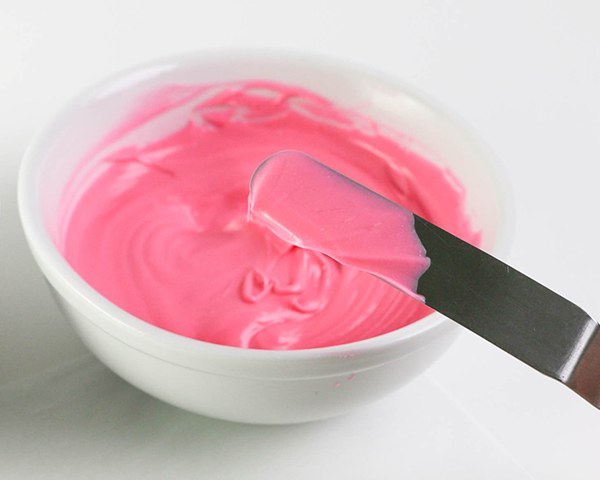
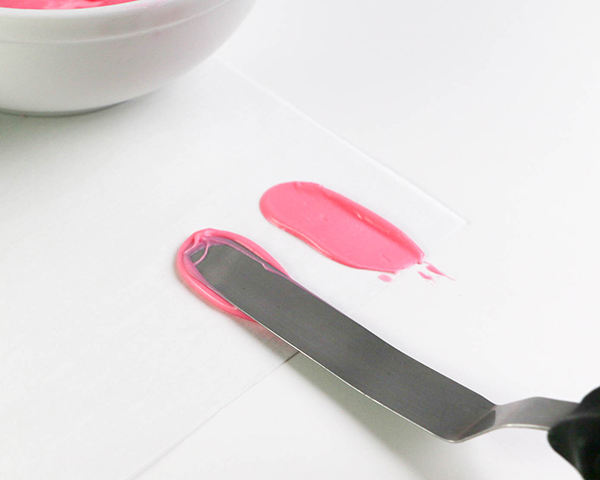
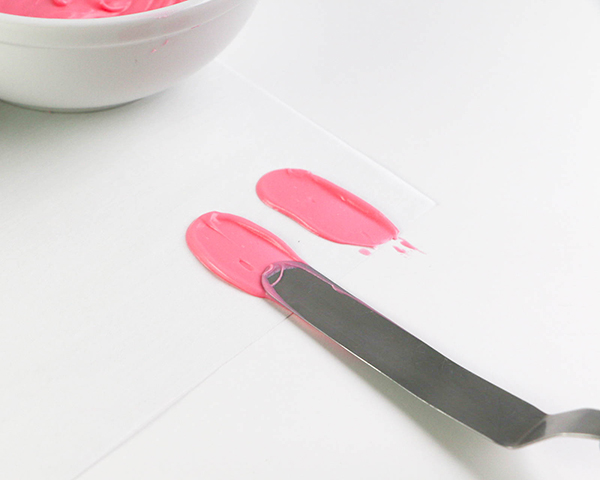
Repeat the process to make more “feathers” with both the bright pink and pink coating chocolates. Allow the feathers to set up completely before using, about 5 minutes. I ended up using 6 or 7 feathers total, but made more to account for breakage.
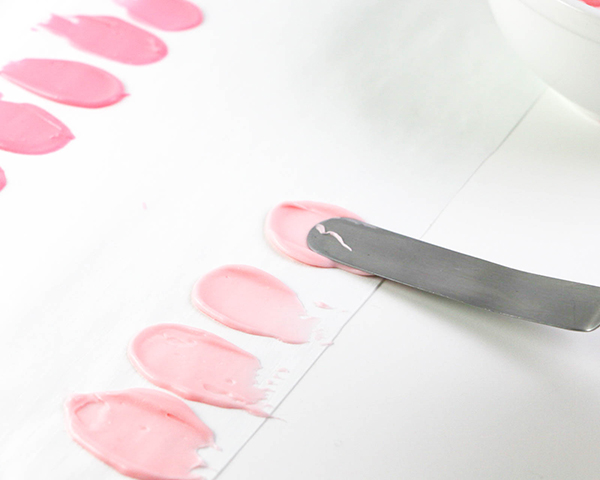
Return to the tear drop shapes made earlier. Lift the cutters off of the parchment paper leaving behind the molded shapes. Remove any excess chocolate and return it to the bowl.
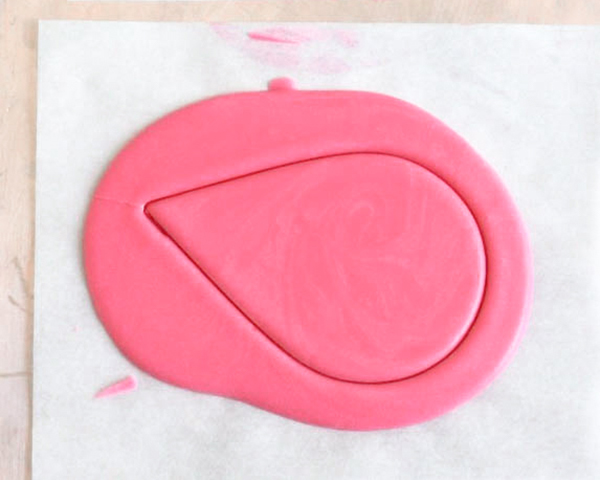
Use the tear drop cutters as a guide for drawing the flamingo’s neck. You can make this as simple as a straight line or as curved as you like. I went with a candy cane shaped neck for that classic flamingo pose. Set the tier drops aside and flip the paper over. Fill a piping bag or paper cone with melted pink coating chocolate and use it to trace over the line. Pipe the line so that it’s about 1/2” wide. You want it to be thick enough to support the head, but not so thick that the flamingo’s shape is distorted. Don’t worry about making the line perfectly smooth. Later, we’ll flip the neck over to use the underneath surface as the top.
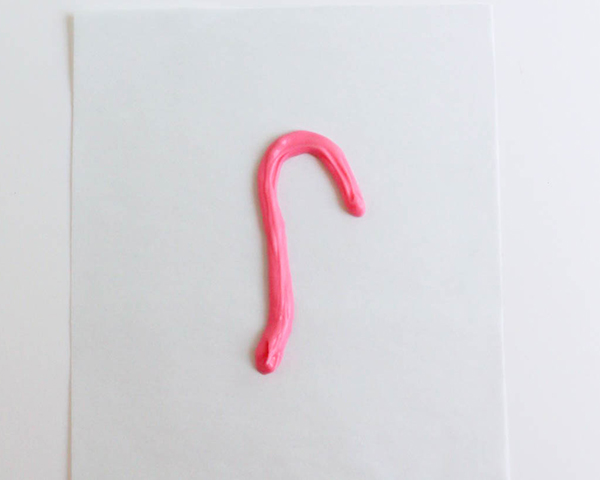
NOTE: If you live in a warm area or will be transporting your cake, you can reinforce the flamingo’s neck by placing a shaped piece of floral wire (or a lollipop stick for a straight neck) into the chocolate before it has hardened. As always, be as safe as possible when using any non-edible supports. Coat the wire with chocolate before inserting it into the cake and make all guests aware that it’s there. Do not serve the flamingo head or neck to be eaten if you’ve used a non-edible support.
Now we’ll start working on the head. Melt the white coating chocolate in a small heatproof bowl. Pour a small puddled of the melted chocolate onto a piece of parchment paper. Tap the tray against your work surface to smooth the chocolate out. Place the small circle cutter on the white chocolate until it’s set up firm, about 5 minutes.
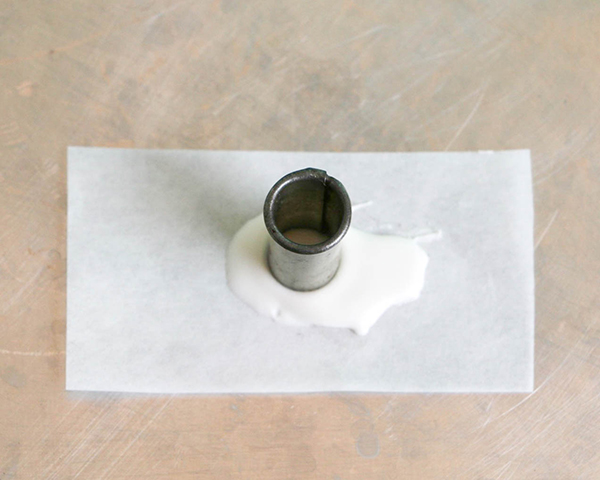
Pick the small pink teardrop up by the rounded end and dip the pointed end into the white coating chocolate about 1/2” deep. Use your immaculately clean fingers to smooth any excess chocolate off the edges of the tear drop. Allow the white to completely harden before moving onto the next step, just a minute or two.
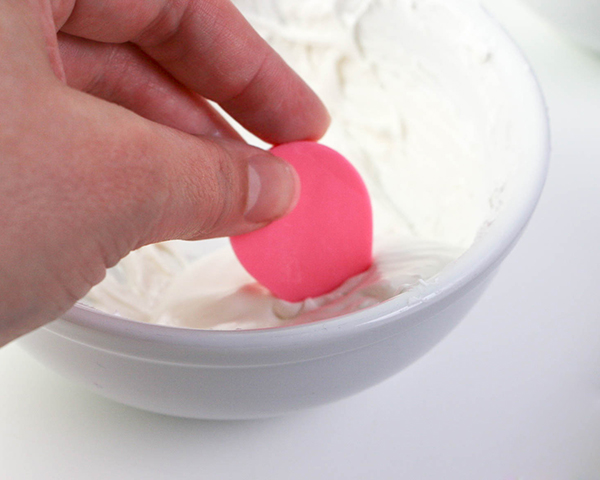
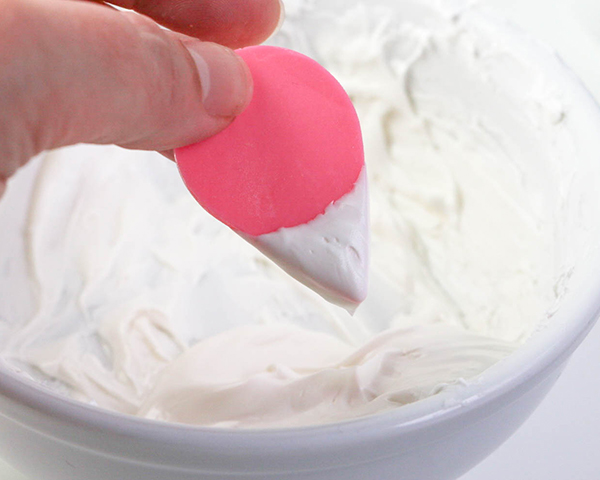
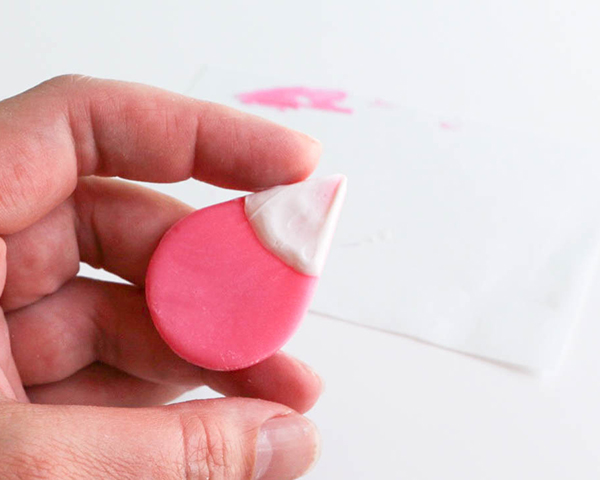
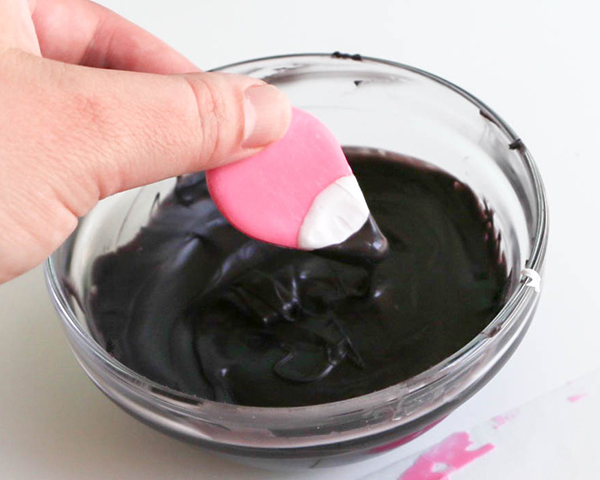
Melt the black coating chocolate in a small heatproof bowl. Once the white is set, dip the tip of the tear drop into the melted black coating chocolate about half way up the white. Clear away any excess coating chocolate. Place on parchment paper to set.
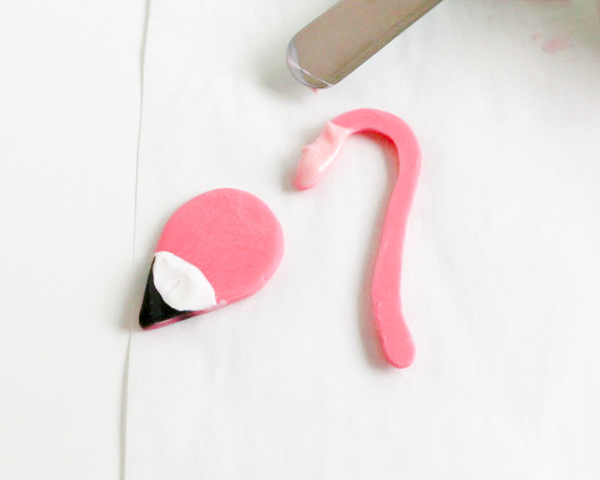
Once the head and neck are both set, carefully lift the neck off of the parchment paper and flip it over. Use an offset spatula to smear melted pink coating chocolate on the end of the neck. Place the head onto the melted chocolate and set it aside to harden before using, about 5 minutes.
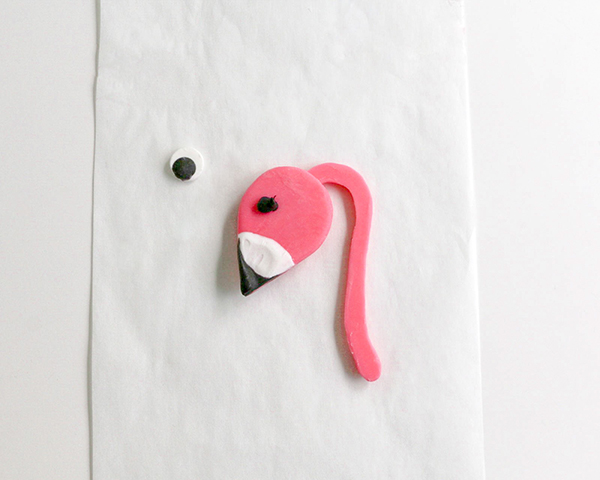
While the head and neck are setting up, let’s return to the eye. Remove the white circle cutter from the parchment paper. Use a tooth pick or chopstick to pop the small circle of chocolate out of the cutter if needed. Pipe a black dot on the white chocolate circle to make the flamingo’s eye.
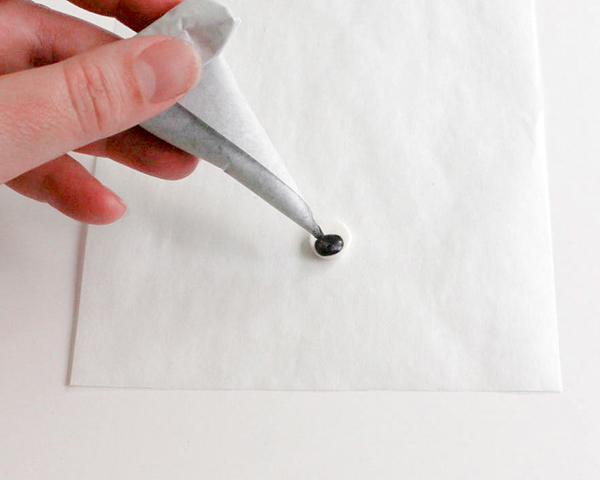
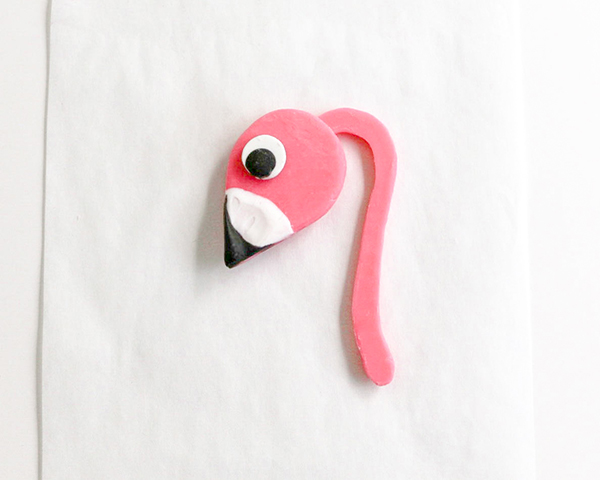
Adhere the eye to the flamingo’s head with another small dot of black coating chocolate. Set the head aside until everything has completely hardened, about 5 minutes.
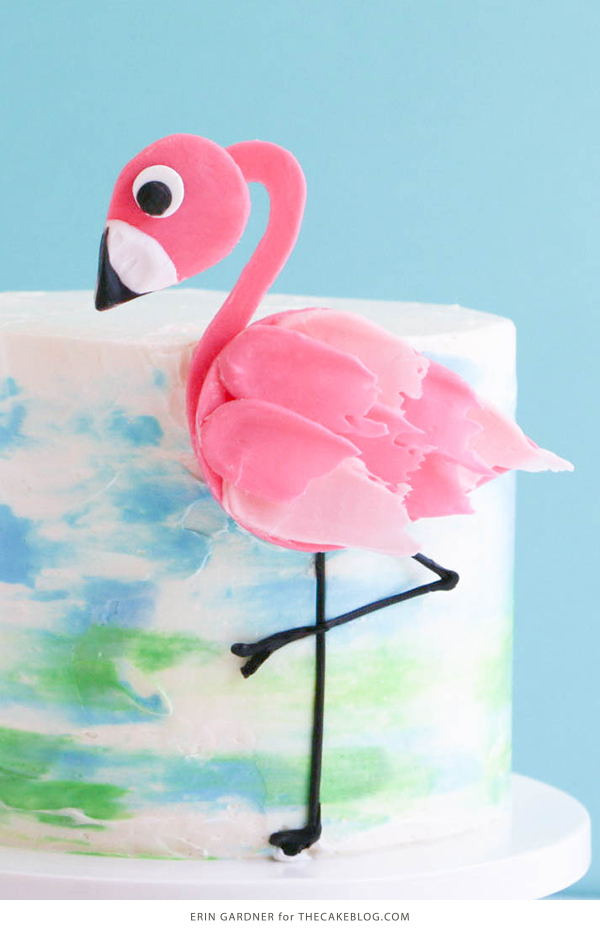
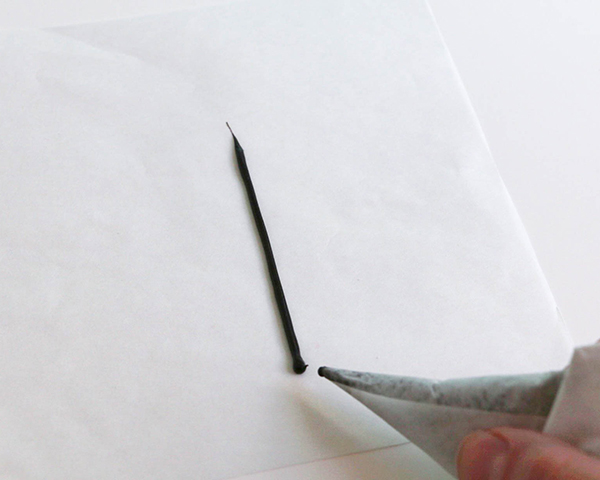
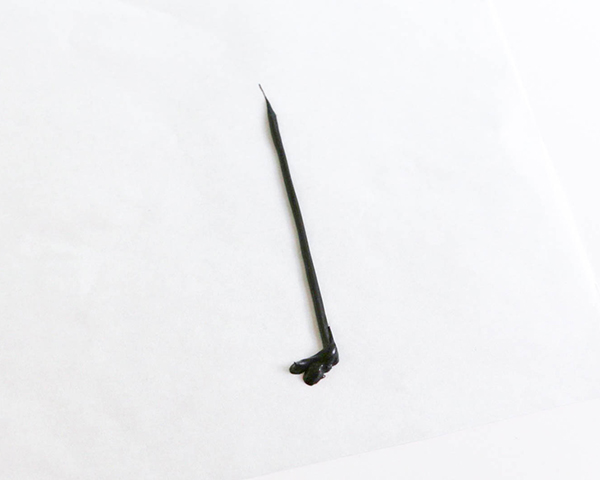
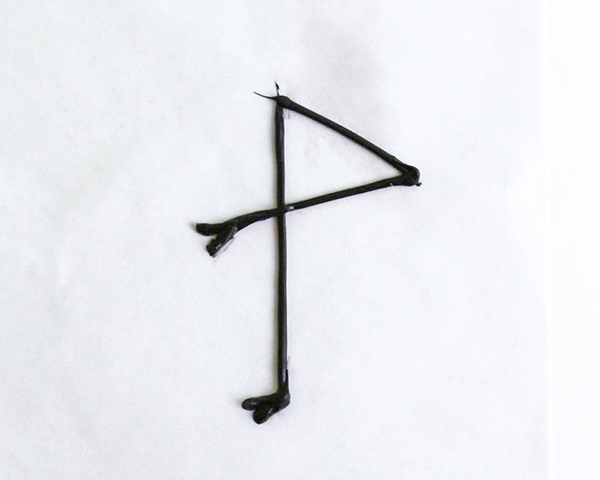
Re-warm the black chocolate if needed. On a separate piece of parchment paper, use the height of your cake as a guide for drawing the flamingo’s legs. I drew a straight line to form one of the legs and then freehanded the bent leg when piping the chocolate. Draw the leg longer than you’ll need it to be so that the finished legs will be long enough to tuck under the flamingo’s body. Fill a piping bag or paper cone with a small amount of black coating chocolate. Pipe the straight leg first, adding two small lines at the bottom for the flamingo’s foot. Pipe a second bent leg over the straight leg like a backwards 4, adding two little lines for a foot at the end of that one as well. Set the legs aside to harden completely, just a few minutes.
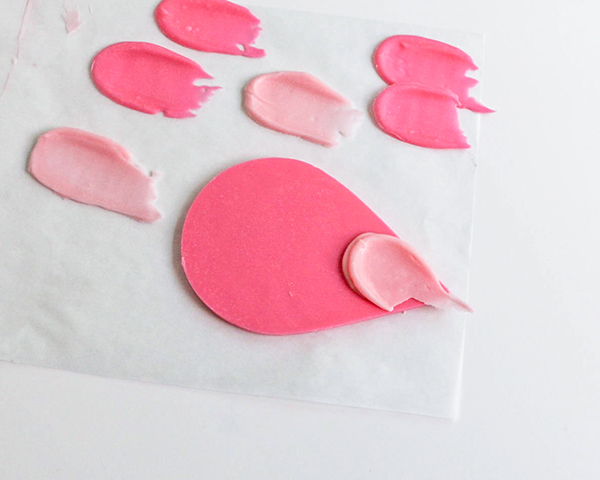
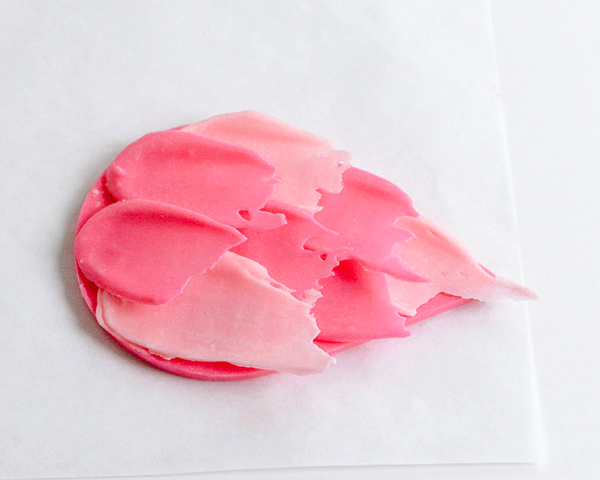
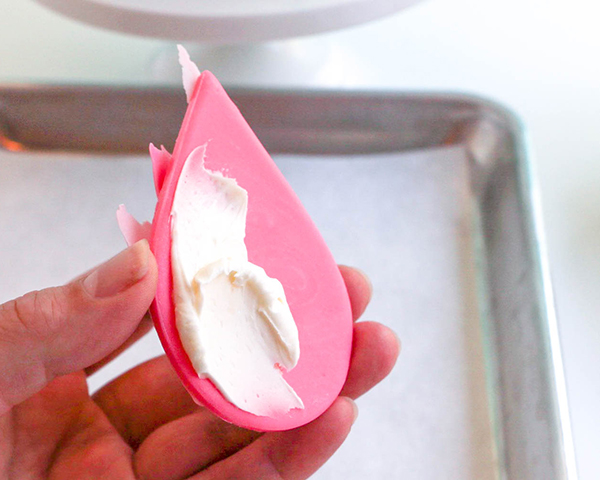
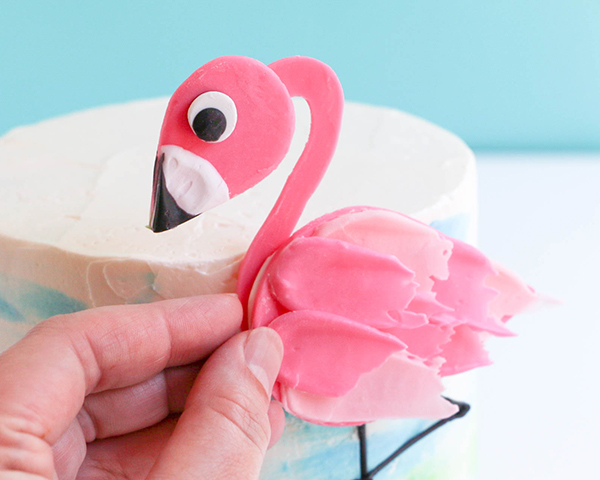
Carefully lift the hardened feathers off of the parchment paper using an offset spatula, if needed. Handle them by the fat rounded end to avoid breaking them. Use the offset spatula to smear a dab of melted pink (either one) coating chocolate toward the pointed end of the large tear drop. Place a feather onto the melted chocolate so that the jagged end is hanging off of the tip of the tear drop. Add more feathers to fill in the rest of the flamingo’s body, working from the pointed end towards the rounded end of the tear drop. Alternate colors as you go. Set the body aside to harden completely before using it on the cake, about 5 minutes.
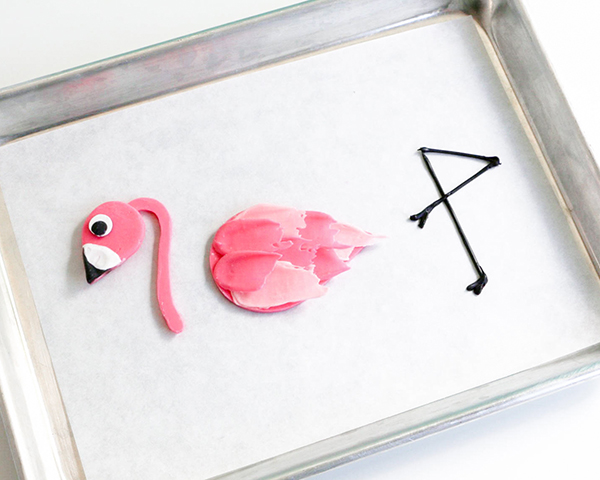
Your flamingo now has three main parts and is ready to be assembled on the cake.
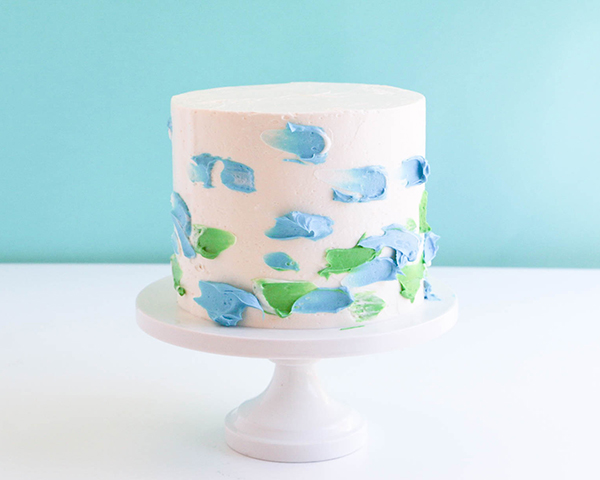
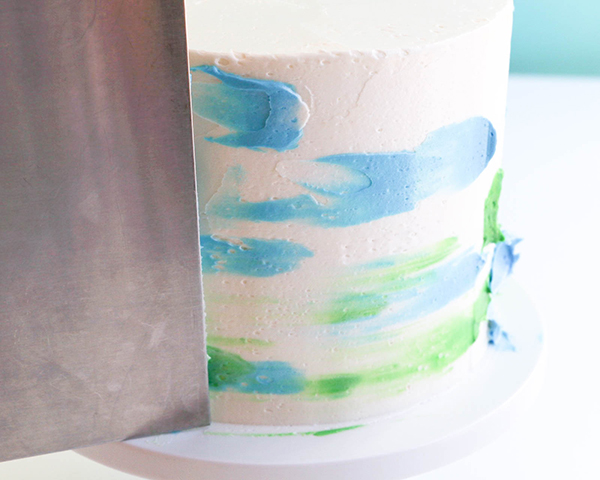
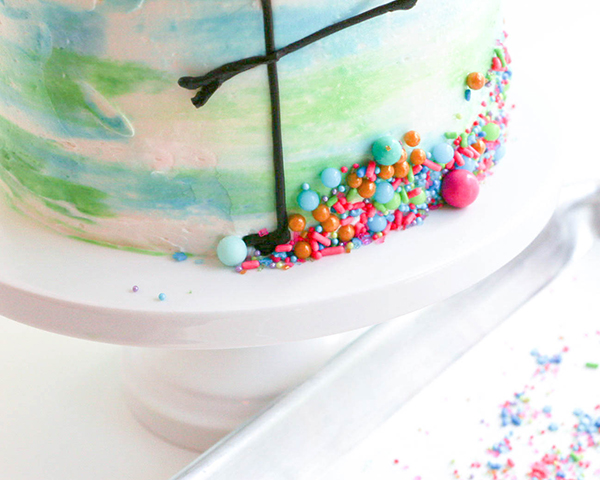
Set your buttercream finished cake on a turntable. Smear dots of green and blue buttercream all around the sides of the cake. I applied more of both colors towards the bottom and less toward the top of the cake to give the effect of land and water meeting the sky. Hold the long edge of a bench scraper or a straight icing spatula against the side of the cake and spin the turntable, allowing the blade to smooth and smear the dots as the cake spins. Add more color as needed. Spin and smooth until you’re happy with your cake’s appearance.
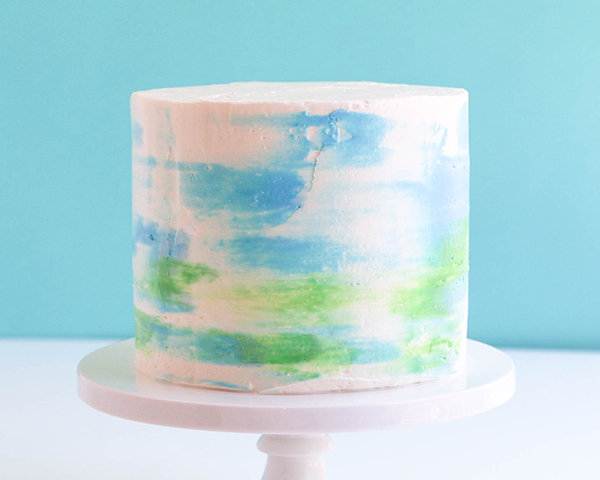
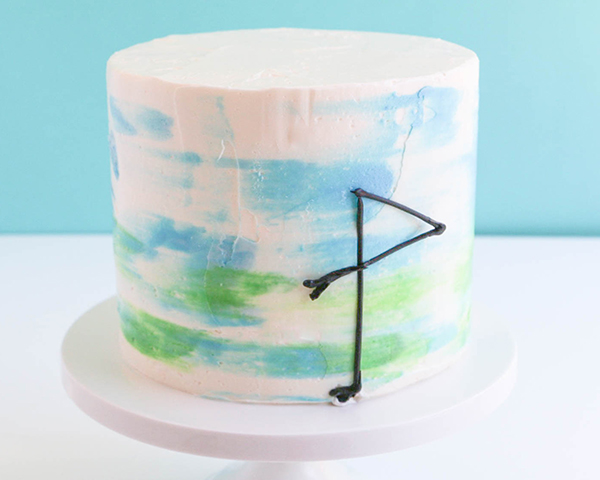
Place the legs onto the cake first so that the flamingo’s foot is touching the bottom of the cake.
Adhere the flamingo’s body to the cake just above the legs using extra plain buttercream. Apply more buttercream to the rounded edge of the body to help anchor the head and neck in place. Slide the neck of the flamingo in behind the rounded edge of the flamingo’s body. Fill in the gap between the body and cake with more buttercream if needed.
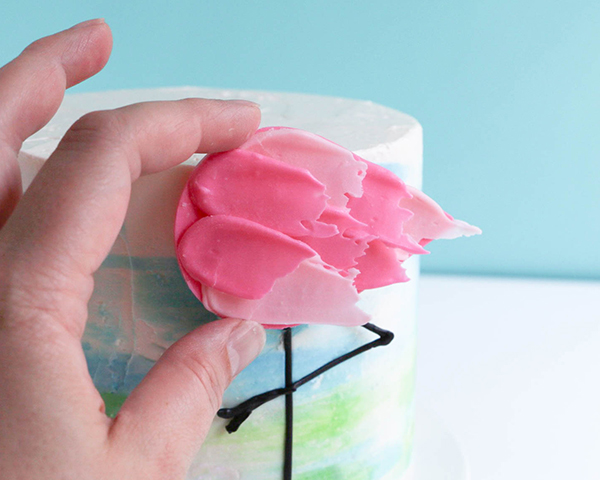
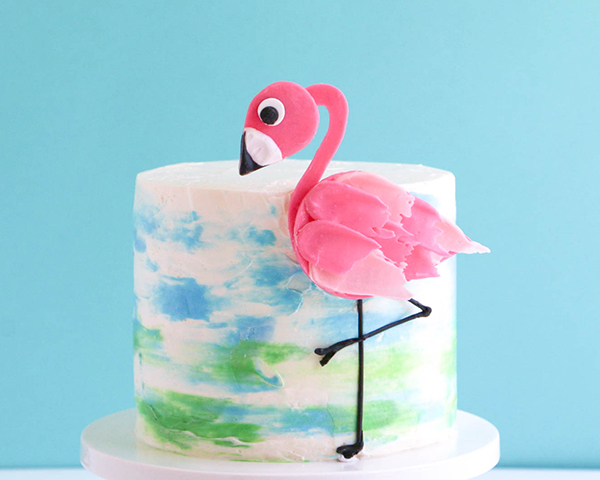
If you’re a less is more kind of thinker, this is your stopping point. If you’re a more is more fan, go for some sprinkles!
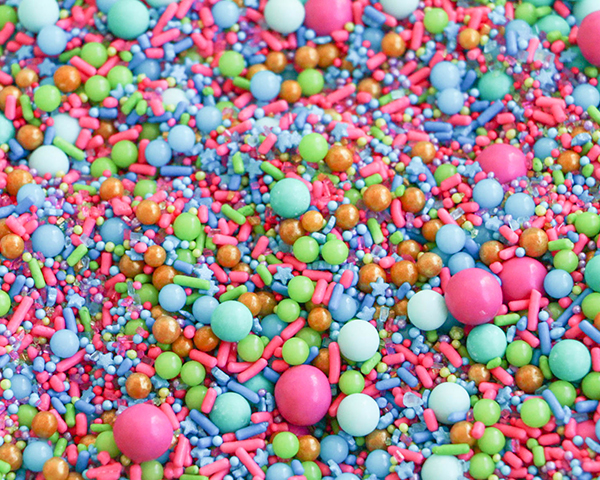
Scoop up a small amount of mixed sprinkles and press them against the bottom edge of the cake. Repeat this process all around the cake.
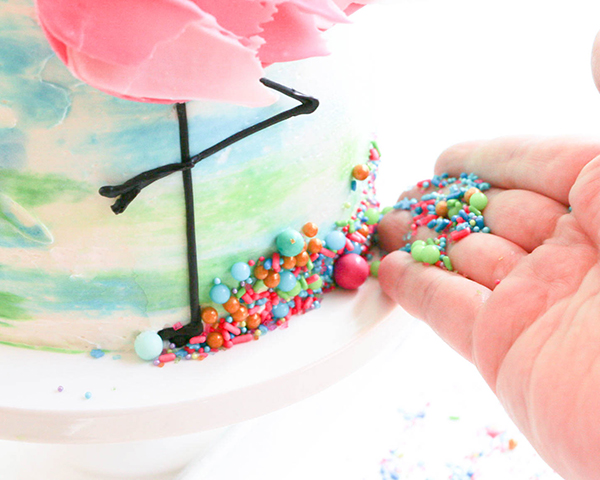
Stand back and flamin-go crazy over your adorably tropical cake creation!

YOU MAY ALSO ENJOY:
Kissing Flamingos Cake
Brushstroke Cake
Giant Chocolate Flower Cake
Striped Buttercream Cake
Mod Polka Dot Cake


Thank you for sharing your recipe and method
Your so talented and amazing!!! i love your cake & design. it’s so simple.keep it up!!!
Thank you so much, I’m feeling inspired!
Pretty amazing cakes just love your work.
I love the mix of Sprinkles you used. Can you tell us what mix or brand these are from?
Thanks so Much!
Hi! awesome work!!! Where can I find this sprinkle blend?
Very well explained thank you!!!!!!
I love your flamingo cake design it was very cute! Thanks for sharing your wonderful ideas and I cant wait to read more.