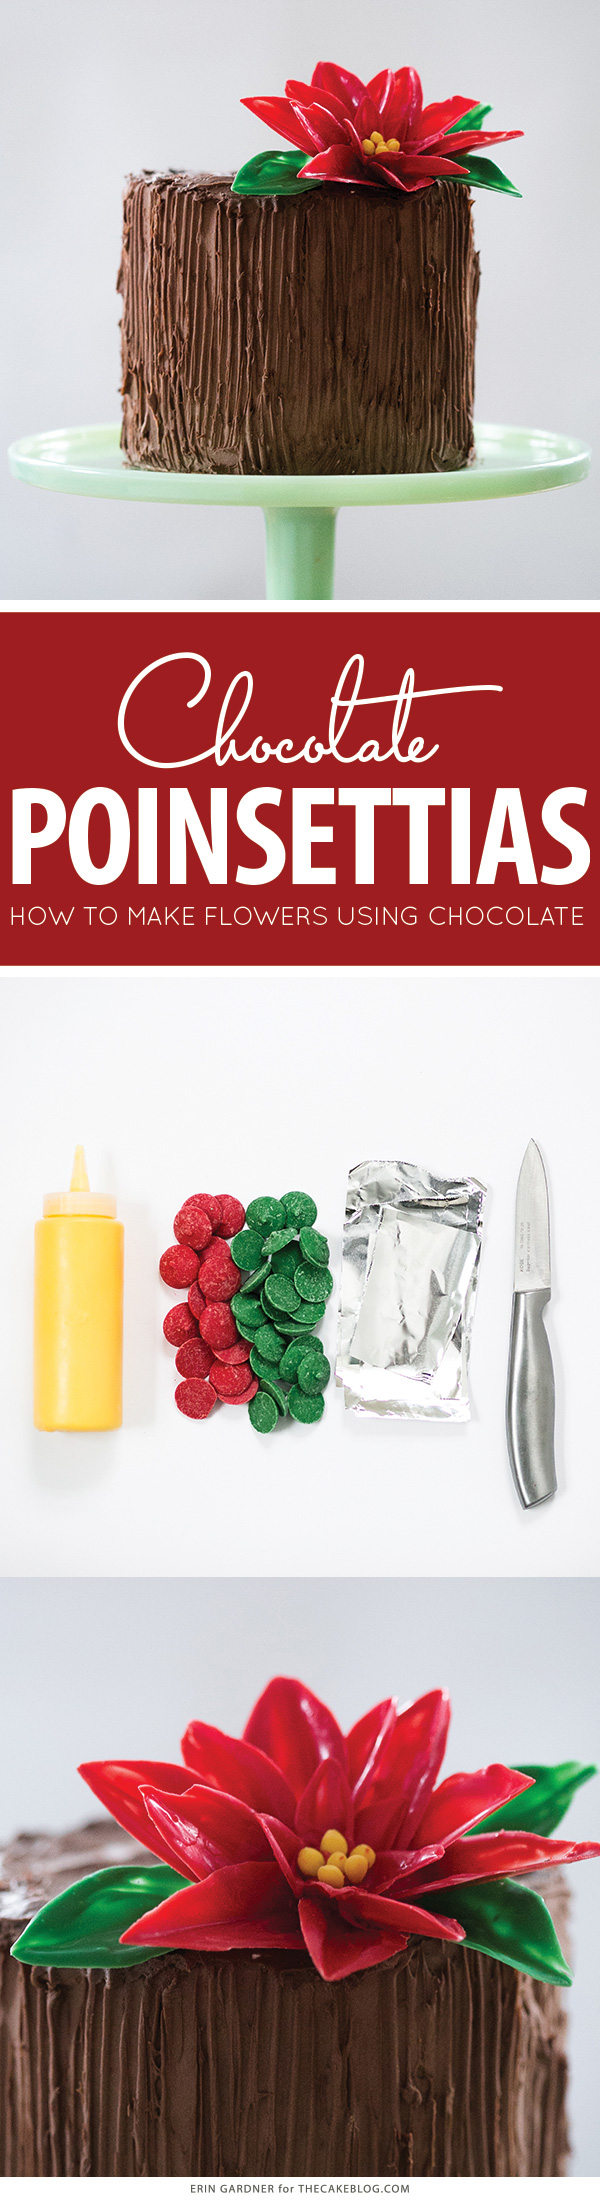
Chocolate Poinsettia Cake – how to make a chocolate poinsettia flower using candy melts and a knife. A new tutorial by our contributor Erin Gardner.
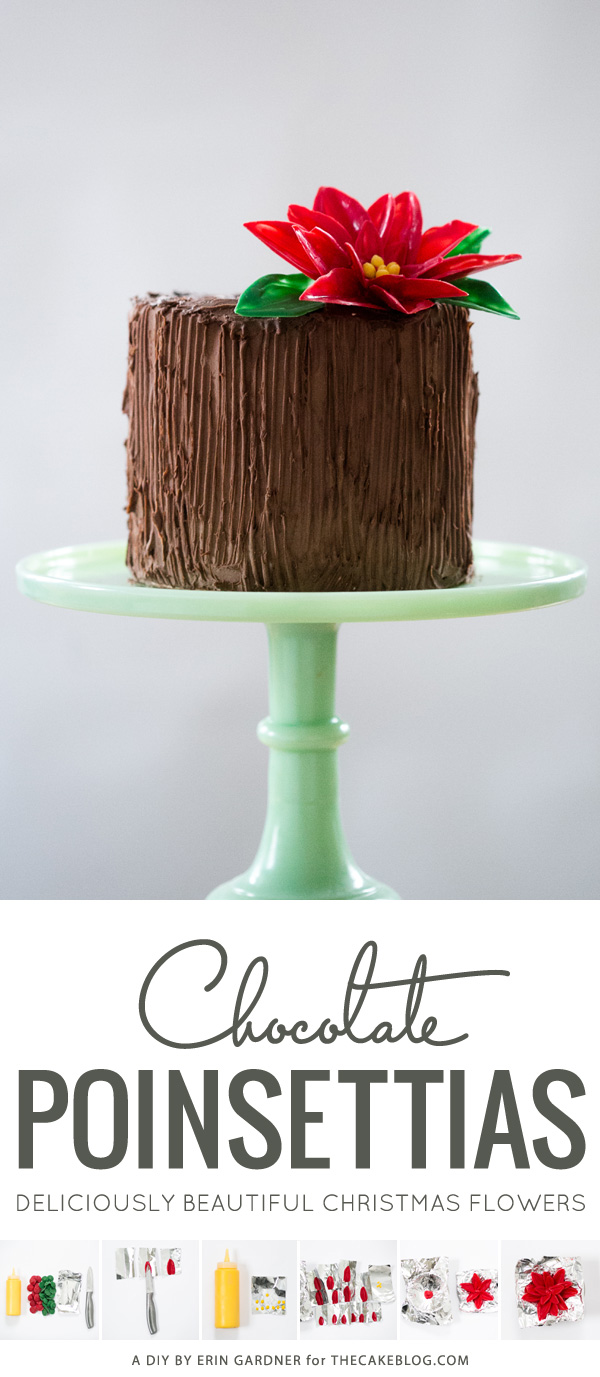
I’ve come to the conclusion that making flowers is my absolute favorite part of cake decorating. Fondant, sugar, chocolate – you name it, I love it! Lately, I’ve particularly come to enjoy making chocolate flowers. They aren’t only beautiful, they’re also entirely edible and delicious! (Sadly, not something I can say about their pretty gum paste cousins.) This makes them ideal for decorating buttercream finished cakes or for topping cupcakes.
The technique that I used to create this poinsettia is a very classic pastry technique, but one not frequently used in cake decorating. I’ve used candy melts in this tutorial for ease of use and because I love the bright colors. You can do the exact same technique with tempered white chocolate tinted with colored cocoa butters or oil based candy colors. It’s really up to you based on your comfort level with tempering and which ingredients are easiest for you to find.

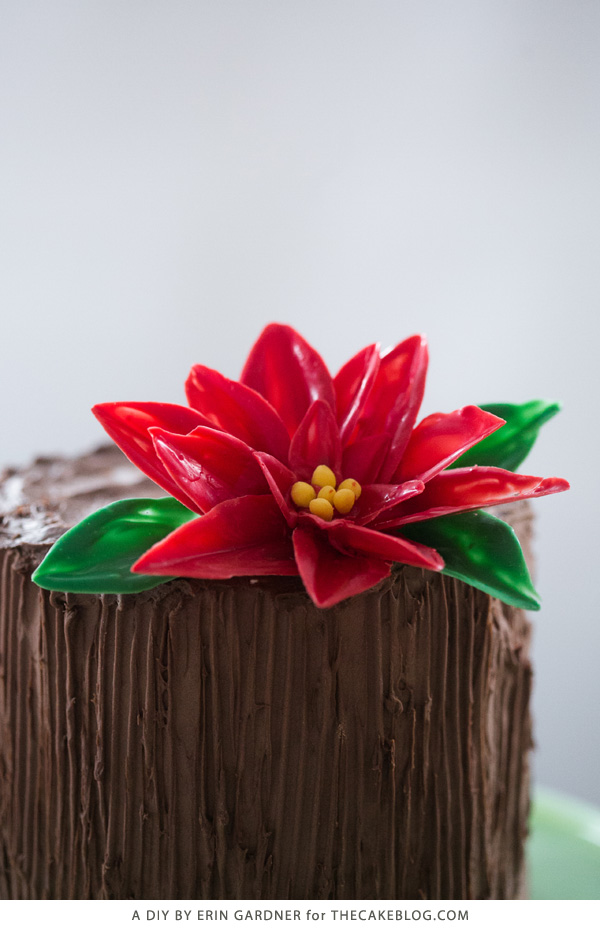
Poinsettias are interesting flowers with uncommon names for their parts. Let me break it down for you before you begin, so that it doesn’t get too confusing. You might assume that the red petal-y parts that look like petals are called petals, but they are actually called bracts. Because technically, the actual flowers are the small yellow centers. Luckily, the leaves are just called leaves. Botany lesson over, now let’s play with chocolate!
CHOCOLATE POINSETTIAS
a tutorial by Erin Gardner
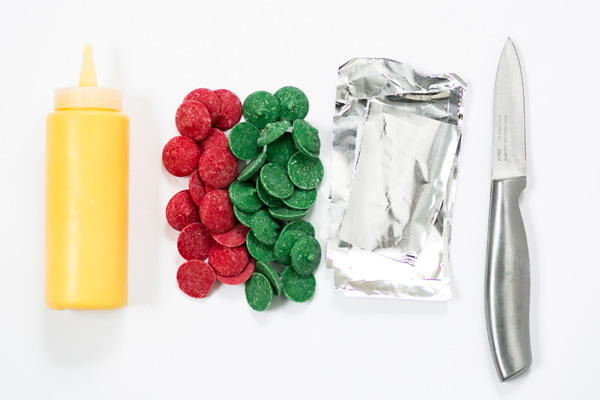
Supplies:
small knife
heavy duty aluminum foil
scissors
Candy Melts or coating chocolate in red, green, and yellow (one cup of each color)
small plastic bowls
spoons for stirring chocolate
squeeze bottle or piping bag
MAKE THE BRACTS, LEAVES & FLOWERS
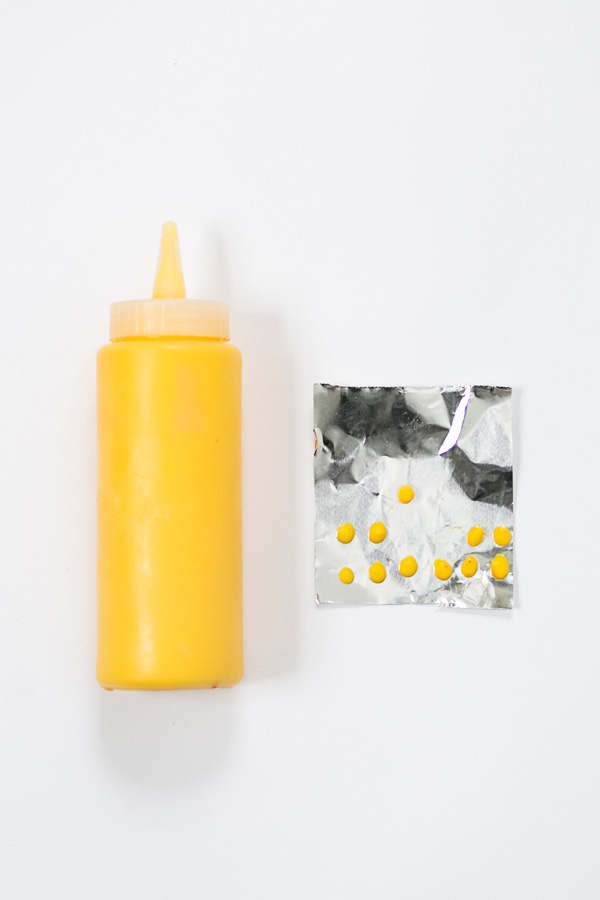
Tear off a small piece of foil.
Melt the yellow candy melts in a small plastic bowl. (If using real chocolate, you will need to temper the chocolate before making your flower parts. If you’re using coating chocolate or candy melts, then you are ready to go as soon as it’s melted.) Once melted, pour the chocolate into a squeeze bootle or piping bag.
Pipe 10 pea-sized dots onto the aluminum foil. Set aside to dry.
Once dry, sandwich two dots together with a tiny bit of melted yellow chocolate. Repeat with the other dots until you have 5 completed flower centers.
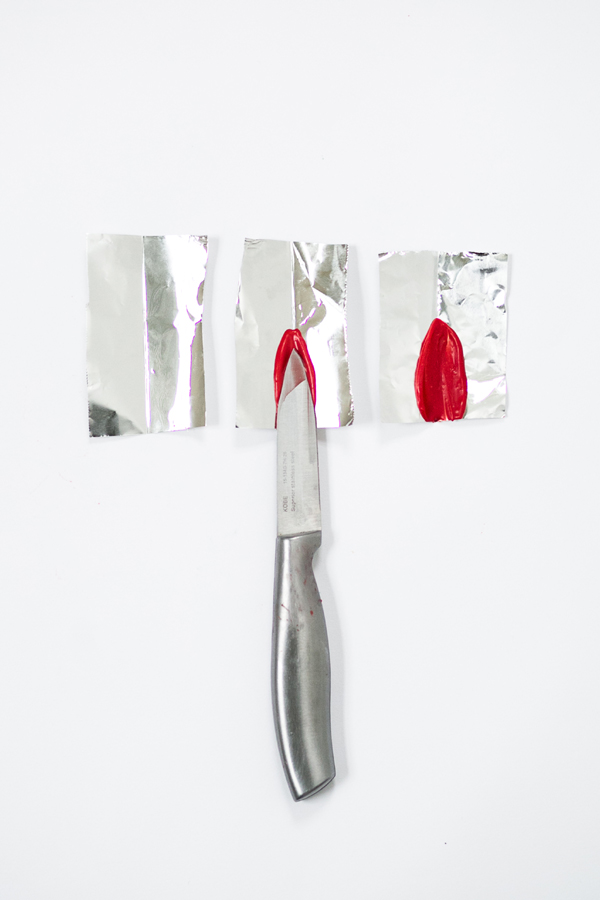
Tear off 2 to 3-inch wide strips of aluminum foil. Cut the strips into pieces approximately 3-inches long. Fold the pieces of foil in half lengthwise and open them back up.
Melt the red candy melts in a small plastic bowl.
Dip the flat side of the knife into the melted chocolate so that about 2 1/2-inches of the knife is coated.
Lay the coated side of the knife against one of the pieces of foil with the tip of the knife directly over the folded line.
Pull the knife away, smearing the chocolate onto the foil in a petal shape. You can go back in to add more chocolate, or rock the knife back and forth to create the shape you’re looking for. Set the bract aside to dry and continue making your other bracts.
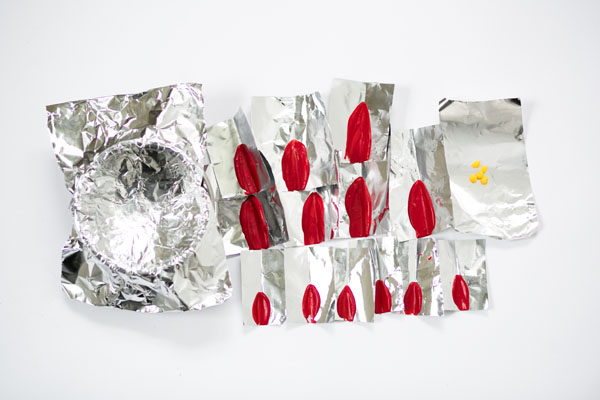
For the smaller inner bracts, follow the same process, but only dip the knife so that about an inch is coated with chocolate. For the leaves, follow the same process as the larger bracts, but with the green chocolate. I ended up using 11 large bracts, 5 small bracts, three green leaves, and 5 yellow flowers.
ASSEMBLE THE POINSETTIA
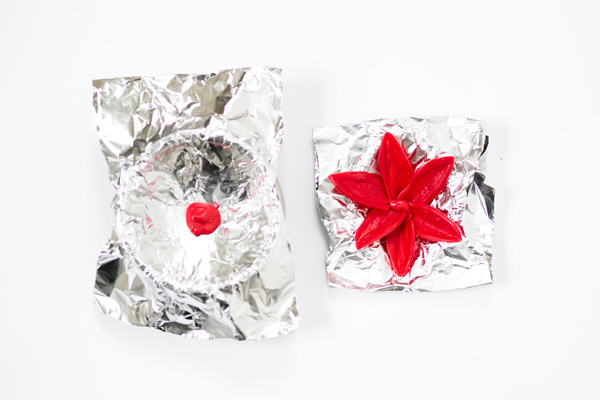
Tear off a piece of foil that’s about 6-inches wide. Lay the piece of foil over the top of a small bowl to create a little cup. This is where you will assemble your flower. If you want a very open poinsettia, make the cup shallow. If you’d like a closed flower, make the cup deeper.
Pipe or spoon a small puddle of melted red chocolate into the center of your foil cup. Place the flat end of a large bract into the puddle of chocolate. Repeat with five more bracts, overlapping the edges as you go.
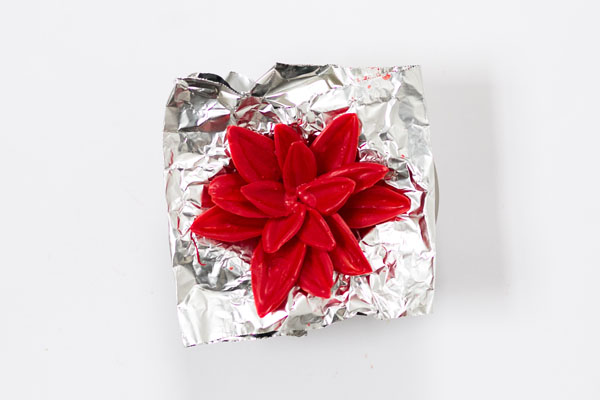
Pipe or spoon another small puddle of melted red chocolate onto the center of your newly formed flower. Arrange the smaller bracts on top of the larger bracts in the same way.
If you’d like a fuller flower, add more petals at this point by dipping the flat end of a bract into melted red chocolate. Slide the bract into place and make sure the melted chocolate makes contact with the rest of the flower, “gluing” it into place.
To finish the poinsettia, pipe or pour a dime-sized amount of melted red chocolate into the center of the bracts. Drop the tiny yellow flowers into place.
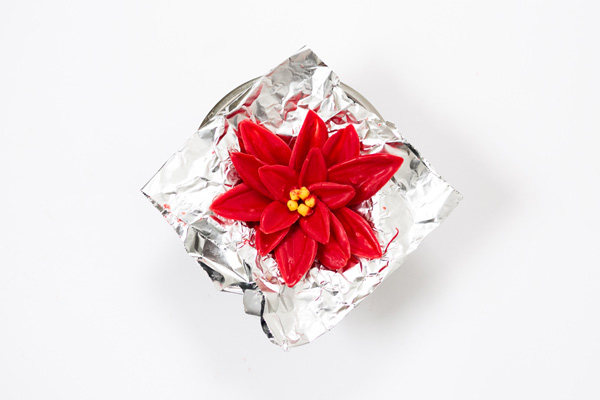
Set aside your finished poinsettia until it’s completely dry. To remove, lift the foil cup from the bowl. Place one hand under the flower to steady it. Peel back the foil with your other hand.
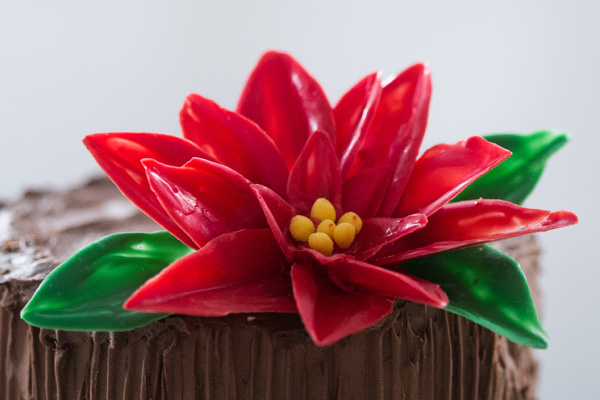
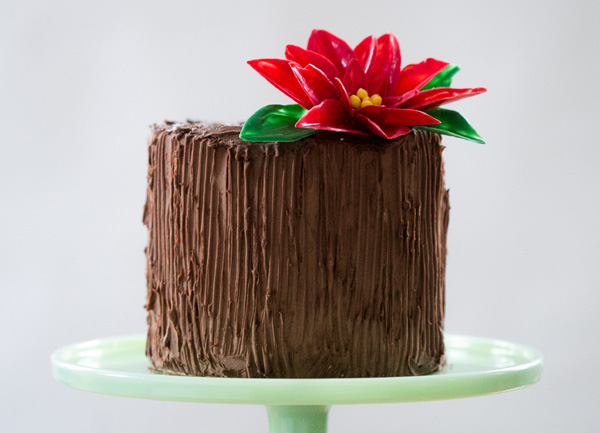
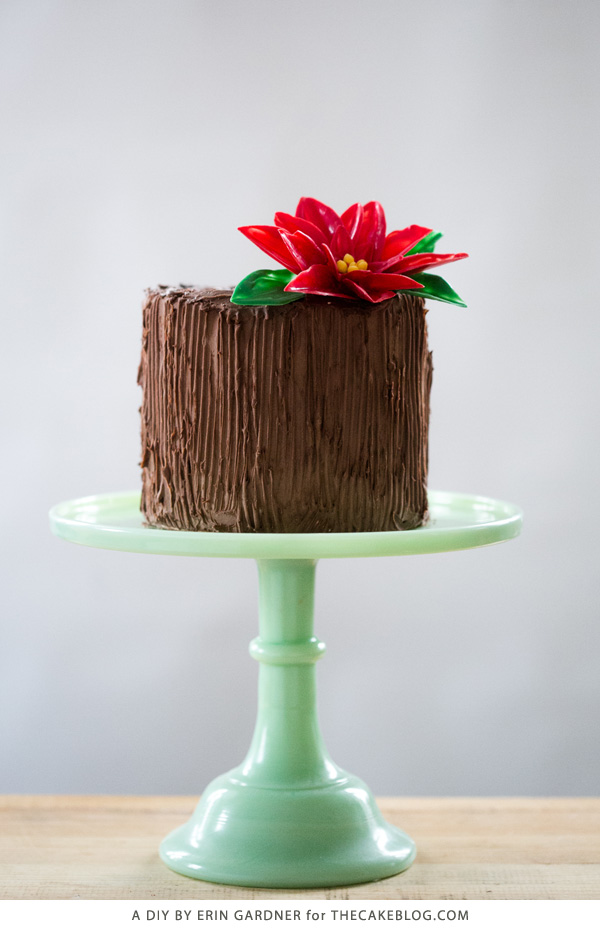
Place your flower onto a freshly iced cake or cupcakes and add your green leaves around as you like. If using a fondant finished cake, use a small amount of melted chocolate to attached your flower. Chocolate flowers can be made well in advance and are best stored in an airtight container at room temperature.
YOU MAY ALSO ENJOY:
Candy Snowflakes
Gift Box Cake
Birch Log Cake
Winter Hat Cake
Christmas Cupcake Wreath
Find all of our holiday recipes and tutorials in our Christmas Gallery!


Wow, that is gorgeous! Perfect for a holiday party 🙂
Wow these poinsettia’s are incredible.. its hard to believe that they are edible. Pinned!
Thanks for sharing another amazing tutorial!!
could you let us know how you finished the cake? if i had to guess, i’d say its chocolate buttercream that’s been stripped after cold-setting? or maybe chocolate ganache that’s stripped? please help I’m dying to try it for myself!!
thnx!!
You’re right on track Susan – chocolate buttercream finished with the prongs of a fork. =)