Winter Hat Cake! Learn how to make this cake that looks just like a knitted hat with a simple step-by-step tutorial by our contributors, Mary and Brenda Maher of Cakegirls.
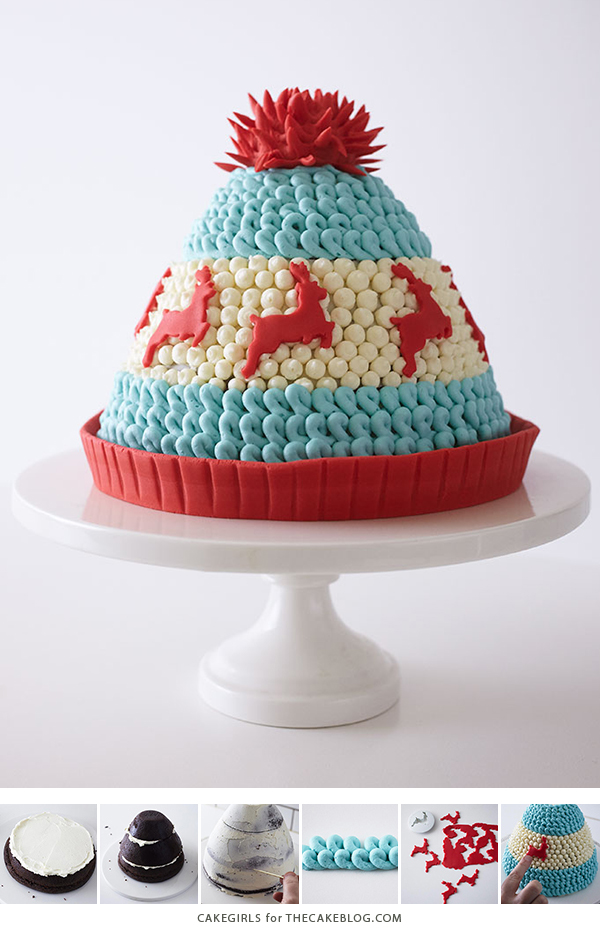
Buttercream is back! It not only tastes great but you can create amazing texture with just a few simple piping techniques. In this Winter Hat Cake tutorial, you can see how piped buttercream adds that classic nubby feeling that’s reminiscent of your warmest and coziest knitted cap.
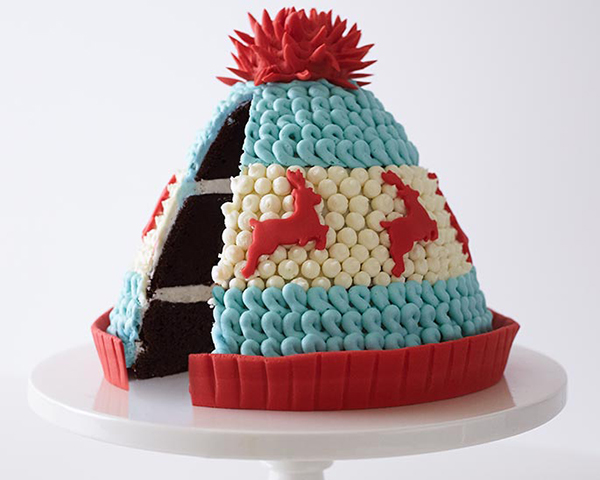
To get started, this cake is baked in a classic “Doll Pan” which most cake decorators have in their baking pan collection. If not, it can easily be substituted with stacked up layer cakes carved into a mounded shape. However, there is no substitute for a good piping buttercream recipe which holds color well and doesn’t melt. We’ve included our recipe, or use your favorite, but store bought won’t make the cut for this cake. For finishing touches, a fondant pom and dancing reindeer make for a crisp and tailored contrast to the buttercream and are an easy way to give your cake a clean professional finish. Make this Winter Hat Cake for friends and family and they’ll treat you with as much warmth as your cakes brings them.
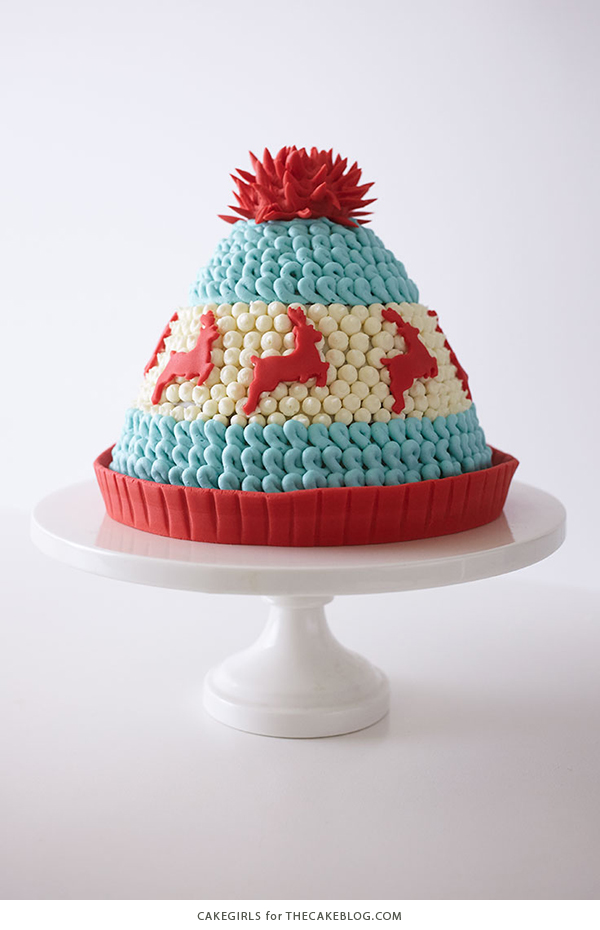
WINTER HAT CAKE
a tutorial by Cakegirls
Supplies:
Cake baked in a Doll Pan
Crusting Buttercream Recipe
Piping Bags
#6 Piping Tips
8 oz. Red Rolled Fondant
Blue Gel Paste
Reindeer Cutters
STEP 1: ONE DAY AHEAD, BAKE CAKE AND MAKE ICING
Coat the inside of the doll pan with a generous coating of shortening and then flour well. Fill with batter and place the pan on a sheet tray to balance it in the oven. Once your cake is baked, cool for 15 minutes and flip it out of the pan to cool completely. Wrap the cake in plastic wrap and place the cake back in the pan and put it in the fridge to chill overnight. This will help it keep it’s shape and make it much easier to ice with buttercream when ready.
Make your buttercream and cover the surface with plastic wrap. You can leave this at room temperature.
STEP 2: SLICE, FILL AND CRUMBCOAT CAKE
Remove the cake from the fridge, unwrap and place on your platter. Slice the cake in three parts and spread buttercream between the layers.
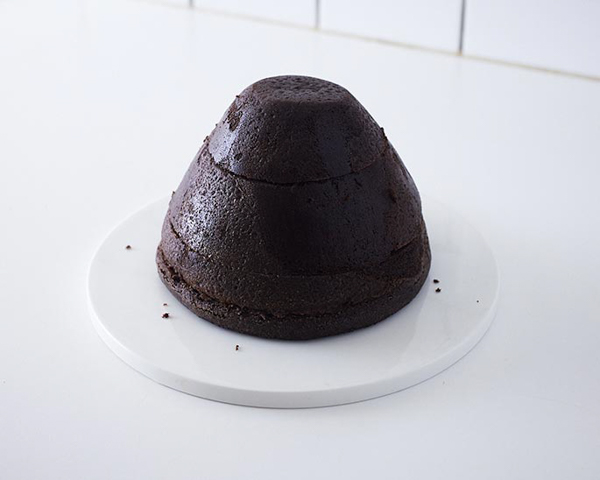
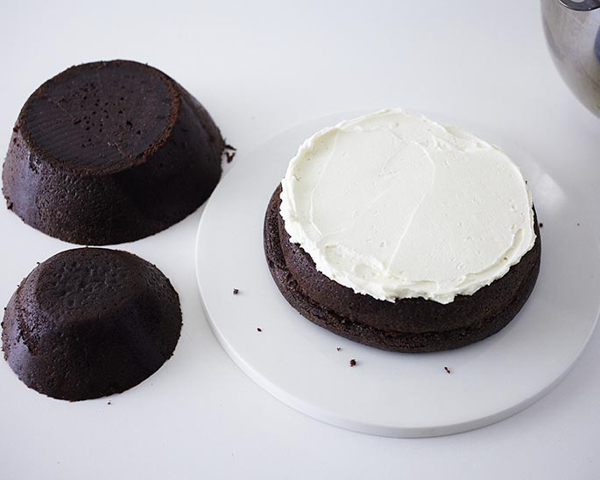
Stack the cake back up and then ice with a thin layer of buttercream to seal in the crumbs. Place the cake in the fridge to chill for 1/2 hour.
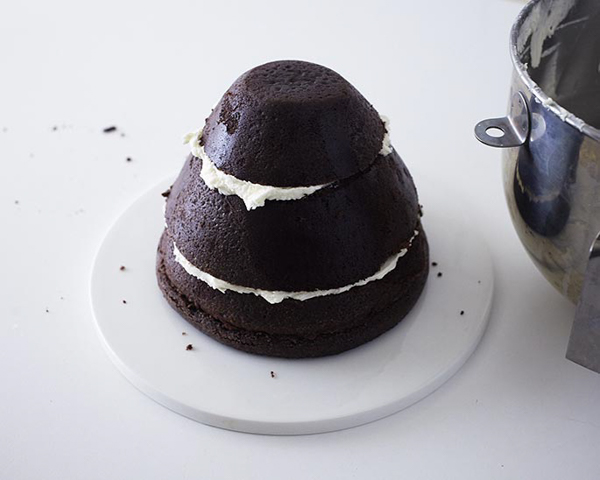
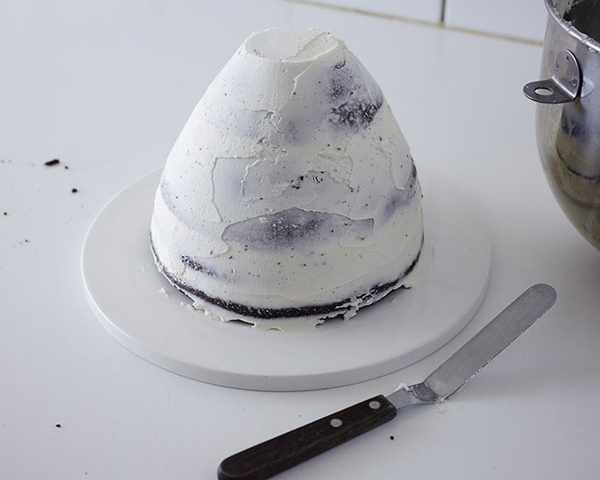
STEP 3: PIPE TEXTURE IN BUTTERCREAM
Divide your remaining buttercream in two parts and tint one portion light blue. Place both colors in piping bags fitted with #6 piping tips.
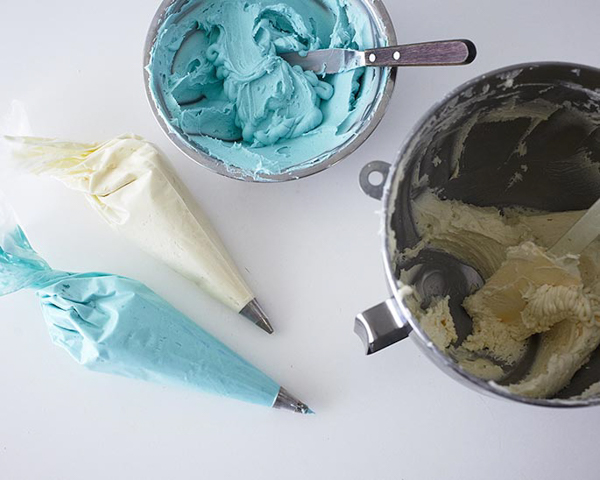
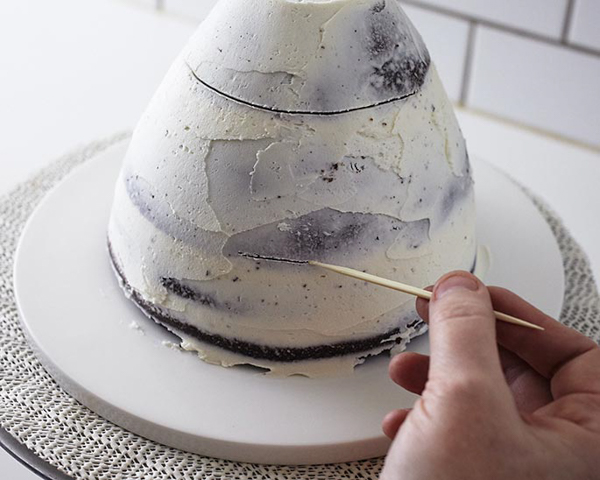
Use a toothpick to draw a guide for piping so you know where to start and stop. Make the band approximately 3″ wide so that the cut out reindeer pieces fit within it.
Starting at the top, pipe horizontal lines of loopty loops in blue buttercream.
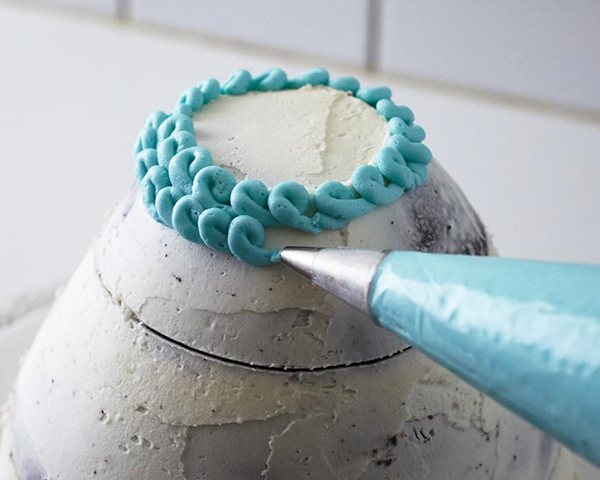
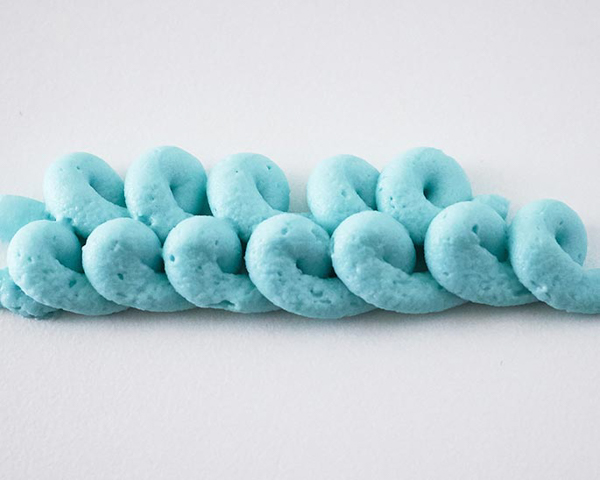
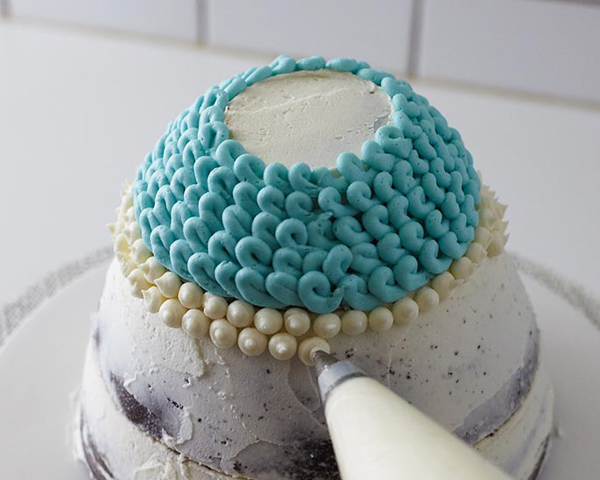
Once you hit your line, switch to the white buttercream and pipe dots in horizontal rows. Try to pipe them as close together as possible so that you don’t see any cake underneath. When you finish the white section, switch back to blue loops and continue all the way to the bottom. Fill in the very top with piping too.
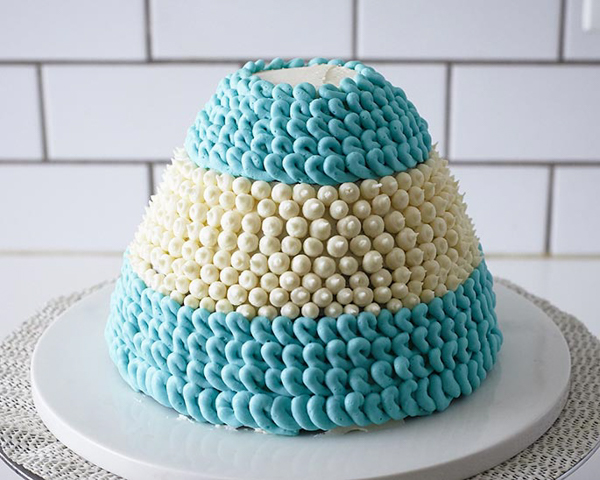
STEP 4: FINISH WITH FONDANT DETAILS
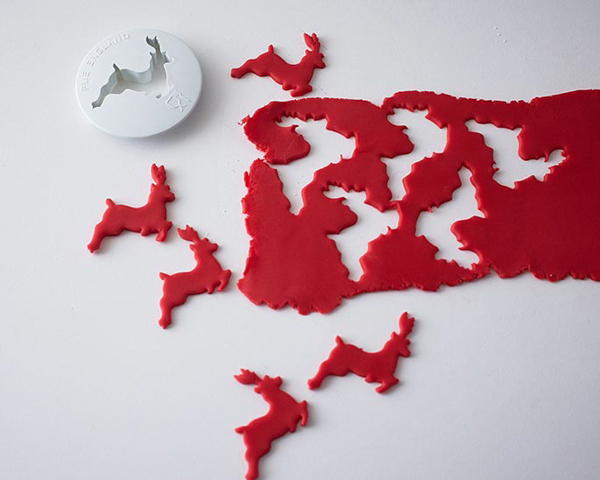
On a surface coated with powdered sugar, roll out 2 oz. of red fondant and cut out 8 dancing reindeer. Use a toothpick to gently push the reindeer legs and antlers from the cutter if they don’t come out immediately.
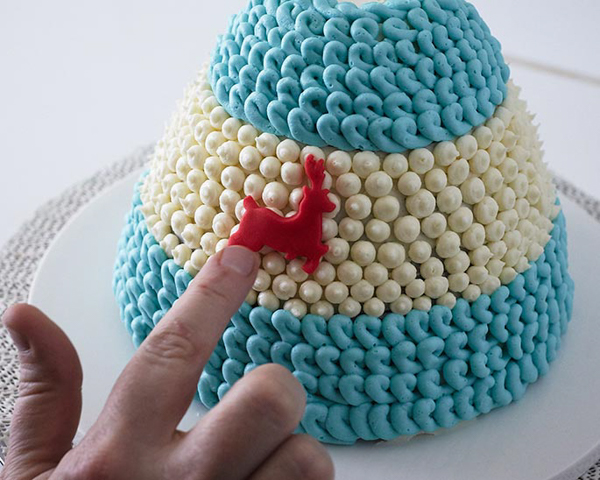
Gently attach reindeers on the cake in the white section.
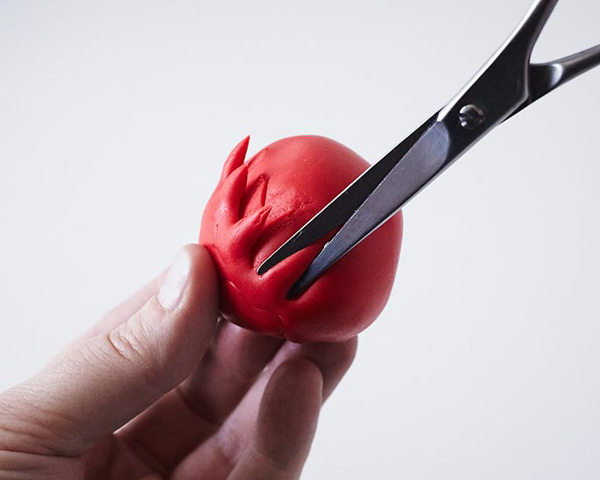
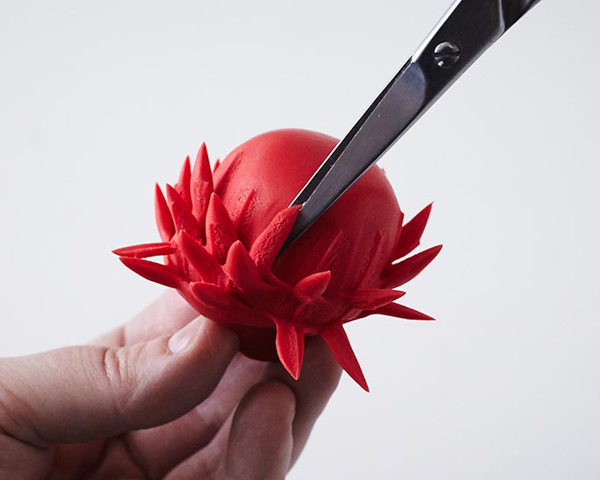
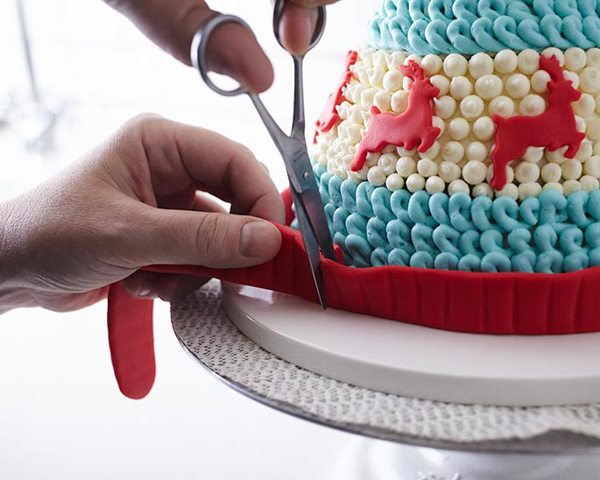
Once all the reindeer are on, use another 2 oz. of fondant and any left over from the reindeer to make the pom pom. Roll the fondant into a ball and using small scissors, make downward cuts into the fondant until the entire ball is covered with cuts.
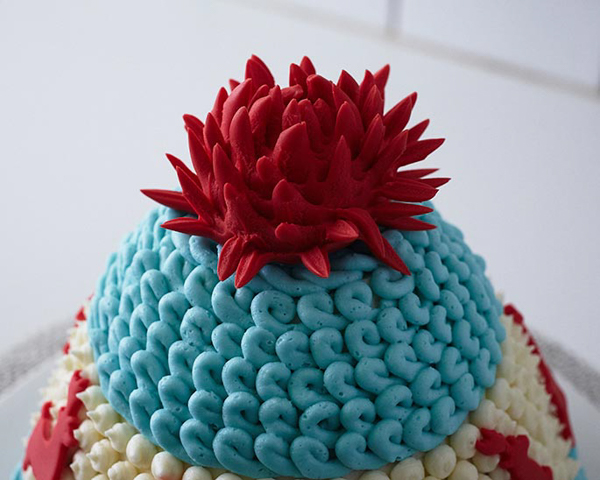
Place the finished pom pom on the top of cake.
Roll out the remaining fondant into a rope about 12″ long.

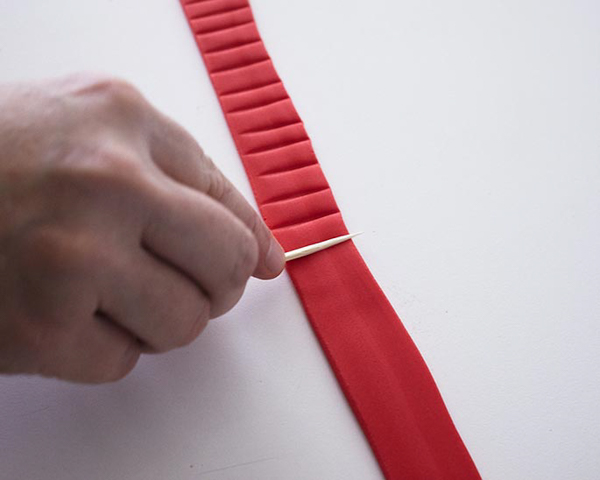
Cut the rope in half and then roll each piece with a rolling pin, lengthening and flattening the piece as you roll it.

Make indentations with a toothpick to mimic a hat band.
Place the band around the bottom of the hat, pressing it into the base of the cake to adhere, but leaving the top edge of the band loose. Complete the band with the second piece, trimming if necessary.
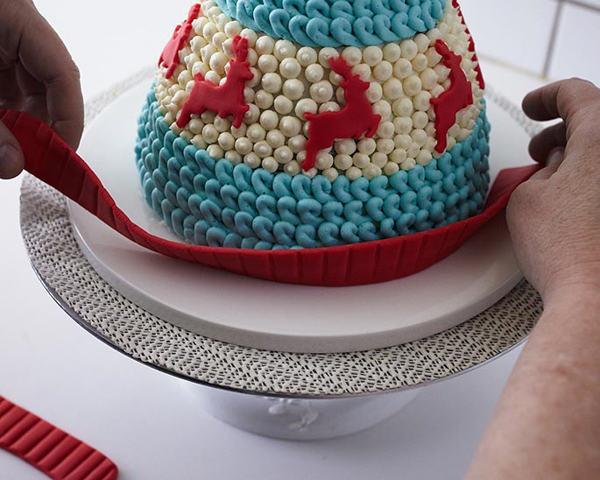
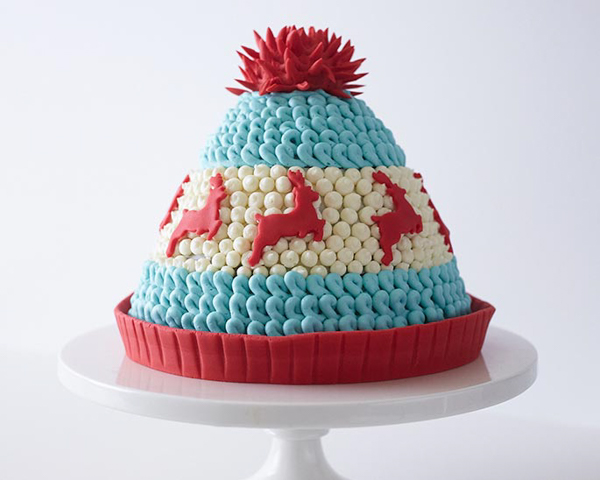
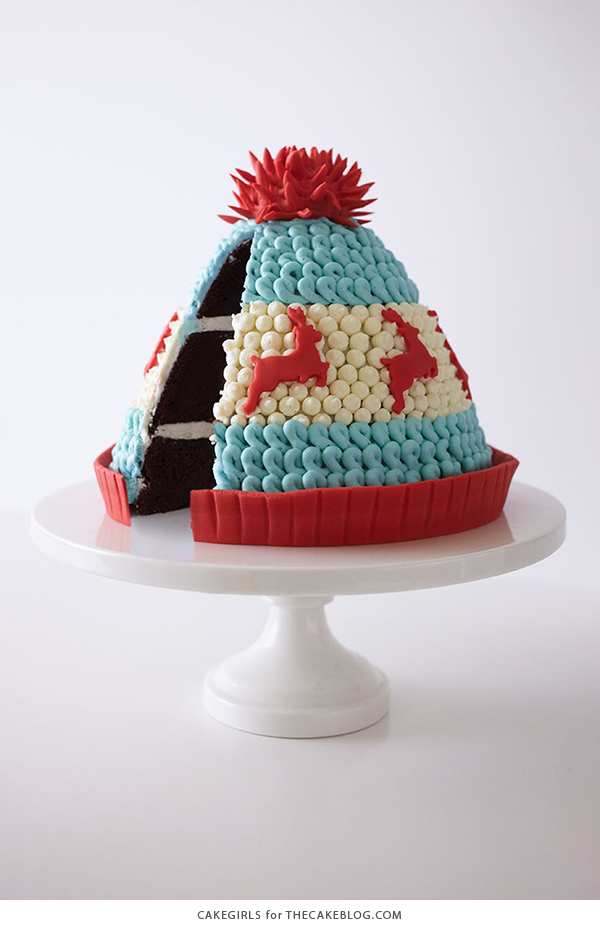
Your Winter Hat Cake is complete! Serve and celebrate!
YOU MAY ALSO ENJOY:
Birch Log Cake
Gift Box Cake
Christmas Cupcake Wreath
Igloo Cake
Chocolate Poinsettia Cake


Very good way making a shape cake. Can a person do the designing at home? How much time takes for a professional to make this?
Wow so nice..it shows how creative you are.. i will try to make this for Christmas..Thanks for sharing.
Thanks for sharing; simple, yet very elegant.
Looks great!!
I used your method to make a version completely covered in buttercream, with shortbread cookie accents. The pom pom is a buttercream covered marshmallow treat ball (also the gloves). Your recipe! Thanks!
https://www.flickr.com/photos/heartlover1717/38698941020/
Your cake looks great! Thanks for coming back and sharing your photo with us — love seeing your creations!
Thanks for the blog,
we have also some great christmas cake