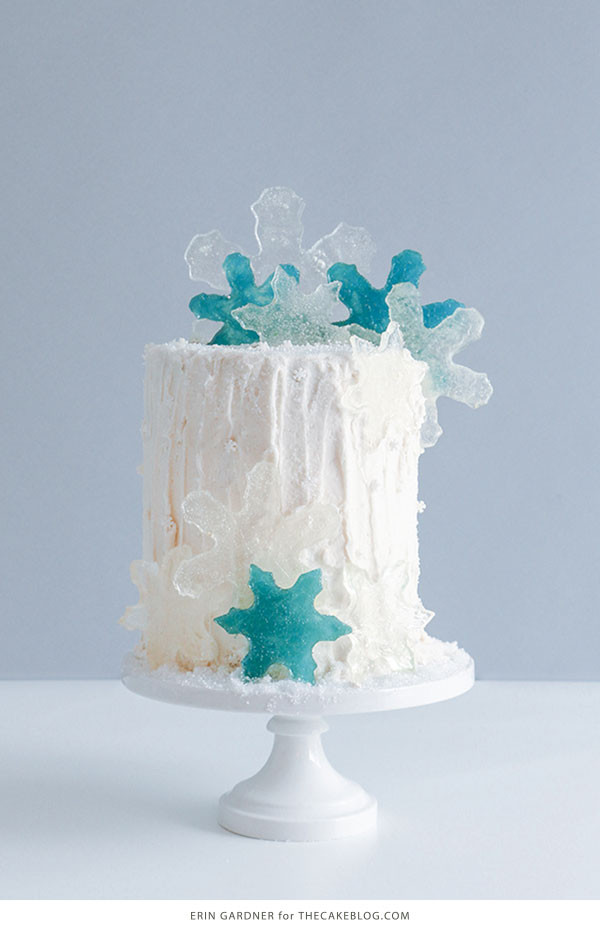
Candy Snowflakes – how to make crystal-like snowflakes using hard candies and cookie cutters. A new tutorial by our contributor Erin Gardner.

Make these shimmering candy snowflakes to dress up a winter themed cake for your next holiday dessert spread or for your little princess who just can’t “let it go”. Stick to my icy crystal and blue palette or use candy colors that match your party’s decor. Keep this melted candy technique in mind for other projects as well. Any metal, heatproof cookie cutter will do.
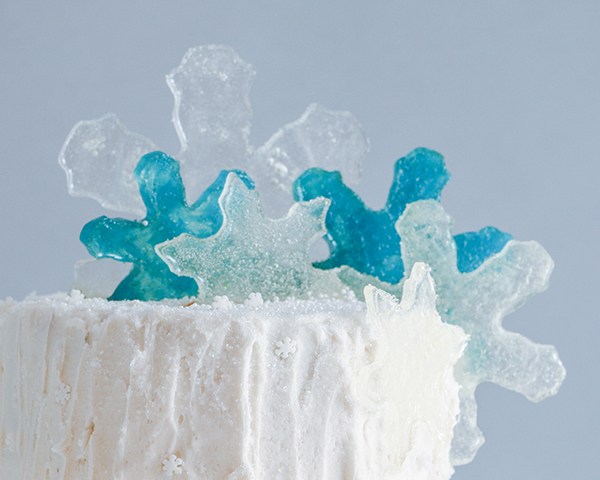
Finding clear hard candy took a little hunting on my part. Lucky for me, we have a great candy store in town that carries a wide variety of sweets. It was also a happy coincidence to find clear and blue minty candies, perfect for pairing with seasonal cake flavors! If you can’t find clear candy in your area the same ones I used are also available online (see supply list below for links). Isomalt is another option if that’s something you’re comfortable working with.
CANDY SNOWFLAKES
a tutorial by Erin Gardner
Supplies:
Clear hard candies
Blue hard candies
Snowflake cookie cutters
Non-stick cooking spray
Paper towels
Parchment paper (or silicone baking mat)
Position a rack in the center of the oven and heat the oven to 350°F.
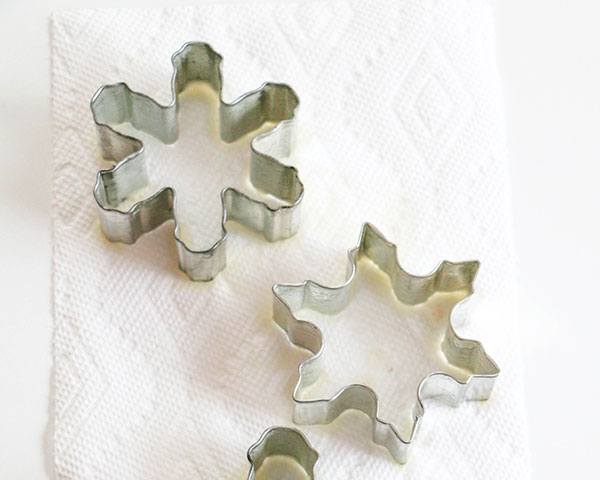
Thoroughly spray the inner walls of the snowflake cutters with non-stick cooking spray. Tap the cutters on a paper towel to shake off any excess grease. Place the cutters on a cookie sheet lined with parchment paper (or a silicone baking mat).
Unwrap the hard candies and drop them into the snowflake cutters. Fill each cutter with one color or combine colors for a marbled look. Leave a little bit of space between candy pieces to allow them to spread and fill in the details of the cutters as they melt. I tried this project with both smashed candy and whole candy pieces and found that the finished snowflakes were sturdier when made with whole pieces of candy.
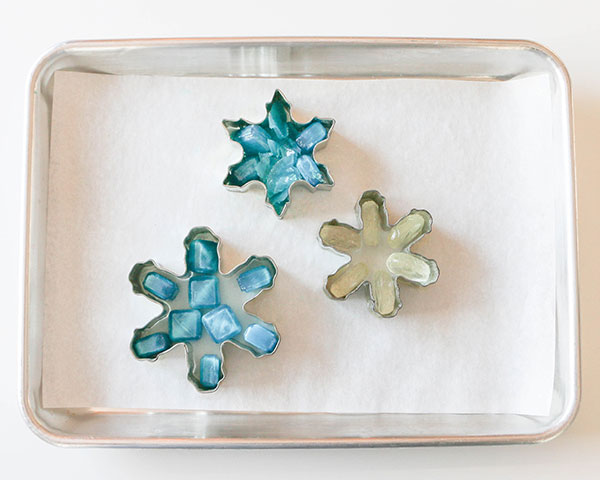
Place the tray in the preheated oven for 8-9 minutes, or until the candy has completely melted. Remove the tray from the oven and set it on a cooling rack until the cutters are cool to the touch, about 10 minutes. You may be tempted to place the tray in the fridge to speed up the process – but don’t. It’s much easier to remove the snowflakes from the cutters when they’re set, but still a little warm. Cooling the candy too fast will cause it to become brittle.

Pick up a snow flake and flip it over. Clean up the outline of the shape by snapping away any excess candy against the bottom of the cutter.
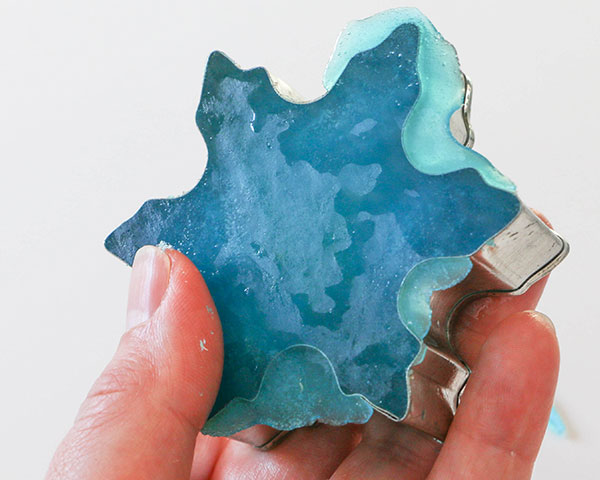
Carefully begin the process of unmolding the snowflake by gently pulling on the sides of the cutter to release the candy. There’s no rush! Slowly move around the snowflake, from point to point, sliding the snowflake out through the bottom of the cutter.
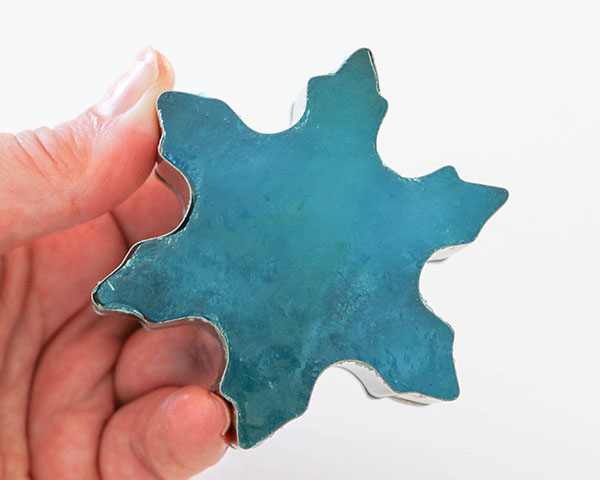
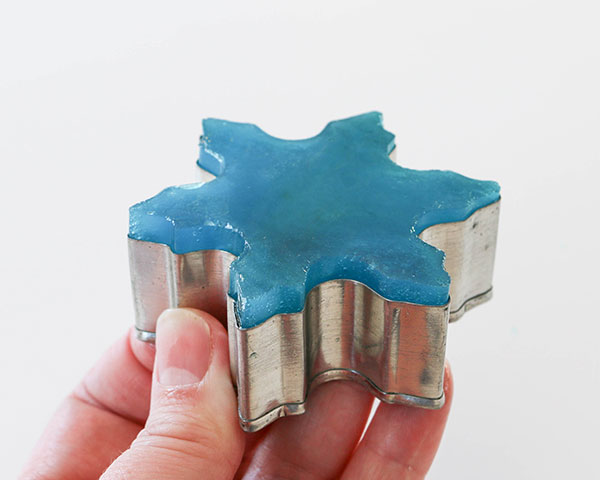
Breakage happens, so don’t sweat it! Reattach a snapped snowflake arm by dipping the end in melted candy before pressing the pieces back together.
Scatter snowflakes on a freshly iced buttercream cake or use them to top cupcakes. Store them layered with parchment paper in an airtight container at room temperature until the candy’s expiration date.

YOU MAY ALSO ENJOY:
Chocolate Poinsettia Cake
Birch Log Cake
Winter Hat Cake
Christmas Cupcake Wreath
Igloo Cake
Find all of our holiday recipes and tutorials in our Christmas Gallery!




I love that cake it is so beautiful and looks delicious!
These are beautiful! Thanks for sharing…
Hi Erin,
I have tried these snowflakes twice now with no luck! They break into many pieces every time I try to unmold them. Any tips? I would really love to get them to work!
Thanks! 🙂
Kelsey
What type of icing was used to ice the cake? Looking to recreate this for my 1 year-olds B-day.