Our contributors, Mary and Brenda Maher of Cakegirls, are back with a new DIY today! Join us as they share a new cake project with a step-by-step tutorial.
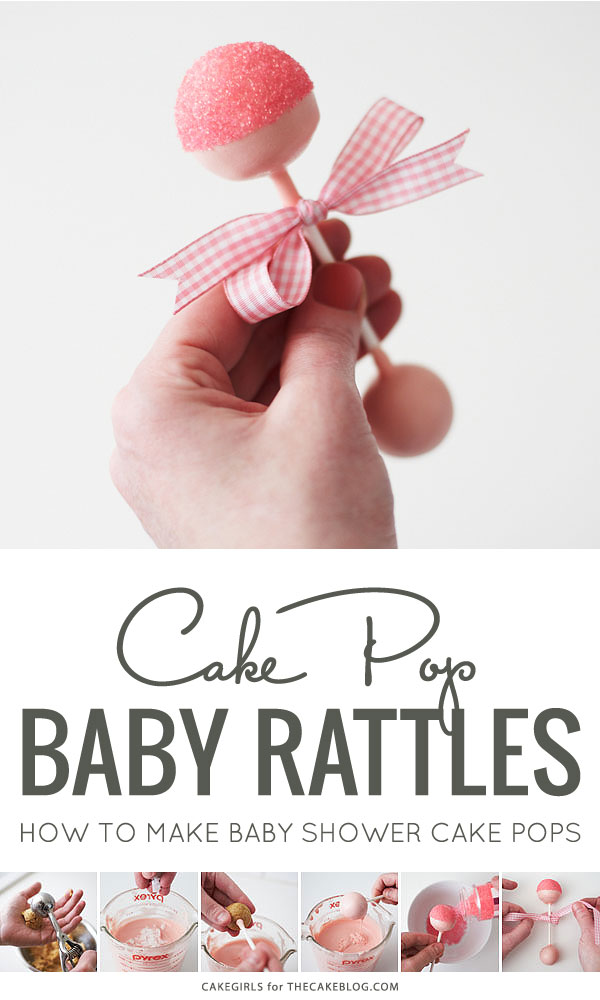
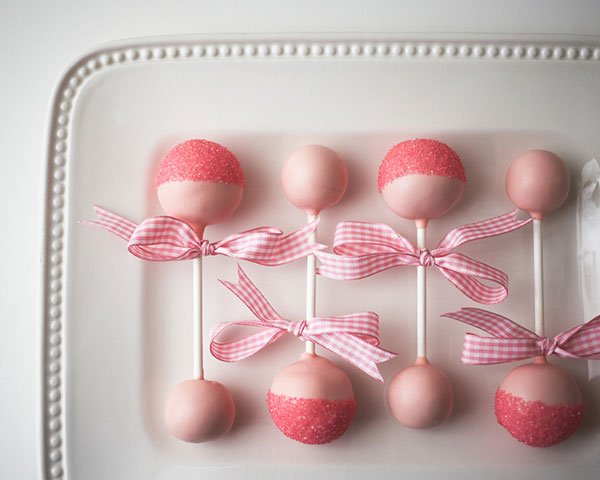
I love making cake pops. There’s just something about cute little desserts on a stick that can’t be beat. So, when I was enlisted to bring the desserts to a girlfriend’s baby shower, it was just a matter of deciding what kind of baby themed cake pops to create. Well, this was not your average rubber ducky themed baby shower and it called for something a little more modern and a little more clever….and the baby rattle cake pop was born.
This tutorial is really nothing more than an amped up traditional cake pop laced with sparkly sugar to finish; but sometimes the simplest ideas can be the most effective. Plus, it’s a really easy project to give your own creative touch. Switch up the coating color for a different theme, add gold sparkle for a modern twist, tint the cake pop filling for a gender reveal….the options are endless.
A few tips that I might add for making cake pops: Make sure that your cake pop filling is not too squishy. It should hold together well and create a firm ball, so go light on how much frosting you add to your cake. Also make sure that when you roll your cake pops, they are as round as possible before dipping so that you get a really pretty finished treat, even if this takes a bit more time. And last, but most important, do not skip using Paramount Crystals. Adding just a small pinch to your melted coating thins it so that you get a smooth, even shell instead of a gloppy exterior…every cake pop maker’s worst nightmare.
CAKE POP BABY RATTLES
a tutorial by Cakegirls
Supplies:
Cake Pop Filling
Light Pink Candy Coating
Paramount Crystals
4 1/2″ White Sucker Sticks
Piping Gel
Paintbrush
Hot Pink Sanding Sugar
Pink Gingham Ribbon
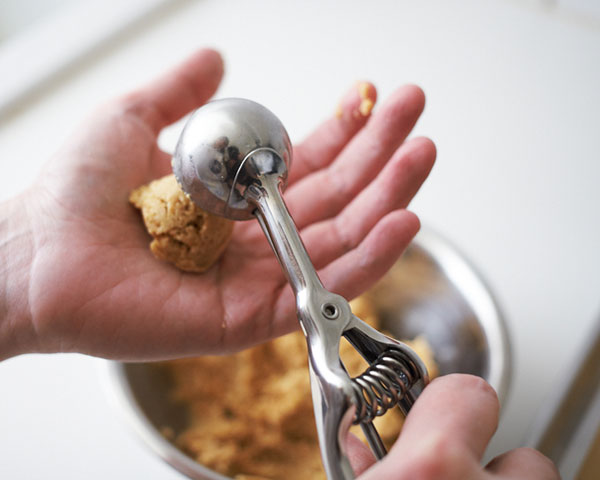
1 3/8″ Stainless Steel Scoop
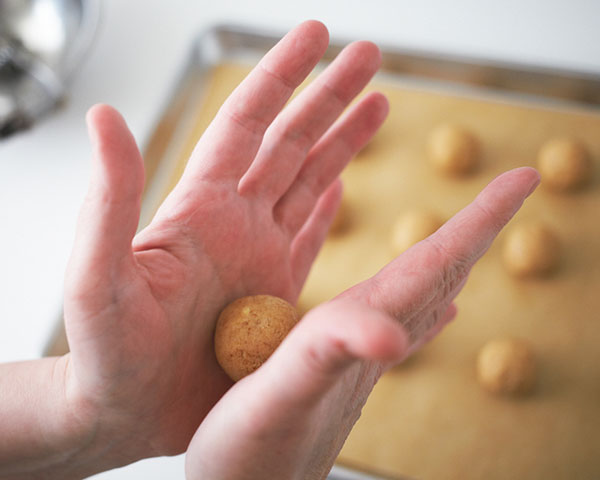
Prepare your cake pop mixture. Place the mixture in a bowl and refrigerate for 1/2 hour. Remove the mixture and use the scoop to create 15 even portions.
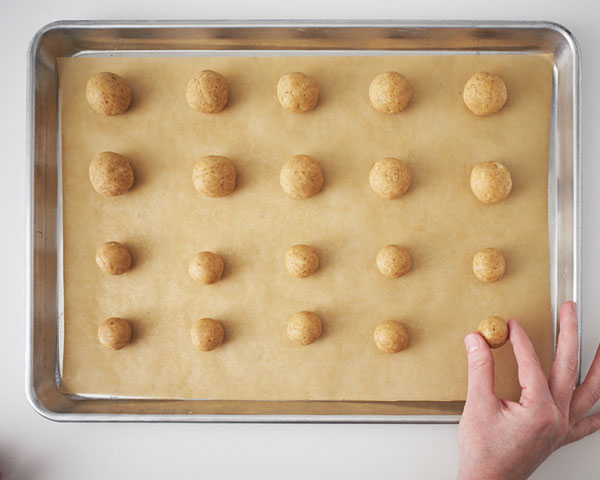
Roll each portion between the palms of your hands until you get even round shapes and place them on a tray.
Next, cut 5 of the balls in half with a knife to create the smaller end of the baby rattles. Reroll those into round balls.
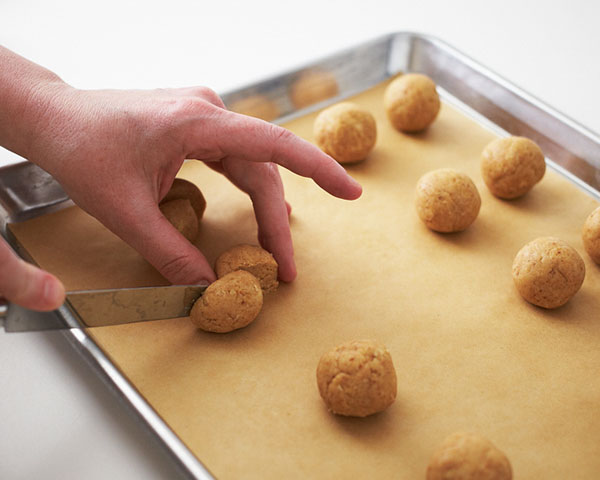
You should now have 10 large balls and 10 smaller balls. Place these in the freezer for 15 minutes to harden.
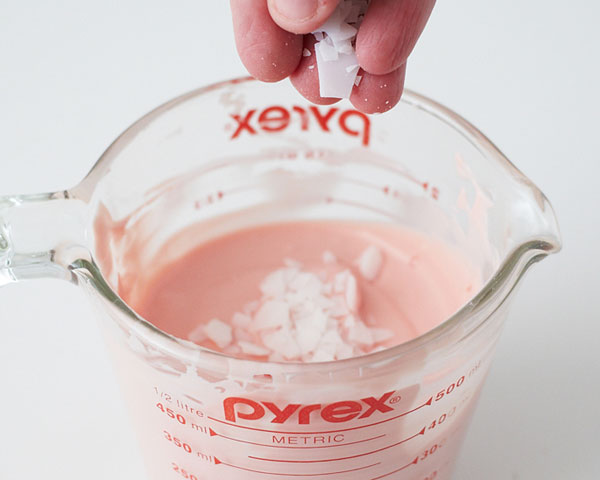
Place the pink coating discs in a cup or bowl deep enough to dip the cake pops. Microwave them in 30 second intervals, stirring in between until 3/4 melted. Remove and continue to stir until completely melted. Do not overheat the mixture. Add a few pinches of paramount crystals and stir until the coating is very fluid — this step is essential in getting a smooth, neatly coated exterior.
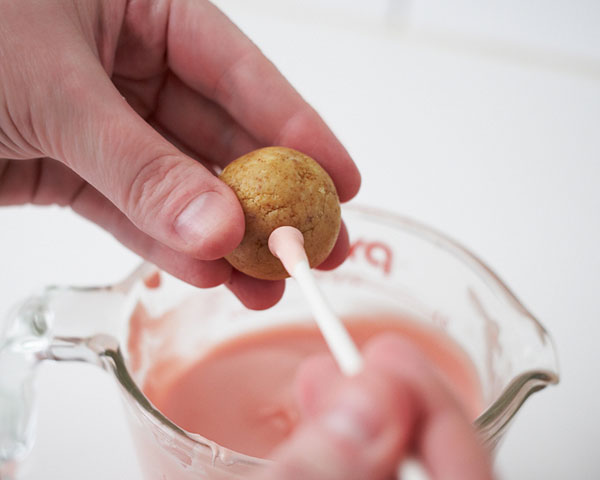
After 15 minutes, remove the cake pops from the freezer. Re-roll each one in your palms again to get each ball very round. Next, dip the end of a sucker stick in coating and insert half way through one of the large balls to adhere. Wipe away any drips with your finger.
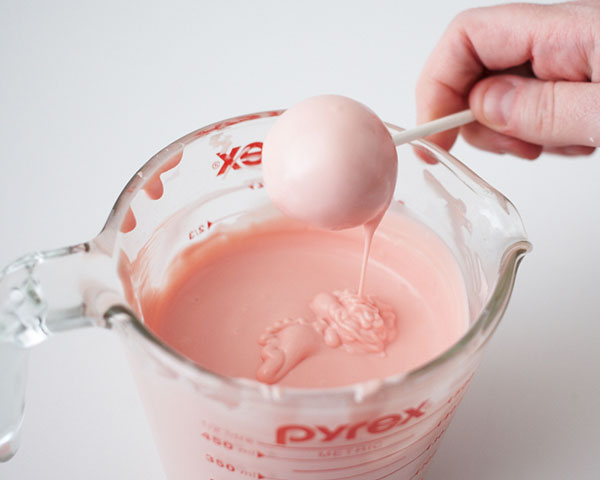
Next, dunk the entire ball in coating. Gently tap the stick on the edge of the bowl to remove the excess coating.
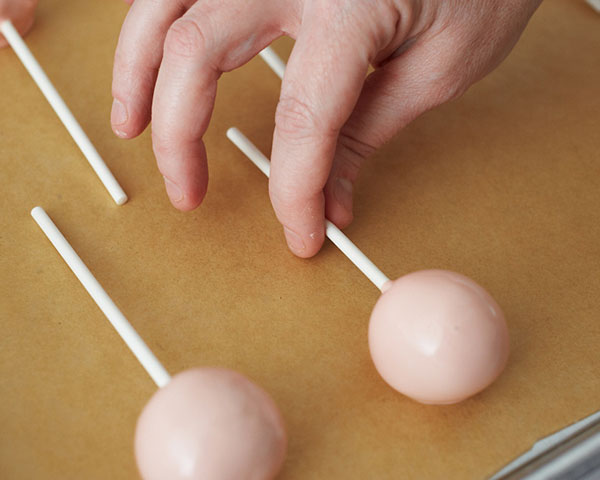
Place the pop on the second tray and continue with the remaining large balls.
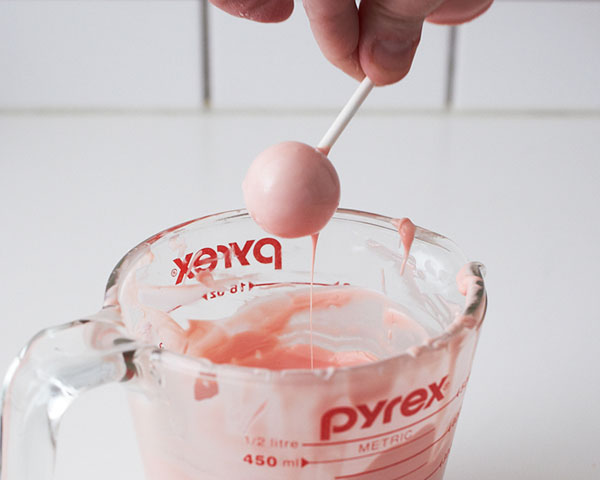
Once all the pops are coated, place the tray in the refrigerator for 10 minutes for the coating to set. (In the meantime, place the tray with the smaller balls back in the freezer.) Remove both trays and then repeat the entire process with the small balls, using the opposite end of each cake pop stick. Place the coated pops in the fridge until firm.
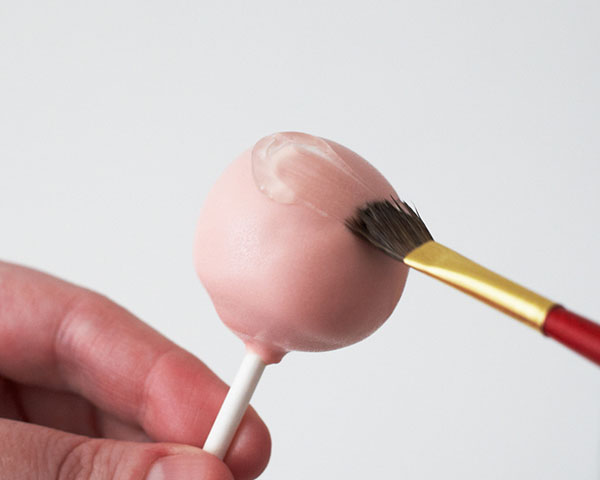
Using a paintbrush, lightly coat the top half of the large balls in piping gel. This should be a thin coating and not gloppy. The sugar will stick wherever you put piping gel so be sure to coat the entire area neatly.
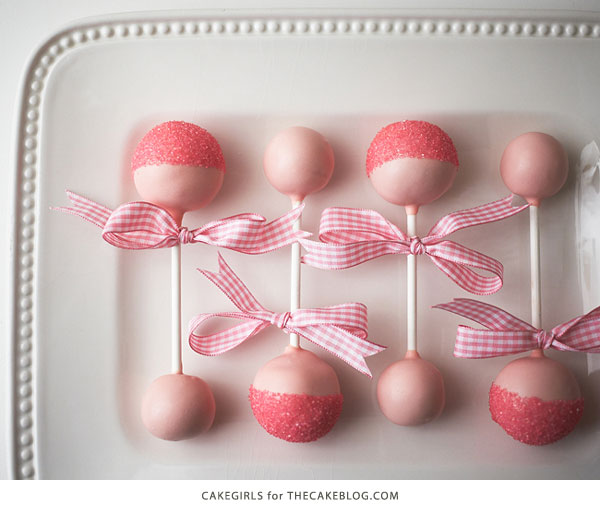
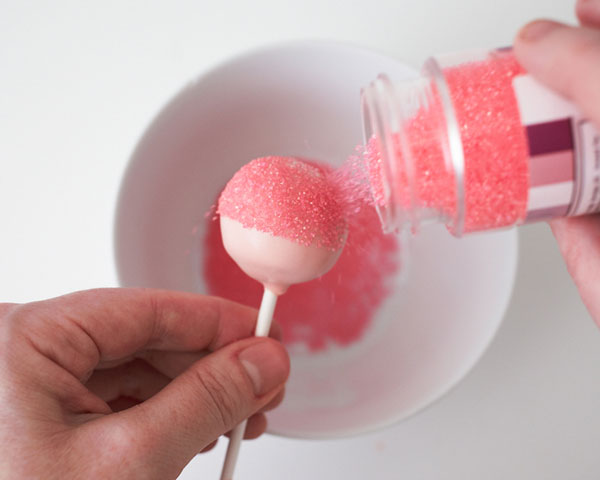
Sprinkle each pop with pink sanding sugar to coat.
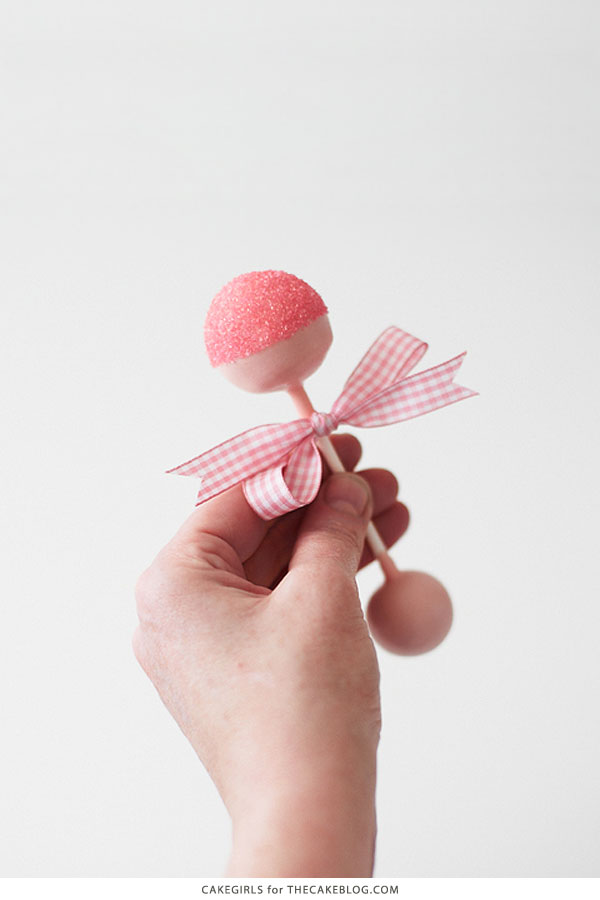
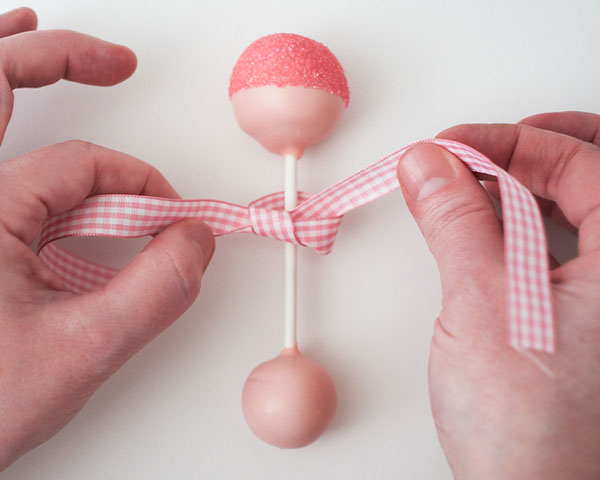
Finish each rattle by tying a gingham bow.
YOU MAY ALSO ENJOY:
Rose Cake Pops
Donut Cake Pops
Cake Gems
Teeny Tiny Flower Pot Cakes
Gender Reveal Cupcakes


These are just too adorable for words! Thank you for the tutorial.
I’ve read the vegetable oil works just like paramount crystals for thinning the melts. What is your opinion?
@Liz Butts
Hey Liz! Vegetable oil does work to thin the coating but because it’s not solid, it makes the cake pop shell more delicate, once dry. Paramount crystals are solid, melt into the coating and then set back up, so the shell is just as sturdy. It’s definitely worth comparing the two! Have fun!
Where can u get paramount crystals from?
There is a link for the paramount crystals in the supply list above (before Step #1 in the tutorial).
Beautiful !!! Thank for this DIY! Have a good day!
This is such a great idea! They are absolutely adorable and will make great baby shower favors.
Can it be any kind of cake mix? Like chocolate? and where can I find the , Light Pink Candy Coating,
Paramount Crystals, 4 1/2″ White Sucker Sticks and Piping Gel? lol
Sure, it can be any flavor of cake for the cake pop itself. Everything you need is linked in the supply list above, if you’d like to purchase them online. Otherwise, you can check your local craft store. Enjoy!
Michaels has everything but paramount crystals
There is a link for the paramount crystals in the supply list above (before Step #1 in the tutorial).
Wonderful!
Omg so Incredible! I can’t bake at all but I wanted you to know that I enjoyed the tutorial very much. I’m 44 and pregnant with my little baby girl finally! She’s due on Valentine’s Day and I would love these cake pops! I’m not crafty enough so I will price them to buy and if I can’t afford then I will get pink donuts 💖🌸. Thank you again!! Yaaay!! This post made me happy!😀
Do you have any suggestions on displaying these? I’m planning a baseball themed baby shower for my sister in law and we made baby blue cake pops using your instructions and they’re BEAUTIFUL but I’m not sure how to show them off! Thank you for your post!!!
How many would this make? I am trying to figure out how much I need… thanks!