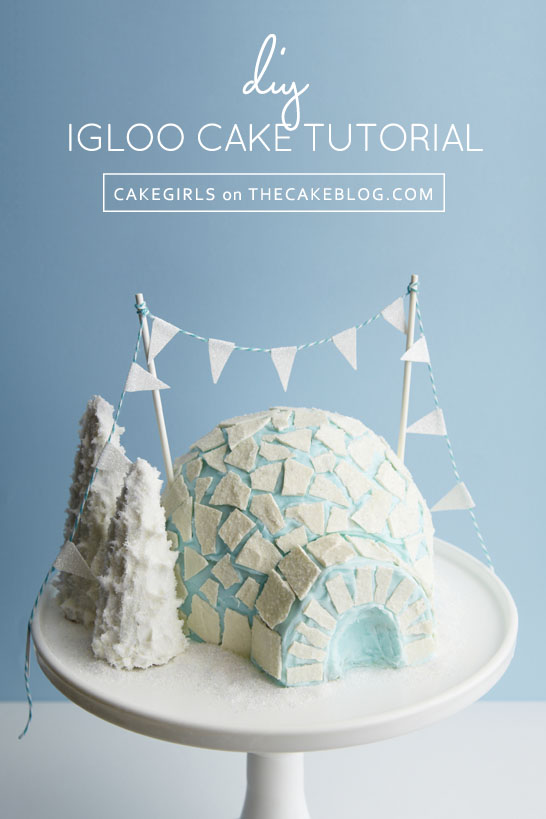
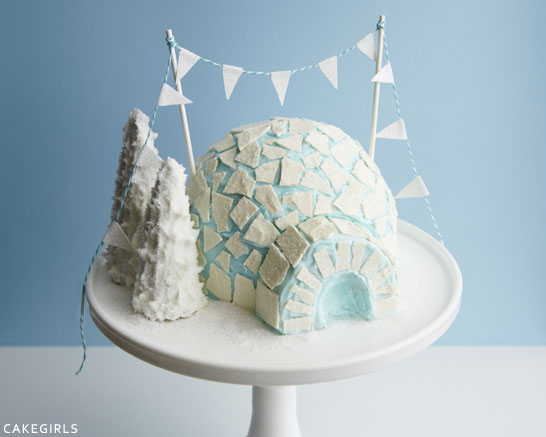
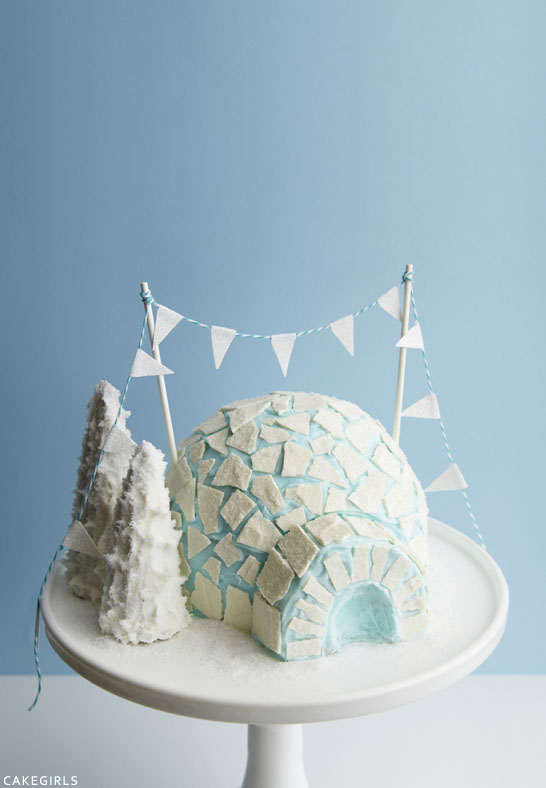
Igloo Cake Tutorial – how to make an igloo shaped cake with frosty ice pieces, sparkling trees and glittering flag banner. An adorable winter cake for holiday parties and Christmas dessert.
Today we’re hooking you up with a tutorial from one of the cake world’s most beloved duos. For those of you, like me, who’ve been following bakers and style makers for years… you already know these talented sisters. Their cake designs have been featured in fabulous magazines like Real Simple Weddings and Martha Stewart Weddings and their wins on the Food Network Challenges are aplenty. For years, they inspired us with their flawless sense of style and creative execution. Which is why we all felt heartbrokenwhen a fire destroyed their Chicago cake shop back in 2010. I just can’t even imagine. But that makes today’s feature even more amazing. Yes, I’m thrilled to see Mary and Brenda Maher back in action with a whole new business that is right up our alley. And today you’re going to be thrilled when you see their new tutorial. It’s frosty. It’s chilly. It’s down right icy. It’s an adorable Igloo Cake and the Cakegirls are teaching us how to make it!
Mary and Brenda Maher have gathered their favorite tips and tricks to bring you the new Cakegirls, an online boutique with everything you need to make the cake and throw the party. Incredible projects to inspire you paired with the supplies you need to create them at home. From the baking supplies to the party supplies, all with that signature Cakegirls style that we love so much! And today’s igloo tutorial is just one of the many achievable projects they have ready and waiting for you.
Now, let’s get to this igloo, shall we? This little project could not be cuter with it’s frosty ice pieces and glittering flag banner. And do I spy some sparkling trees? Yes! We love a good sparkling Christmas tree! The best part about this cake is that it’s totally achievable by all bakers, no matter your skill level. Oh, that and there’s a donut hidden inside. Let’s take a look…
IGLOO CAKE TUTORIAL
a DIY by Cakegirls
Ingredients:
Cake recipe of choice, or box mix
1 Donut
Frosting of choice, or 2 tubs store bought vanilla icing
2 Sugar Cones
Blue Gel Paste
1 Bag White Candy Coating
Course Sanding Sugar
Tools:
6″ Round Pan
1/2 Ball Pan
Sheet Pan
Parchment Paper
Sucker Sticks
Twine
White Glitter Tape
STEP 1: Divide the cake batter between the ball pan and the 6″ pan and bake accordingly. Once cool, wrap the layers in plastic wrap and refrigerate for a few hours to firm up the cake. Mix blue food coloring into 1 1/2 tubs of icing until light blue and set the rest aside. Place the ball on top of the 6″ layer with icing in between and place on the cake stand or display board a little to the right to make room for the trees. Next, cut 1/3 off the bottom of the donut and then trim the back flat to fit to the front of the cake.
STEP 2: Use a spatula to coat the exterior of the cake, trying to keep the icing as smooth as possible. When you are done, it will look like this.
STEP 3: Make the broken ice. Place parchment on a 1/2 sheet tray and set aside. Heat the white candy coating discs on half power in the microwave, stirring frequently until melted. (Do not overheat). Use an offset spatula to spread the coating on the tray into a thin layer (1/8″ to 1/4″ thick).
STEP 4: Immediately sprinkle opal sugar crystals across the entire top of the melted coating. Place in the fridge for 10 minutes, or until firm.
STEP 5: Remove the tray from the fridge and let it sit for about 10 minutes, which will make cutting pieces easier. Then, use a craft knife to cut little rectangles to fit on the front of the door.
STEP 6: Next, use your hands to break off pieces and apply to the cake where they fit, like a mosaic until the rest of the cake is complete.
STEP 7: Break a little off the open end of one of the ice cream cones to make a shorter tree and then use the remaining white icing to cover the cones. Prop the cones on your fingers to make this easier. Sprinkle in sugar and place by the igloo using a little icing to adhere.
STEP 8: Next, tie the twine between two sucker sticks to create the garland string and leave excess on each end. (Our string measures 7″ between the two sticks, but make the garland however you like.)
STEP 9: Cut 2″ pieces of white glitter tape and fold them in half over the twine, pressing to adhere. Then use scissors to trim each piece into a triangle.
STEP 10: Place the garland in the cake. Smear any remaining buttercream around the base of the cake and sprinkle with additional opal sanding sugar to finish.
YOU MAY ALSO ENJOY:
Christmas Ornament Cakes
Birch Log Cake
Gift Box Cake
Winter Hat Cake
Christmas Cupcake Wreath


Oh my goodness! This is the cutest cake EVER!!!!! I love it. I would never have thought of an igloo cake.
Hi, I will definitely try making one igloo cake. Thanks for the great post. 🙂 Is there any substitutes I can use for the candy melt? white chocolate? Fondant? It is quite difficult to get candy melt from the place I m staying.
Thank you for your help.
Sure, you could substitute tempered white chocolate for the candy melt. Fondant would work as well!
This igloo cake is so fun and fabulous! Adorable!
Oh yes!! I will definitely be making one of these this year!! It’s beautiful!!
I know this is an old post, so hopefully you’ll get this! Do you remember how much blue food coloring you used to get this shade of icing?
No, unfortunately we do not have a specific amount noted. However, just start with a small drop of food coloring and build until you get the desired shade. It’s always easier to add more color but hard to remove too much.
Hi Carrie I love to make this cake but it needs to be a bigger size than a 6”. Maybe a 10” ? Do you have a recipe?
Hi Silvia – you would follow the same method for a 10″ cake. The largest ball shaped pan I’ve seen is 10″ and then you’d place it on top of a 10″ round cake. Follow the directions that come with the ball pan regarding how many cups of batter you’ll need for your desired size.