Funfetti Cake – homemade funfetti layer cake recipe made from scratch with sprinkles, fluffy frosting, more sprinkles and a drippy chocolate ganache. By our contributor, Olivia Bogacki.
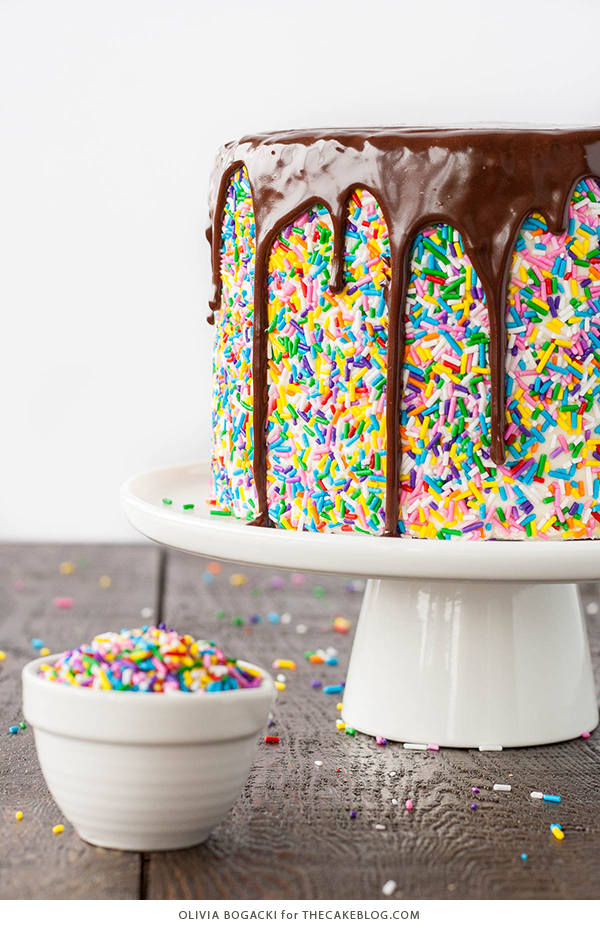
Today’s cake delivers a bold pop of color, mostly because it has been a dreary winter here in Vancouver and I’m literally watching a torrential rain storm outside my window as I type this. I am in dire need of something bright and cheery, and this cake is the perfect ray of sunshine!
Don’t let the candy coated exterior fool you – this Funfetti Cake is the perfect balance of sweet and tart. A buttermilk cake paired perfectly with a cream cheese frosting. The sprinkles in the cake add a fun burst of color, and the drippy chocolate ganache gives it a little bit of elegance.
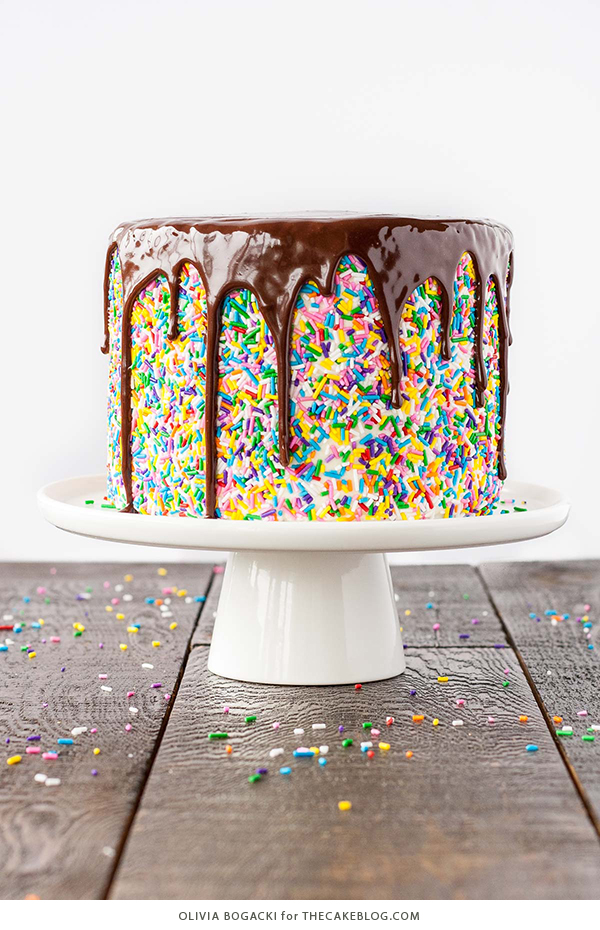
Funfetti cake is typically made using a white cake recipe, mixing rainbow jimmie sprinkles into the cake batter before baking. The sprinkles melt when the batter is baked, leaving behind a small fleck of color in the finished cake that sort of resembles confetti. While you could certainly just add rainbow sprinkles to a box cake mix and get a similar result, this homemade version is definitely a worthy upgrade. I kept the egg yolks in this recipe, essentially creating a yellow cake that’s rich, moist and buttery with a touch of sweetness both from the vanilla and the sprinkles. With sprinkles on the inside and sprinkles on the outside, it’s the ultimate birthday cake!
If you’re more of a purist, insisting that it must be white cake to be a classic funfetti cake, give this funfetti cupcake recipe a try. Just bake it as a two layer 8″ round cake instead of cupcakes.
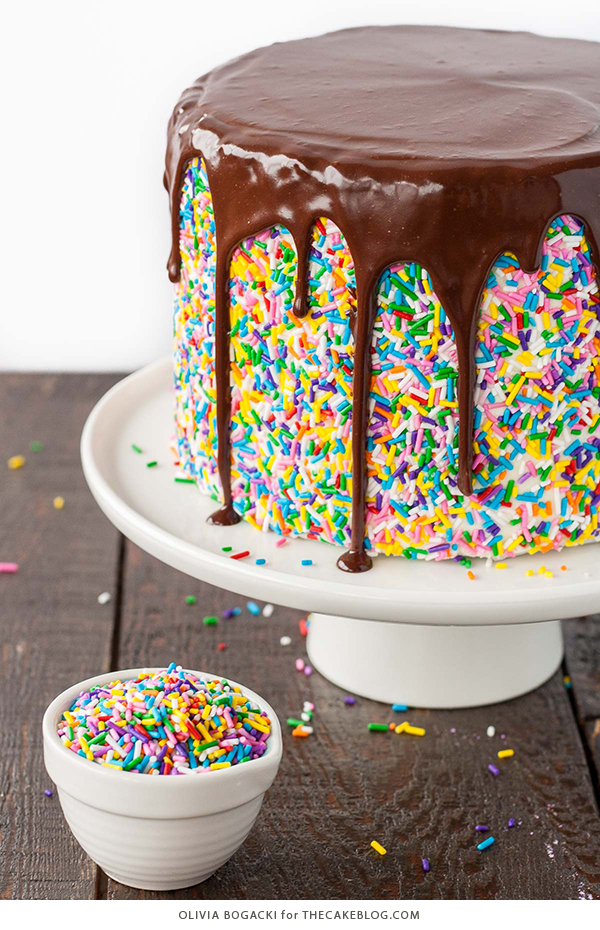
This cake is really simple to decorate, but I do have a few tips for you to ensure it all goes smoothly.
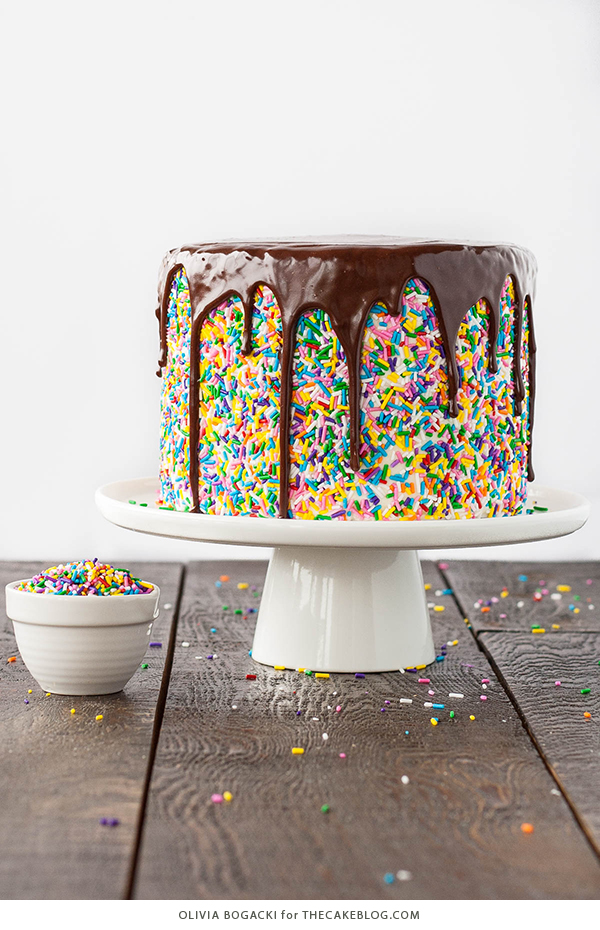
To add the sprinkles to the sides of the cake, I first placed the cake on an upside-down bowl so that the sides of the cake would be floating and I could easily spread the sprinkles to the very bottom of the sides. I rotated the cake as I pressed the sprinkles in, starting from the top and working my way down. You could also try this sprinkle cake technique, but since the frosting was a bit on the softer side due to the cream cheese, I opted to press the sprinkles into the sides manually. Either way you choose, be sure to smooth the sprinkles out to ensure the ganache drips down nicely.
For the drippy ganache, I used a teaspoon to drip the ganache along the sides and then filled in the top. You can follow this tutorial here to see how I did it. Simple, straightforward, and works like a charm!
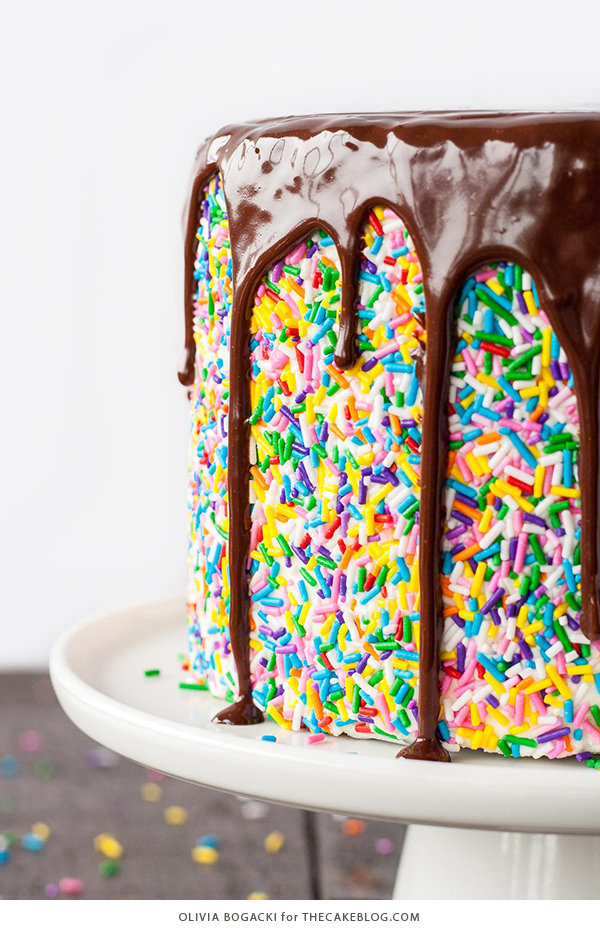
If you’re looking for a colorful cake for any celebration, or want to surprise someone special with a fun birthday cake, this is the funfetti cake for you!
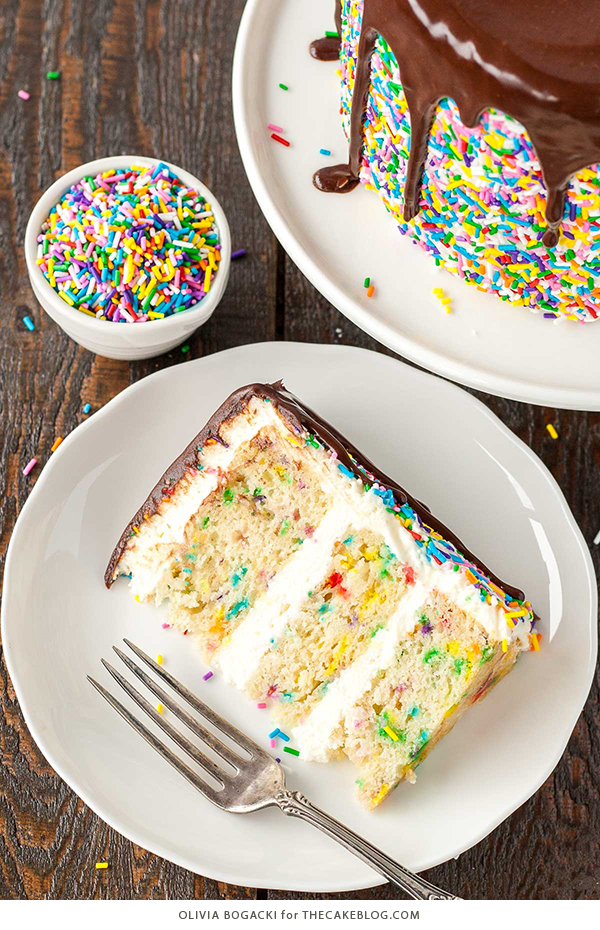
Funfetti Cake
Funfetti Cake – homemade funfetti layer cake recipe made from scratch with sprinkles, fluffy frosting, more sprinkles and a drippy chocolate ganache.
- Yield: One 6" Round Cake (3 layers)
- Category: Desserts
- Cuisine: Cake
Ingredients
For the Funfetti Cake:
- 1 ½ cups cake flour (sifted)
- 2 teaspoons baking powder
- ½ teaspoon salt
- ½ cup unsalted butter (room temperature)
- 1 cup granulated sugar
- 2 large eggs (room temperature)
- 1 teaspoon vanilla extract
- ¾ cup buttermilk (room temperature)
- ¼ cup rainbow jimmies sprinkles
For the Cream Cheese Frosting:
- 1 cup unsalted butter (room temperature)
- 6 ounces cream cheese (room temperature)
- 3 cups confectioners’ sugar
- 1 tablespoon vanilla extract
- pinch salt
For the Chocolate Ganache:
- 3 ounces dark chocolate (finely chopped)
- 3 ounces heavy cream
For the Assembly:
Instructions
Make the Funfetti Cake:
- Preheat oven to 350F. Grease and flour three 6″ cake rounds and line with parchment.
- In a medium bowl, whisk flour, baking powder, and salt until well combined.
- Using a stand mixer fitted with the paddle attachment, beat butter until smooth.
- Add sugar and beat on med-high until pale and fluffy (2-3 minutes).
- Reduce speed and add eggs one at a time, fully incorporating after each addition. Add vanilla extract.
- Alternate adding flour mixture and buttermilk, beginning and ending with flour (3 additions of flour and 2 of milk). Fully incorporating after each addition. Do not overmix. Fold in sprinkles.
- Spread batter evenly into prepared pans. Smooth the top with a spatula.
- Bake for approximately 30 minutes or until a toothpick inserted into the center comes out mostly clean.
- Place cakes on wire rack to cool for 10 minutes then turn out onto wire rack to cool completely.
Make the Cream Cheese Frosting:
- Beat butter and cream cheese on med-high until pale and smooth (approx. 2mins).
- Reduce speed to low and add sugar 1 cup at a time. Add vanilla and pinch of salt. Increase speed to high and beat for 2-3 minutes until pale and smooth.
Make the Chocolate Ganache:
- Place chopped chocolate and cream into a microwave safe bowl. Stir to combine. Microwave for 20 seconds, stir. Microwave in 10 second intervals, stirring in between, until ganache is smooth and silky.
- Set aside to cool completely before using on cake.
Assemble the Cake:
- Place one layer of cake onto a cake stand or serving plate. Top with approximately 2/3 cup of buttercream. Repeat with remaining layers and crumb coat the cake.
- Place cake in freezer and frosting in the fridge for 30 minutes.
- Frost the cake and smooth the sides and top. Place back in the fridge for 1-2 hours for frosting to set.
- Place a bowl upside down on a baking sheet to catch excess sprinkles. Place cake on inverted bowl. Gently, but firmly, press sprinkles into the sides and top of the cake. Letting excess fall onto the baking sheet.
- Chill in fridge for 30 minutes.
- Using a teaspoon, apply ganache near edges like so to create the drips. Pour some ganache on the top of the cake and spread with an offset spatula. (detailed tutorial here)
Notes
- This cake was baked in three 6-inch round pans, which are smaller than a traditional cake pan. Be sure to check the size of your pan! Alternatively, you could bake it in two 8-inch round pans.
- Frosting may be very soft. If so, place in fridge for 30 minutes to firm up.
- I ran my hands over the entire cake after adding the sprinkles to ensure a smooth surface for the drippy ganache. If using a firmer frosting, you can try using this technique to cover the sides with sprinkles.




love the look of the sprinkles on the outside! normally ganache drippy cakes seem to have a smooth exterior, but i think the bit of texture adds so much more depth and interest.
Thanks so much Heather! I’m so happy with how the drips turned out 🙂
Oh wow that looks incredible! So many sprinkles! And chocolate ganache drizzles…ugh wish I had a slice 😀
Awesome that you’re a contributor now Olivia! 🙂
Thanks so much June! 😀 I wish I could send you a slice ;).
Love this cake Liv! Anything funfetti ticks all of my boxes Xx
Thanks Thalia!! <3
What a gorgeous, colourful cake — and so fun with the sprinkles! I’m so glad Olivia’s a contributor to this site; I’ve been following her blog for months now, and her work is always wonderful!
Alanna, you are the sweetest!! Thank you <3 🙂
This cake looks amazing and almost too pretty to eat lol. I love the ganache over the sprinkles, such a unique cake!
Thanks Quin! 🙂
So many sprinkles! Love this 🙂
So fun, right? Thank you!!
Very pretty cake! The drip could be made with white chocolate or colored melts to bring out a color in the sprinkles. What a nice idea for spring and summer parties.
Thank you! I actually tried the white chocolate first, but mine was too yellow :(. The candy melts are a great idea though! Would have loved that contrast.
That cake looks absolutely amazing! Yum!
Thanks Lorna! 🙂
That cake look really amazing and pretty!!!!
Hi Olivia! This cake looks awesome! If I were to use 2 8-inch baking pans, how long should I bake them for?
Bake approximately 30 minutes or until a toothpick inserted into the center comes out mostly clean.
I wish there was a video on how to put the cake together and decorate.
Sorry Doreen, there’s no video at this time. But we have a photo tutorial of how to decorate the sides with sprinkles and another tutorial for the drippy chocolate ganache. Hope those help!
This one looks amazing and just fabulous, I have just fallen in love!!! Will the homemade buttermilk work? And which cream cheese is better to use, salty or something like a mascarpone?
Sure, homemade buttermilk will work just fine. And you’ll want a brick cream cheese like Philadelphia.
Just made this cake and it’s so cute! It’s going to go great with the flowers for Mother’s Day! 🙂
Would the cake still turn out good if it was decorated the day before? Or is it best to serve the same day?
Making it the day before is just fine Melanie. Just be sure to store it in the refrigerator since it has a cream cheese frosting. Bring it back out an hour or so before serving so that it isn’t rock cold when it’s time to eat. Cake always tastes better at room temperature!
Looks amazing I will so make this for my birthday 😸😻👏
This cake looks amazing! I was hoping to make it for a friends birthday party, about how many people would this serve? Thanks in advance!
This will serve roughly 10. Enjoy!
Amazing and delicious cake!!!!
Thanks so much for this! I made it for a school fundraiser where the parents were requested to donate “outrageous” cakes. Being inexperienced in cake decorating, this cake leaves a big impact without the need for lots of skill, especially with your directions. Tasted delicious, too! 👍👍
I doubled this recipe to make a birthday cake for my younger brother. It’s in the oven now, but the batter tasted A+++
I will probably be lazy and just make plain old chocolate frosting, but that ganache looks very pretty.
What size cake pans do you use and how many layers? Is it just two?
This recipe uses three 6″ round cake pans. Enjoy!
I feel stupid but it says the recipe makes one 6″ round- so do I triple the recipe for the 3 layers?
No worries Emily! This recipe will make one 6″ round cake, complete with three internal layers. So you’ll just have to make the cake batter recipe once and divide it evenly between three 6″ round pans. Hope that makes sense!
Hi, I made the cake last night. I doubled the recipe because I was using the standard 8″ rounds. I either did not have enough batter or something happened with the rise. My cakes didn’t rise as you’ve shown. Bummed. May try it again if time tonight. I added food coloring to a small portion of the batter to swirl it in. It definitely took the air out of the small portion that I colored and when I swirled it in it did not appear to affect the remaining batter. Could that have been the issue?
This cake looks like a fun project to try! I love tall cakes, so, if I want to make 1 8″ round, 3 layers, would I simply double the recipe?
Thank you.
did it worked ?
Made this tonight in 2 8″ pans. The cake is literally no more than 1/4 of an inch thick. I’ve never seen a batter stick to the sides of a pan like this before. I have made numerous of your cakes and never had issues. When I saw the cake was comprised of 1 1/2 cups of flour (cake flour) I knew the cakes would be thin but not this thin. I’m so frustrated and sad at how this one turned out. I dont understand what went wrong.
★