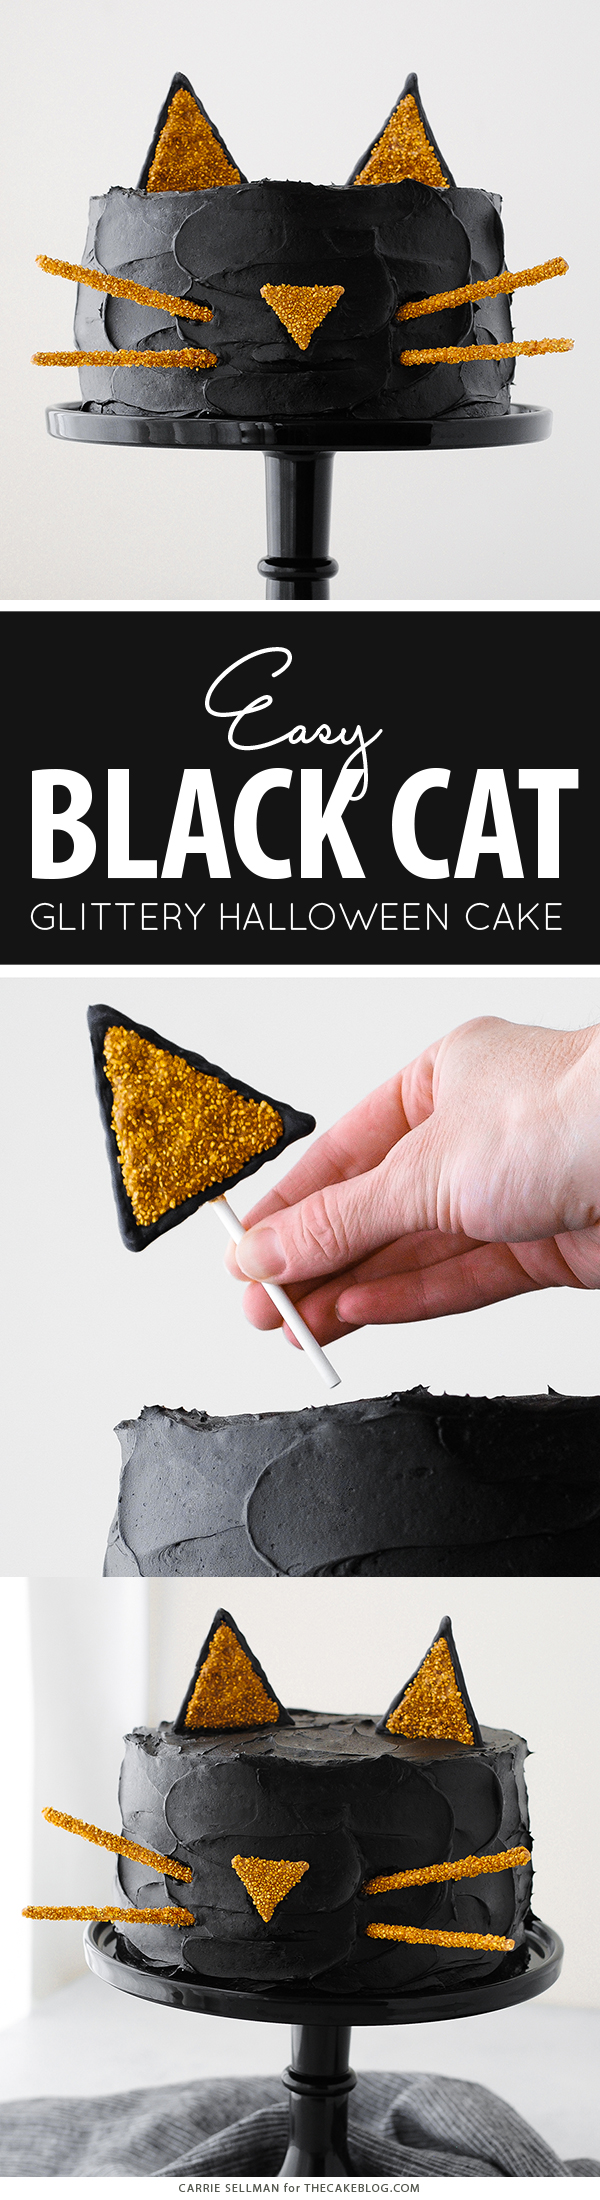
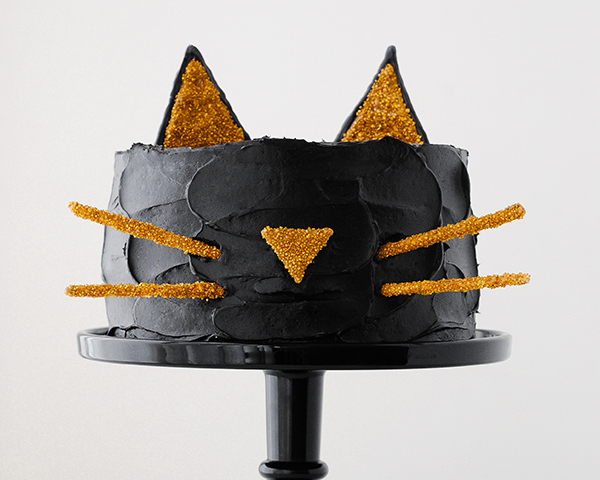
Black Cat Cake! Celebrate Halloween with this adorable cat cake with a simple silhouette face and gold glitter cat ears!
If you hadn’t noticed, cats are seriously having a moment right now. Everywhere you turn, adorable cat faces are popping up on purses, shoes, shirts, iPhone cases, socks, hats and the list goes on. I can’t even count the number of retailers selling bedazzled cat ear headbands this fall! Soooo, in true The Cake Blog fashion, we’ve translated this trend into cake, first with these vintage black cat cupcakes and now with an easy layer cake tutorial perfect for Halloween or any cat celebratory occasion.
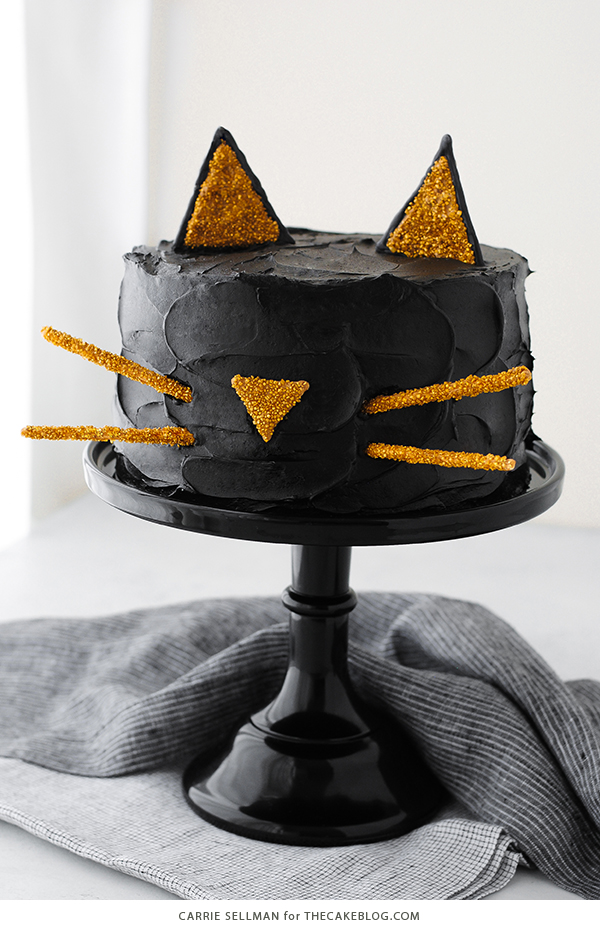
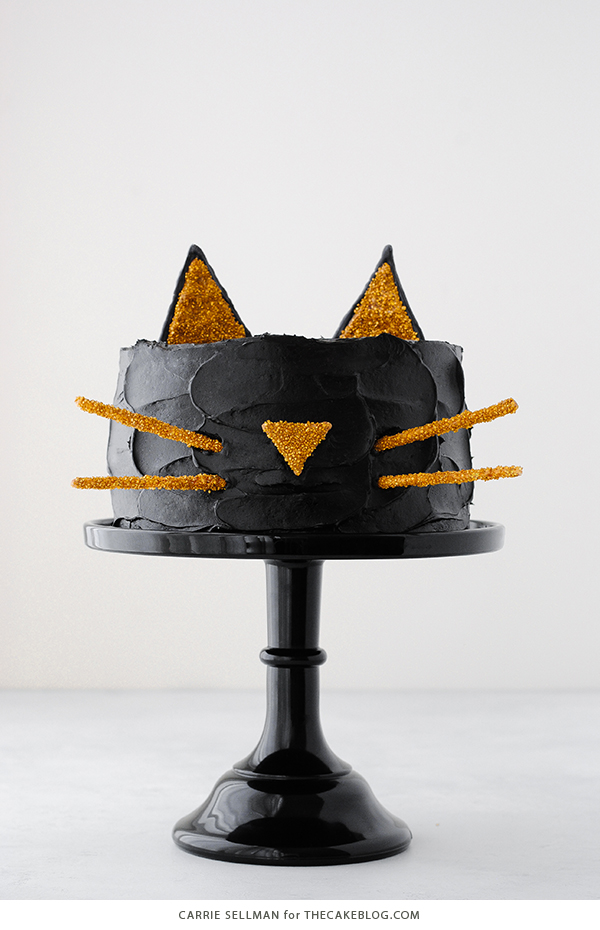
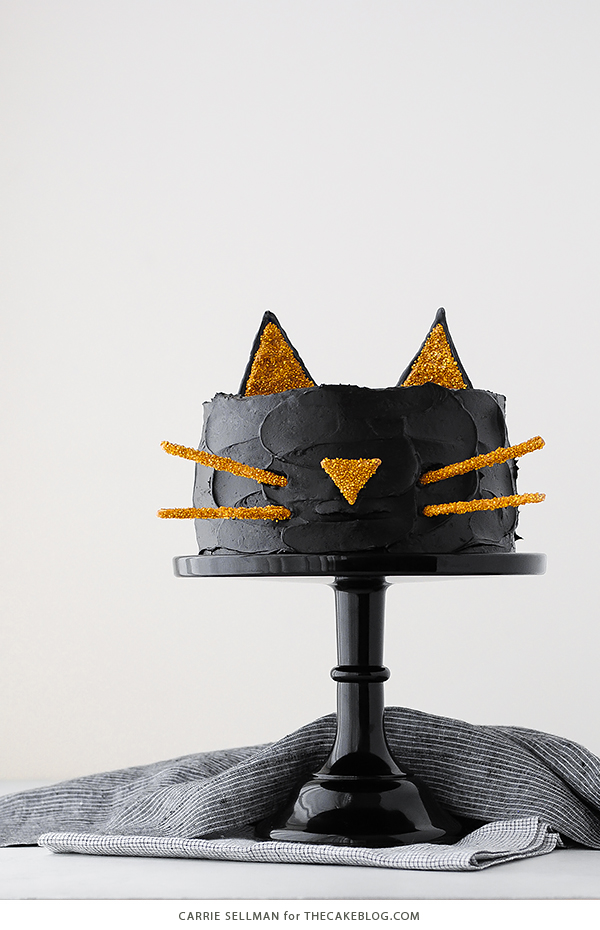
File this project under the more cute than scary, more easy than intricate, kid-friendly and cat-approved category. To start things off, your favorite cake gets a quick coating of black tinted frosting. Go for smooth, crisp, straight lines or keep it simple with quintessential homemade swirls that easily resemble cat fur texture. Then come the easy-squeezy triangle ears and a hefty coating of gold sprinkles. Lollipop sticks act as our whiskers and a black cake stand doubles as the body. The completed cat cake is ready to pounce upon your Halloween table and is certain to steal the show.

BLACK CAT CAKE
a tutorial by Carrie Sellman
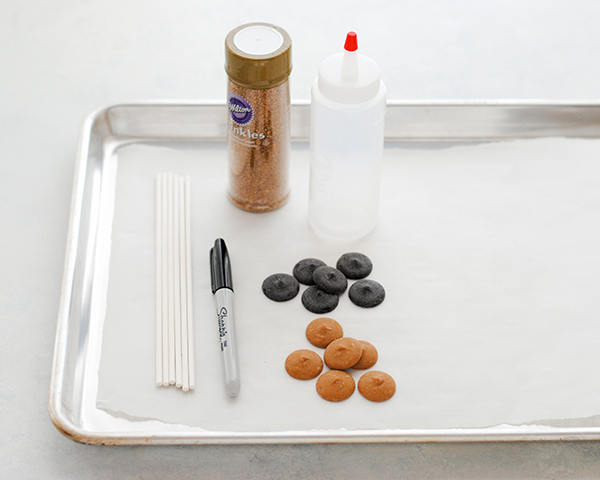
Supplies:
Layer Cake, recipe of choice
Frosting Tinted with Super Black Gel Paste
Black Candy Coating
Peanut Butter Candy Coating
Gold Pearlized Sugar
8″ Lollipop Sticks
Squeeze Bottles (2)
Baking Tray lined with Parchment Paper
Black Marker
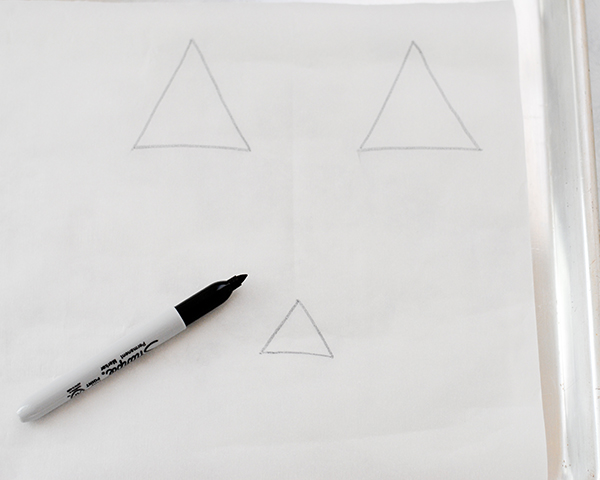
Using a black marker, draw two large triangles onto the parchment paper for the cat ears. Then draw one smaller triangle for the cat nose. Flip parchment paper over and line your baking tray with your template.
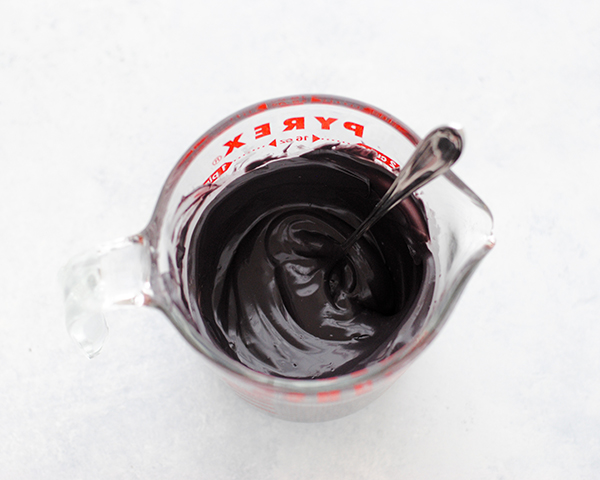
Place some black candy coating in a microwave safe bowl and heat on 1/2 power. Remove every 30 seconds and stir. Continue to do this until the coating is thoroughly melted, but be sure to avoid overheating the coating or it could burn. Once melted, fill one of the squeeze bottles with the melted black candy.
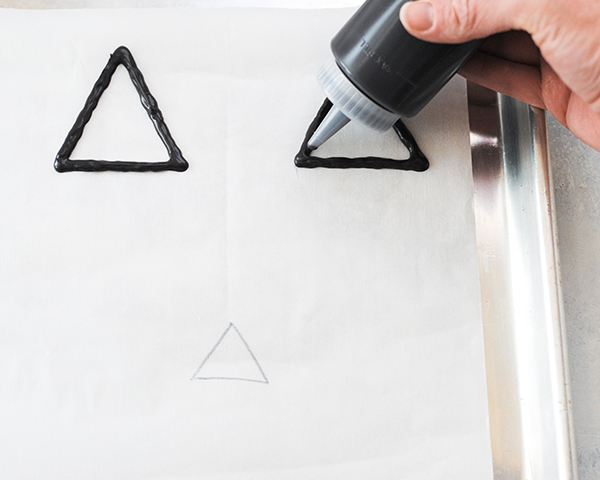
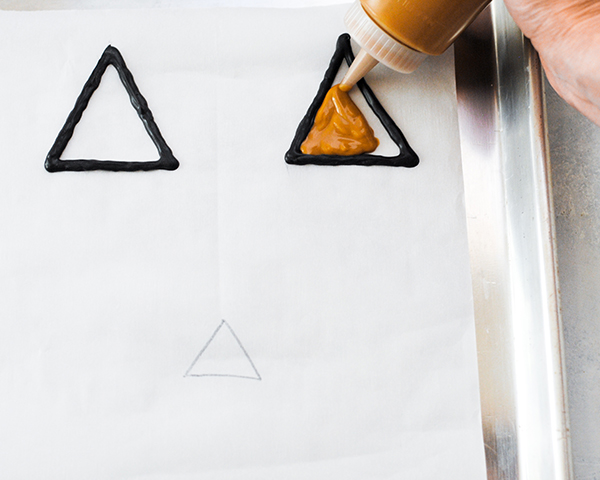
Using the squeeze bottle, outline the two large triangles with a line of black candy coating. Go around twice to make this outline nice and thick. Set aside while the candy coating sets firm.
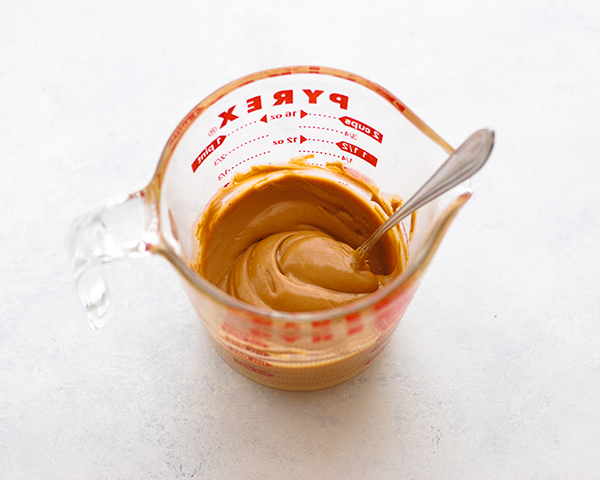
Place some peanut butter candy coating in a microwave safe bowl and heat on 1/2 power. Remove every 30 seconds and stir. Continue to do this until the coating is thoroughly melted, but be sure to avoid overheating the coating or it could burn. Once melted, fill the remaining squeeze bottle with the melted candy.
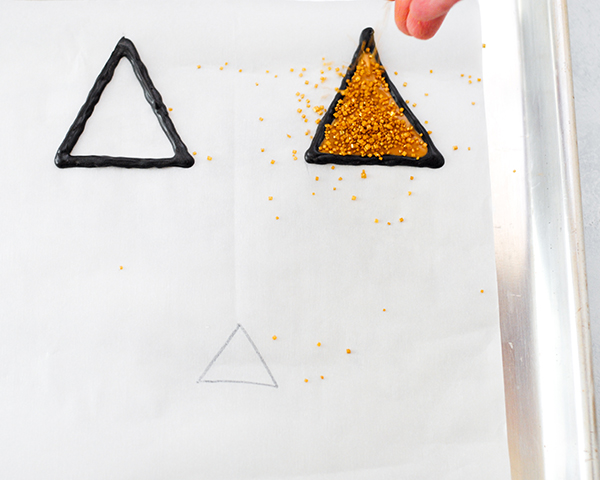
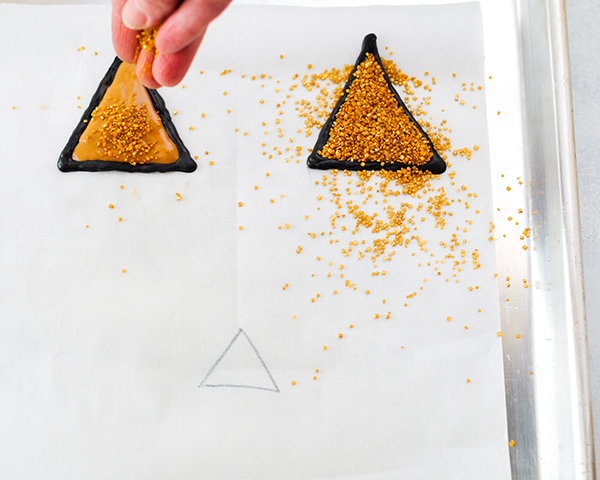
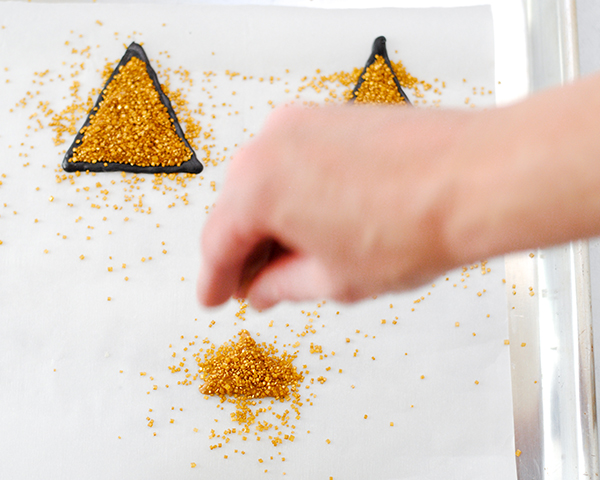
Once the black outlines are completely set, use a back and forth motion and steady pressure to squeeze the peanut butter candy into the center opening of one triangle. Immediately sprinkle the top with gold sugar to completely cover the peanut butter section. Go back and fill in any remaining openings or gaps with sprinkles as best as possible. Since the black candy is already set, you don’t have to worry about the gold sprinkles sticking to the black outline.
Repeat this process for the second cat ear.
Outline and fill the cat nose using only the peanut butter candy and immediately coat with gold sprinkles. The nose will not have a black outline.
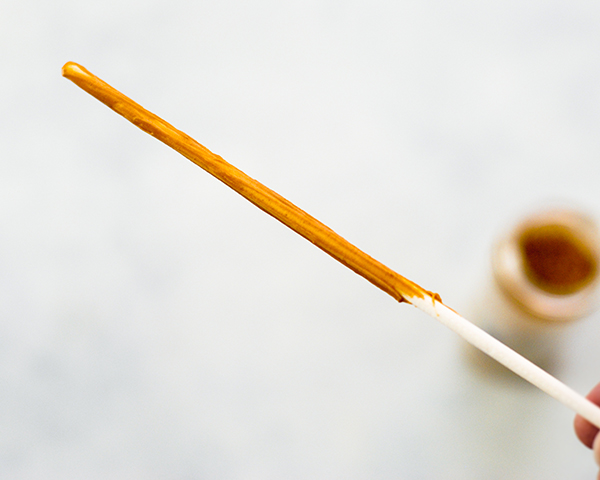
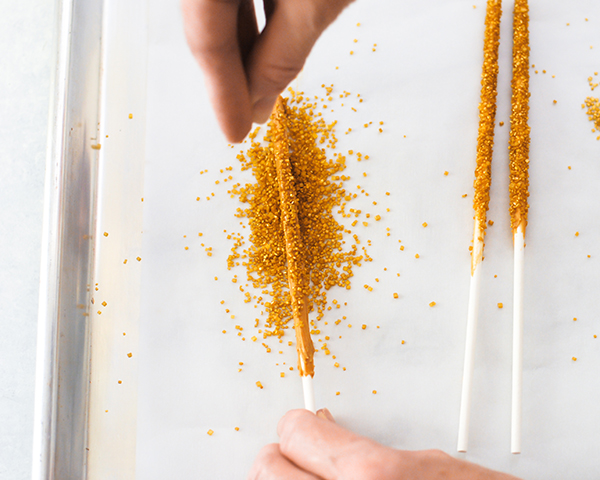
Grab the lollipop sticks to make the whiskers. Using more of the melted peanut butter candy, lightly coat 2/3’s of a lollipop stick on all sides. Keep this coating thin by applying with a clean finger (be careful not to burn yourself on the hot candy coating) or clean paint brush. If it gets too thick, the whisker will look bulky and become too heavy to stay in the cake. Once coated, cover with gold sprinkles all the way around. Move quickly so the sprinkles adhere before the candy coating sets. Repeat to make four or five whiskers. It never hurts to have a back up!
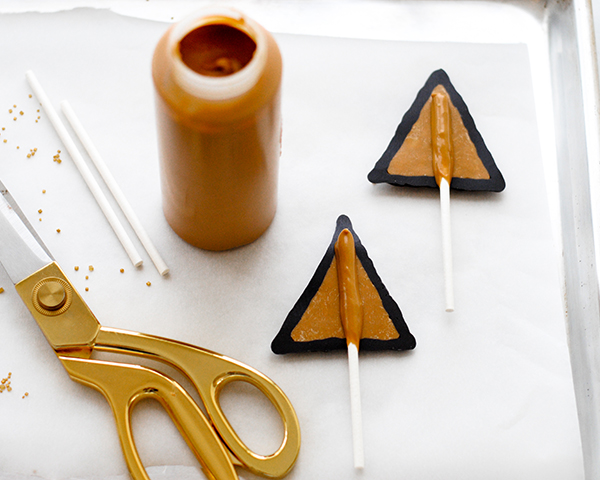
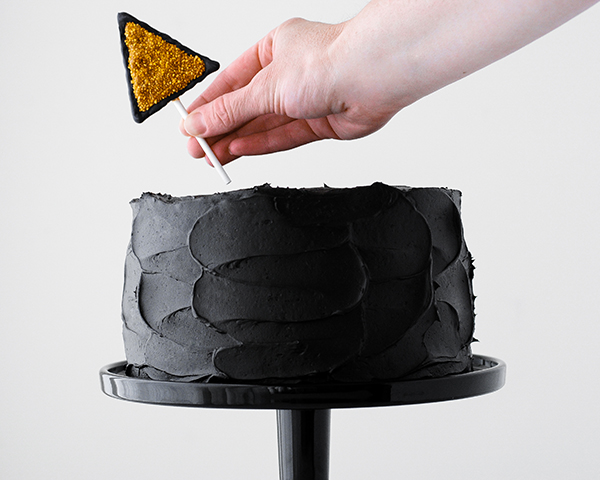
Now your cat ears should be firm. Flip the ears over allowing the excess gold sugar to fall off and exposing the back side. Cut a lollipop stick in half, dip into melted peanut butter coating and attach to the center of the cat ear. Attach other half lollipop stick to the other ear. Set aside until firm.
NOTE: if you have any large gaps in the gold sprinkled areas on the front, use a toothpick to fill in with a teeny dab of melted peanut butter candy and additional gold sugar. Or simply leave it as is – the peanut butter candy color matches the sugar and blends nicely.
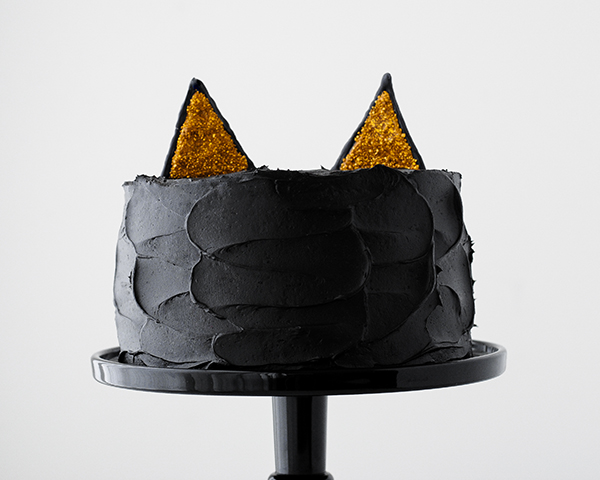
Once ears, nose and whiskers are completely set, it’s time to decorate your cat cake! Start by placing one ear into the top of the cake, slightly to one side and on a mild angle. Add the other ear and adjust as necessary for even spacing.
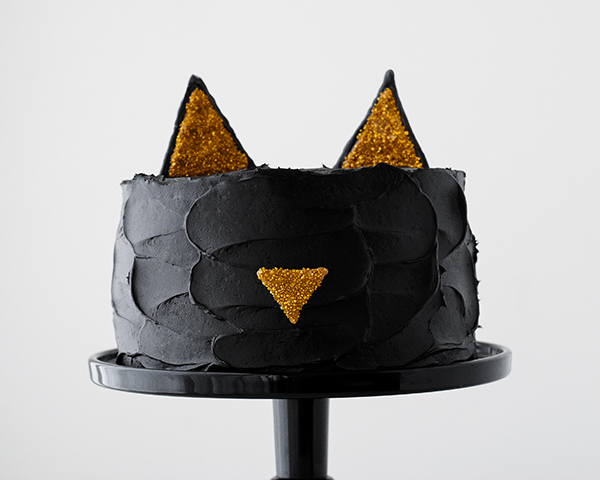
Add the nose to the front of the cake, centered between the two ears, towards the bottom half of the cake. To help you place it, imagine where eyes would be!
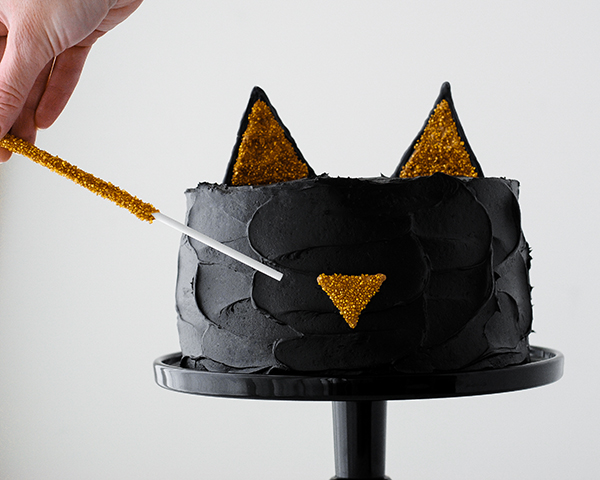
Insert one of the whisker lollipop sticks to the side of the nose, at a downward angle. Add a second whisker on the same side, at an upward angle. Repeat with two whiskers on the other side. Adjust as necessary. Trim lollipop sticks as needed if too long for your cake.
Your adorable black cat cake is now complete and ready to party!
YOU MAY ALSO ENJOY:
Black Cat Cupcakes
Kitty Cat in a Pumpkin Cake
Monster Eye Cake
Marshmallow Spiderweb Cake
Black Butterfly Cake
Black Crow Cake
Find all of our Halloween recipes and tutorials in our Halloween Cake Gallery!


Amazing, Looking so nice.
So clever and it looks extra spooky on top of the black cake stand.
Omg …so cute ! I am a cake artist too from India & a blogger ..I just love the quality of work you do , u are an inspiration . Keep on rocking
Do have a look at my website too https://www.cakecentral.co.in thanks
Awesome, Looking good. Nice Idea!
Wow! This is so amazing #biglove
Thank you for sharing Carrie 🙂