Peppermint Red Velvet Cake – bright red cake with white chocolate peppermint buttercream.
A new layer cake recipe by our contributor, Tessa Huff.
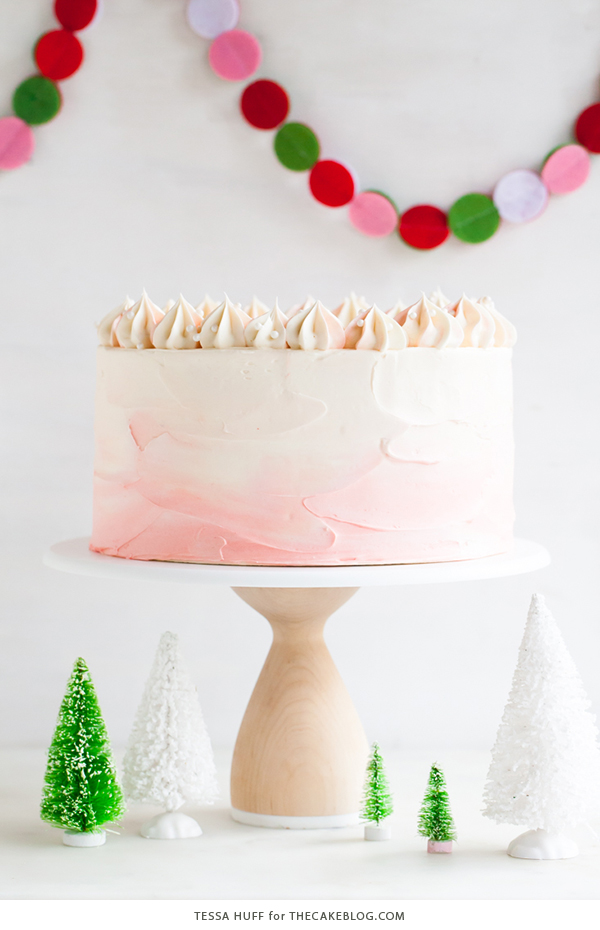
Let’s give a toast to twinkly lights, rustic wood-burning fireplaces, too many marshmallows in our hot cocoa, and unapologetically festive, pink cakes! It truly is the most wonderful time of year, and I vow to spread holiday cheer across the lands with one swirly layer cake at a time. Who’s with me? In all seriousness, as the weather grows colder and the daylight gets shorter, now is the time to huddle together, bundle up, and embrace the beauty of it all. Plus cake, of course.
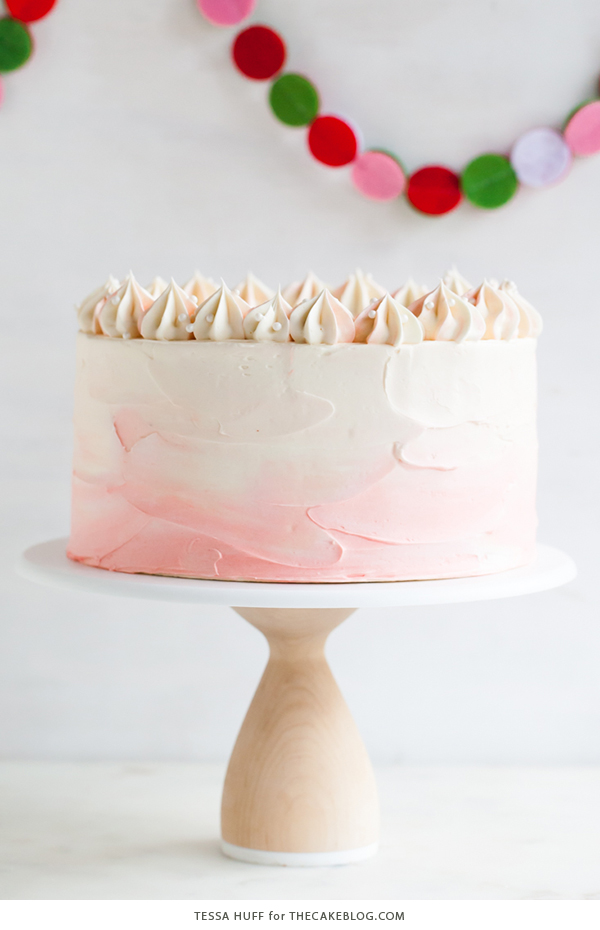
I am so excited to be experiencing Christmas through the eyes of a toddler this year. So young and innocent, this will be a season of pure joy for my son as he soaks in all the beautiful decorations, flashy lights, and discovers the concept of Santa for the first time. The holidays can be quite stressful, so let’s try to look at everything with a bit more child-like wonder instead. After all, not only is it a season for love, giving, and celebration, but also a season of FUN!
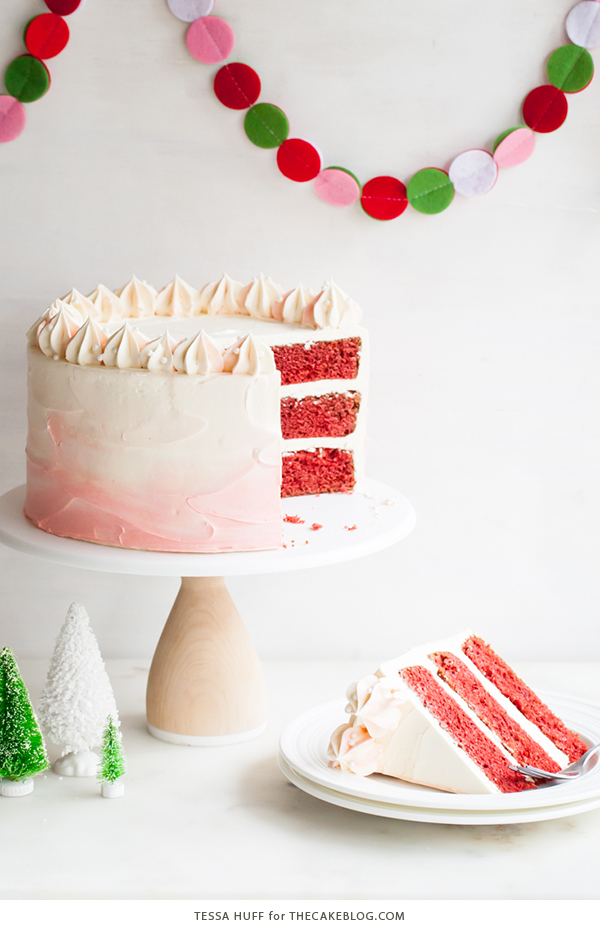
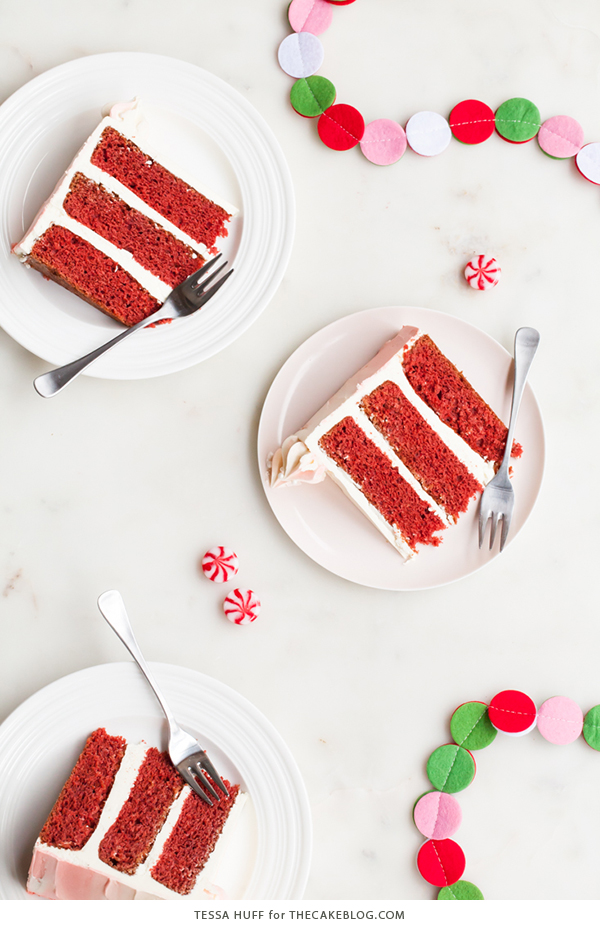
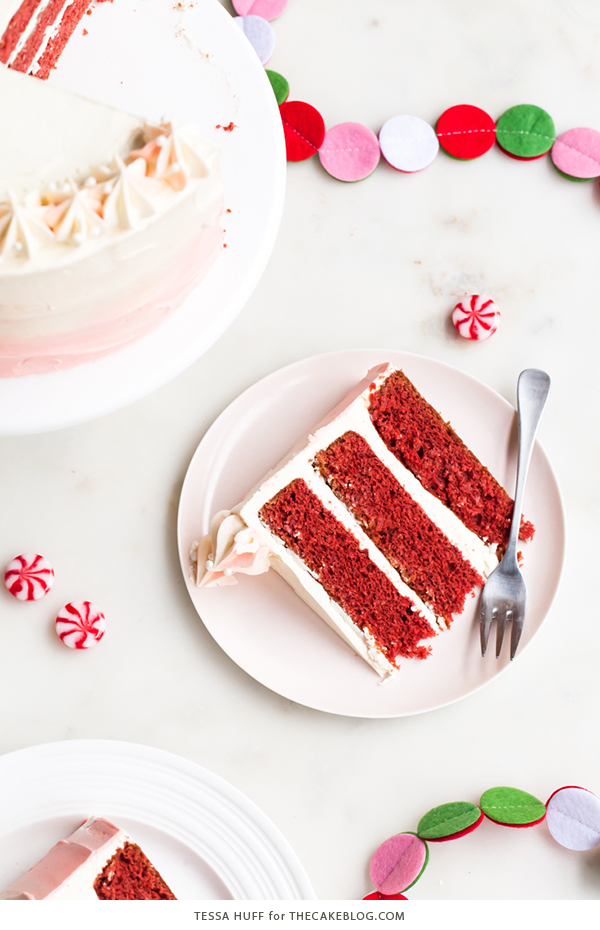
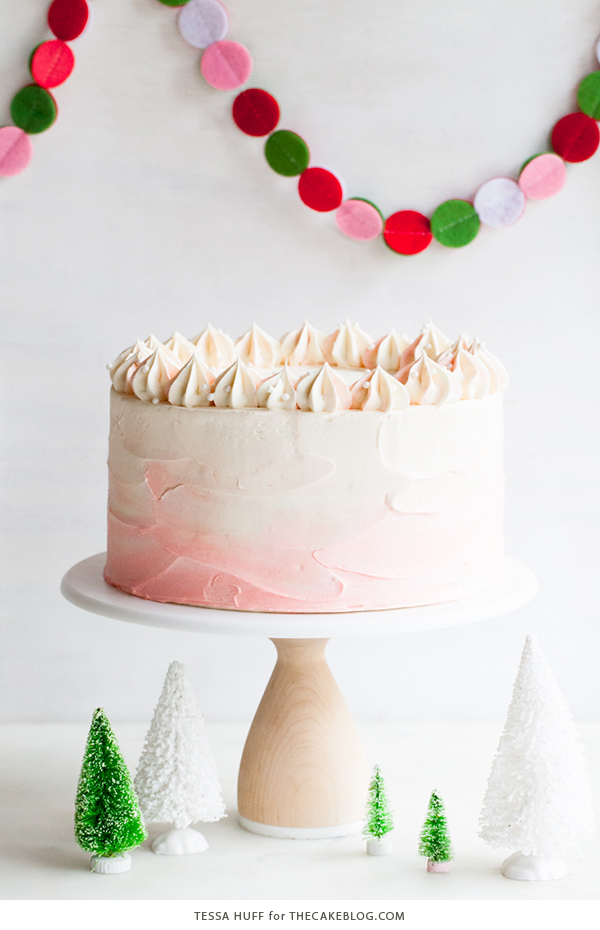
I can’t think of anything more fun than this Peppermint Red Velvet Cake. Bright red cake layers alternate with white chocolate peppermint buttercream filling to create festive candy cane striped slices. While I understand that red velvet can sometimes be “controversial,” I officially give you permission to skip the red food coloring or use a natural version, if you’d like. Either way, this cake is slightly tangy, has a hint of cocoa, and is extremely moist and fluffy. Using a mix of both butter (for flavor) and oil (for texture) keeps the layers extra tender and, well, velvety! Peppermint can be quite strong, but the white chocolate keeps it mellow and oh so delightful. For added fun and a bit of whimsy, swirl in some pink dye as you frost the cake and add a generous sprinkle of sugar pearls and sanding sugar to finish!
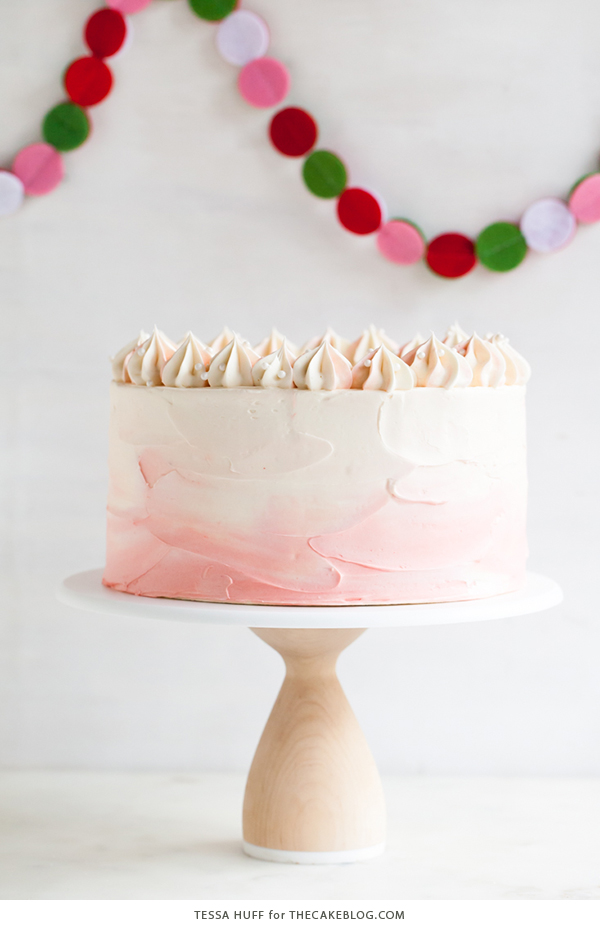
PEPPERMINT RED VELVET CAKE
a layer cake recipe by Tessa Huff
For the Red Velvet Cake:
2 ¼ cups cake flour
1 ½ teaspoons baking soda
½ teaspoon baking powder
½ teaspoon salt
½ cup unsalted butter, softened
1 ½ cups granulated sugar
¼ cup canola oil
2 large eggs
2 tablespoons unsweetened natural cocoa powder
1 teaspoon vanilla extract
red food coloring (optional)
¾ cup + 2 tablespoons buttermilk
1 tablespoon distilled white vinegar
- Pre-heat oven to 350 degrees. Grease and flour three 8-inch round cake pans and set aside.
- Sift together the cake flour, baking soda, baking powder and salt. Set aside.
- In the bowl of an electric mixer, beat together the butter and sugar until light and fluffy. Add the oil and mix until combined.
- With the mixer on low, add in the eggs – one at a time. Add the cocoa powder, vanilla and red food coloring. Stop the mixer and scrape down the bowl.
- With the mixer on low, add in half of the dry ingredients followed by the buttermilk and vinegar. Add the second half of the dry ingredients and mix until combined.
- Divide the batter between the three 8-inch pans and bake for 23 to 28 minutes or until a toothpick inserted into the center of the cakes comes out clean.
- Cool on a wire rack for 10 to 15 minutes before removing the cakes from their pans to finish cooling.
For the White Chocolate Peppermint Buttercream:
5 large egg whites
1 ⅔ cups granulated sugar
2 ½ cups unsalted butter, cubed, softened
2 teaspoons vanilla extract
1 teaspoon peppermint extract, or to taste
5 ounces white chocolate, melted and cooled
- Place egg whites and sugar into the bowl of an electric mixer. Gently whisk until combined.
- Place mixing bowl over a pan of simmering water to create a double-boiler. Whisking constantly, heat the egg mixture until it registers 160 degrees on a candy thermometer. Carefully transfer the bowl back onto the stand mixer.
- Using the whisk attachment, whip the egg white mixture on high for 8 to 10 minutes until the outside of the mixing bowl returns to room temperature and the egg whites are fluffy, glossy and hold a stiff peak.
- Switch to the paddle attachment. With the mixer on low, slowly add cubed butter and mix until incorporated.
- Add vanilla extract and peppermint. Whip on medium until silky and smooth, about 3 to 5 minutes. The buttercream may look like it’s curdled or soupy. Keep mixing until it is completely smooth.
- Add in the melted chocolate and mix until smooth.
For the Assembly:
pink food coloring
white sugar pearls or crushed peppermint and/or sanding sugar
Once the cakes are cooled, trim the tops as needed with a large serrated knife. Place the bottom layer of cake on a cake board or serving dish. Spread on about 1 cup of buttercream with an offset spatula. Top with the next layer of cake and repeat. Crumb coat and frost the cake with the buttercream.
Reserve a small portion of the buttercream (about ½ cup) and tint it pink. Using an offset spatula, swirl bits of the pink buttercream onto the frosted cake and give it a rustic finish. Pipe any remaining buttercream around the top of the cake using an open star tip. Finish with white sugar pearls or crushed peppermint, and/or sanding sugar.
NOTES:
- If using, add the red food coloring before the dry ingredients (start with a teaspoon or two, depending on type of food coloring). If you find that the batter needs a bit more color once the dry ingredients have been mixed in, add a bit more but try not to overmix the batter.
- Best served at room temperature so that the buttercream is silky smooth.
- If serving the day that it is made, cake may be kept at room temperature. Refrigerate leftovers, loosely covered in plastic.
YOU MAY ALSO ENJOY:
Eggnog Cake
Chocolate & Peanut Butter Cake
Walnut Cake
Cinnamon Roll Layer Cake
Pink Peppermint Cake


chocolate and mint go so well together so why not red velvet and mint? and i love the subtle bit of pink on the outside! the cake is so bright that the almost white buttercream looks so sharp against it (:
My cake layers were about 3/4 to 1inch. Is this right, or should they have risen more? They’re light and airy and taste good. They just seem a lot thinner than yours.
Did you use an 8” pan? This is smaller than a regular cake pan.
I have done the cake for the first time. It is really so tasty.
This comment is about the Berry Red Velvet Cake from Style Sweet. I’m sorry but I couldn’t seem to leave a comment there.
Are the milk crumbs in the photo actually the same as the recipe posted? With 60g of freeze dried raspberry powder the crumbs turned very dark red (like the cake) rather than the lovely pink in the photo. 🙁
Did I do something wrong?