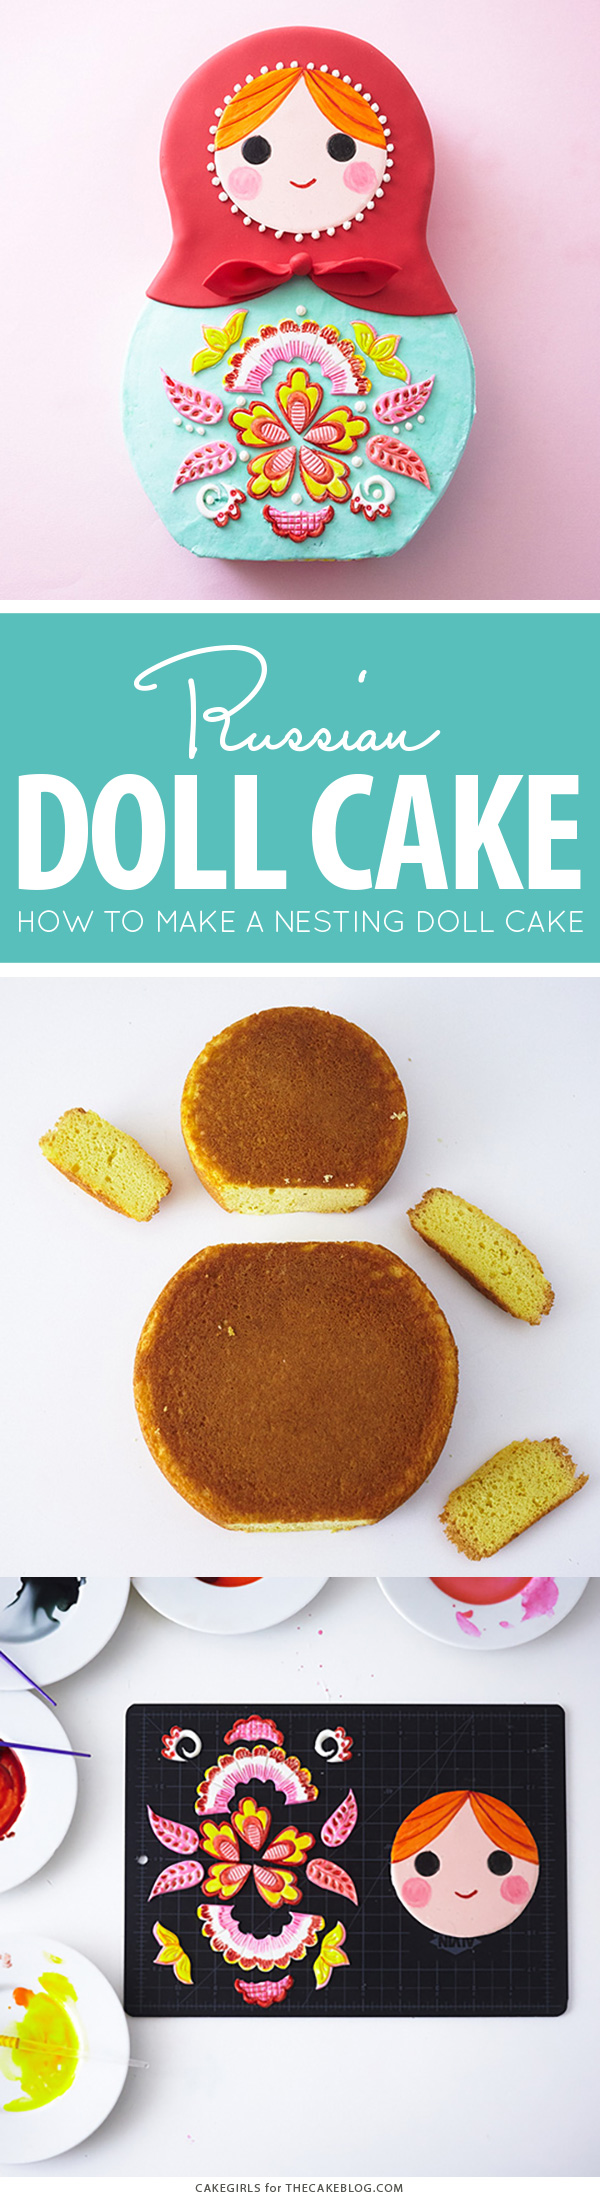
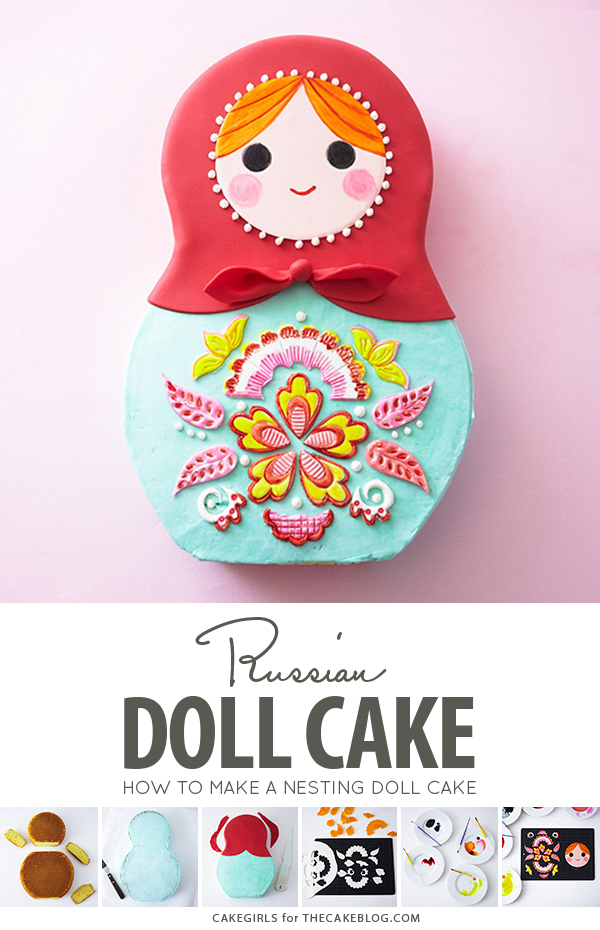
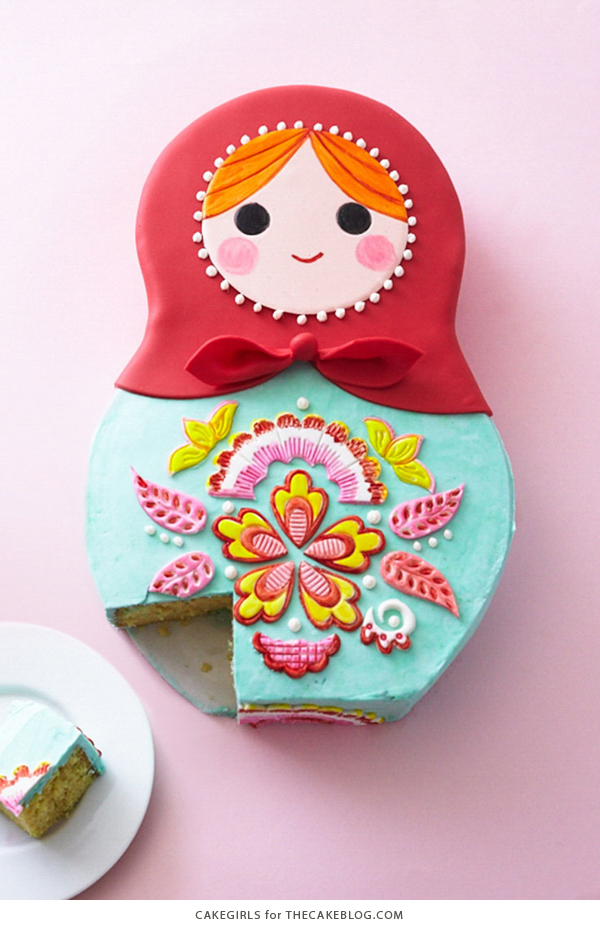
Russian Nesting Doll Cake! Learn how to make this adorable, folk art inspired, watercolor painted, doll cake with a simple step-by-step tutorial by our contributors, Mary and Brenda Maher of Cakegirls.
When we ran our very busy cake shop, baby shower cakes were our most popular selling theme by far. It seems surprising, but I think this is one occasion where people pull out all the stops. It’s a chance to not only celebrate a new little life, but to make that mother-to-be feel super special.
When we first started making baby shower cakes, duckies were all the rage. Yes, they’re still a classic, but themes have come a long way since then. Well, we thought this bright, punchy, folk art inspired Russian Nesting Doll Cake was the perfect twist for a modern baby shower theme. Doll inside of doll makes for a clever nod to pregnancy, and the graphic details keep the cake really fun and design inspired.
We started with standard cake pans from the pantry to create the body shape, then opted for a bold color twist on the classic pink and blue color scheme. We iced the cake in buttercream but used a folk art fondant cutter set to help make the fondant design details a cinch. Make this cake really hit home by customizing the features to match Mom and Dad and you’ll have won the hearts of all the guests at your next baby affair.
RUSSIAN NESTING DOLL CAKE
a tutorial by Cakegirls
Supplies:
6″ and 8″ Single Layer Cakes
Basic Buttercream
Red Fondant
White Fondant
Floral Applique Folk Art Cutter Set
Food Safe Paintbrushes
Assorted Gel Food Coloring (red, pink, orange, yellow, green, light blue and black)
Bake your 6″ and 8″ single layers and prepare your large batch of basic crusting buttercream. We recommend wrapping and freezing your cakes for a few hours before starting to make icing them easier.
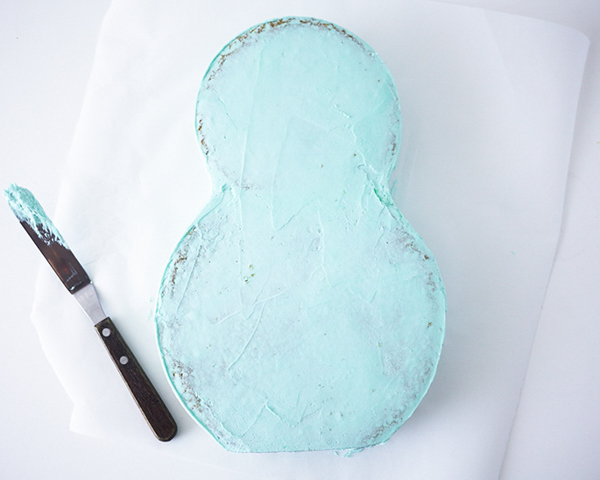
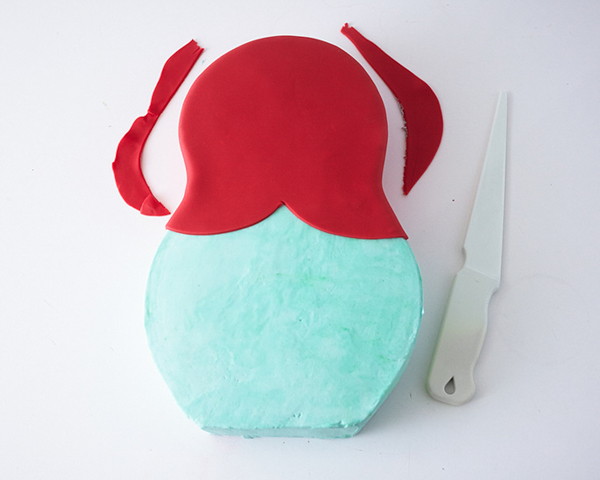
Trim the bottom of the 6″ layer and both sides of the 8″ layer to create flat spots.

Tint 2/3 of your icing aqua using a little blue and green gel paste. Leave the remaining 1/3 of your icing white. Crumbcoat and then ice your cake in a layer of buttercream. We used a spatula dipped in very hot water then shaken off to smooth the buttercream.
Place your cake in the fridge to chill for an hour before the next step.

Roll out your red fondant into a large circle. Roll your fondant thin, about 1/8″ thickness so that it covers easily and leaves you with enough excess for the bow tails. Cut a scalloped shape in the bottom of the fondant.
Drape the fondant over the head of the doll, use your hands to smooth it over the edge and then trim the excess at the base of the cake.
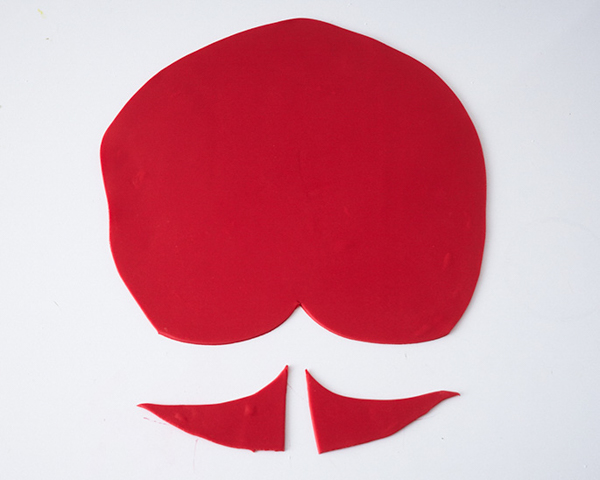
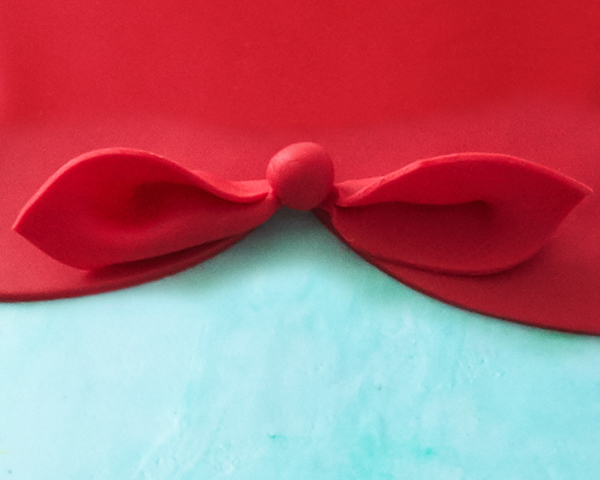
Roll out the excess red fondant and cut out two leaf shapes, about 2 1/2″ long. Pinch each leaf at one end and use a dab of water to attach it to the cake. Add a ball in the center to finish the bow.

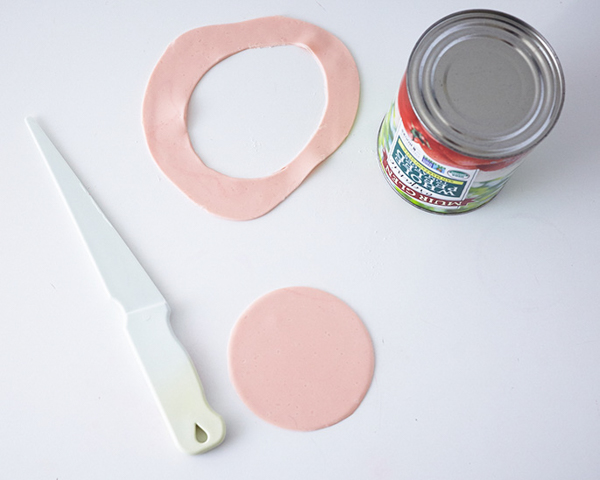
Tint 1/3 of your fondant flesh color using a touch of pink and a touch of yellow. Roll and cut out a 4″ circle and set aside. We used a large can of tomatoes (well cleaned) as our 4″ diameter cutting guide.
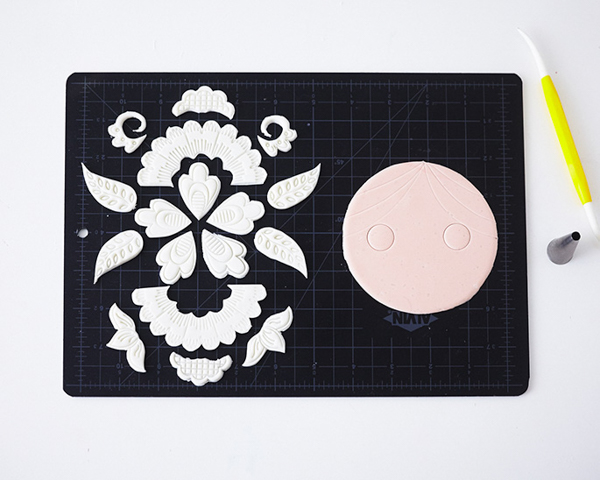
Roll out the remaining white fondant and use the Floral Applique Cutter Set to cut out decorative pieces.
Here are a few tips for success:
1) Make sure you roll your fondant fairly thin. Fondant that’s thicker than the depth of the cutter will not cut cleanly.
2) Make sure the surface of your fondant is not sticky. Dust the fondant on both sides with a light coating of powdered sugar and brush off the excess with your hand to leave a chalky surface ideal for cutting.
3) Press the cutter into the fondant, shake the cutter back and forth on the cutting surface and then lift and remove the piece. This will create a cleaner edge.

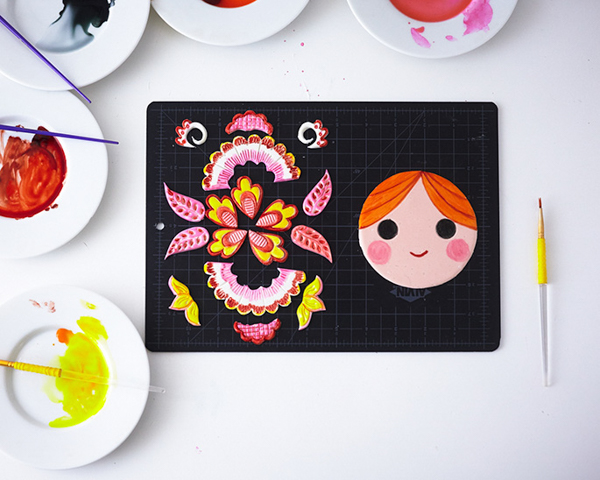
Lay out the applique pieces to organize a pattern and get ready for painting. Use a carving tool or toothpick to create the markings for the hair on the doll’s face. We used the bottom of a piping tip to press in the markings for the doll’s eyes.
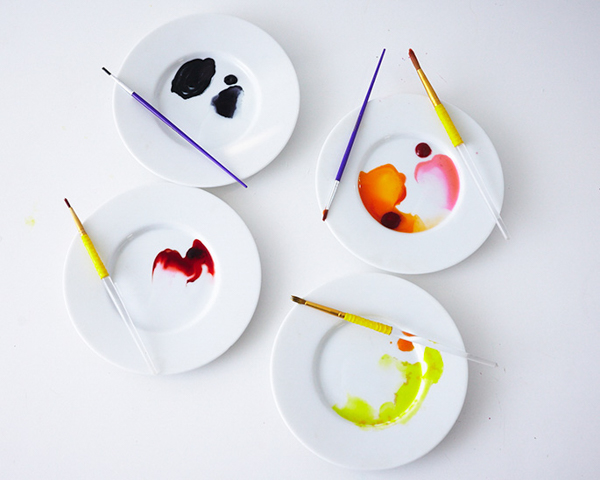
Mix up your paint by adding a drop of gel paste to a cup or plate. Add several drops of clear alcohol or clear extract. Swirl the two together to get a watercolor style paint. Always test the color on an excess piece of fondant to make sure it’s what you want before starting.
We used red, pink and yellow for the applique and orange and black and pink for the face.
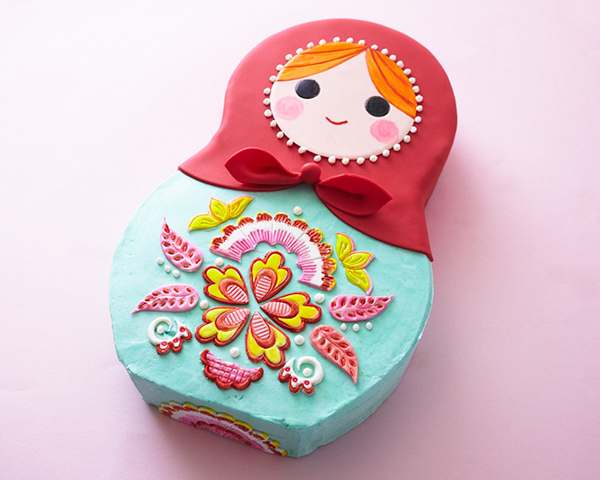
Attach the face to the red part of the cake using a light coating of water to get it to stick.
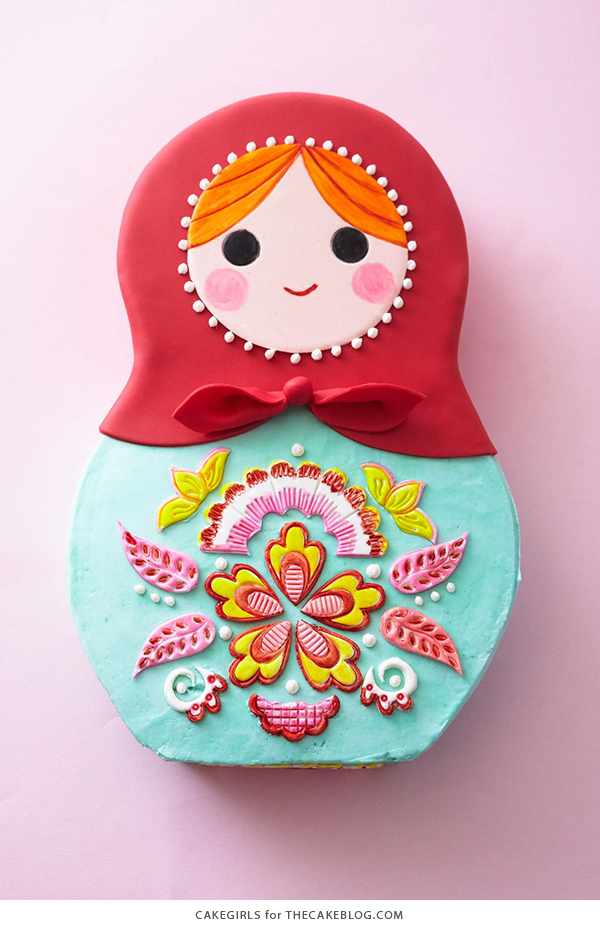
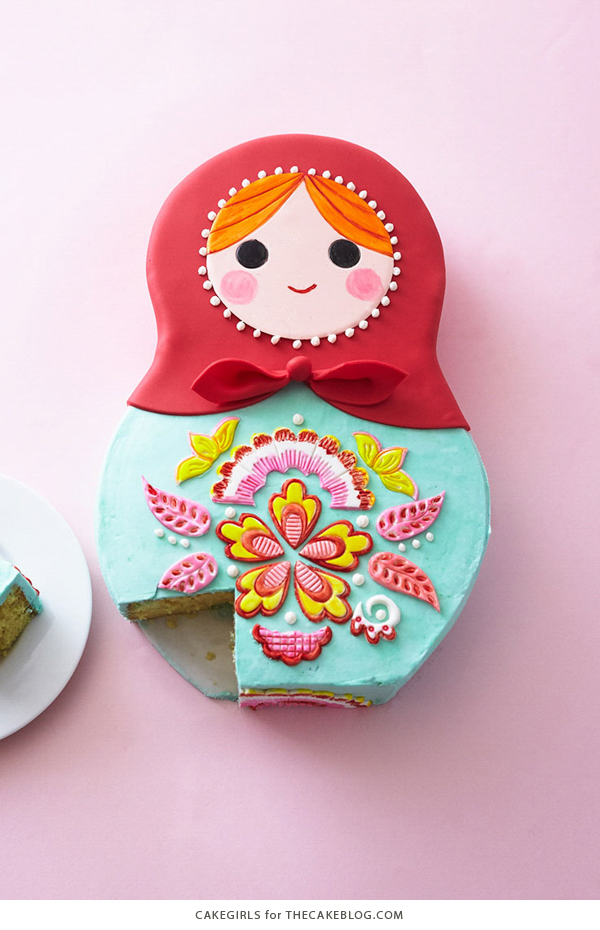
The floral appliqué pattern we planned did not end up fitting on the belly of the doll! So, we improvised and moved a few pieces around to make it all fit! That’s cake decorating for you. Finish by using the left over white buttercream to pipe some dots around the face of the doll and add a few to the appliqué pattern.
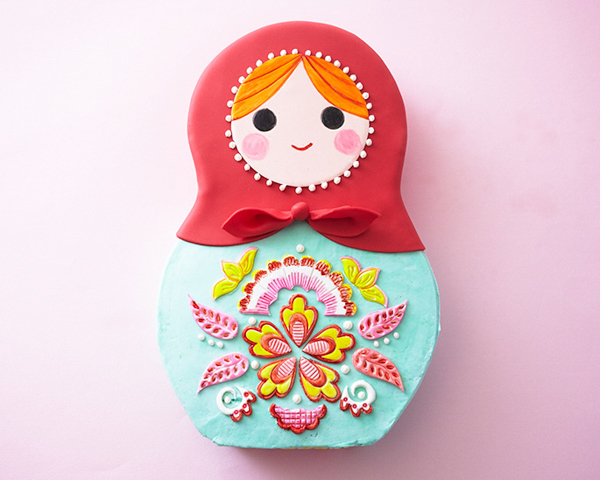
Your Russian Nesting Doll Cake is complete and ready to be admired – and devoured. Enjoy!
YOU MAY ALSO ENJOY:
Baby Rattle Cake Pops
Giant Donut Cake
Pirate Skull Birthday Cake
Fairytale Ruffle Cake
Cupcake Terrarium


This is one of the prettiest cakes I’ve ever seen! Such a cute concept, although it definitely looks like it takes skills and patience to replicate.
İt looks like very delicious. I want to taste 🙂 I think it’s a great surprise for children
This is just amazing and so cute!! I wish I could have visited your shop. I bet the cakes were beautiful! I’m so excited to have found your site. I can’t wait to check out more.
What a beautiful design! We love Russian nesting dolls. Our facebook friends are overjoyed with your cake. Thank you for sharing the recipe and the instructions how to make this wonderful cake!