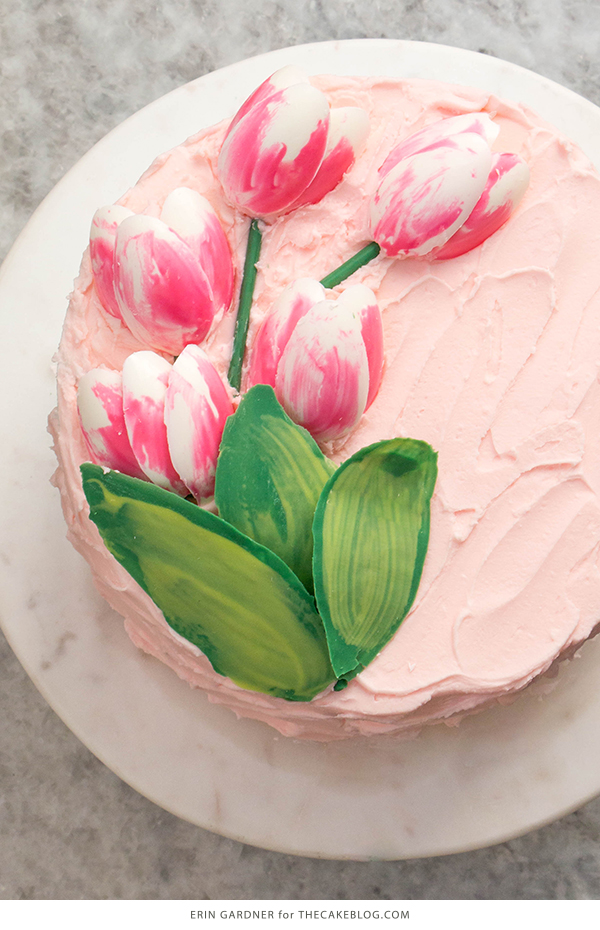
Chocolate Tulips – how to make gorgeous tulip cake decorations using melted chocolate and a plastic spoon! A new tutorial by our contributor Erin Gardner.
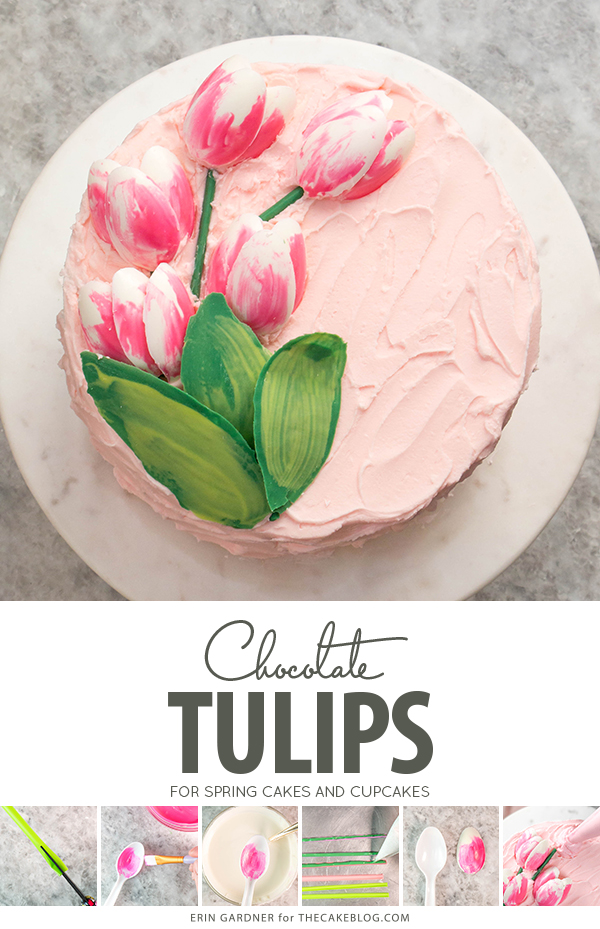
The old chocolate-spoon-petal technique has lived in pastry chef’s tool boxes for years for a reason – it’s sooo good! Sculpting gum paste petals takes endless patience and practice. Piping buttercream blooms requires a steady hand, and you guess it, more practice. Making chocolate tulip petals requires none of that. This is a quick, low-effort design that comes together faster than you’d imagine and yields truly stunning results. Tulips are also my favorite flowers, so it’s basically everything I could ever want in a cake.
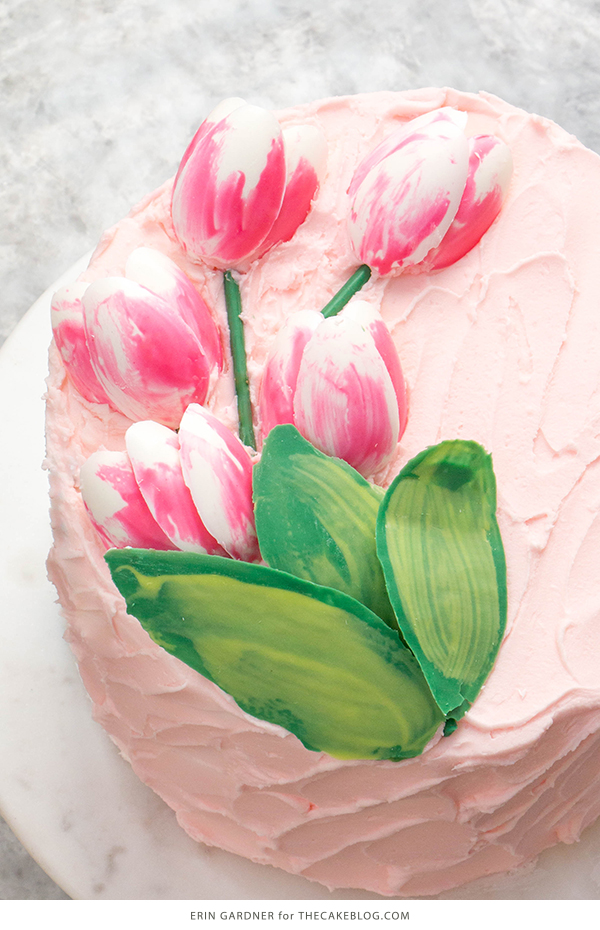
Make this design for your sweetie if you just can’t get enough of their “two lips” or file this idea away in the back of your mind (or on Pinterest) for the spring holidays to come. Mother’s Day, Easter, bridal, and baby showers are all ideal opportunities for whipping up these simple, tasty blooms. This is one of my favorite techniques from my book, Erin Bakes Cake, because it’s just so versatile.
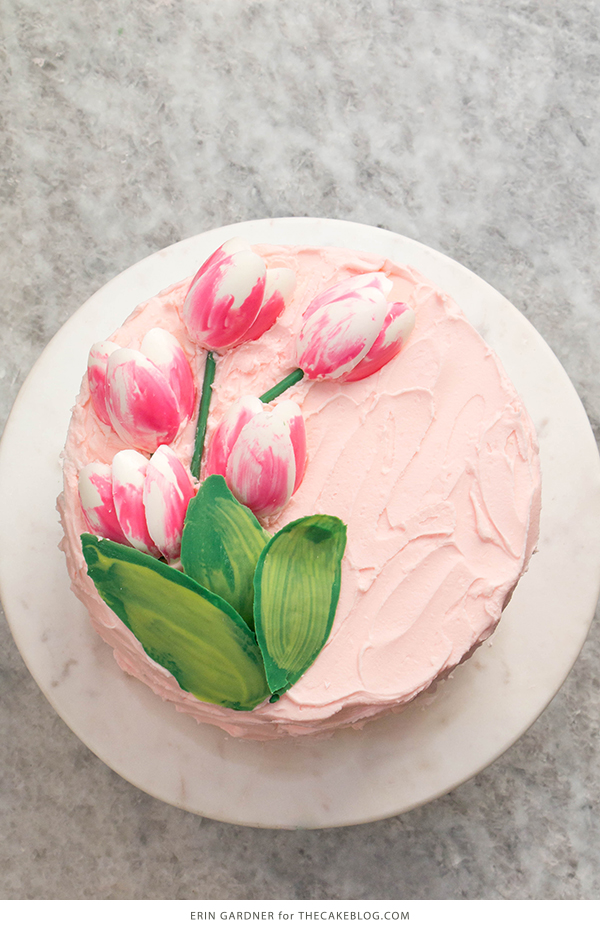
CHOCOLATE TULIP CAKE TUTORIAL VIDEO
HOW TO MAKE A CHOCOLATE TULIP CAKE
a tutorial by Erin Gardner
Supplies:
- Layer cake finished in pale pink buttercream with rustic swoops (I used an 8-inch round cake.)
- About a cup of extra buttercream for adding the flowers and leaves
- Coating Chocolate in bright pink, white, dark green, and light green
- Small paint brush
- Plastic spoons
- Regular plastic straws
- Scissors
- Piping bags or paper cones
- Parchment paper or clear acetate
MAKE THE TULIP PETALS
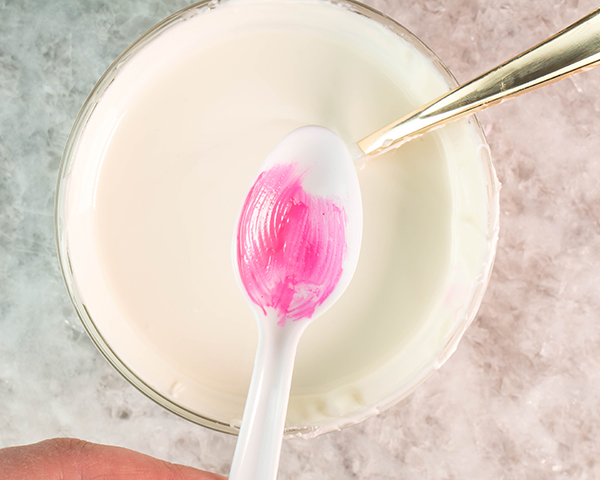
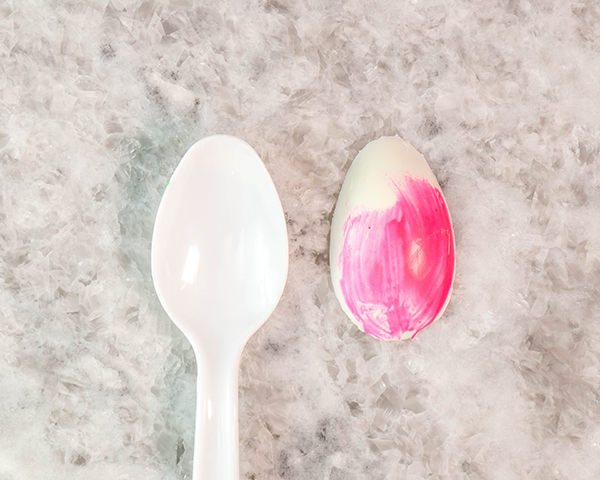
Melt the pink and white coating chocolate in separate bowls. Use a small paint brush to paint strokes of pink candy into the well of a spoon. Add the color so that it’s more concentrated towards the base of the spoon. Repeat with as many spoons as you’ll need. I used 15 petals on my cake, but always make more than you’ll need. Breakage is inevitable and extras can be re-melted or nibbled on. Set the spoons aside or pop them in the fridge until the chocolate has hardened completely, just a few minutes.
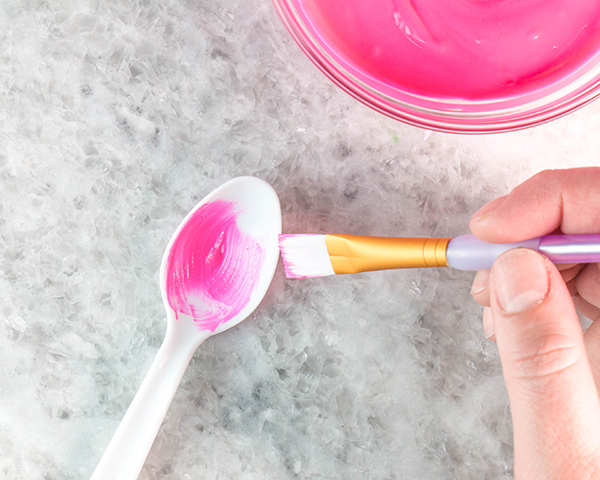
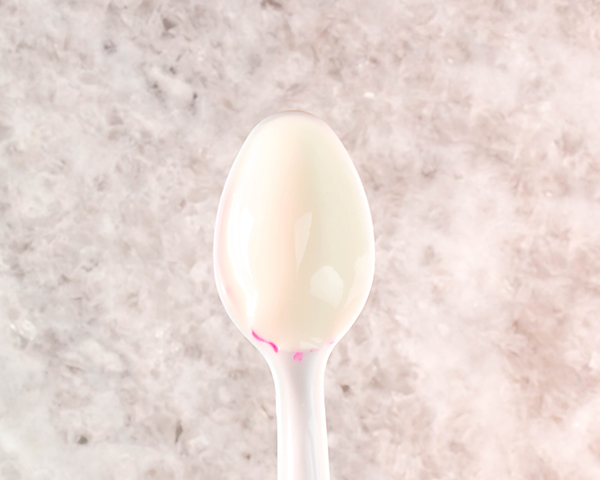
Use another spoon to fill the well of a painted spoon with melted white chocolate. Turn the spoon to ensure the entire well is completely covered. Tap excess chocolate back into the bowl. Wipe the edges of the spoon clean and set it aside or pop it in the fridge until completely hardened, about 10 minutes. Repeat with the rest of the spoons.
MAKE THE STEMS
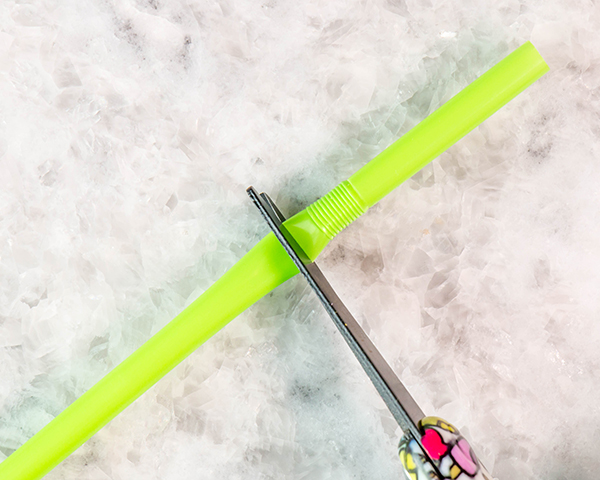
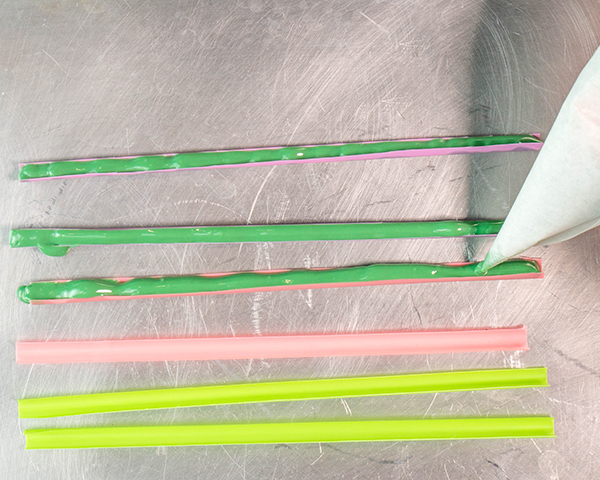
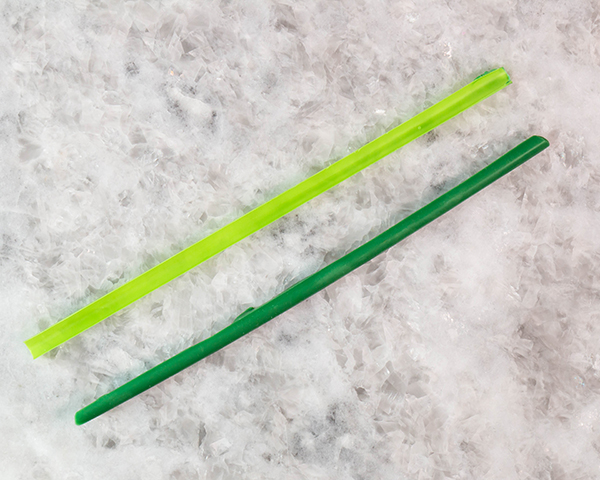
If your straws are bendy, snip off the top of the straw just below the bendy part. Cut the remaining part of the straw in half length-wise. You’ll be left with two long, cupped pieces. Repeat with more straws. Each straw will make two stems. Line the stems up on a cookie sheet, cupped side up.
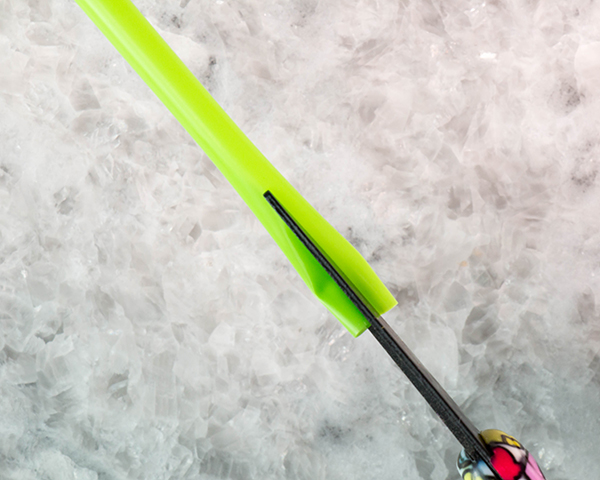
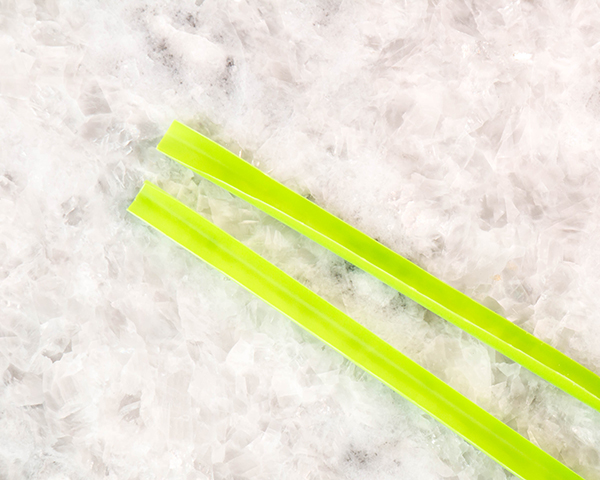
Melt the dark green coating chocolate in a small bowl. Fill a piping bag or paper cone with a few tablespoons of chocolate and snip a small hole in the tip of the bag. Fill the straw molds with the melted candy. Set the filled straws aside or pop them in the fridge until completely hardened, about 10 minutes.
MAKE THE LEAVES
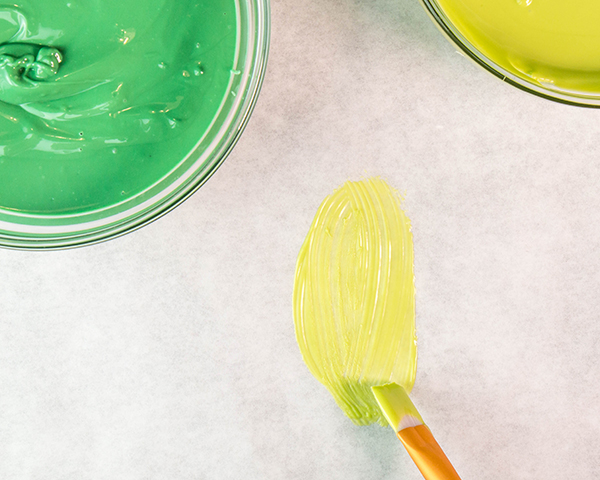
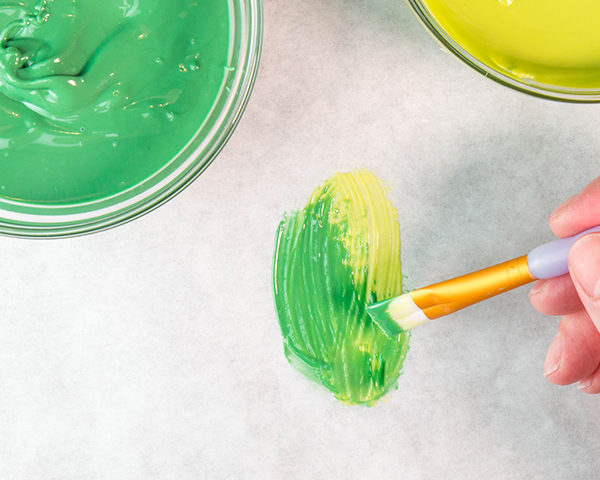
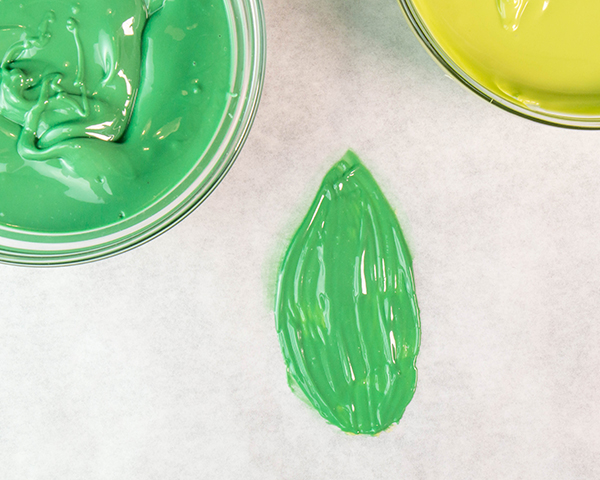
Melt the light green coating chocolate in a small bowl. Re-melt the dark green coating chocolate, if needed. Paint a very thin, brush-stroke-y outline of a leaf on a piece of parchment paper or clear acetate using the light green coating chocolate. Draw a basic leaf on the back of the paper that you’re working on first, if you feel you’ll need an outline to follow. Repeat to make as many leaves as you’ll need. The first one will likely be dry by the time you paint a few leaves. Don’t start the next layer until the first is dry, or else it’ll smear. Paint a thicker dark green leaf shape on top of the thin light green layer. Repeat to finish the rest of the leaves. Set them all aside or pop them in the fridge until completely hardened, about 10 minutes. Prop leaves over the edges of the cookie sheet to dry to give your leaves shape if you like.
PUT IT ALL TOGETHER
Un-mold all of your pieces and set them aside on a cookie sheet until you’re ready to make the cake. The petals should slide right out of the spoons with a little bit of gentle pressure. Carefully peel the straws away from the stems and even more carefully peel the parchment paper or acetate away from the leaves. Set the components aside on a cookie sheet or plate until you’re ready to finish the cake. Make them up to a week in advice and store them in an airtight container at room temperature.
Fill a piping bag with a cup or so of extra buttercream. Snip the tip of the bag to cut a dime-sized opening. Pipe a grape-sized dollop of buttercream on the cake where you’d like the first happy little flower to live. Top the dollop with two petals, side-by-side. Pipe a tiny dot of buttercream where the two petals meet towards the base of the petals. Place a third petal over where the first two petals meet.
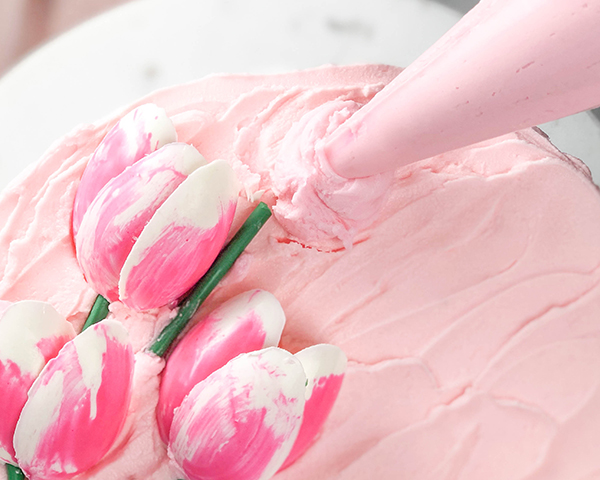
Slide one of the chocolate stems under the petals. Pipe small mounds of buttercream where you’d like to place the leaves and gently tuck them into place. Repeat this floral process until your bouquet is complete. Don’t worry if you change your mind. Just carefully lift the pieces off of the cake and start again. This entire process and design is very forgiving.
MORE CHOCOLATE FLOWER CAKES TO TRY:


Beautifully done!
That is stunning – can’t wait to try this technique!
Is it possible to do this technique using ordinary white chocolate and colour it using gel food colour? It looks incredible!!
Yes and no! Definitely will work with regular white chocolate, but you need to use candy coloring (oil based) or colored cocoa butter to tint chocolate.
Instead of tulips, I will add roses for this valentine.
Is there a technique for getting the chocolate off of the spoon?
Once it’s cool and hardened it should just pop right off. I’ve listed off a few things to trouble shoot in my reply to Lynn below!
Is there a technique for getting the chocolate off of the spoon? Also, are you using a particular brand?
Just generic plastic spoons from the supermarket! I’ve outlined a list of things to trouble shoot in my reply to Lynn below!
We made the petals but they’re not coming out of the spoons! any ideas to help? Birthday party tomorrow!
Hi Lynn! Make sure your plastic spoons are clean and dry before you begin. Also, wipe excess chocolate off the edges of the spoon before you set it to dry. That way nothing hooks around the edges as it dries. If it’s warm where you are, definitely pop the spoons in the fridge. Cold chocolate will slide right off. Last, if none of those help, make sure you’ve added enough chocolate to the spoon. You shouldn’t be able to see the color of the spoon through the chocolate. Hope this helps!
I believe this may be your special talent, Erin! Out of 18 spoons, I managed to get 4 off. Your cake is absolutely beautiful, though!
If you’re having trouble with the petals sticking to the spoons, try lightly spraying the spoon with oil or non-stick cooking spray. While I haven’t personally tried it, several of our friends on Pinterest have good results with this trick! You can see their cake photos HERE.
Hi!
Your work is awesome!!! ☺️
Please can you tell me if using tempered chocolate will work in the same way than the coating chocolate?
Many thanks!!!!
Yes, this will work with tempered white chocolate. You will need to use candy coloring (oil based) or colored cocoa butter to tint chocolate.
Hi please advise how to color the chocolate
Stunning love the use of a spoon to make those petals, clever you!
Thank you so much! Beautiful! I don’t really like candy melts, but I see that they work beautifully here. Unlike white chocolate, coloring doesn’t make it seize up. Thanks so much for sharing.
Anyway, the info is rather cutting-edge, so like it.
The article is clear and bright, without any further useless
facts or else. The language is both brilliant and colorful, so
the further I see, the longer I really do like it!