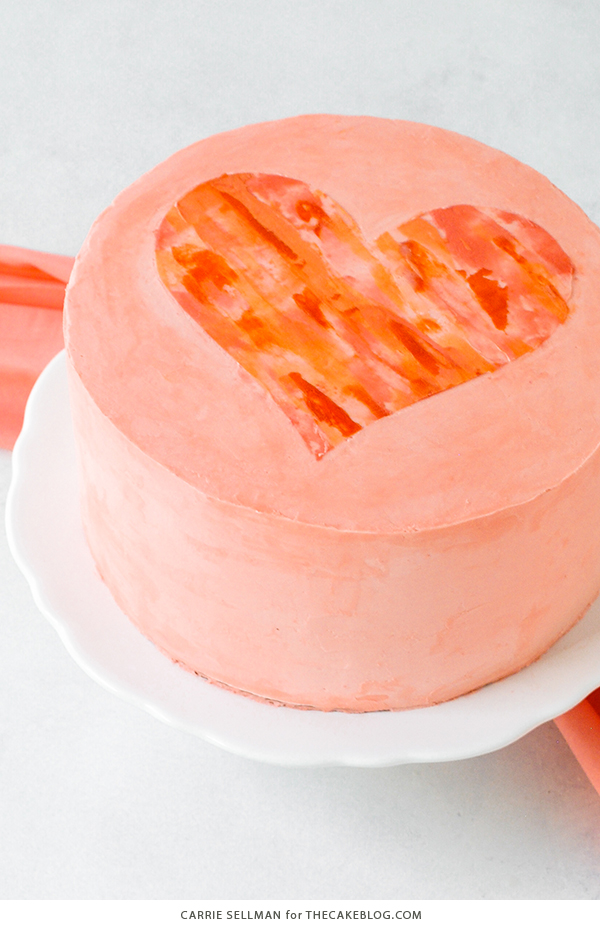
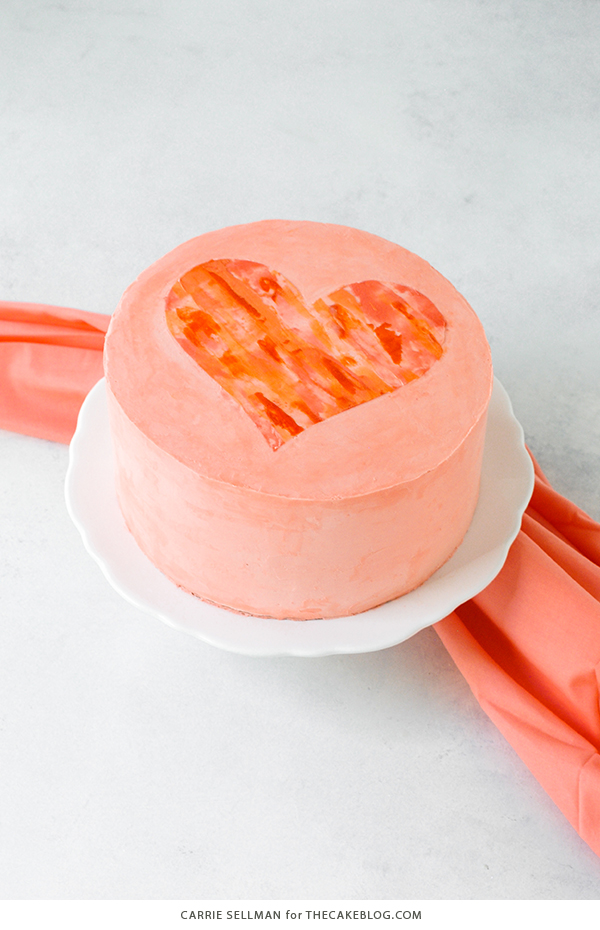
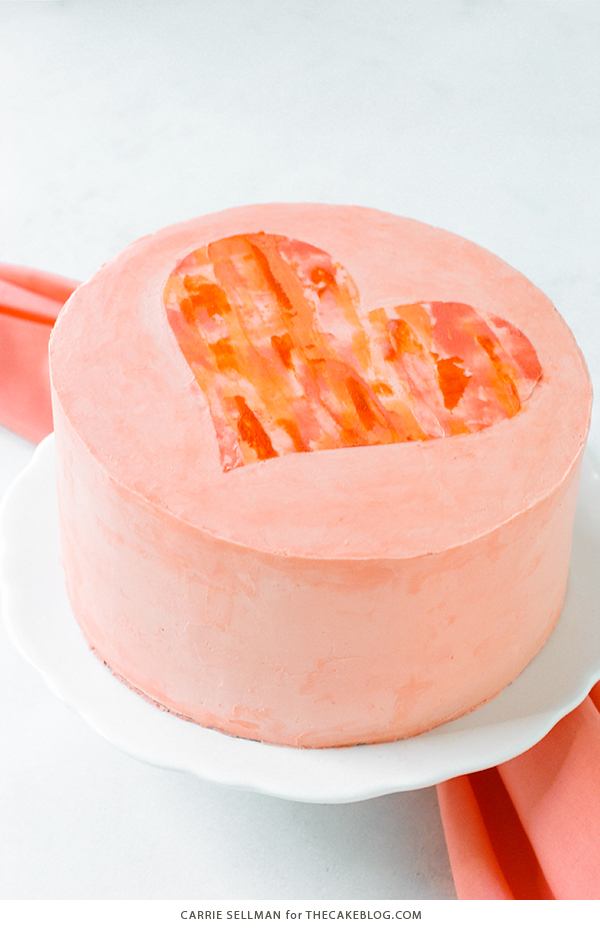
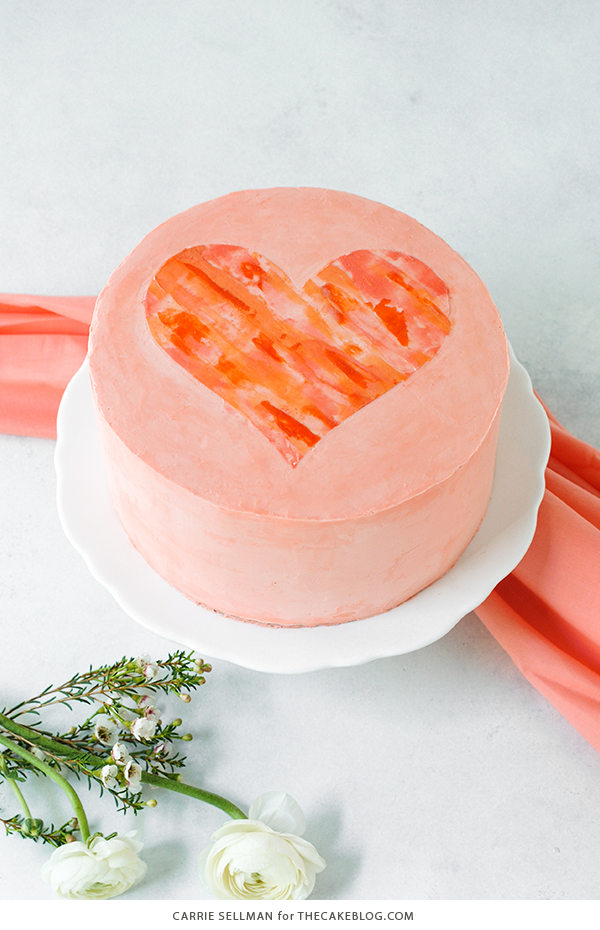
Watercolor Heart Cake – how to paint a watercolor heart cake using buttercream frosting and a parchment paper stencil. A fun and easy way to decorate a cake for Valentine’s Day, birthdays or bridal showers.
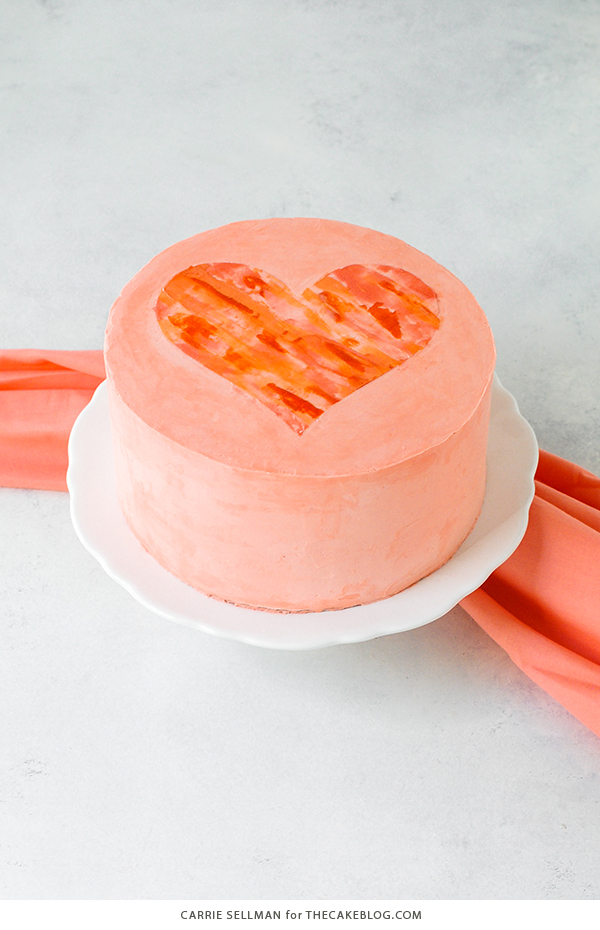
I’ll be the first to say it – watercolor buttercream is not new. We first shared a tutorial with this technique back in 2013! But how can anyone tire of something so beautiful yet relatively easy to pull off? I thought we’d put a new spin on this tone-on-tone frosting with a little stencil magic. Parchment paper stencils are seriously one of those tricks that should be in every baker’s back pocket. It’s fast, cheap and and totally doable. And since this is the perfect time of year to bring out the soft blushes, pinks and corals, I went with a heart theme for Valentine’s Day. But really, this cake works just as well for birthdays, bridal showers and Mother’s Day too. Change up the colors to rich jewel tones or softer spring colors and you’ll have a completely different look. Or follow my lead with layers of warm vibrant hues for a cake that says, I *heart* you, Valentine!
AND… based on the results of our 2018 readers’ survey, I made sure to create a video of this tutorial. Thank you to everyone who took a moment to provide us feedback and insight on what you’d like to see in the upcoming year. If you missed it but still want a chance to weigh in, the survey is still open HERE. Funny thing though, I got so caught up in the video making process that I took less still photos of the steps. So you’ll probably need to catch both the photo tutorial and the video to really solidify the how-to in your mind. Both are below. Enjoy!
WATERCOLOR HEART CAKE VIDEO TUTORIAL
WATERCOLOR HEART CAKE
a tutorial by Carrie Sellman
Supplies:
- Layer cake of choice
- 1 batch of buttercream plus 2 extra cups
- Soft gel paste food color, in super red and lemon yellow
- Small offset spatula
- Tapered head mini offset spatula
- Parchment paper
- Scissors
Tint all of your buttercream, including the 2 additional cups, a light shade of coral. I used a swiss meringue buttercream, tinted with two drops of super red and one drop of lemon yellow food gel paste. Assemble and ice the cake using this light coral buttercream. Smooth the top of the cake well, although it does not have to be perfect, as we will touch it up again at the end. Refrigerate until frosting is firm.
Divide the remaining buttercream into 6 small bowls, with one bowl slightly larger than the rest. Leave the larger bowl as is, so you have the original light coral for touchups and as a reserve (in case you don’t like one of your shades after tinting). Using the same red and yellow gel paste as before, tint the remaining five bowls to be darker shades of pink, coral, orange and red.
Cut a square of parchment paper that is the same size as your cake. An 8″ round cake would use an 8″ square of parchment paper. Fold parchment paper in half and cut out your heart shape. This is our super easy stencil! Open parchment paper up and place onto your cake, centering as best as possible. Lightly smooth the parchment onto the cake, so that it is laying nice and flat and the edges are making contact with the frosting.
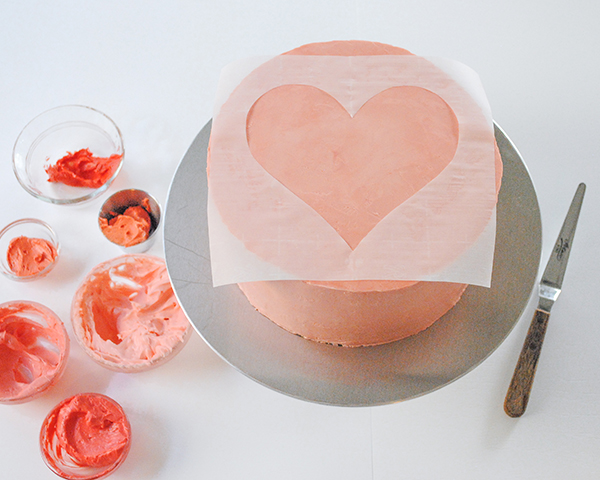
Using the tapered spatula, add small dabs of frosting all over the heart, mixing up the shades so that there is a good variance of each color tone. I added my dabs in a diagonal pattern to add extra interest to the final heart.
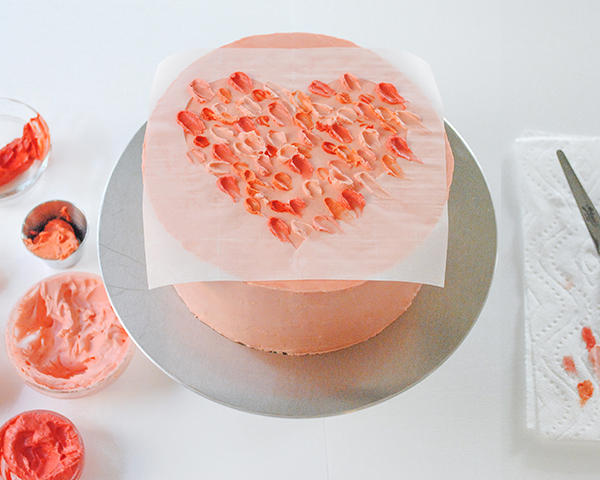
Using the small offset spatula, lightly sweep across the heart, following the same diagonal pattern as the dabs of frosting, lightly spreading the frosting and removing the excess. I found it easiest to rotate the turn table so I could drag the spatula straight towards me, as opposed to swiping diagonally (see what I mean in the video above). Wipe the spatula clean between each pass. I wiped onto a paper towel but scraping into a bowl would save the frosting for another project (or could be used to practice buttercream piping).
Keep adding additional dabs of frosting and swiping away until you’re happy with the final watercolor effect. Be careful not to overmix or you’ll end up with a solid colored heart.
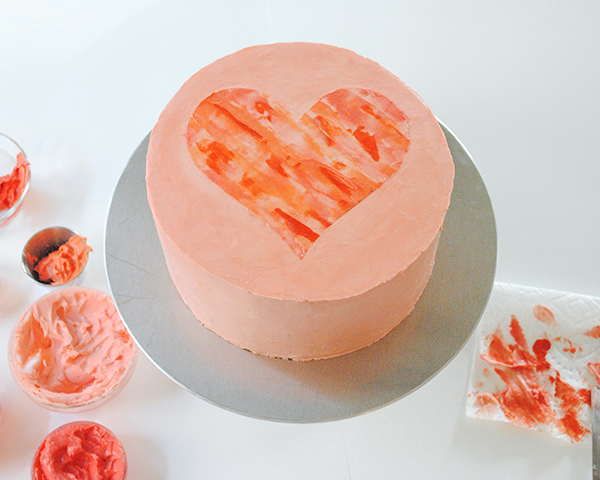
Carefully lift the stencil off the cake. Do not worry about any imperfect edges or small bits of the base buttercream lifted away. We saved some of the base light coral frosting back in Step 2, remember? Gently use the tapered spatula to clean up the edges and touch up any nicks in the base frosting.
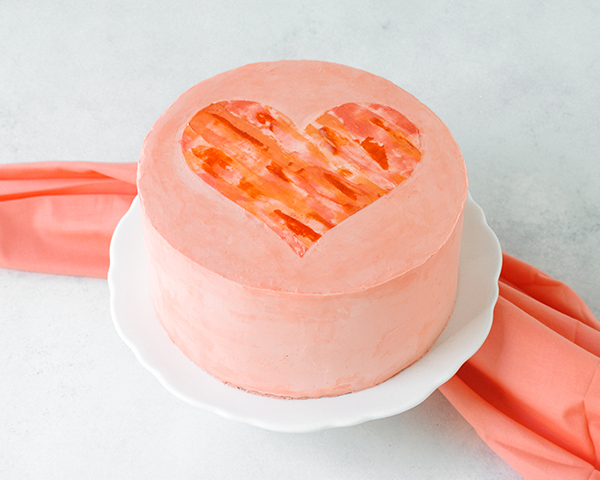
And that’s it! Your watercolor heart is complete!
YOU MAY ALSO ENJOY:
10 Watercolor Cakes
Watercolor Flamingo Cake
Watercolor Buttercream with Roses
How to Paint a Fondant Watercolor Cake
Pink Grapefruit Cake with Watercolor Buttercream


Beautiful and easy. Thanks for sharing!!
Hi Carrie!
First of I have to say thank you so much for bringing so much cake inspiration. I have been a cake decorator for almost 10 years and now I’m looking into teaching the techniques like you do here. But I’m so new to the video and photography world that I don’t know what equipment I need and how to start taking amazing photos and videos of the cakes I’m making. I so admire how clean and bright your images and your videos are. How do I start? I appreciate your time! Thank you in advance!
xo, Katie
Oh, your blog looks great Katie! Best of luck to you on this new adventure. It will all come with patience and practice. There are so many great resources on the web now for food photography, and even in person workshops. That is a great way to get started. Enjoy!
Awesome upcycling! And finding it for free, that’s so cool. Thanks for sharing this!