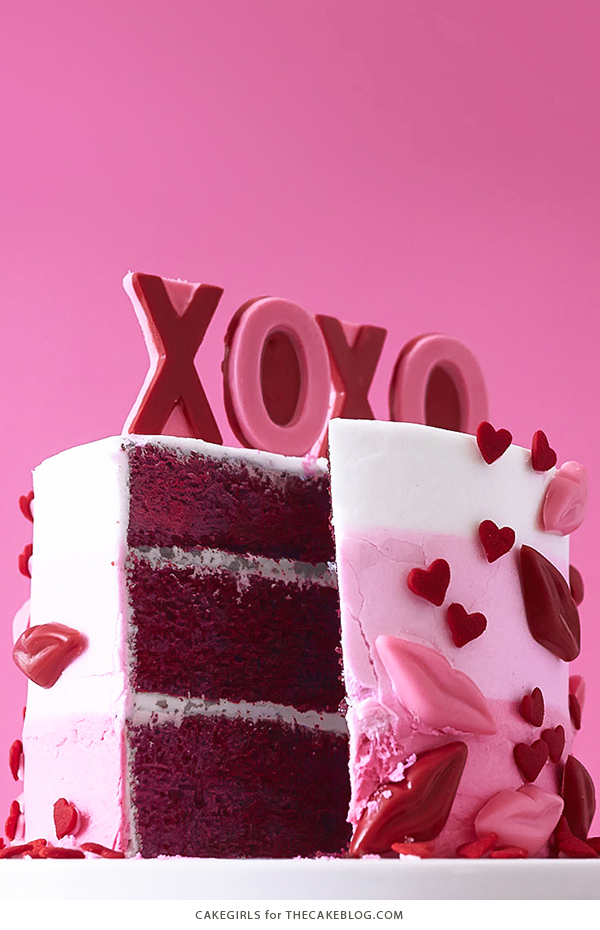
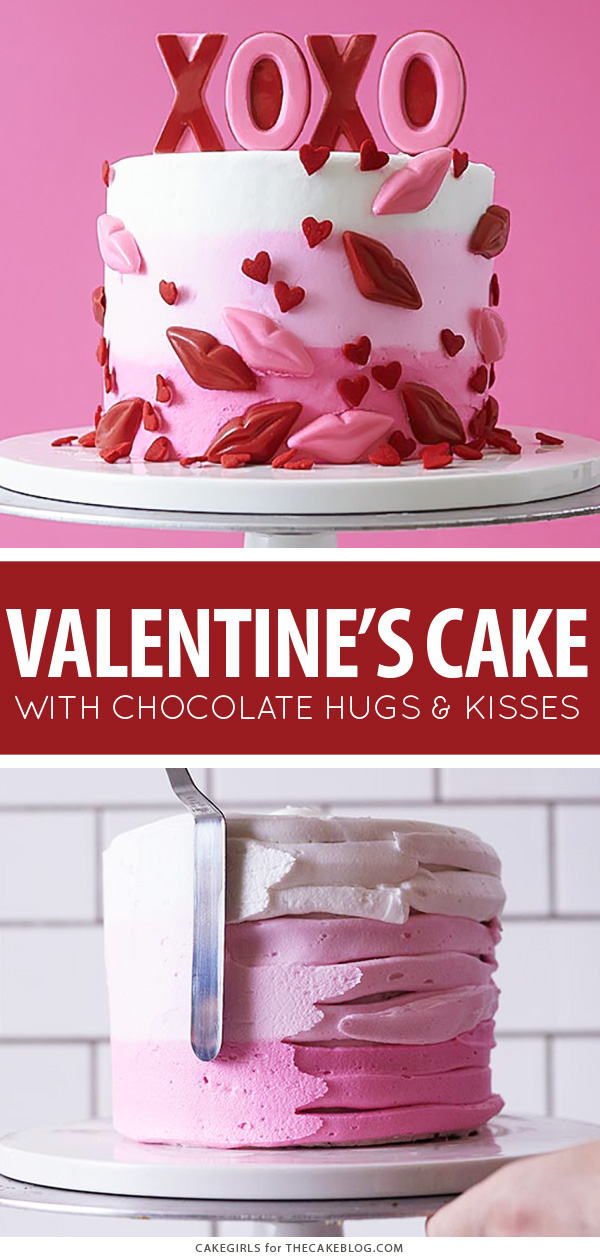
XOXO Valentine’s Day Cake – how to make a pink striped buttercream cake decorated with chocolate lips, hearts and an XOXO topper. A fun valentine idea full of hugs and kisses by our contributors, Mary and Brenda Maher of Cakegirls.
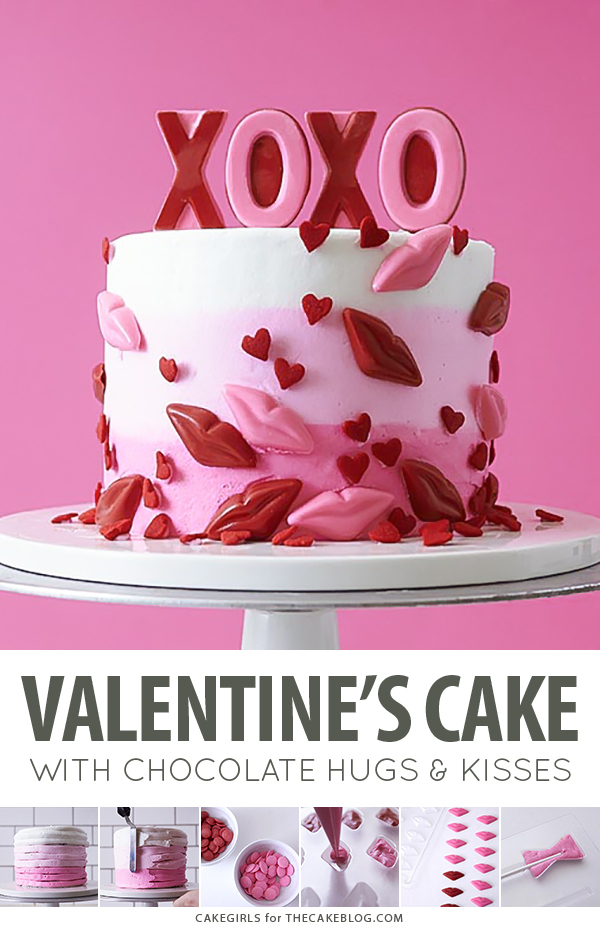
I know that Valentine’s Day is typically filled with romance and is a chance to show your affection to that one very special person that makes your life so complete. Well, I get that. And, yes, I adore my husband. But I have so many people in my life that love me and that I adore that, this year, I’m making a cake that’s a bit bigger than dessert for two. This pretty little cake design is iced in pink ombre buttercream and topped with chocolate X’s and O’s. It’s sprinkled with kissy lip and heart decorations all over the sides and filled with layers of red velvet. I’m going to share this with my kids and some friends and my husband as well because this dessert most definitely serves more than two.
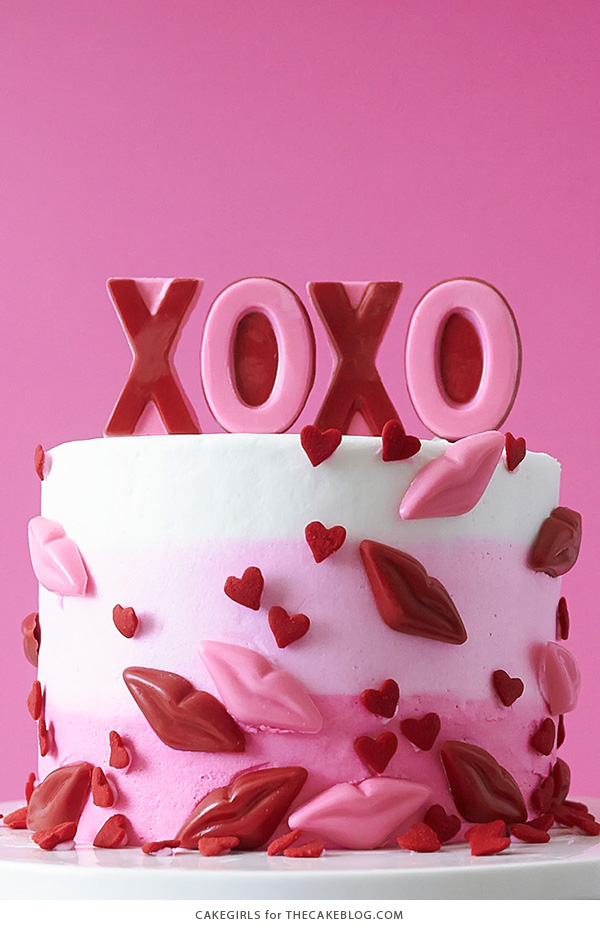
The striped buttercream technique can be done in both a Swiss meringue icing or an American style buttercream — we went with a basic crusting buttercream. Although it’s not a must, we feel like red velvet cake is the way to go for cake flavor. If red velvet is not your cake of choice, then we recommend a rich chocolate cake as a great alternative.
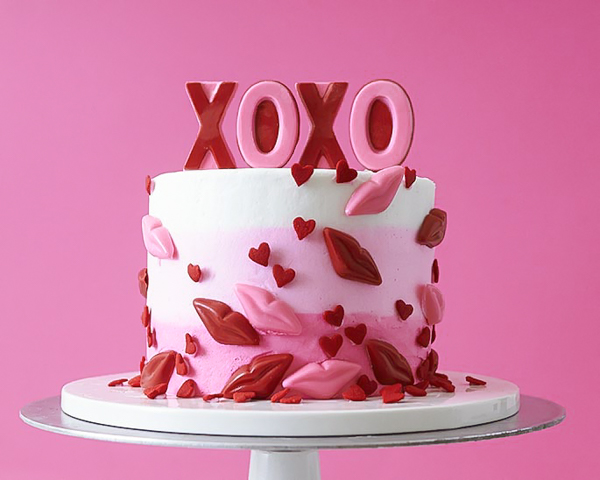
XOXO VALENTINE’S DAY CAKE
a tutorial by Cakegirls
Supplies:
- 6″ Round Layer Cake
- Buttercream
- Pink Gel Paste
- Red Candy Coating
- Pink Candy Coating
- X Shaped Sucker Mold
- O Shaped Sucker Mold
- Mini Lips Mold
- Large Heart Sprinkles
- Sucker Sticks
STEP ONE: FROST YOUR CAKE IN OMBRE BUTTERCREAM STRIPES
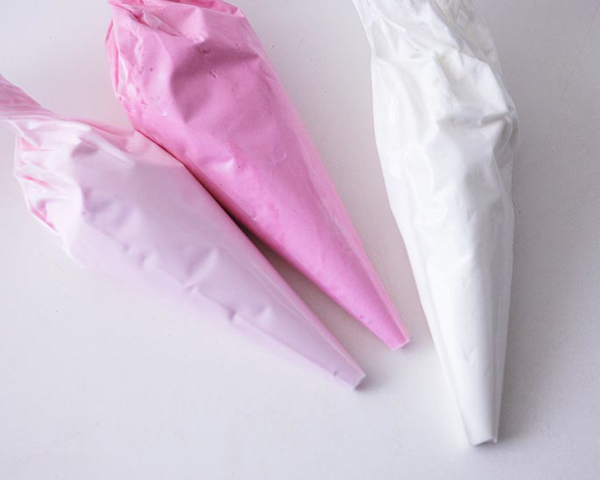
Make a batch of your favorite buttercream frosting. Either a meringue based buttercream or a basic crusting buttercream will work. Divide frosting into three portions and tint to your desired colors. We chose dark pink, light pink and white. Place each color in a piping bag. Trim the bag so that the opening is about 1/2″ wide. You can also fit the bag with large open piping tips.
Assemble your cake by stacking the cake layers, filling with buttercream between each layer. Coat exterior with a thin layer of frosting to lock in the crumbs. Refrigerate 10 minutes or until firm. Next, use your icing bags to pipe rings around the cake starting with the darkest color on the bottom. Then fill the top of your cake in with the lightest color (in this case, white).
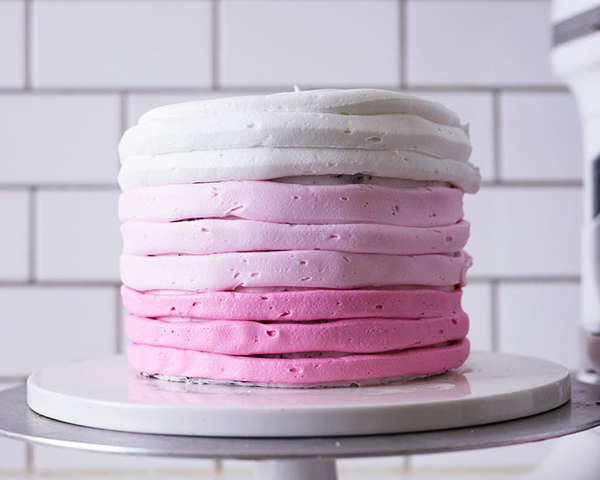
Use a spatula to swipe around the cake, making the sides flat as you go. You will be removing excess buttercream along with making the sides smooth. Be sure to clean off any excess that your spatula is picking after every swipe so that your spatula stays clean.
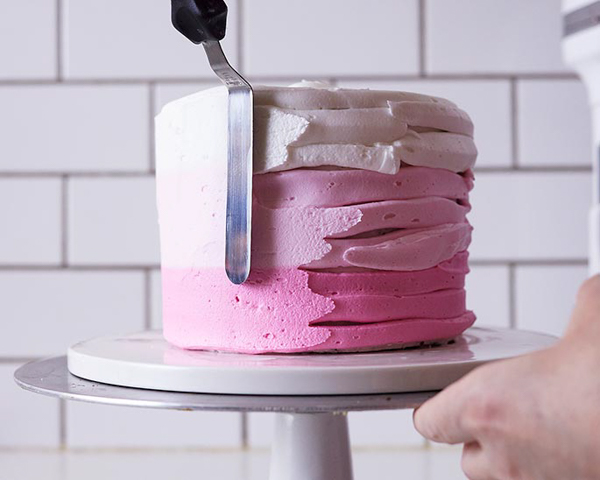
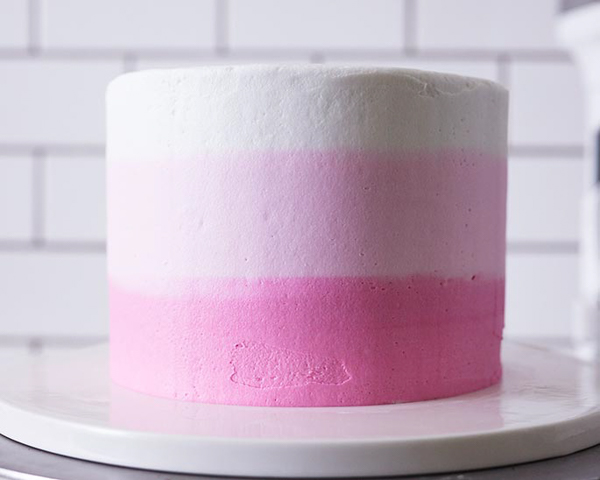
Once your cake is sufficiently “drum shaped”, heat your metal spatula or icing blade under very, very hot water and then dry it completely. Lightly smooth the sides of your cake, like you did previously, but this time try not remove any excess buttercream. Once again, keep your spatula clean in between swipes and keep reheating/drying it off as necessary. Smooth the top using the same technique. To see this technique in more detail, check out our striped buttercream tutorial.
STEP 2: CREATE THE CHOCOLATE MOLDED DECORATIONS
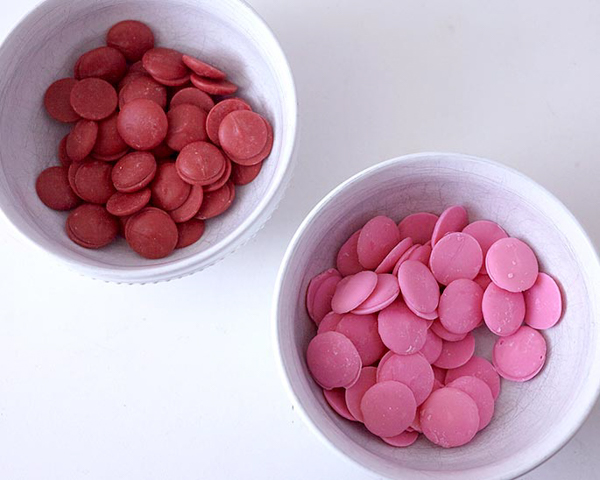
In two microwave safe bowls, place red and pink candy coating wafers. Melt them on half power in the microwave, stirring frequently, until melted. Do not overheat them or they could burn. Place each color in it’s own disposable piping bag and snip the opening about 1/2″ from the end. You can always snip it a bit more once you are filling your mold if the chocolate is coming out too slowly.
Pipe melted coating into the mini lips chocolate mold, making some pink and some red. To keep the lips thinner, don’t fill the cavities all the way to the top. Tap the mold on the counter a few times to settle the coating and place in the freezer for 15 minutes to chill. Flip the mold onto the counter and pop out the lips.
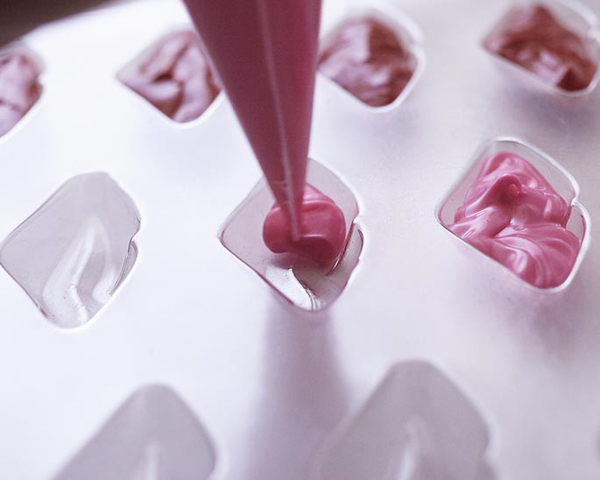
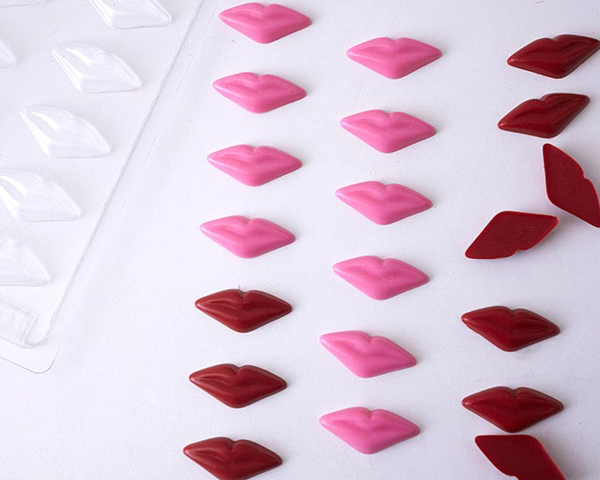
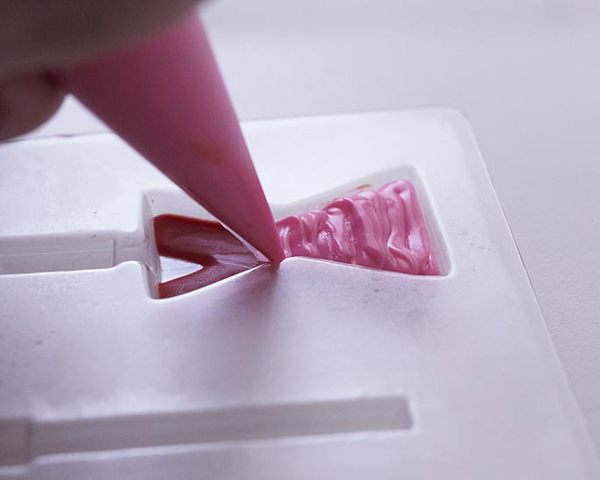
If your coating has hardened in the bag, you can microwave it briefly on half power to remelt before continuing. Next, to create the X and O toppers, start by piping melted coating in the base of each letter, just filling the letter and not the entire cavity. We made the base of the O’s pink and the base of the X’s red. Tap the molds and place them in the freezer for 10 minutes.
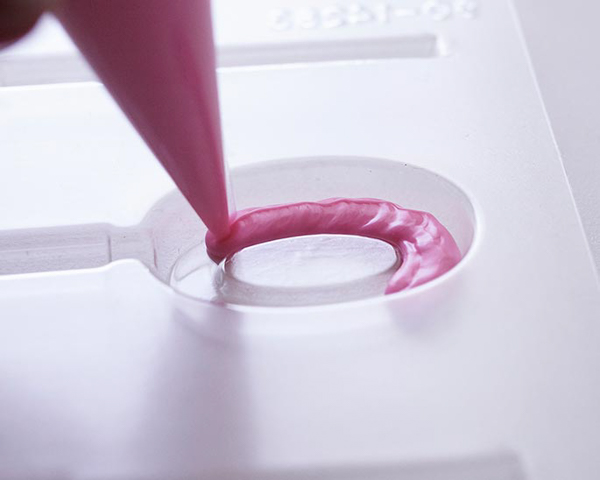
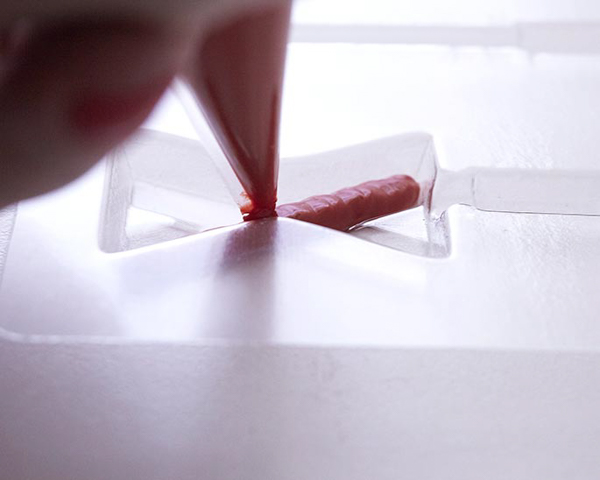
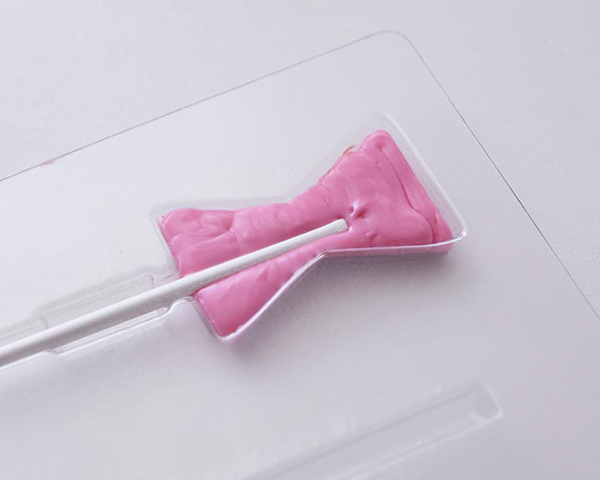
Once out of the freezer, fill the remainder of the mold with the opposite candy coating color. Tap the mold to settle the coating and then place a sucker stick in the mold. Place back in the freezer for 10 minutes and then pop the letters out of the mold.
STEP 3: FINISH DECORATING THE CAKE
Insert the finished letter molds into the top of the cake. Pipe a small amount of buttercream on the back of each mini lips in order to help them adhere to the cake. Fill in the rest of the design with heart sprinkles! Now you’re done!



As a practicing author, I have always followed an instinctive
logic it felt normal to center on the subject -> develop with ideas/answers
-> put it . But, nothing could save me when I was writing
regarding thermodynamics, by way of example, which,
as you can imagine, is not my main field of expertise.
Anyway, I took some Fantastic tips from your writing style, thanks to this:slightly_smiling_face: