Piped Hearts Valentine’s Cake – how to pipe buttercream hearts full of texture and color. A new tutorial by our contributor Whitney DePaoli.
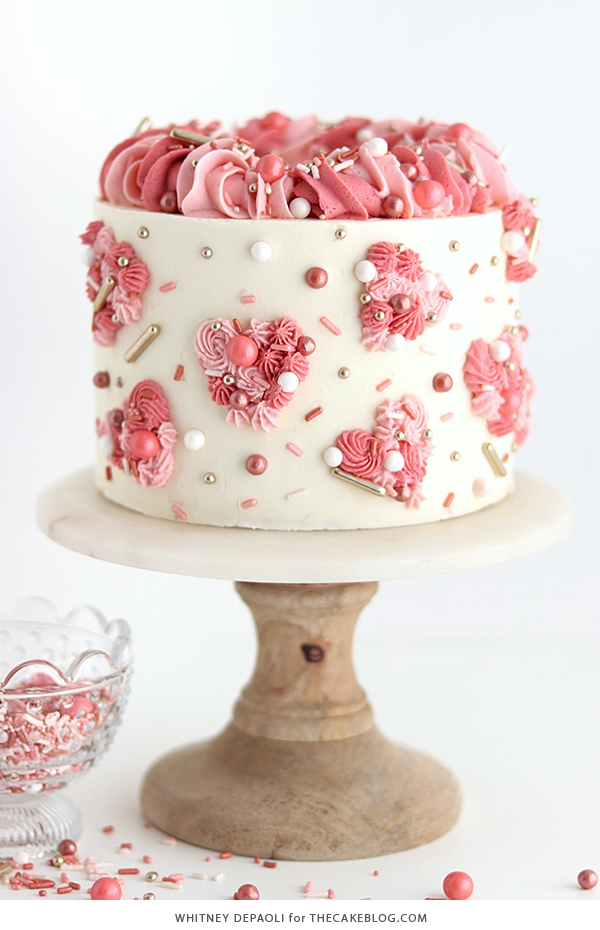
When it comes to Valentine’s Day cake decorating, hearts and pink color palettes are tradition. Today I’m going to show you how to put a modern spin on these classic Valentine’s Day cake decorations with one of my new favorite piping techniques, wholly inspired by one of my favorite Instagram cakers @frostedfujicakes! Whether you want to make a cake for your honey (or Galentine!) or simply want to get creative with a Valentine’s Day themed cake, this one is so easy to whip up and totally eye-catching.
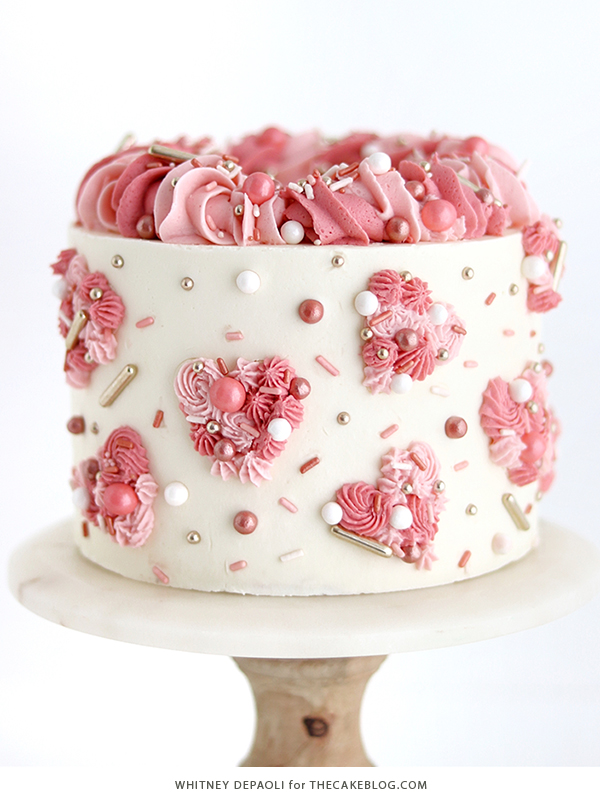
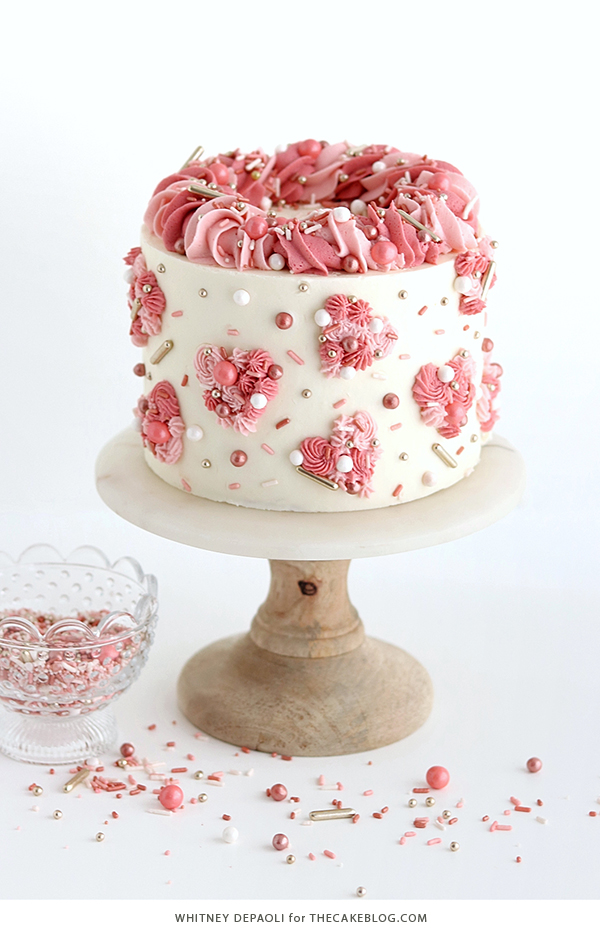
This technique involves imprinting shapes on your cake (in this case, hearts!) and using buttercream piping to fill them in, then accenting with pretty sprinkles to give it even more texture. I went with a rose gold color palette on this one, from the buttercream to the sprinkles, and really love how these pink tones turned out. If you’re not into pink or just want to do something different, you can use any color palette your heart desires! Feel free to think outside the traditional Valentine’s Day color palette on this one.
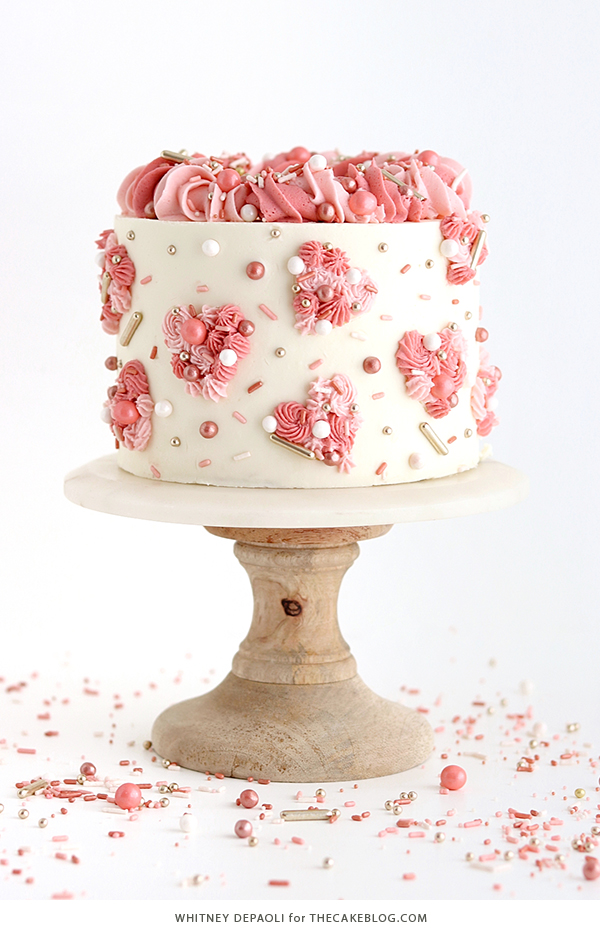
As far as frosting goes, this technique works with any kind of buttercream that’s tintable and pipeable. I’m an American buttercream gal myself, so that’s what you’re seeing in this tutorial. Whatever kind of frosting, color palette, or sprinkle mix you go with, I think this design perfect for any Valentine’s Day celebration! It’s the ideal centerpiece for a party or a fun treat to whip up and impress your date. So versatile!
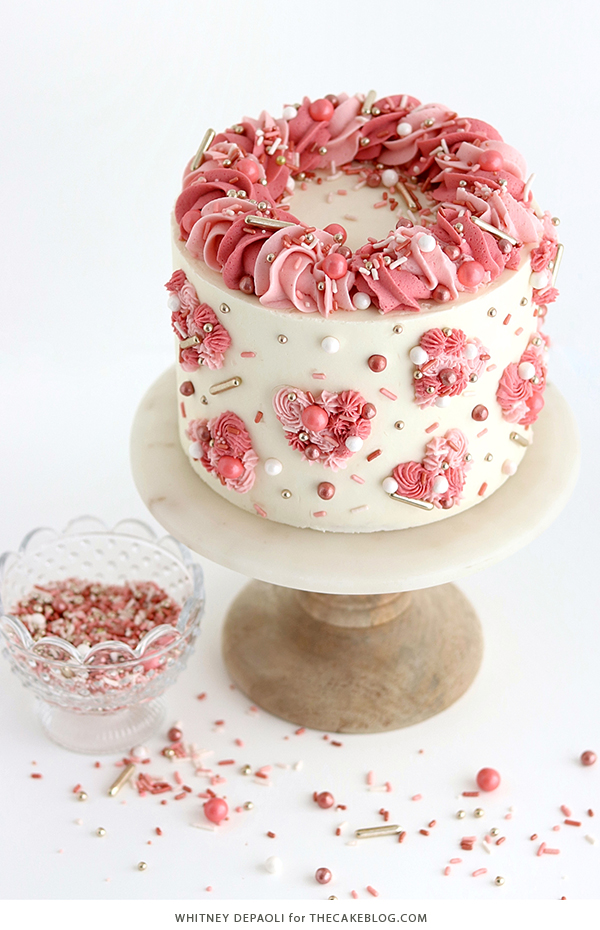
PIPED HEARTS VALENTINE’S CAKE
a tutorial by Whitney DePaoli
SUPPLIES:
- A cake that’s been frosted and chilled (mine is a 6 inch round)
- 2-3 cups of vanilla buttercream
- Pink food color gels of your choice
- Heart-shaped cookie cutter (mine is 1.5 inches, but you can use any size)
- Piping bags
- Piping tip 1M (x2)
- Piping tip 199
- Piping tip 21
- 4 ounces of assorted sprinkles
COLOR AND PREP THE BUTTERCREAM
Divide the buttercream into two separate bowls and tint them with the food color gels of your choice. Since I wanted to match the buttercream with the color palette of the sprinkle mix, I used Americolor Dusty Rose for both of these pinks. I think the colors turned out so perfect!
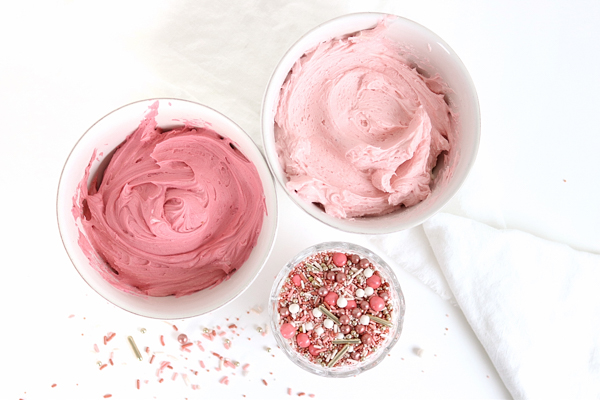
Once you’re happy with your buttercream color scheme, prepare four piping bags by fitting two of them with piping tip 1M, one with tip 199, and one with tip 21. Place half of the first color into the piping bag fitted with the 1M tip and the other half into the piping bag fitted with the 199 tip. Divide the remaining buttercream color amongst the remaining two piping bags.
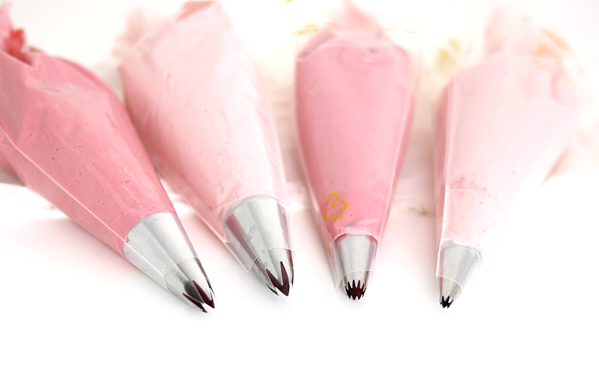
Keep in mind that you can use any color palette you want with this design, and can even use a monotone color scheme if that’s what your heart desires. If you do go with all one color, you’ll need one less piping bag fitted with the 1M tip.
IMPRINT THE HEARTS
On your frosted and chilled cake, use the heart-shaped cookie cutter to imprint hearts all around the cake in a random pattern.
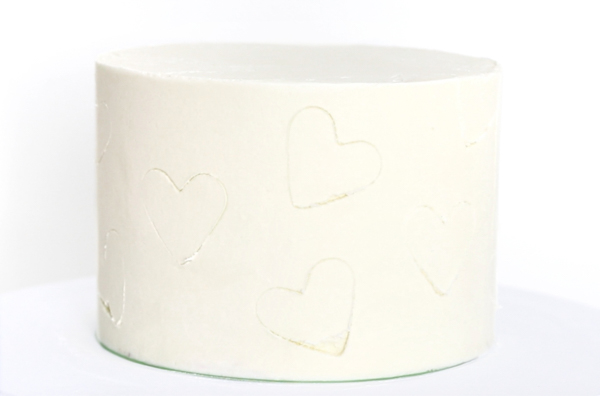
You’ll want to space the hearts at least two inches apart so that they don’t look too crowded.

FILL HEARTS WITH PIPING
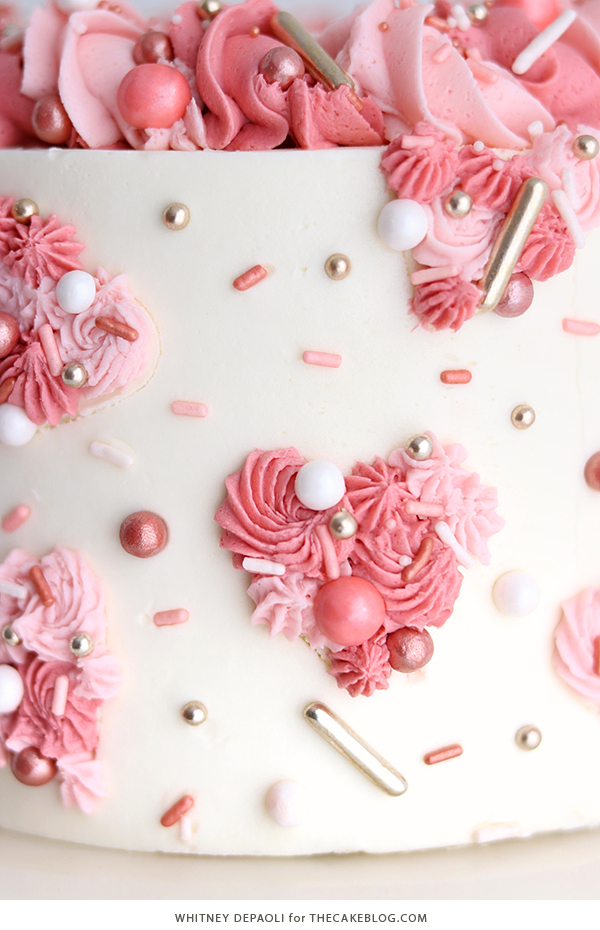
Next, use your piping bags to create tiny rosettes and stars within each heart imprint.
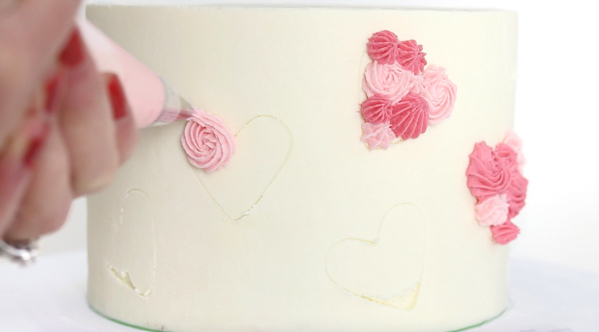
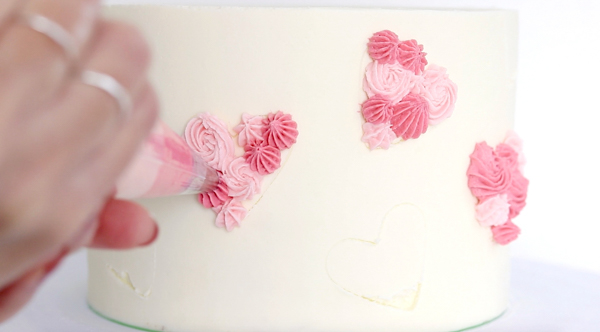
Fill in as much of the heart as possible, and don’t get too discouraged if it looks a little less like a heart shape right now. The sprinkles will make everything come together, I promise!
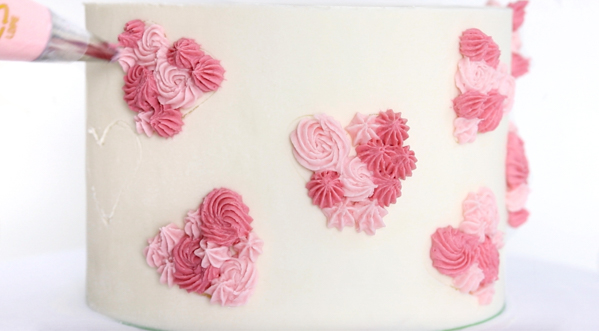
ADD SPRINKLES
One by one, add sprinkles to each heart to fill in any gaps and add even more texture. I love how the sprinkles enhance the buttercream colors and piping!
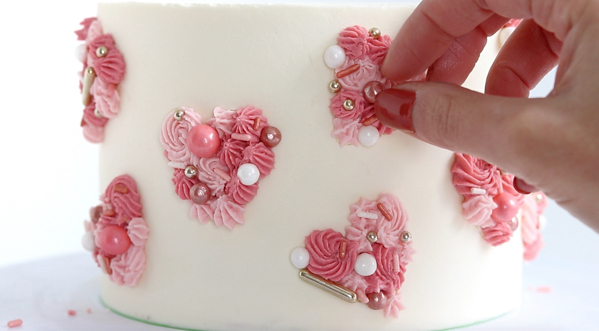
When you’re finished adding sprinkles to the hearts, continue adding sprinkles in the spaces around them. My only tip with this process is: keep a damp paper towel handy. Pressing your finger to a damp paper towel before touching it to a sprinkle can help with quick placement because the sprinkles won’t fall off your finger as easily. If you’re not into placing the sprinkles with your fingertips, you can use tweezers as an alternative. Either way will be a little tedious, but totally worth it for this look!
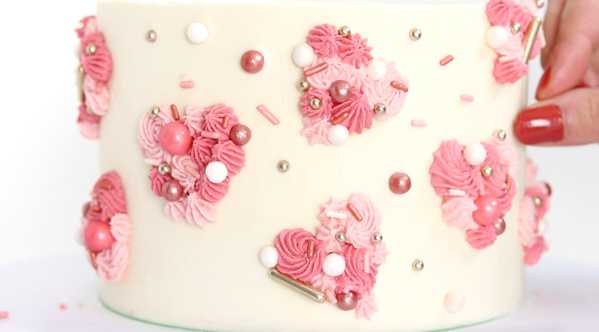
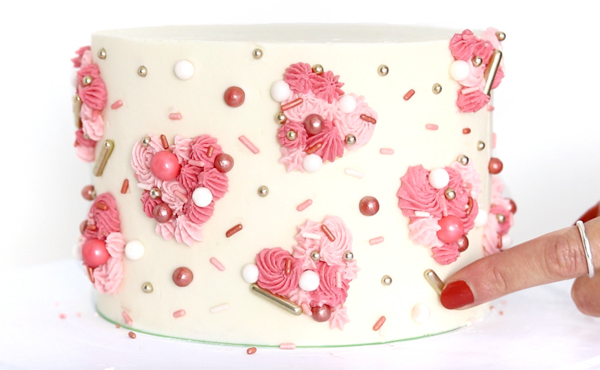
NOTE: gold and silver dragées are considered safe for cake decoration but have not been approved by the FDA for consumption. To play it safe, instruct your guests not to eat the long gold rods.
CREATE THE ROSETTE ROPE BORDER
Once you’re finished adding all the sprinkles, it’s time to finish off the cake with a beautiful rosette rope border! To get the look, use the piping bag fitted with the 1M tip. Place the piping tip about an inch inwards from the edge of the cake, holding the piping tip at about a 45 degree angle towards you. Then, pipe rosettes counter clockwise in alternating colors.
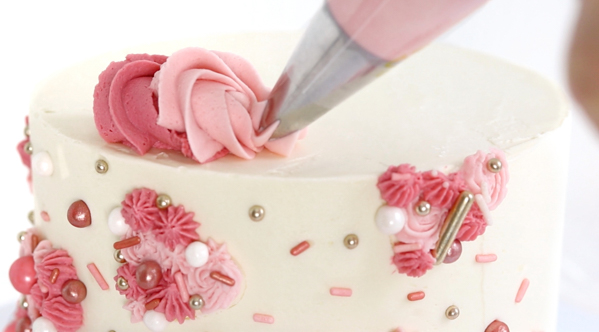
Repeat the process of piping rosettes, alternating colors each time until you’ve got a pretty rosette border around the top of the cake.
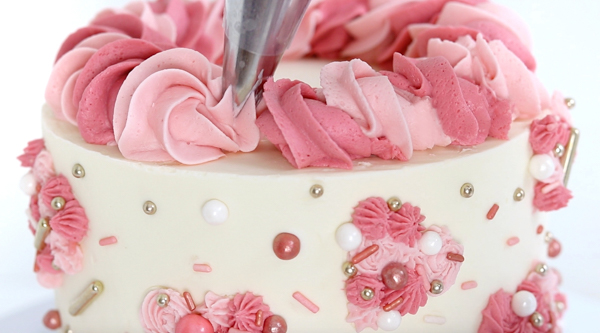
Add more sprinkles to the rope border to tie the whole cake together.
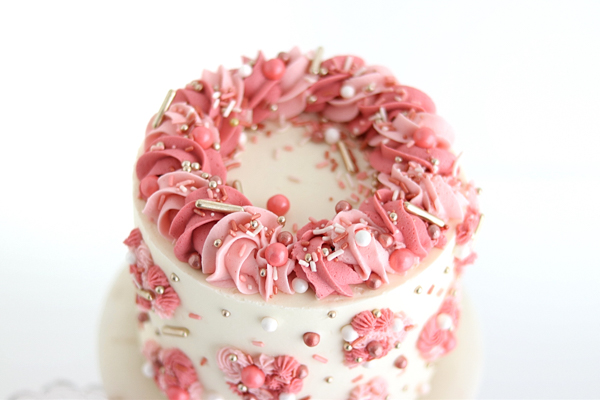
And voila – a total stunner for Valentine’s Day!
MORE VALENTINE’S CAKES TO MAKE:


This cake is just darling!!! I love your choice of sprinkles too. I especially love the long, straight silver ones. As I am in California, it is “illegal” to order or buy silver dragees to have shipped here. Crazy. The smallest touch of silver is lovely. Beautiful cake and inspiration.
Hi
I wanted to know if you have a link to your cake stand…?
The cake is absolutely stunning… Im going to attempt soon
for a special birthday..
Thanks
Maria
This cake is just darling!!! I love your choice of sprinkles too.he smallest touch of silver is lovely. Beautiful cake and inspiration.Heart cakes are basically the cutest dessert you could make for Valentine’s Day, and they’re actually super easy to pull off.