Christmas Ornament Cakes! Learn how to make these sparkly, mini ornament cakes with a simple step-by-step tutorial by our contributors, Mary and Brenda Maher of Cakegirls.
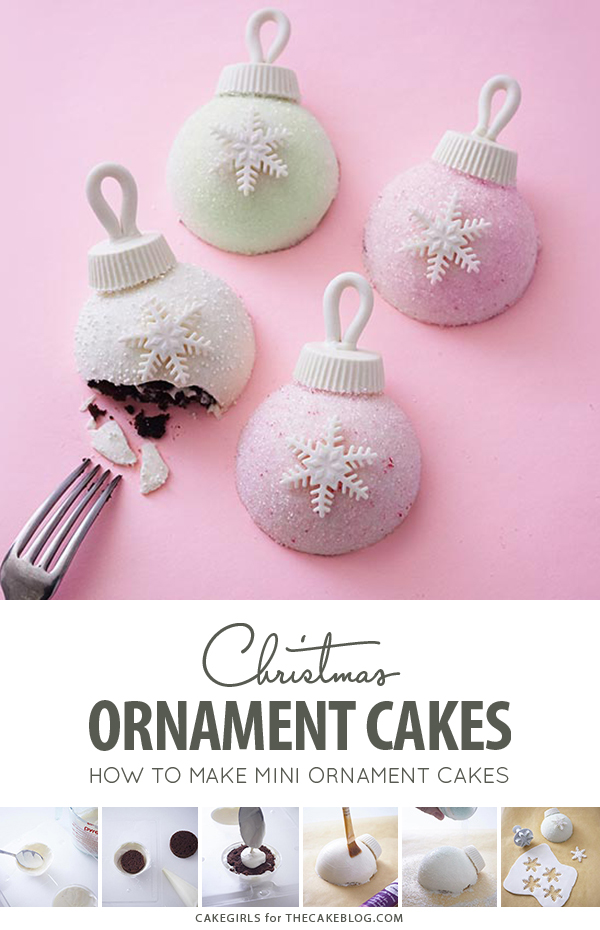
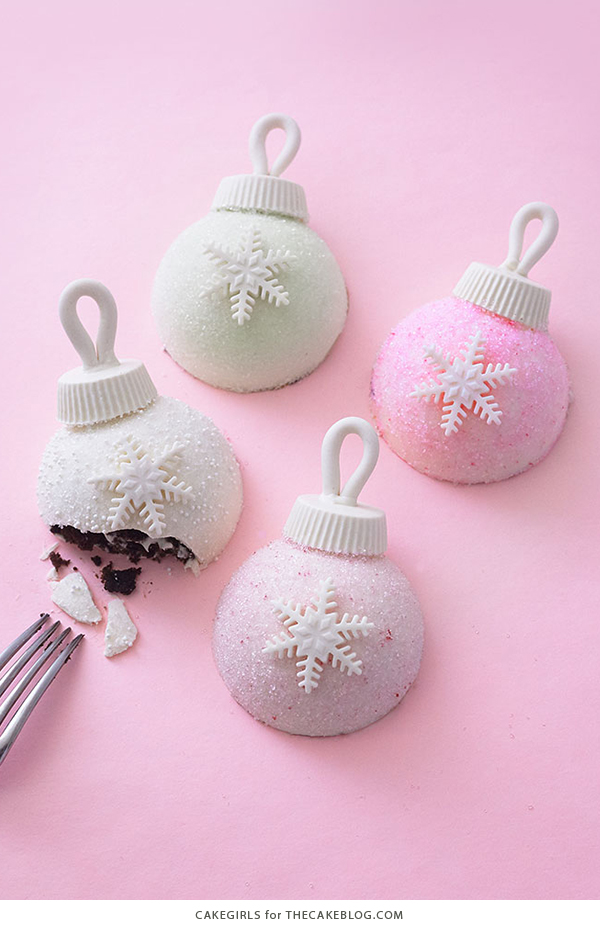
We couldn’t wait to get started on these sparkly Christmas Ornament Cakes. It’s the time of year to kick things up a notch, be a little more thoughtful and pull out all the stops…even when you’re making cakes. Individual cakes seem fitting because they’re a bit more labor intensive, but feel really, really special. The best part is that these pastel sparkly little cakes look difficult to make but are deceptively simple. They’re also really easy to customize. Don’t like pastels? Make them red and green. Have crazy good piping skills? Pipe each guests name on their ornament. The options are endless. One thing we’d note is that the quality of the cake inside really matters. We opted for homemade and really love a rich chocolate cake inside. We also think a more subtle buttercream is in order to counter the sweetness of the chocolate shell. In this case a swiss meringue buttercream fits the bill.
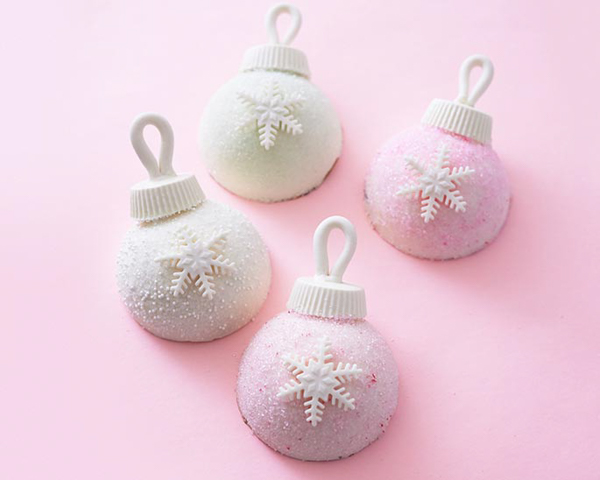
They start with an inexpensive ball shaped chocolate mold, or in other words, no carving necessary. Once we lined the mold with chocolate, we layered cake and buttercream inside and then popped them out ready to decorate. A thin layer of piping gel helps the sparkly sanding sugar stick wherever you see fit, so feel free to cover the entire cake (we did) or get fancy and only apply gel decoratively. We then grabbed one of our snowflake punch cutters (we can’t use this thing enough) to add a snowy focal point and attached a fondant loop for the finish. Wowza, look at these cuties. They’re what we’re serving for dessert at Christmas dinner — we hope you are too.
CHRISTMAS ORNAMENT CAKES
a tutorial by Cakegirls
Supplies:
Cake of choice (a small sheet cake works best)
Buttercream of choice
White Candy Coating
Ball Mold
Peanut Butter Cup Mold
White Fondant
Round Cookie Cutters (2″ and 2.5″)
Snowflake Plunger Cutter
Piping Gel
Food Safe Paint Brush
Light Pink Sanding Sugar
White Sanding Sugar
Light Green Sanding Sugar
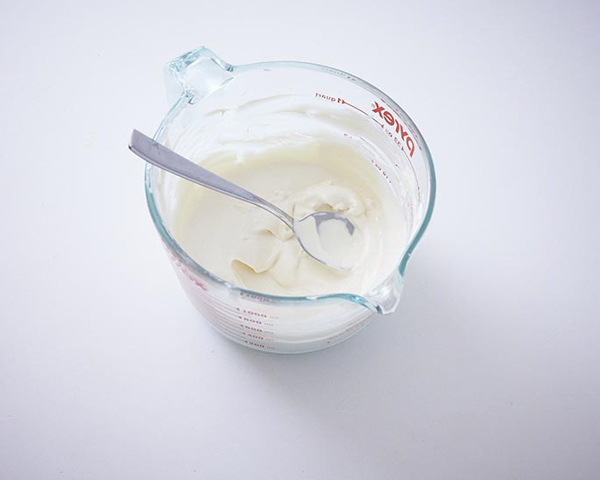
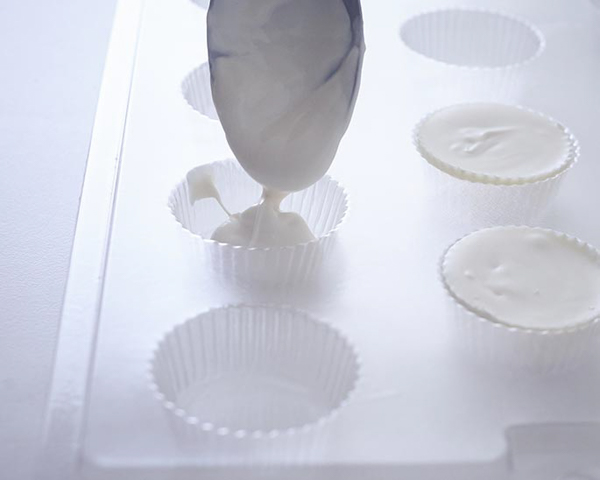
Heat some of the white candy coating on half power in the microwave, stirring frequently until melted (do not overheat or it could burn). Spoon it into the Peanut Butter Cup Mold cavities. Freeze for 10 minutes and pop them out of the mold.
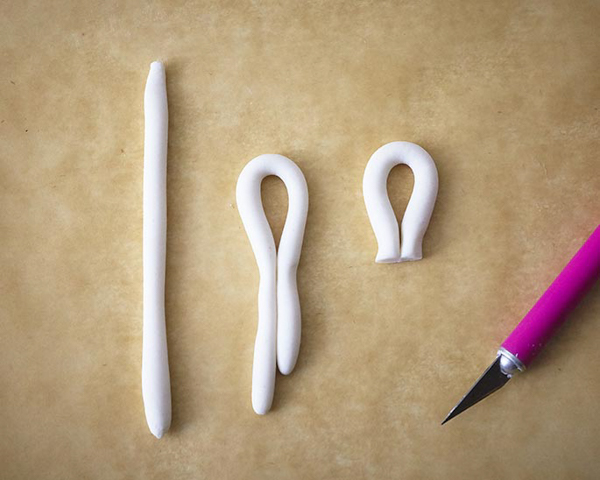
Roll some white fondant into a small worm shape, bend it in half and then use a knife to cut it flat at the bottom. Set the loops aside to dry.
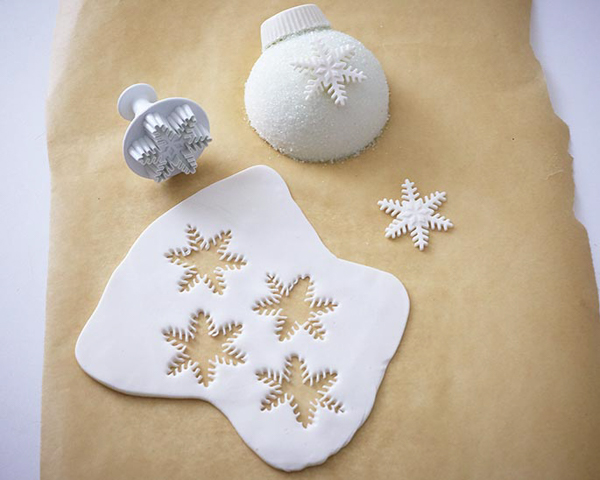
Roll some fondant out thinly and use a snowflake punch cutter to cut out snowflakes. Set them aside to dry.
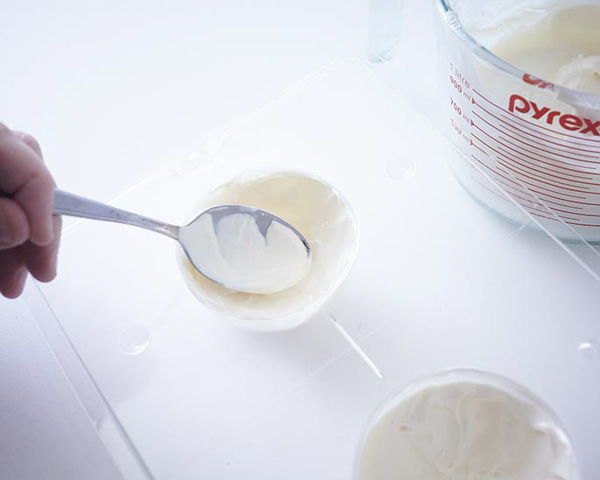
Remelt the coating and spoon a tablespoon into each mold cavity. Use the back of a spoon or a paintbrush to spread an even layer. If you spill any outside the mold, wipe it away with a paper towel before continuing so that you have a clean edge. Place the mold in the freezer for 10 minutes.
Cut your cake into 1″ thick layers and then use a circle cutter or a knife to cut out tiny layers of cake. We used a 2″ and a 2 1/2″ diameter circle of cake in each ball. Remove the mold from the freezer and layer the tiny cakes in the mold using buttercream in between. Press them down so that they don’t extend past the top of the mold or trim if necessary.
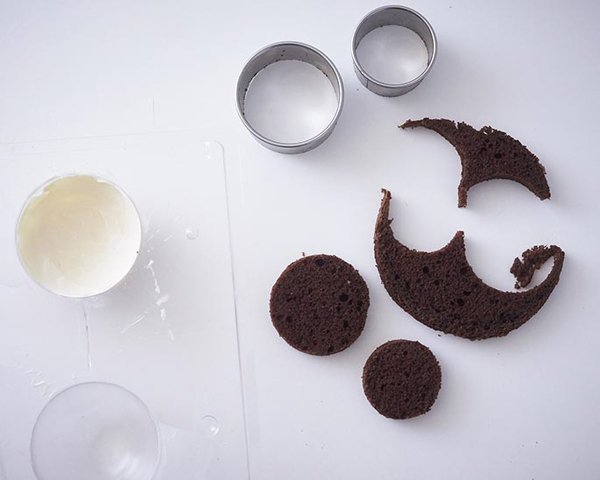
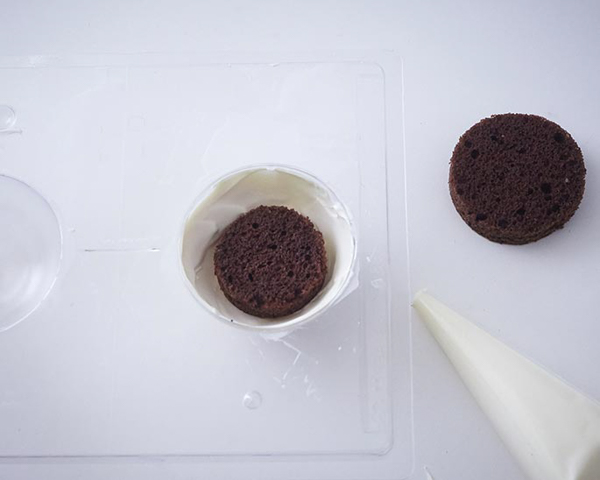
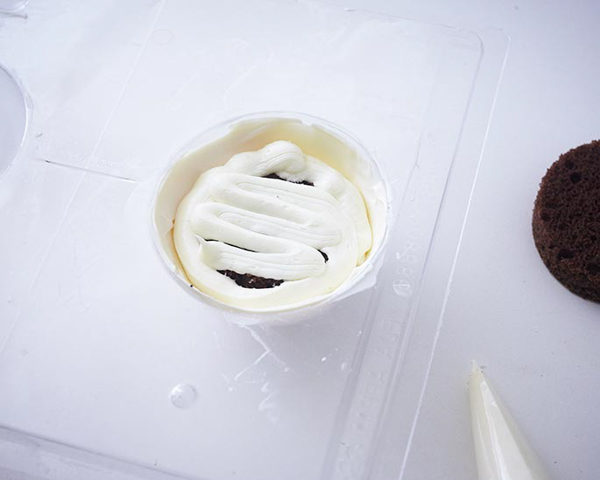
Spoon some melted coating on the back of the cake and spread it thinly with a spatula or knife, sealing the mold. Place the mold back in the freezer for 10 minutes.
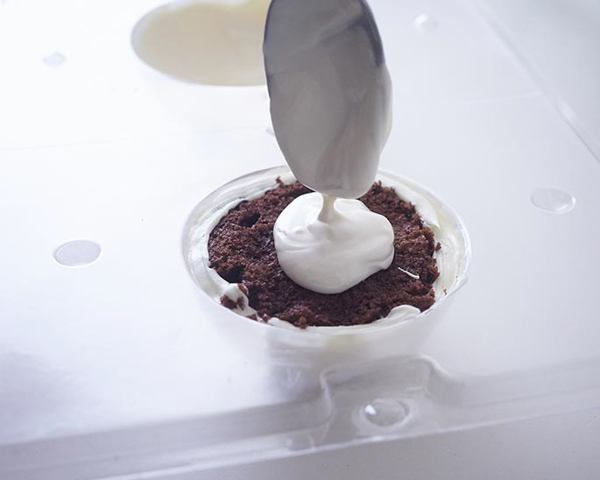
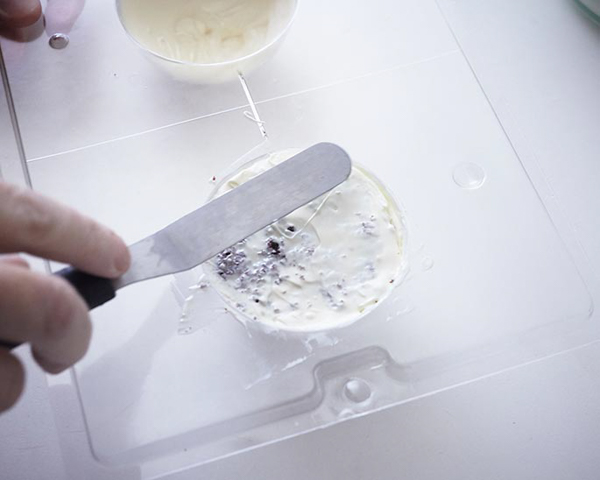
Flip the cakes out of the mold and let them come to room temperature so that they do not have any condensation on the exterior. To speed things up, you can dab them with a paper towel. Once dry, use some melted candy coating to attach the top to the ornament.
Then, use a brush to spread a thin layer of piping gel anywhere you want the sanding sugar to stick.
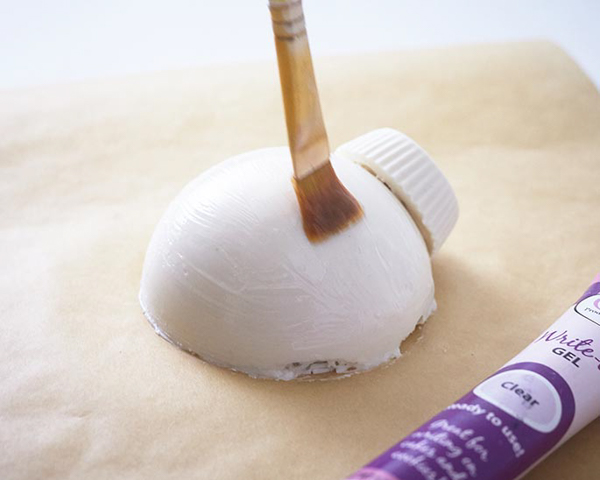
Sprinkle them heavily with sanding sugar. It helps to have them on parchment or wax paper so that you can lift the paper and funnel the excess sugar back into the jar.
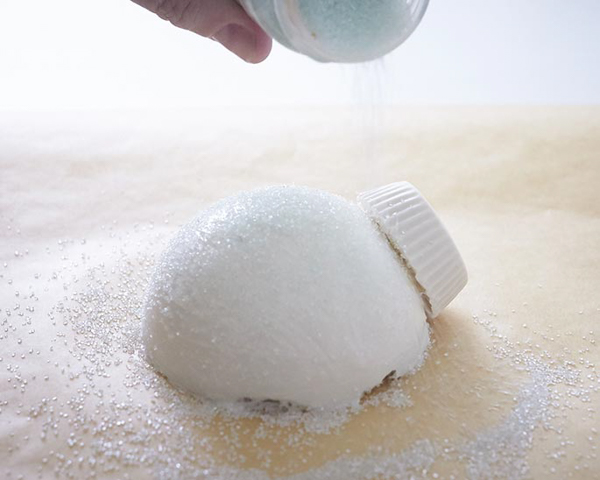
Add the dried fondant loops by dipping each one into melted coating and then holding it in place on the top until it dries. Squeeze a few dots of piping gel on the back of the snowflakes and press them onto the ornaments.

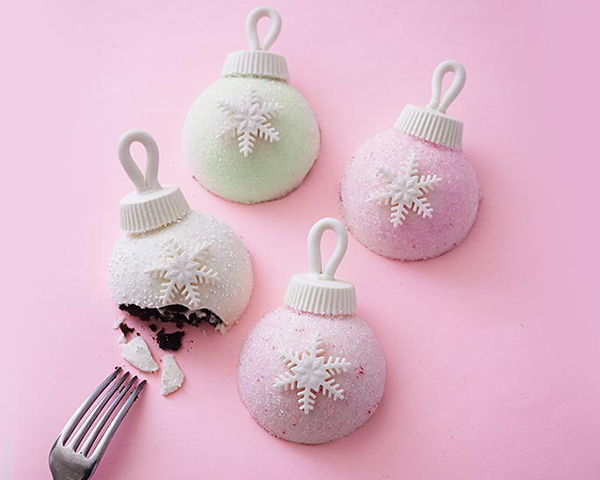
YOU MAY ALSO ENJOY:
Birch Log Cake
Whipped Cream Cubes
Winter Hat Cake
Christmas Cupcake Wreath
Igloo Cake


These look adorable! For the candy coating do you need special candy colors or could you use standard gel food coloring if you wanted to color it?
You can use regular gel colors but it will make your candy hard fast and leave specks of color, I think specks would look nice in this idea, for a smooth finish use candy colors they are oil base.
Hi,
Is white candy coating the same thing as white chocolate?