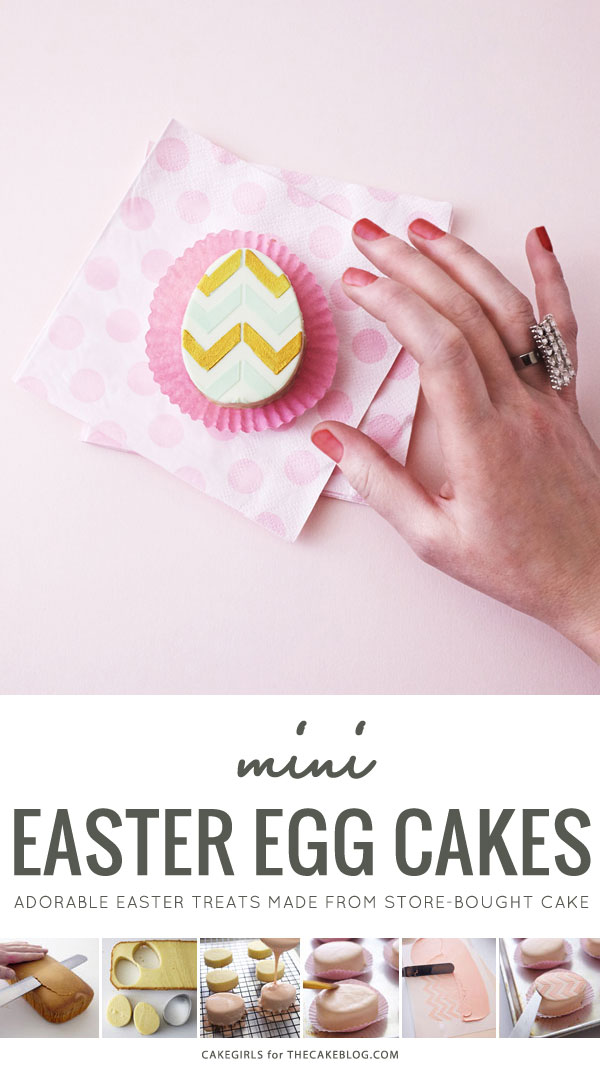
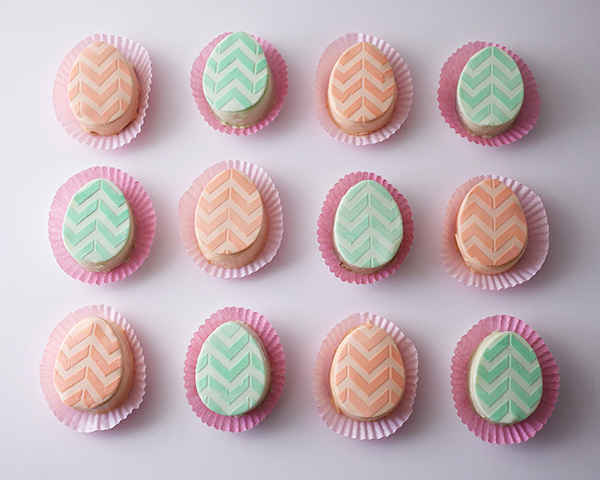
I love making desserts for Easter. Spring is in the air, flowers are blooming and pastel colors are finally back. And, the Easter table just seems like the perfect occasion for petit four sized mini cakes. In order to side step the normal pitfalls of making petit fours, we’re going to do it the foolproof way; store bought pound cake and icing. It works every time, without too much fuss and still leaves time to add your own decorative touch to each little cake.
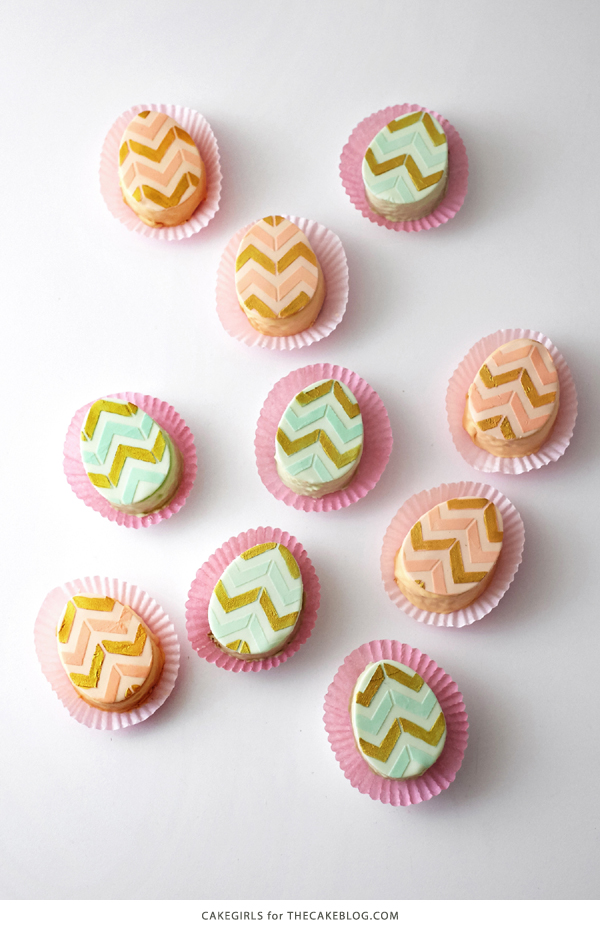
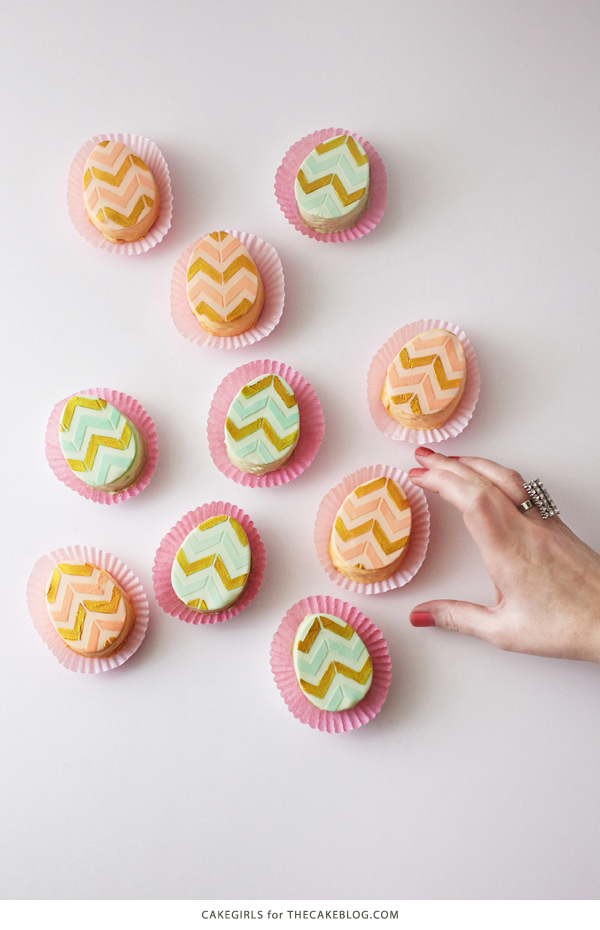
Peach, mint green and gold seemed like a natural way to go with the color palette, but in order to keep the mini egg cakes more modern, a pattern seemed in order. Stencils come in handy for this and with some experimentation, it worked well to stencil the fondant first before adding it to the cakes. A little unusual, yes, but this technique does the trick and works like a charm. Leave them plain or add touches of gold to finish and you’ll have pretty little bite sized egg cakes for your Spring table in no time at all.
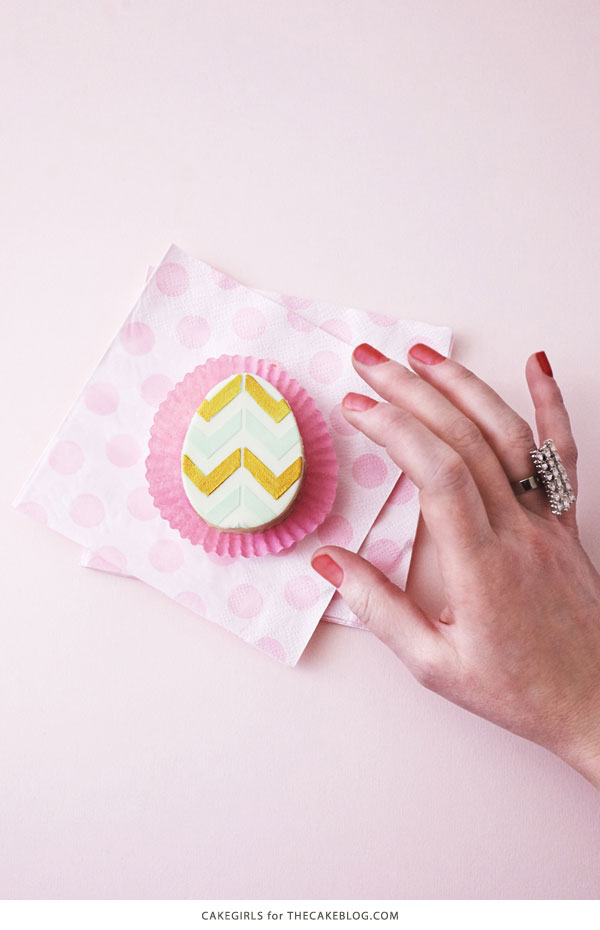
MINI EASTER EGG CAKES
a tutorial by Cakegirls
(makes 12 mini cakes)
Supplies:
1 – 16 oz. Store Bought Pound Cake
2 – 16 oz. Tubs of Store Bought Vanilla Icing (not whipped)
1 1/2 pounds White Fondant
Vodka or Clear Extract
Blue, Yellow and Pink Gel Paste
Egg Cookie Cutter (2 1/2″ Long)
Chevron Cake Stencil
Edible Gold Dust
Light Pink Cupcake Liners
Paintbrushes
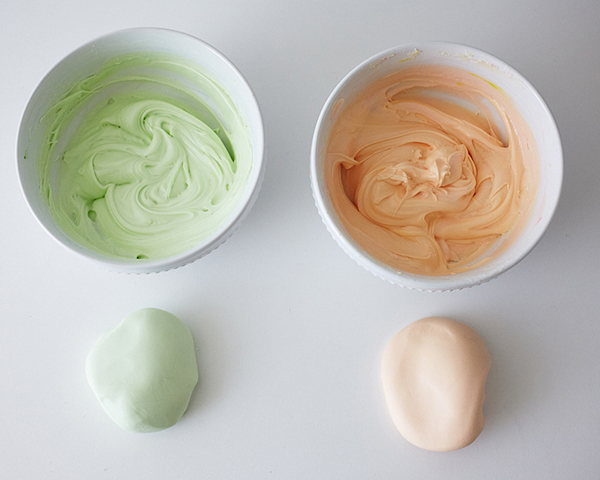
Tint half of the fondant peach (pink gel paste + touch of yellow gel paste) and the other half of the fondant mint green (blue paste + touch of yellow gel paste). Set the fondant aside, tightly wrapped in plastic and inside a plastic ziplock bag.
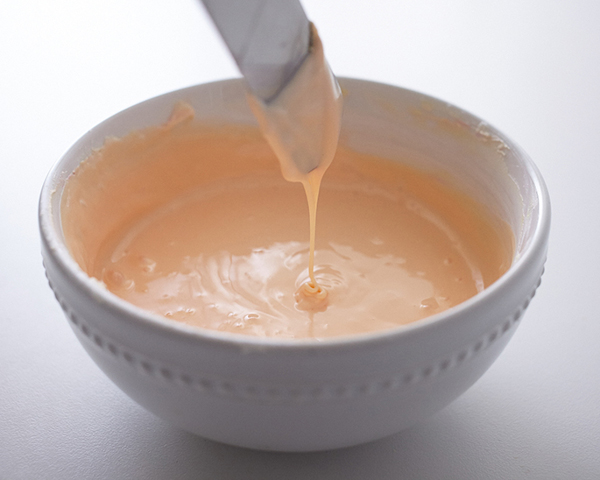
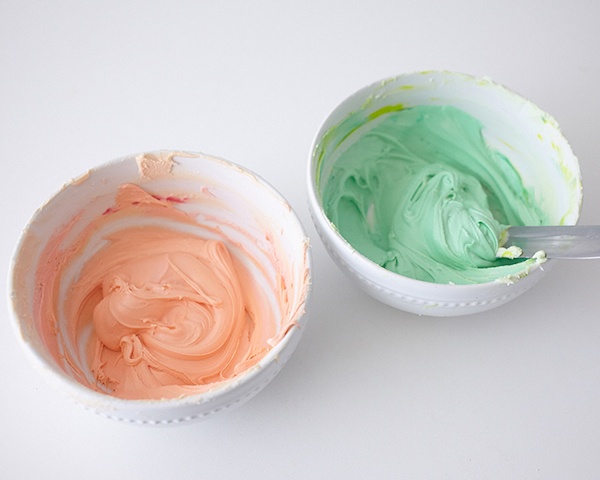
Next, divide one of the tubs of frosting into two bowls and match your fondant colors. Place plastic wrap on the surface of the green icing.
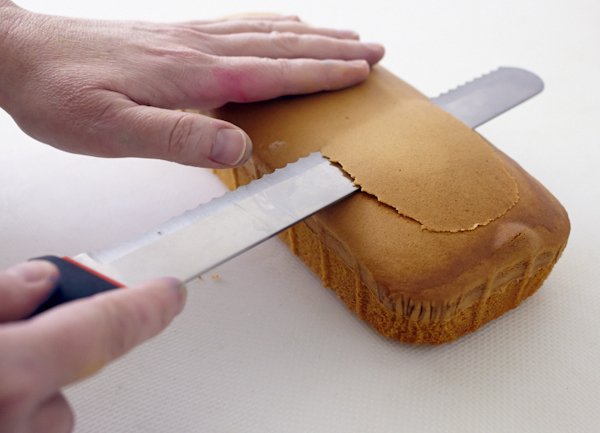
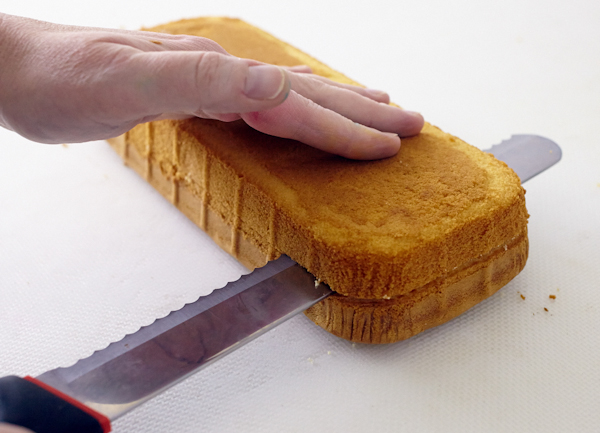
Pull the frozen pound cake out and let it sit for a few minutes until slightly thawed. Slice the rounded edge off the top of the cake, flip the cake over and cut the entire cake crosswise into two even layers.
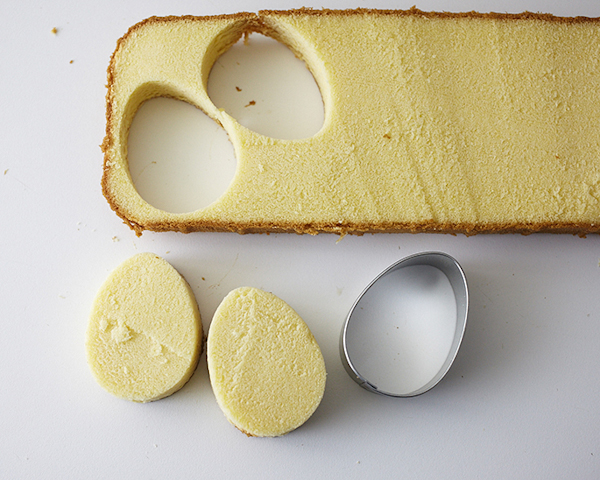
Use the small egg cookie cutter to cut out 12 egg shapes.
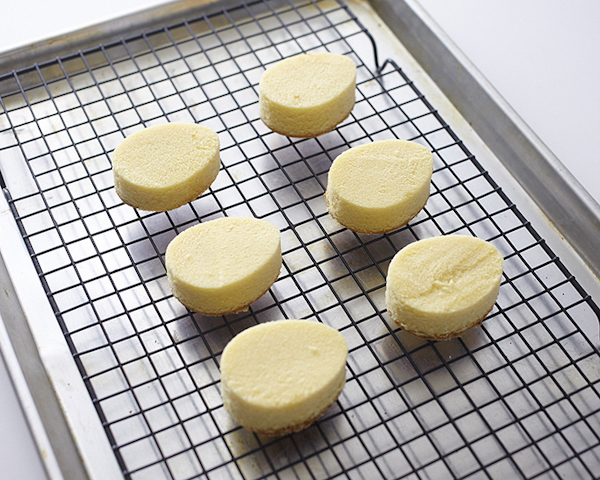
Place 6 of the eggs on a sheet tray fitted with a cooling rack, place the other 6 eggs in the freezer.
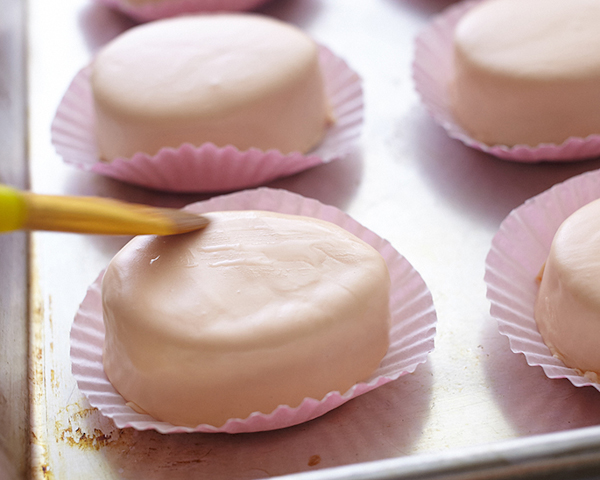
Place the peach icing in the microwave and heat for 10 seconds, stir and then heat for 10 more seconds. It should be the consistency of a pourable glaze. Immediately pour the icing over the eggs, making sure to thoroughly cover each egg. If you run out of icing before all 6 eggs are covered, don’t sweat it. Just scape up any icing off of the tray and reheat as necessary before continuing.
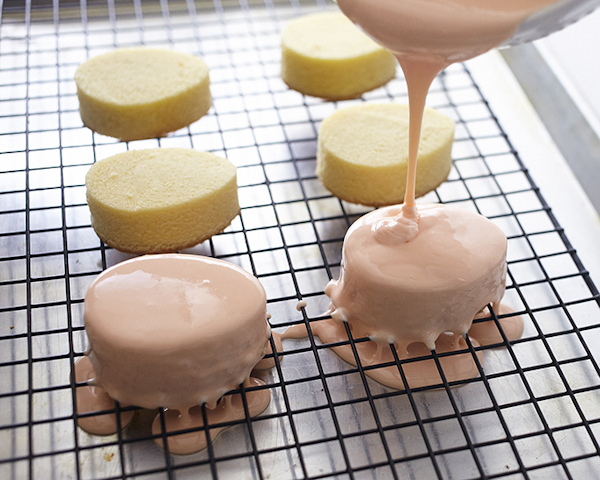
Let the eggs sit until the icing sets a bit, about 15 minutes. While the eggs sit, use scissors to trim the height of your cupcake liners so that they are more shallow. This will make placing the eggs easier and look prettier! Use a spatula to transfer each egg to a cupcake liner.
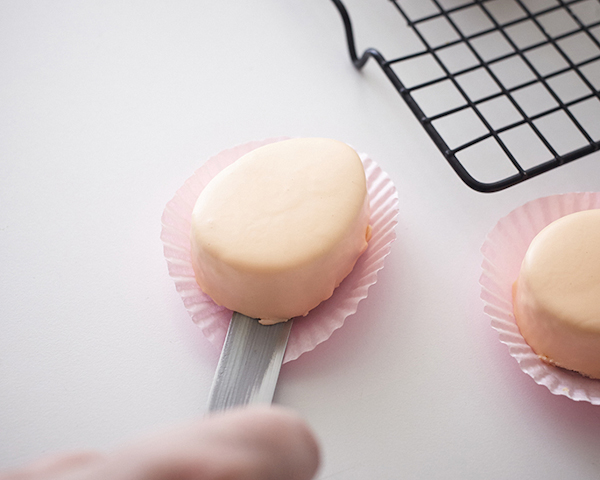
Repeat this entire process with the remaining eggs and the green icing.
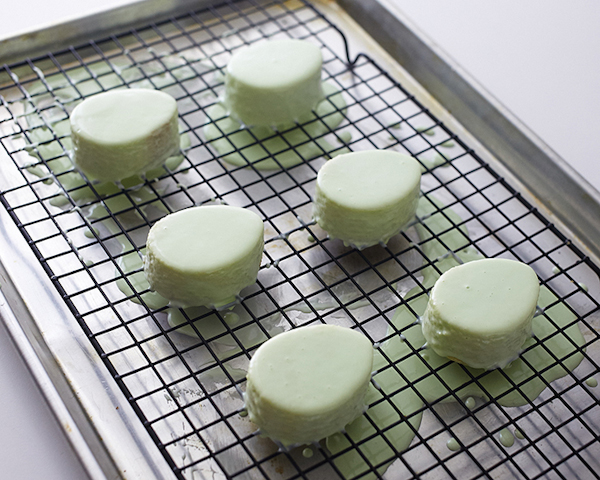
Divide the remaining tub of icing into two separate bowls and tint each color a darker shade than the glaze. Once again, place plastic wrap on the surface of the green icing.
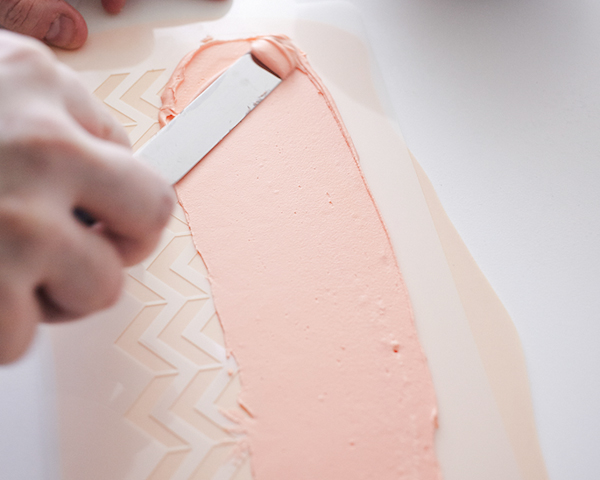
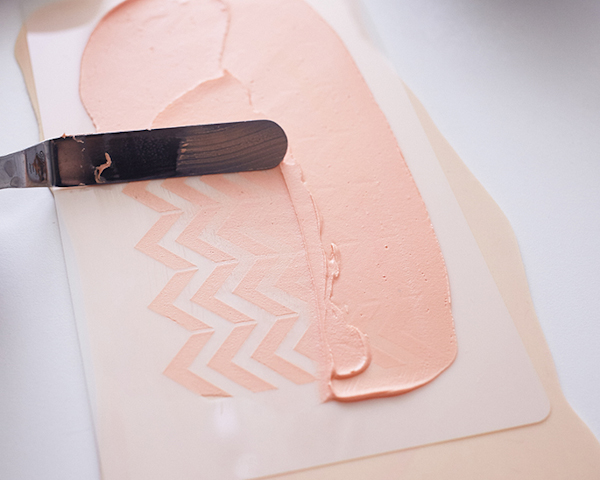
On a surface dusted lightly with powdered sugar, roll out 1/2 of your peach fondant into a long, very thin rectangle. Place the stencil on top and hold it steady while you ice the top with a generous layer of peach icing. Use your spatula to evenly remove excess icing until you can see the surface of the stencil. Carefully lift the stencil to reveal the pattern and then set the stencil aside. Trim any excess fondant around the pattern and save it for the next roll out.
Let the fondant sit for about 5 minutes to firm up and cover your bowl of icing in plastic wrap.
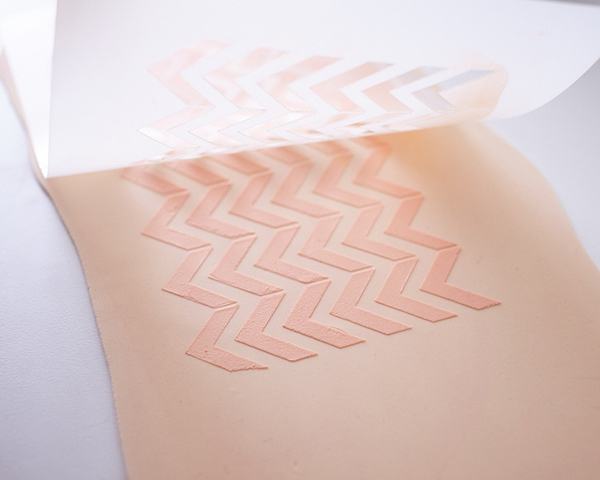
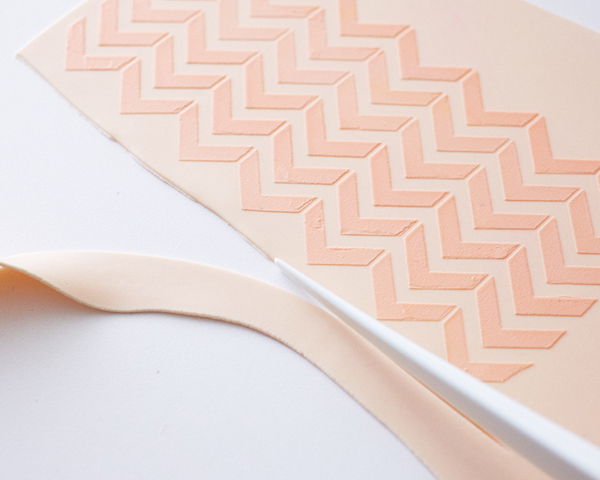
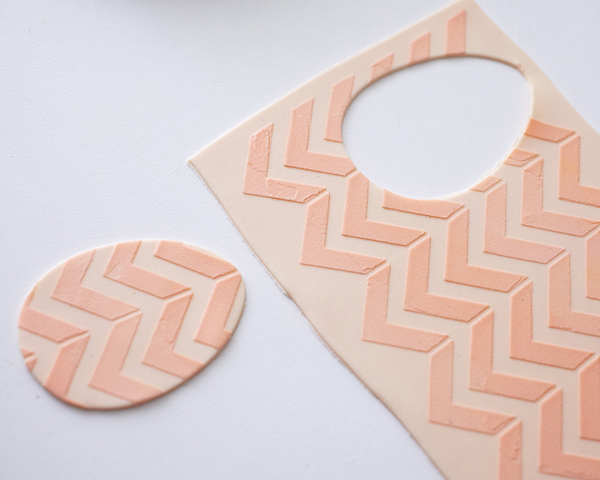
Use the egg cutter to cut out a shape. Brush a cake egg with a touch of water and position the fondant egg shape on top.
You will get 4 egg cut outs from this stencil size. Discard any fondant scraps that have icing on them and use the remaining peach fondant to repeat this process and cover the remaining eggs.
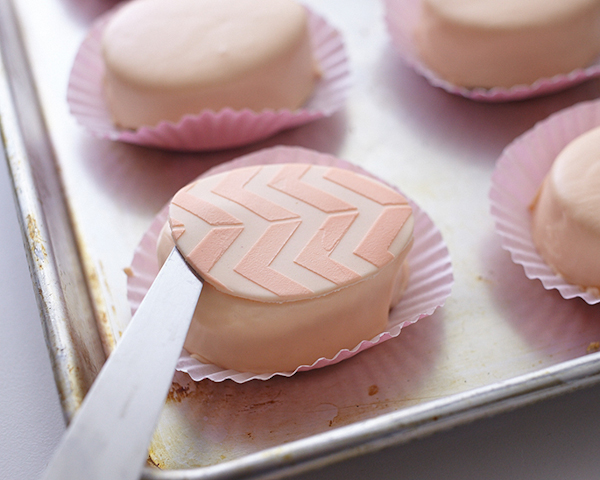
Repeat the entire process with the green eggs as well.
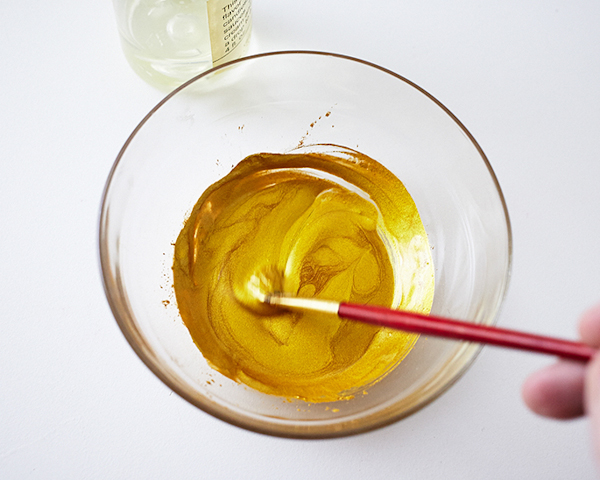
Place 1/2 jar of edible gold dust in a bowl. Add the clear extract a few drops at a time until you have a paintable mixture that is the consistency of heavy cream. Please note that not all gold dusts are FDA approved and considered edible, so make sure you select one that is!
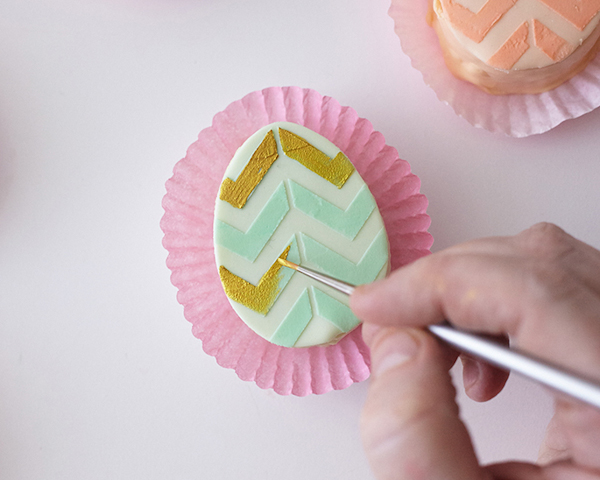
Paint various stripes on the eggs. Add additional drops of extract as necessary because the gold paint will thicken as you work with it.
YOU MAY ALSO ENJOY:
Marbled Chocolate Eggs
Spring Wreath Cake
Chocolate Tulip Cake
Bunny Face Cookies
Speckled Egg Cake


i luv it and i want to expand my cake decorating knowledge. thanks
I love to bake and try new ideas
Does the frosting harden to a touchable level? Or does it stay very sticky?
I would also like to know this answer .
Do you store these in the frig?
I found it easier to dip the egg shaped cakes with them on a small seafood fork or a chocolate dipping fork
I like it. It test every good to me and my mom and i am any 13 and i made it for me and my mom!!!!
Can you use home made frosting instead of store bought and get the same effect
These adorable cakes just popped up on my Pinterest feed, and I had to stop by to say thank you for such a great recipe with such detailed instructions. I’ll have to give these a try this year, especially since we’re all spending so much more time indoors. Stay safe and well.