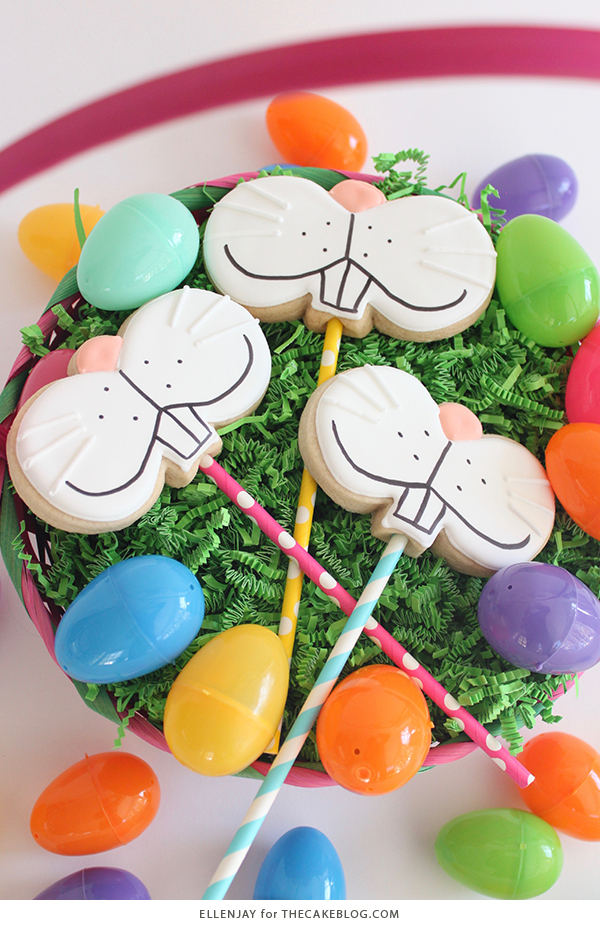
Bunny Face Cookies – how to make sugar cookie pops decorated with adorable bunny faces, the perfect Easter treat for little kids and big kids alike.
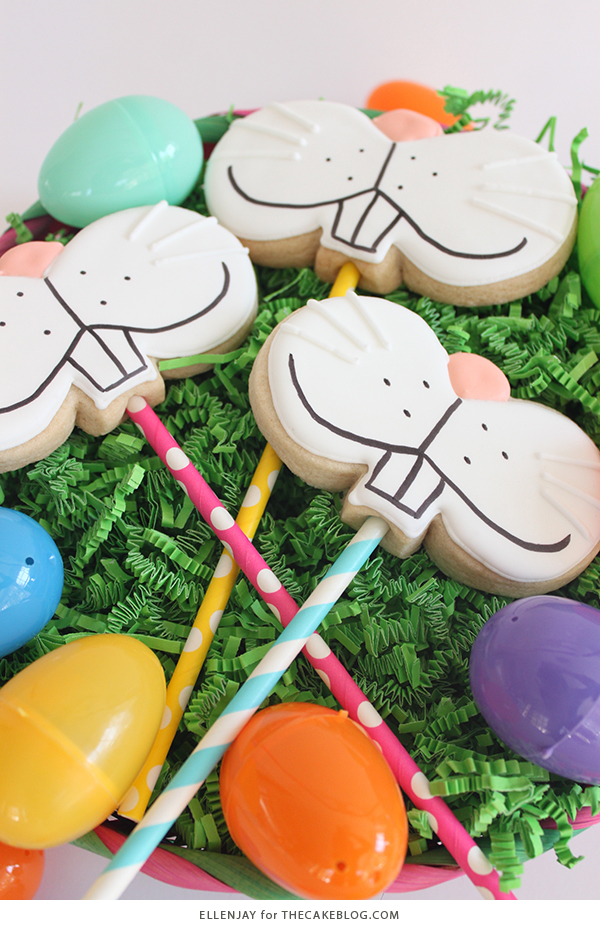
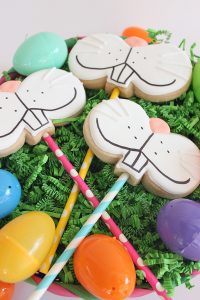
Hip, hop hooray spring is finally here! For some it might mean play dates at the park, picking wild flowers for mom, shorts and flip flops, or even allergy season. For us it means lots and lots of spring and Easter sugar cookies! And when we think of Easter of course a big white bunny comes to mind. Using one of our favorite cookie cutters and a batch of our yummy roll out sugar cookie dough and royal icing, we’ve created these absolutely adorable and playful Bunny Face Cookie Pops.
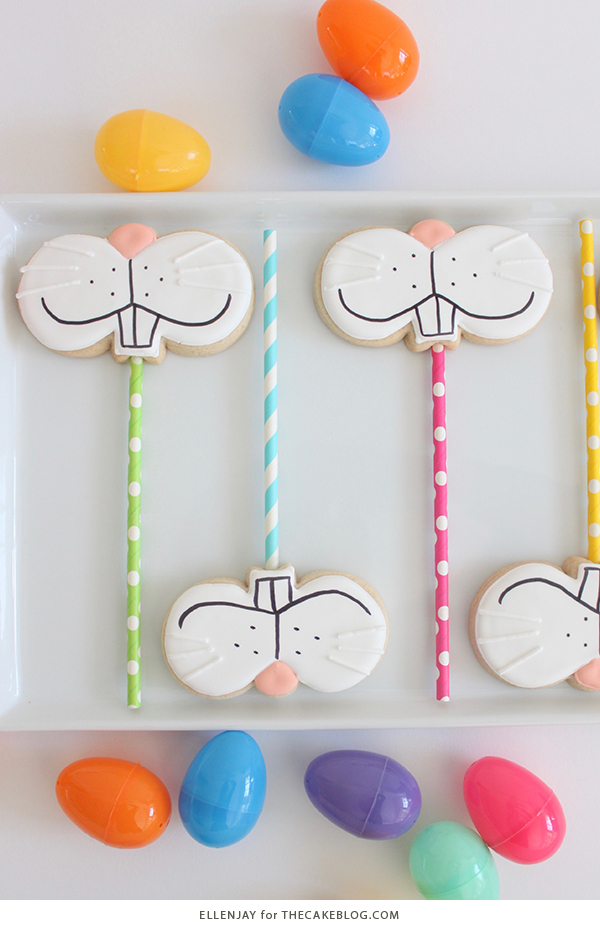
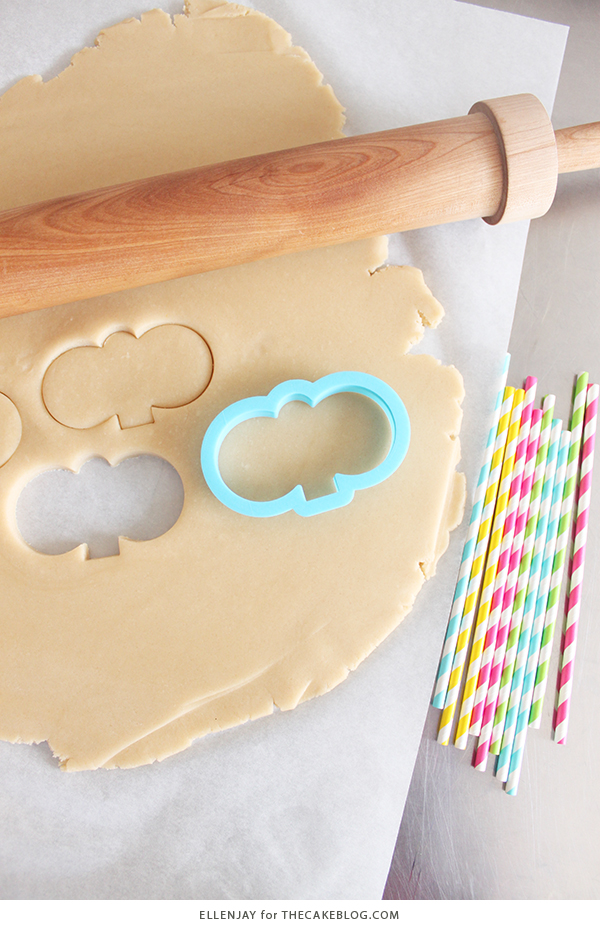
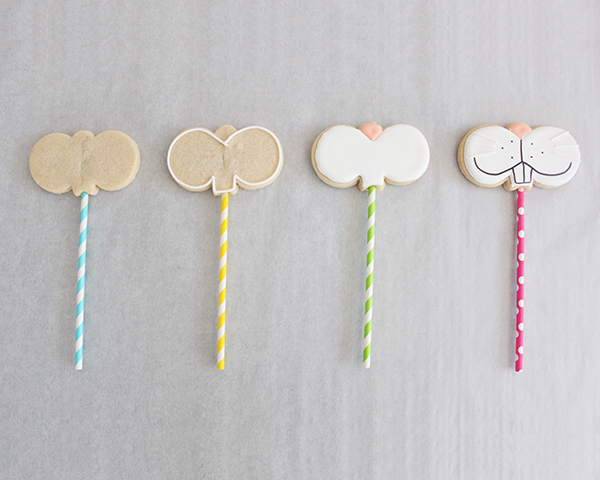
Our step-by-step tutorial for these bucked tooth bunnies is sure to get you “egg-cited” for Easter. Grab your little ones and have them draw on the final details, or secretly whip up a batch and tuck them inside their Easter baskets! Either way you go these silly rabbits are sure to bring a big ole grin to your face! If you’re short on time, we also have Easter cookies you can order online. Because sometimes there’s just not enough hours in the day, am I right? Either way, we hope you have a delightful Easter!
BUNNY FACE COOKIES VIDEO TUTORIAL
Bunny Face Cookies
Bunny Face Cookies – how to make sugar cookie pops decorated with adorable bunny faces, the perfect Easter treat for little kids and big kids alike.
- Yield: 16 cookies
- Category: ✽ ✽ ✽ ✽
Ingredients
For the Sugar Cookies:
- 3 cups all-purpose flour
- 2 teaspoons baking powder
- 1/4 teaspoon salt
- 1 cup sugar
- 2 sticks unsalted butter, cold, cut into chunks
- 1 egg
- 1 teaspoon vanilla
For the Royal Icing:
- 4 cups confectioners’ sugar
- 1/4 cup meringue powder
- 1/2 scant cup water
Instructions
Make the Sugar Cookies:
- Preheat oven to 350 degrees and line baking sheets with parchment paper.
- In a medium bowl, combine flour, baking powder and salt. Mix well.
- In the bowl of a stand mixer, combine sugar and butter and mix on medium speed until well combined.
- Add egg and vanilla and mix well.
- Gradually add flour mixture, scraping sides of bowl as needed until dough comes together.
- Place wax paper on countertop and lightly flour surface.
- Take half of the cookie dough and knead together and roll out to about 1/4-inch thickness with rolling pin.
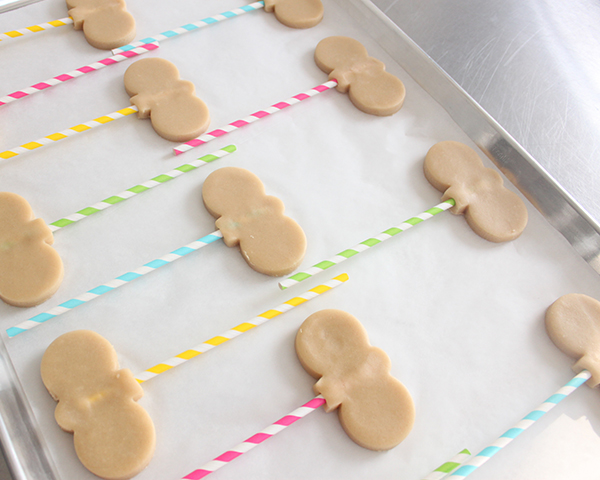
- Cut out bunny faces with cookie cutters and place striped straw into the bottom of the cookie about 1 ½” deep, then place onto prepared cookie sheet about 1 inch apart.
- Place cookies into refrigerator for 20 minutes to chill. This will help the cookies keep their shape when baking.
- Bake for 10 – 12 minutes.
- Allow cookies to cool on pans for 5 minutes, then remove to wire racks to continue cooling.
- Once cookies are cool, decorate with royal icing.
Make the Royal Icing:
- In the bowl of a stand mixer, combine confectioners’ sugar and meringue powder and mix on low.
- Add water and beat on medium speed for 5 – 7 minutes until icing is fluffy and stiff peaks form.
- Place icing in plastic airtight containers until ready to use.
- Portion out icing into separate containers, using 1 container for each color you plan to use. It is best to work with about ½ cup to 1 cup of icing at a time depending on how much you need per color.
- Use a toothpick and a small amount of gel coloring to tint icing.
- To pipe details or outlines on cookies, place a small amount of icing in piping bag fitted with No. 2 round tip. Gently squeeze icing and trace the outline of your cookie or pipe snowflake details.
- To flood cookies, thin the icing with 1 teaspoon water at a time. Stir icing with small spatula and continue to add water as necessary to reach desired flooding consistency. If you lift your spatula and the icing drips and falls back into itself after about 10 seconds, it is a good consistency.
Notes
- Cookie dough scraps can be saved, refrigerated and rerolled one or two times before the end resulting cookie is noticeably tougher.
- Use very small amounts of gel pastes when tinting the icing, so you can gradually build to your desired shade. It’s easy to add more, but impossible to remove excess.
- Once icing is completely dry, cookies can be stacked or individually packaged. Storing in an air tight container keeps them fresh for several days. Heat sealing in individual cello bag keeps them fresh even longer.
- To ship, place individually cookies in a heat sealed cello bag or ziplock bag. Then individually wrap in bubble wrap. Place all cookies into box with more bubble wrap on bottom and on top.
- Store cookies away from direct sunlight to ensure icing colors do not fade.
BUNNY FACE COOKIES
a tutorial by ellenJAY
Supplies:
Bunny Face Cookie Cutter
Rolling Pin
Bright White Gel Paste
Deep Pink Gel Paste
Gourmet Food Writer Black Marker
Paper Straws
Piping Bags
Couplers
Piping Tip #2
Piping Tip #3
Flood Bottle
Toothpicks
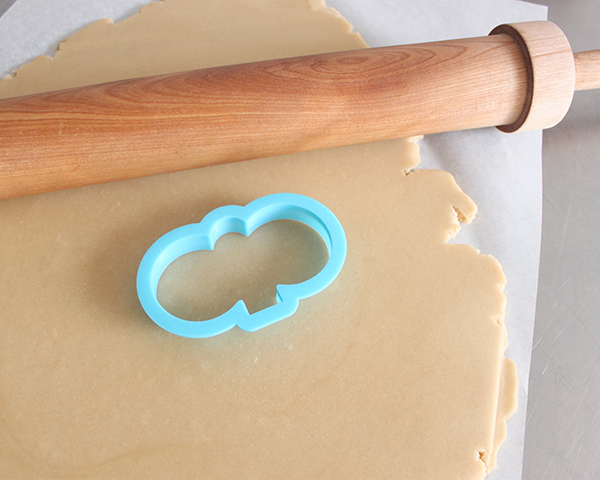
Roll cookie dough to 3/8” thick. Cut out bunny face shapes with cookie cutter.
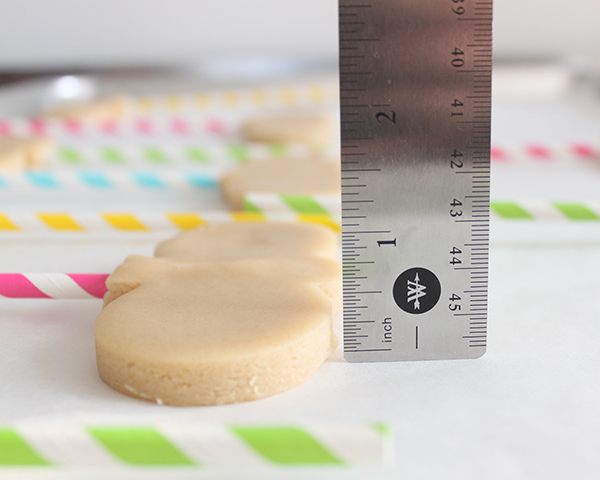
Place paper straw into the bottom of the cookie so the straw goes inside the cookie about 1 ½”.
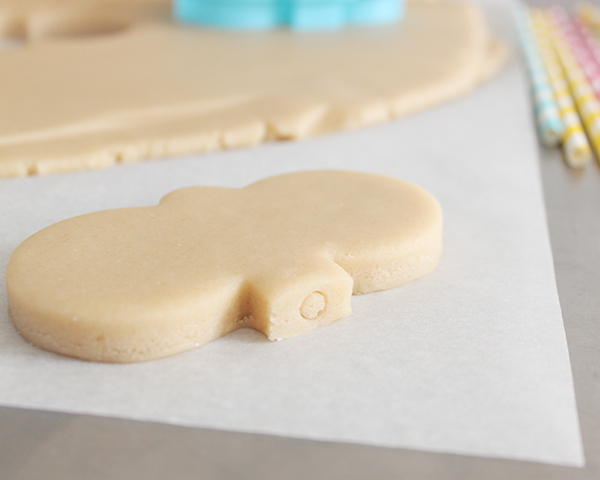
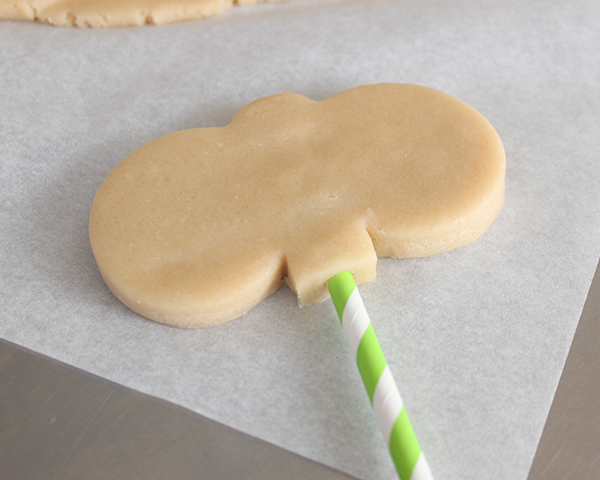
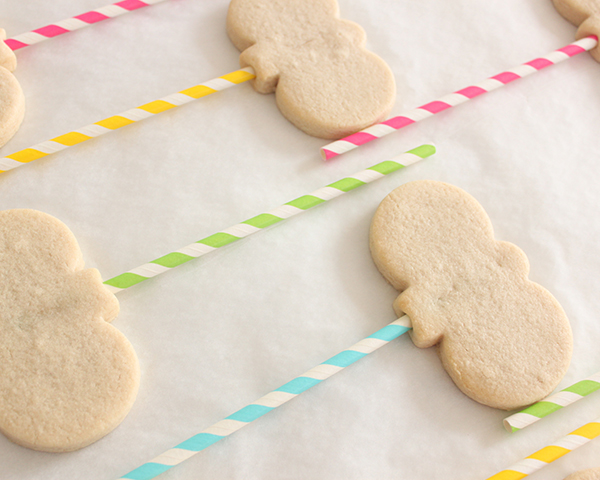
Place cookies on prepared baking sheet so they are evenly spaced and alternating about 1 inch apart. Bake per the recipe instructions above.
Prepare white piping and flood icing per the recipe instructions above. Place white piping icing in a piping bag fitted with a coupler and tip #2. Place white flood icing in a plastic squeeze bottle. Next prepare pale pink icing for the nose based on a “20-second” rule (same concept from the recipe, thinning down icing a little at a time until you reach desired consistency) and place in a piping bag fitted with a coupler and a tip #3. You will just need a tiny bit of pink color gel to create the pale pink color.
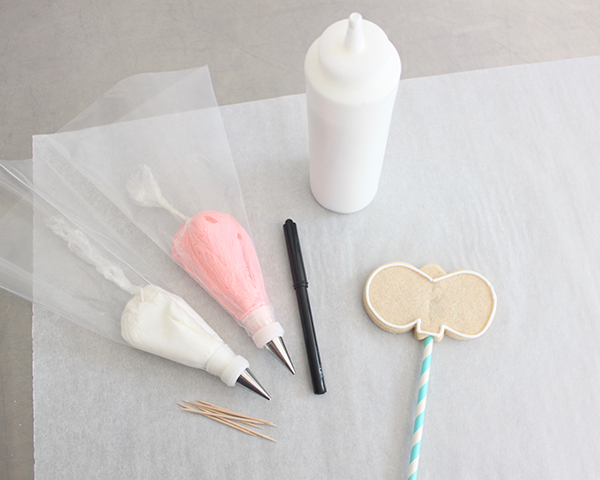
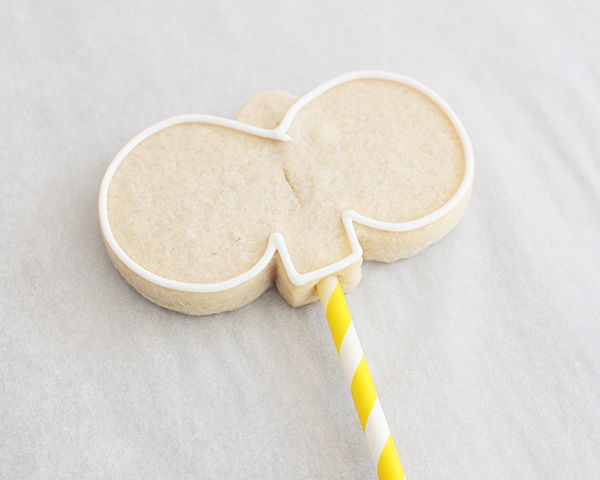
Pipe the outline of the bunny cheeks and teeth part of the cookie using the white piping consistency icing.
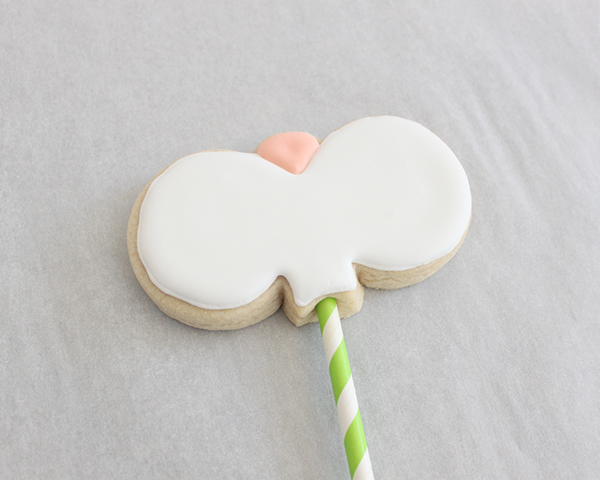
Pipe and fill in the pink nose. Use the white flood consistency icing to fill in the cookie.
Allow the cookies to dry overnight before adding all the final details. Using a black edible marker hand draw the bunny checks and teeth.
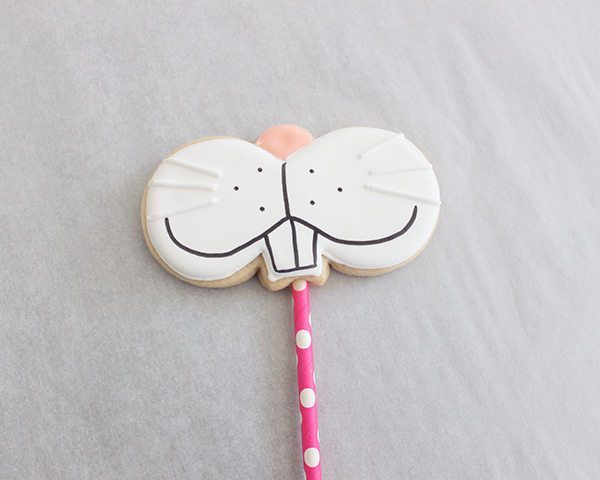
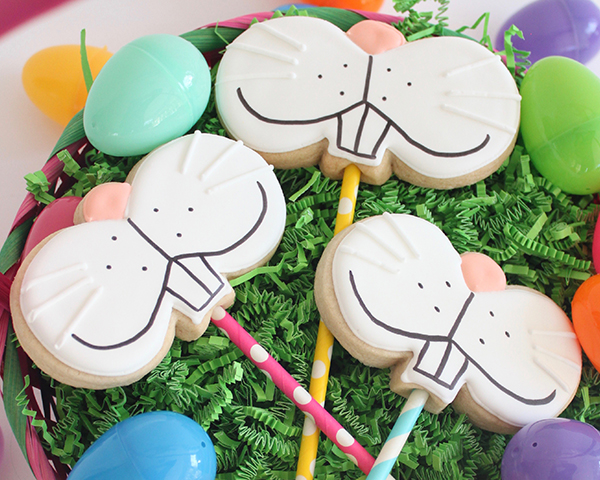
Using the white piping icing add 3 whiskers to each cheek.
YOU MAY ALSO ENJOY:
Easter Bunny Cake
Easter Bunny Garden
Easter Egg Cakes
Marbled Chocolate Easter Eggs
Cookie Moss Cake



I want to try this cookie but I cannot find a resource for the buckle teethed bunny cookie cutter? Do you have a source for the cutter? Thanks, Laura
Yah! found it on WhiskedAwayCutters, design by Munchkin Munchies, called funny bunny cookies. Laura
Yes! There’s a link in the supply list. Enjoy!
Or you could use a wilton pumpkin cutter upside down!!
Thanks for sharing. This will be a perfect Easter Holiday activity.
★★★★★
Hey! dear thanks for the recipe it looks yum. I’ll definitely try at my home.
These are so fun and not the same cutout cookie everyone else is doing – nicely done!
Hi sorry when you say a stick of butter, what weight is that per stick ?
Thanks
Michaela
Hi Michaela! One stick of butter equals 1/2 cup or 4 ounces. Hope that helps!
These are SO cute! I have to plan them for next Spring!