Poison Apple Cake – a black mirror glaze cake with an edible “poison apple” for Halloween.
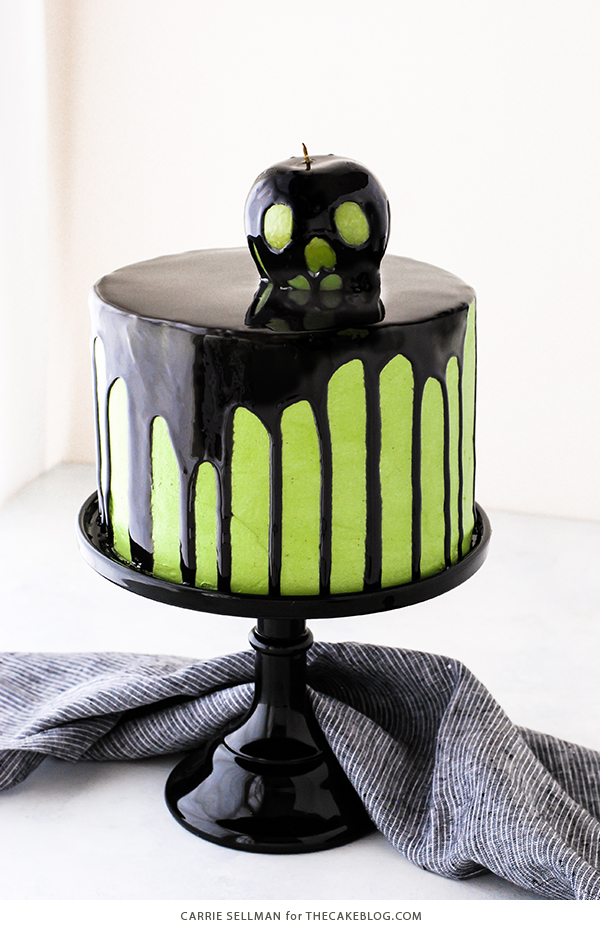
Mirror mirror on the wall, who’s the fairest of them all? I don’t know about you, but the evil witch in Snow White really gives me the creeps. And her poison apple with it’s drippy monster face is like — eesh! Which makes the whole eerie concept totally fitting for a Halloween cake, right?! I’ve had this idea floating around in my mind for two years now, so it’s about time I finally make it. A drippy, dark, poison apple cake that’s not overly scary or gory but definitely gives off a spooky Halloween vibe!
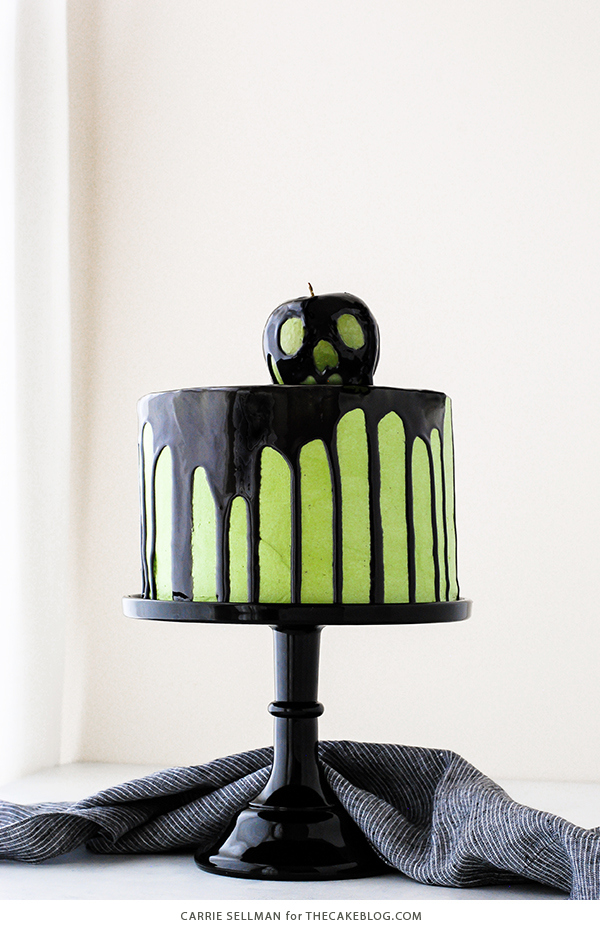
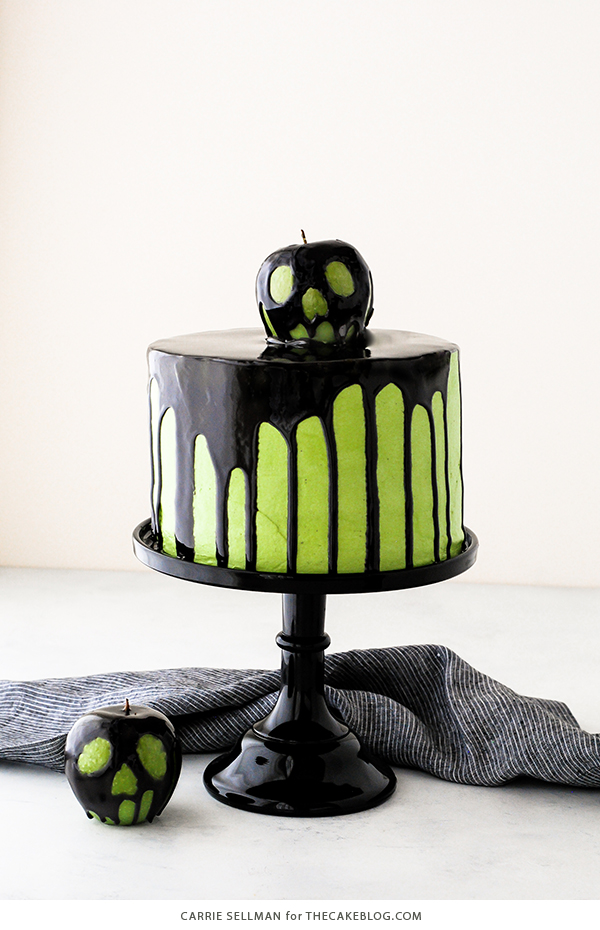
One of the best parts of making a Halloween cake is that it doesn’t have to be perfect. Lumps, bumps and imperfections only add to the fun! So we’re starting with a green buttercream frosted cake which is dowsed, but not completely covered, in a black mirror glaze coating. You’ve probably seen a gazillion mirror glaze cake videos floating around the internet – it’s a fun technique that uses white chocolate, sugar, sweetened condensed milk and gelatin to create a glaze that is so shiny, you can literally see your own reflection in it. Hence the name, mirror glaze. The mirror part of this cake is a little play on words since we all know the magic mirror from Snow White. Plus, the mirror-like shine really gives this cake an extra spooky factor that a traditional ganache drip wouldn’t accomplish. Resting on top of the big dramatic black drips is the shiny, black poison apple.
Now, just to be clear and make sure we’re all on the same page — this cake is entirely edible and in no way poison! I know that probably goes without saying but my sweet daughter was quite concerned. She asked me with genuine trepidation in her voice…”What part is poison, Mom? Is it JUST the apple? Or is the cake poison too?”. Oh, to be seven again!
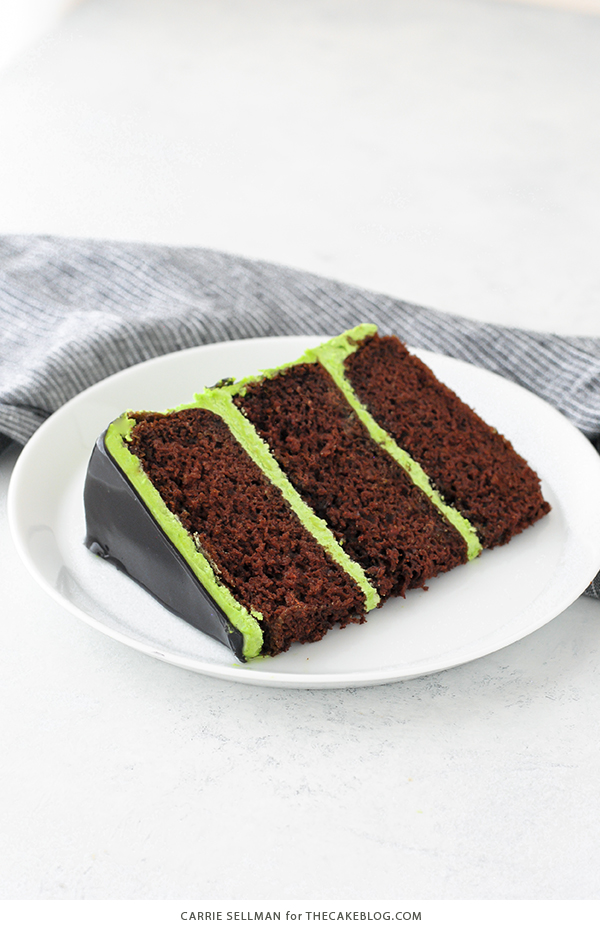
I went for a chocolate cake with a traditional buttercream frosting because I wanted the extra drama of the contrasting colors on the inside as well as the outside. Since Halloween events are often geared towards children, basic flavors are usually a safer bet for the young ones. But if you wanted to be more literal, any of our apple cake recipes would work nicely inside.
POISON APPLE CAKE
a tutorial by Carrie Sellman
Supplies:
8″ round cake, recipe of choice
Buttercream frosting, recipe of choice
Gel paste food color, in yellow and green
4 Granny Smith apples, washed extra well to remove any waxy coating
parchment paper
scissors
baking tray
wire rack
toothpicks
For the Mirror Glaze:
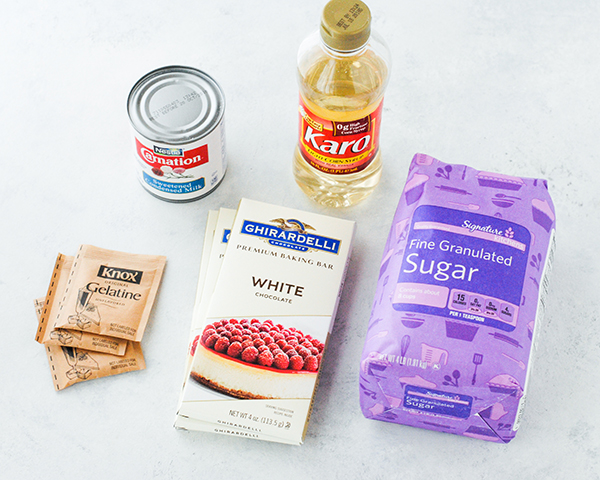
¾ ounce unflavored powdered gelatin (3 individual packets)
½ cup water
¼ cup corn syrup
1 ¼ cup sugar
⅔ cup water
7 ounces sweetened condensed milk (1/2 can)
10 ounces good quality white chocolate, chopped
Gel paste food color, in black
HOW TO MAKE THE MIRROR GLAZE:
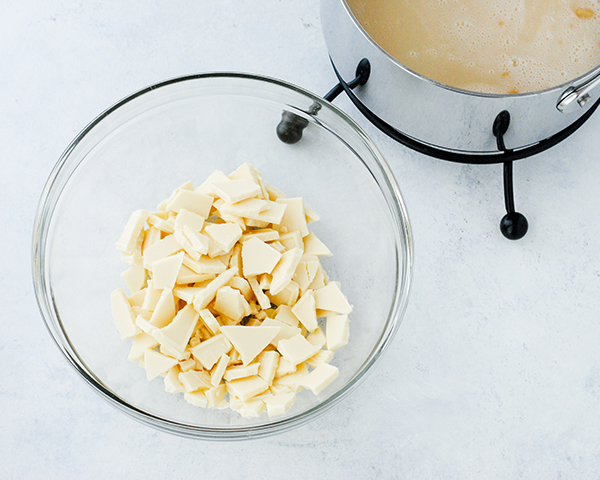
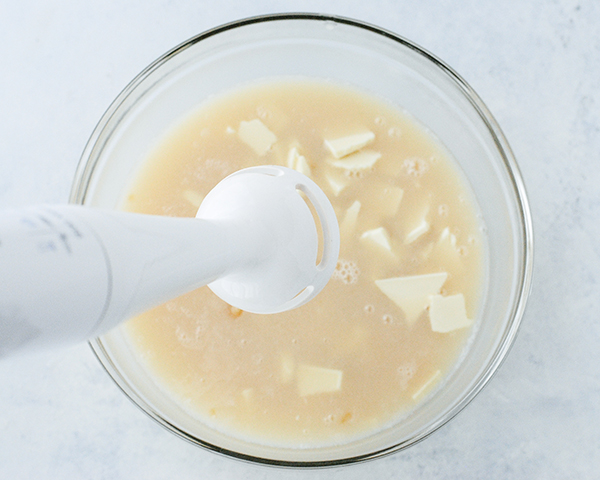
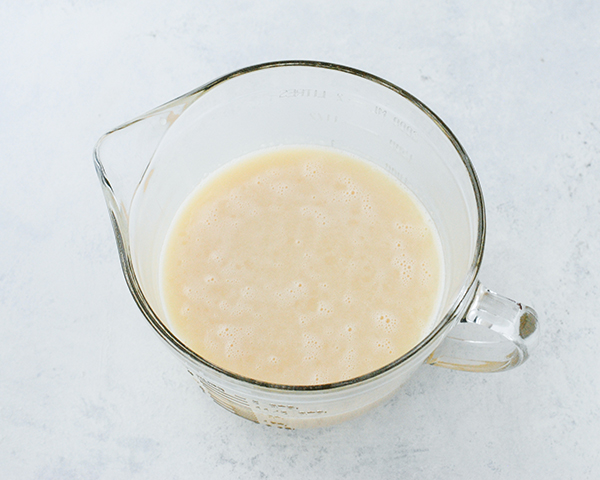
Combine gelatin and ½ cup water in a small bowl and allow gelatin to soften 5 minutes. Heat corn syrup, sugar, ⅔ cup water and sweetened condensed milk in a medium sauce pan on medium heat. Bring to a boil. Remove from heat and add softened gelatin and stir until most the gelatin is incorporated. Pour over chopped white chocolate in a separate bowl. Let set for a minute to melt the chocolate. Whisk or use an immersion blender to blend until the glaze is completely smooth. Pour through strainer into a large measuring cup to remove any lingering bits of gelatin or chocolate. Add black gel paste one drop at a time until desired shade of black is achieved. The color will intensify as the glaze sets, so keep in mind that a light black will become a darker black with time. Allow glaze to cool to 90 to 95°F before using. It should be thick enough to coat the back of a spoon or thicker.
HOW TO MAKE THE POISON APPLE & CAKE:
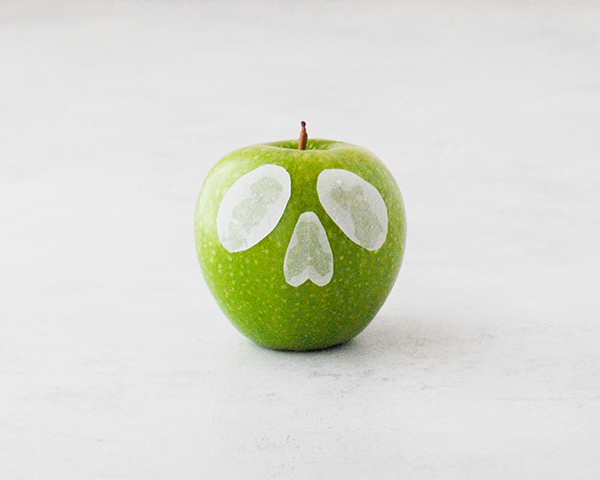
Cut two oval shapes out of parchment paper to create the poison apple eyes. Cut a tall, slender heart shape for the nose. Using a clean finger, spread a light layer of corn syrup on the back of each parchment paper shape. Apply the cutouts to the apple, creating your desired face. Smooth so they stick in place.
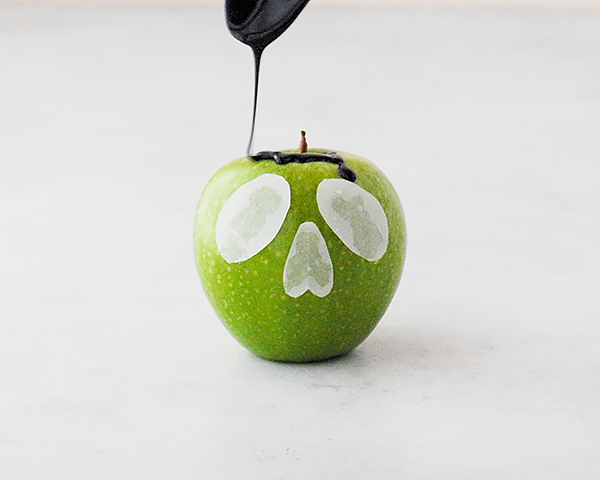
Using a spoon and or palette knife, drizzle small amounts of the mirror glaze onto the apple. Work the glaze down the front, back and sides of the apple so that the parchment cutouts are completely covered, but some of the green apple still shows through at the bottom. If glaze is dripping too rapidly and not sticking to the apple, the glaze is too warm. Allow it to cool more then proceed.
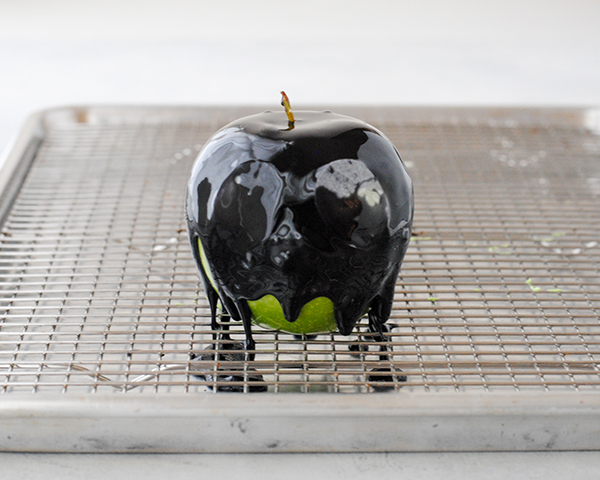
Use a toothpick to gently pop any visible air bubbles then allow the glaze to set up for roughly 5 minutes. Once glaze is somewhat set, use the small tip of a palette knife or a toothpick to help you remove the parchment paper cutouts, revealing the green apple underneath. The outlines of the eyes and nose will not be perfect, but we’ll clean them up next!
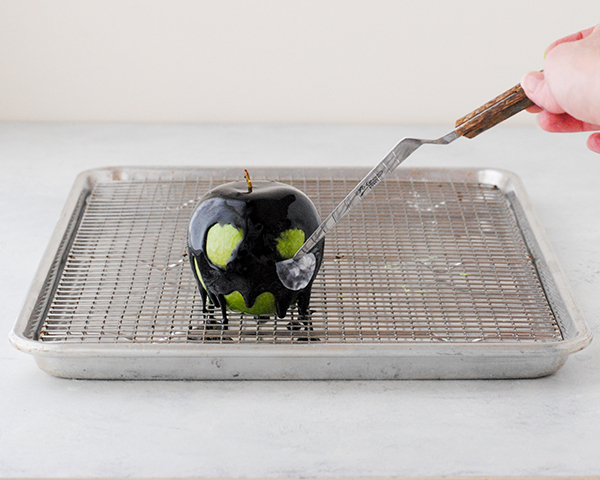
Using the small edge of a palette knife or a toothpick wrapped with a small strip of paper towel, clean up the outside edge of the eyes and nose. You can spend as much time or as little time as you’d like with this step. A little extra drip here and there will only add to the effect.
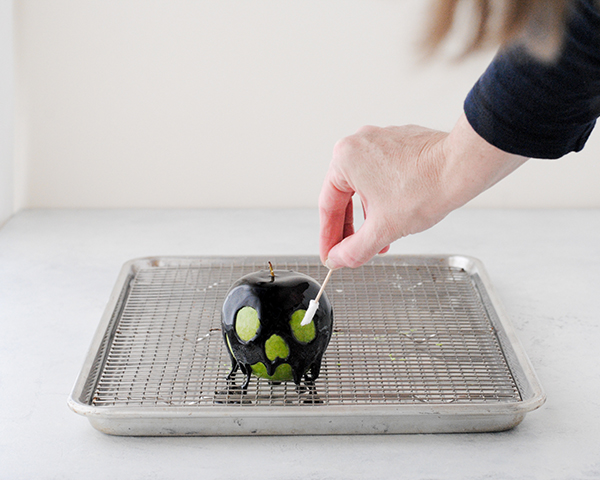
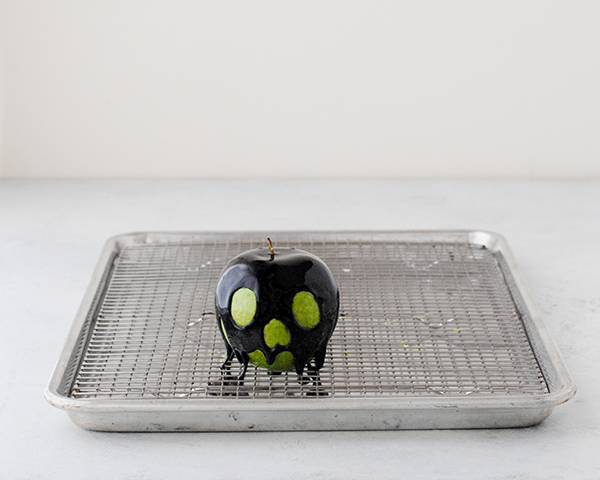
Frost your cake with buttercream icing tinted to match the green shade of your apple. I used twice as much yellow as green to get the shade shown here.
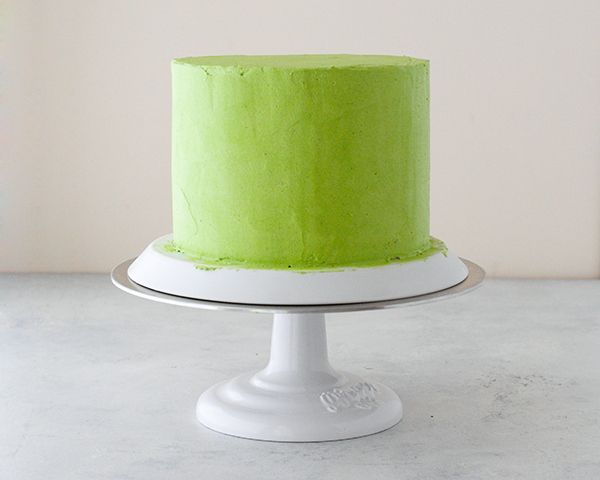
Refrigerate the frosted cake for 20 minutes or until cold and firm. Place cake onto a wire rack nested into a baking tray. Then start to drizzle the glaze over the top of your cake, allowing it to flow over the sides and down. Keep going until you have big drips but stop before the entire cake is coated with the mirror glaze. We want some of that green buttercream to peek through!
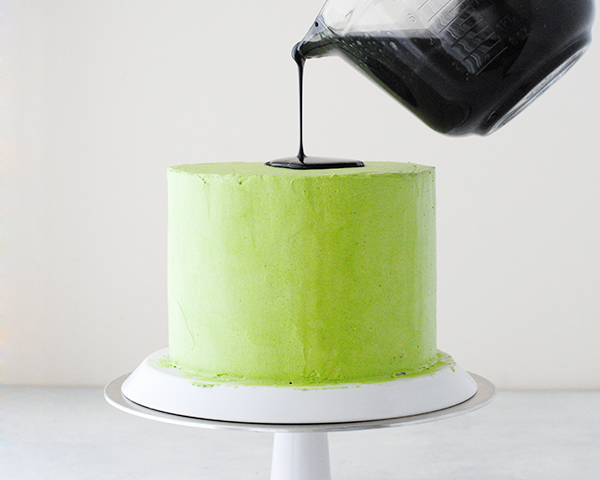
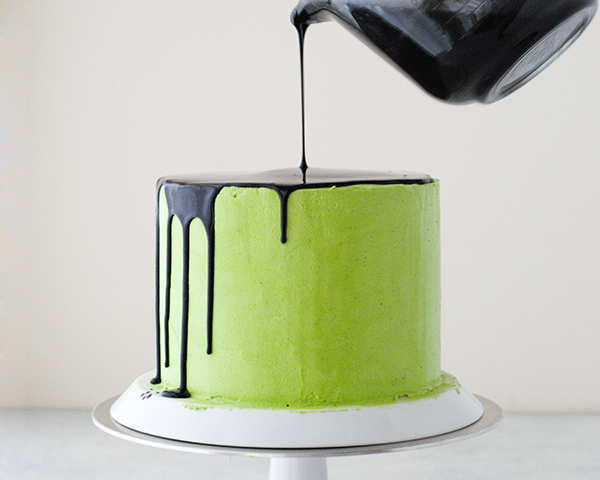
Note that I was too preoccupied with taking photos of the steps to remember to put the cake onto the wire rack/baking tray!! Only after the glaze starting dripping *everywhere* did I stop taking photos and frantically run the cake to the kitchen – leaving a very sticky trail of black glaze all over the floor. NOT my best moment!! But you will learn from my pain, right? And make sure that you have that rack and baking tray ready to catch the overflow. Just like this…
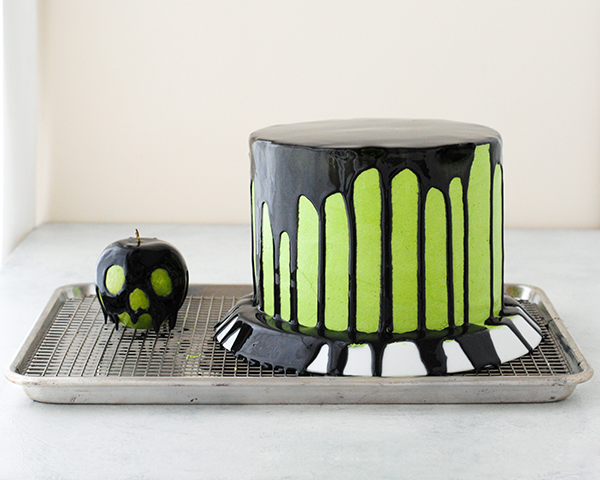
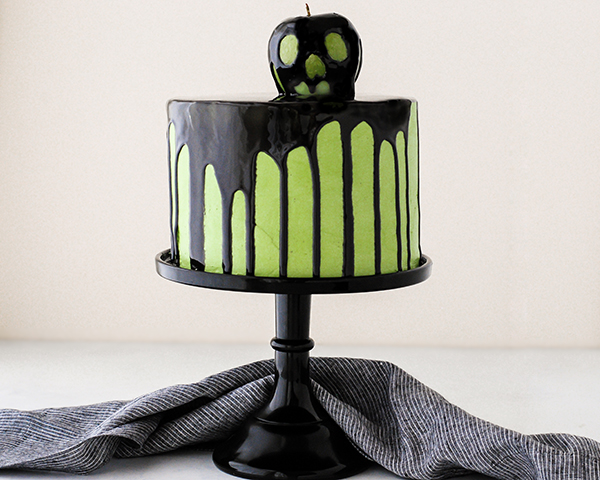
The only thing left to do is add the apple to the top! I recommend checking the height of your refrigerator shelves before adding the apple, because this cake should be refrigerated and it might not fit with the apple. If needed, store the two pieces separately in the refrigerator and place the apple on top of the cake when ready to serve.
TIPS FOR SUCCESS:
1. This technique calls for a sturdy cake and frosting recipe. You’ll definitely want to go with a butter based cake and a true butter buttercream.
2. Cutting a cold cake is MUCH easier than cutting a room temperature cake. In generally we always recommend serving cake at room temperature, but a semi-cold cake will be firmer and this is one time when you really want that! A firm base will make cutting through the glaze much easier.
3. If your glaze is ultra sticky, like mine was — spray your knife with a cooking spray or spray oil before each cut. It seriously helps get through the glaze without tearing it off the cake.
4. I listed 4 Granny Smith apples in the supplies so that you’ll have a couple of apples to practice on. I made three apples, two of which I liked enough to include in the post. The third apple – not so much. So plan to give it a couple of tries to get one that you love enough to top off your cake.
5. Be certain where you want the apple to be before you place it. Once it’s on there, it’s not coming off without some serious destruction to your glaze. Don’t even try to move it – just trust me on this one!
6. Have fun and don’t worry about perfection. Little lumps and bumps make everything a tad more eerie!
7. When it comes time to eat, the glaze tastes like a sweet white chocolate. It’s pretty sticky and is generally easy to leave behind. Think of it like fondant, better suited for presentation than taste.

MORE HALLOWEEN CAKES TO MAKE:
Black Cat Cake
Creepy Mice Cakes
Monster Eye Cake
Marshmallow Spiderweb Cake
Black Butterfly Cake
Black Crow Cake


love love love this cake!
I absolutely love this! Just what I needed to get into the Halloween spirit. The mirror glaze is now at the top of my must try list!
What do I do if the glaze isn’t thick enough? Do I heat it back up and pour it over more white chocolate?
This glaze is not super thick. Allow it to cool to 90 to 95°F before using. It should be thick enough to coat the back of a spoon or thicker.
I made this, gave it a piñata middle and it was a hit with the kids and adults! Thank you for the recipe for mirror glaze first time I have done this and it worked perfectly 😊
So happy to hear that Emma! Thanks for the feedback!
Can a ganache be used instead of mirror glaze?
Ganache would definitely work for the glaze on the cake, although it will not be quite as shiny and mirror like. However, I haven’t tried ganache for the drippy apple. In theory it should work but you may have trouble removing the parchment paper cutouts used to make the eyes and nose. If you give it a try, please come back and let us know how it went!
Could you do the whole thing, mirror glaze and all, the day before serving? Will the mirror glaze effect stay?
I made this late on a Thursday night and served it around 11am the next morning and the mirror glaze was still perfect. I would recommend not placing the apple on top until right before you are ready to serve.
If you let it sit on top of the cake overnight, I think it might lean or sink into the cake.
Can regular food coloring be used or should it be gel? Also would candy melts work for the glaze instead of white chocolate?
Thank you for this tutorial. I had a request to make this cake and it came out so good. I opted for chocolate ganache dyed black for the drip. I ended up using a 1:1 ratio to make the chocolate ganache. I also covered the apple with chocolate ganache. I messed up so many apples trying to use a template lol so on the last one instead of using the parchment paper templates for the eyes and nose, I just covered an apple in chocolate and then went back and wiped away the apple to form the eyes and nose. Your tutorial on this was so helpful.
Which chocolate cake recipient did you use?
Just made this for Halloween! Was a huge success thanks so much for this recipe love it ❤️❤️🎃