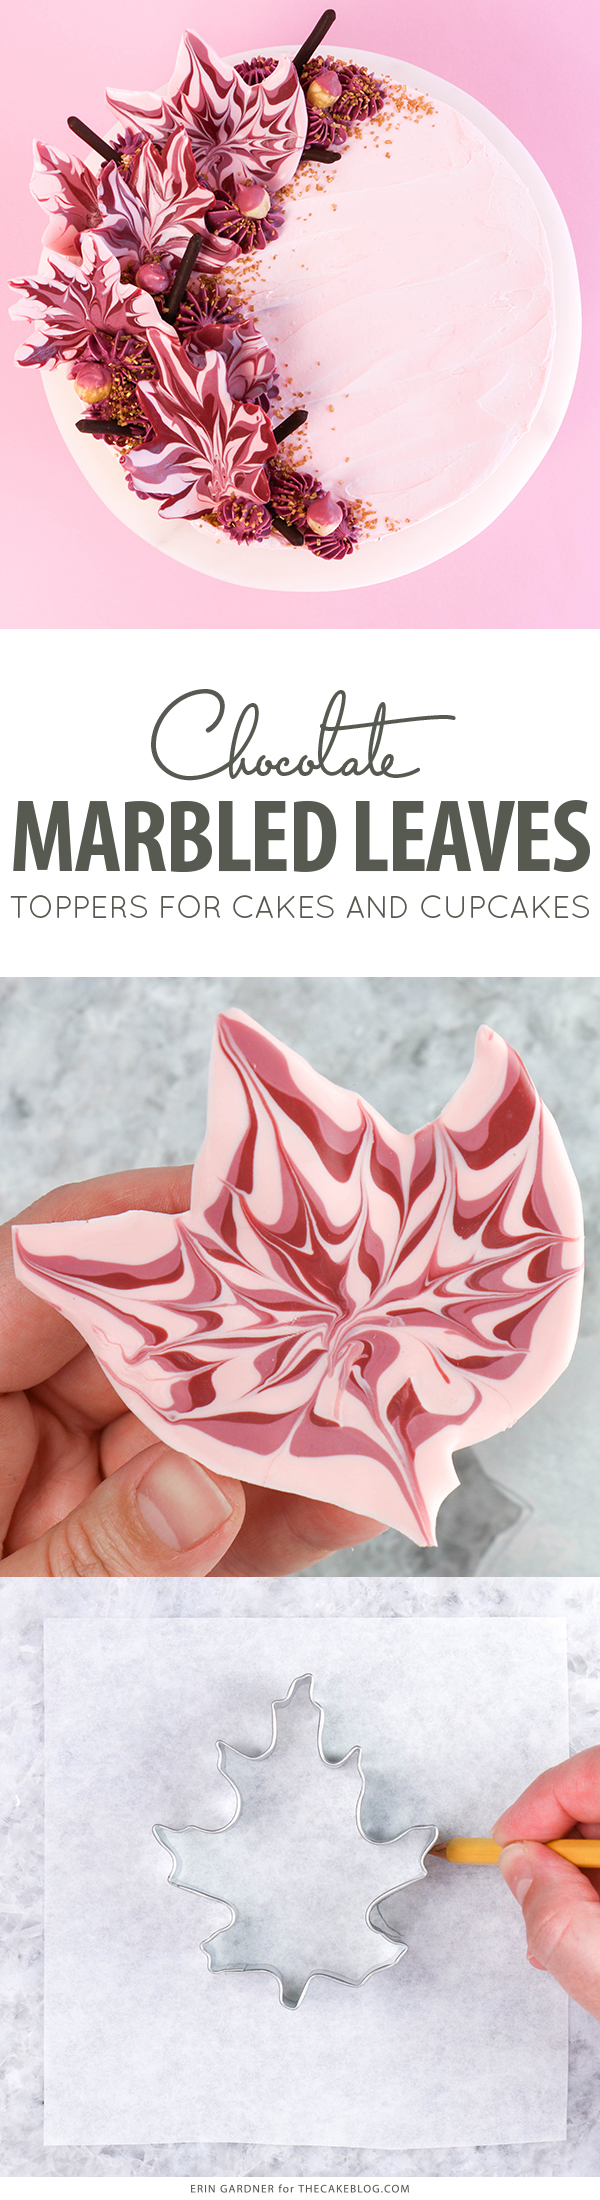
Marbled Chocolate Leaves – how to make marbled leaf toppers for cakes and cupcakes using chocolate coating and cookie cutters. A new tutorial by our contributor Erin Gardner.
I look forward to the arrival of fall colors every year. Living in northern New England means that somewhere around mid-September the leaves turn from shades of green to a rainbow of jewel tones. It’s spectacular, truly. Sometimes, though, I’m in the mood for something a little different. The addition of a little pink was in order this year! In my world, pink is appropriate for any season.
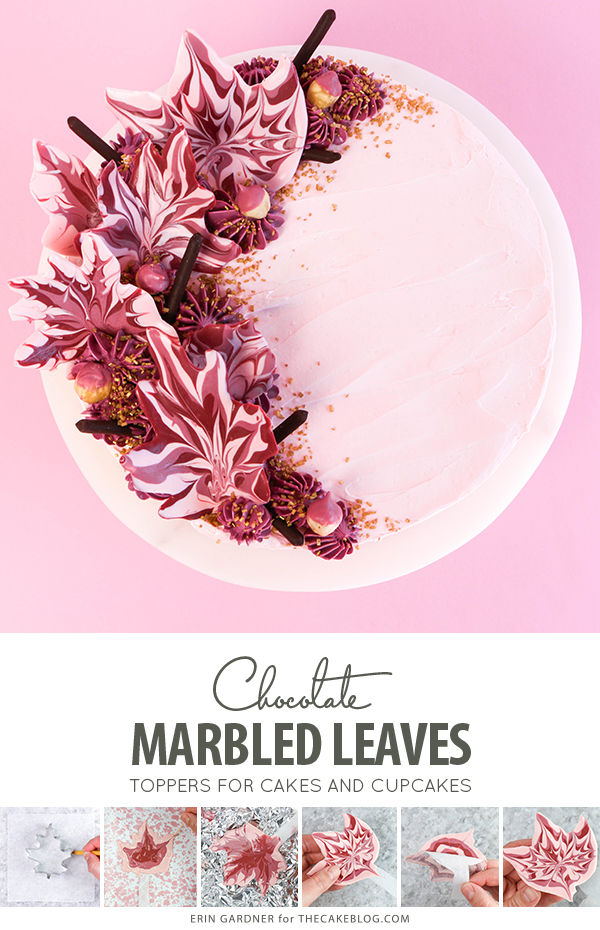
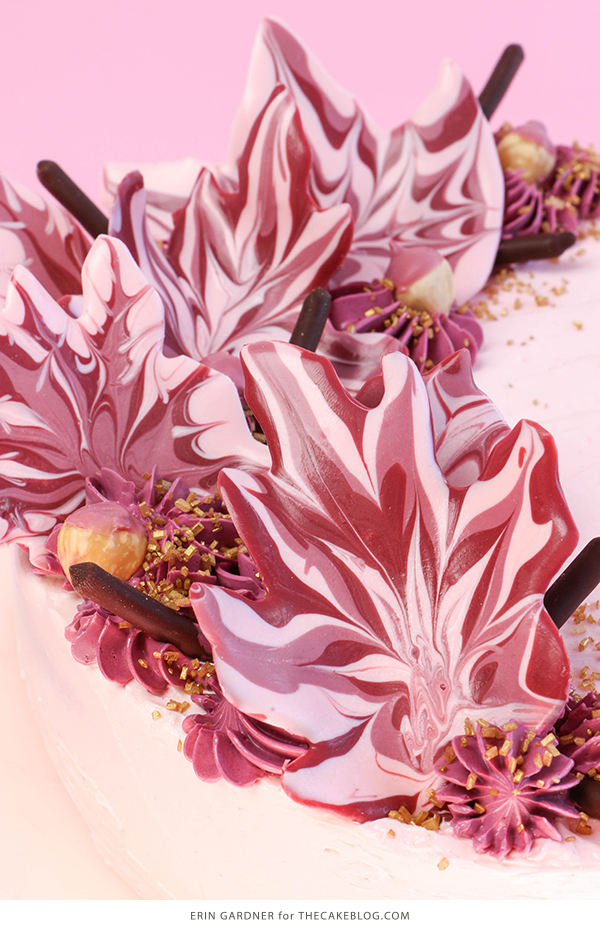
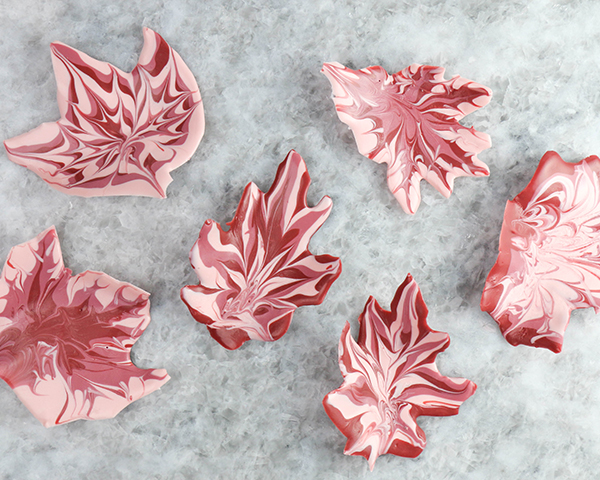
When making your own marbled chocolate autumn leaves you are welcome to follow my lead with a palette of pale pink, mauve, and maroon. Or stick with tradition and create leaves in shades of orange, red, and yellow. Either way, you will be pleasantly surprised at just how quickly and easily these come together. They’re a gorgeous addition to a buttercream-iced cake and the ideal toppers for fall inspired cupcakes.
MARBLED CHOCOLATE LEAVES TUTORIAL VIDEO
MARBLED CHOCOLATE LEAVES
a tutorial by Erin Gardner
Supplies:
- Parchment paper
- Fall leaf cookie cutters
- Pencil
- Scissors
- Coating chocolate in assorted colors (pale pink, white, red, purple, and black)
- Paper cones or piping bags
- Cookie sheet
- Toothpicks
- Heavy duty aluminum foil
Optional:
- Heating pad
- Hazelnuts
- Chocolate dipped cookie sticks
- Gold sparkling sugar
- Piping tip #8B
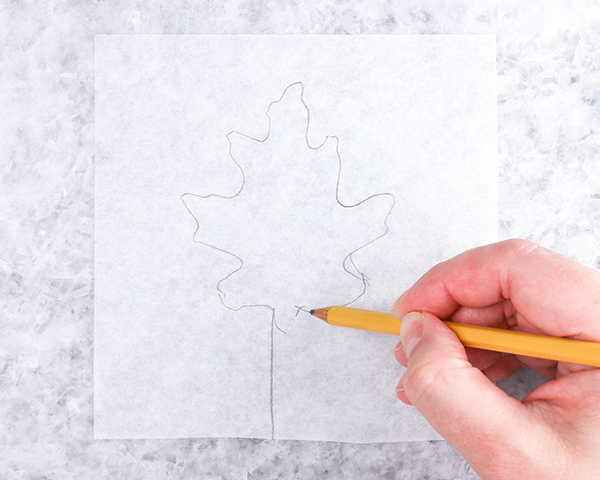
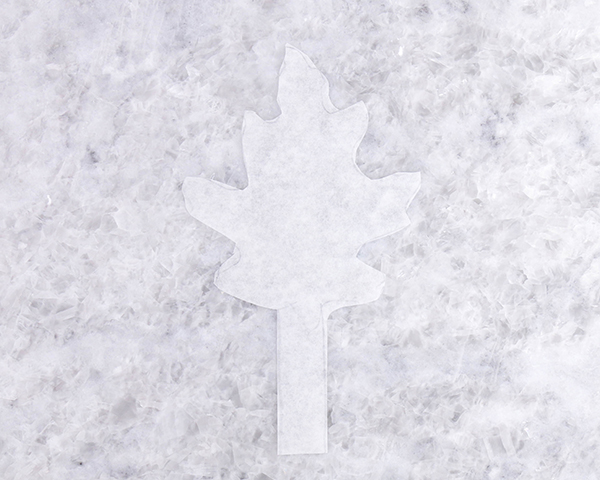
Trace the outline of a leaf cutter, a real leaf, or freehand a leaf shape onto a piece of parchment paper. Draw two lines extended from the base of the leaf to create a little tab. This will help you move the paper later once it’s coated with chocolate. Cut the leaf shape out. Repeat to create more templates.

Melt the pale pink coating chocolate in a heatproof bowl. To make the mauve color combine 1/2 cup pink chips, 1/2 cup red chips, and 5 purple chips. To make the maroon color combine 1 cup of red chips with 3 black chips. Colors may vary depending on the brand of coating chocolate that you use, so feel free to add chips as needed. Place each melted color in a piping bag or paper cone. To keep the candy fluid while you work, set the the bags on a heating pad that’s been lined with paper towel and topped with a sheet of foil when not in use.
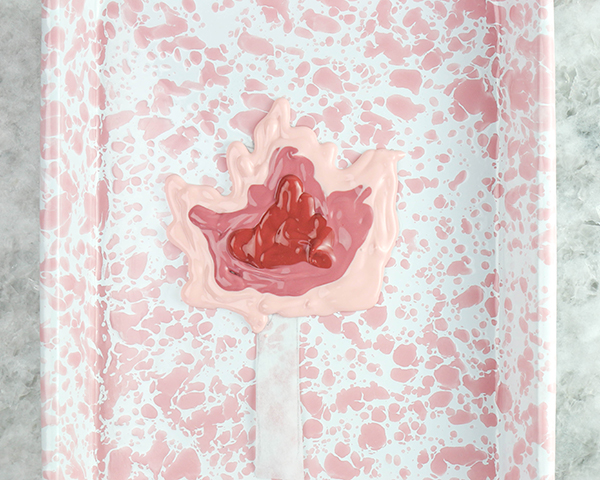
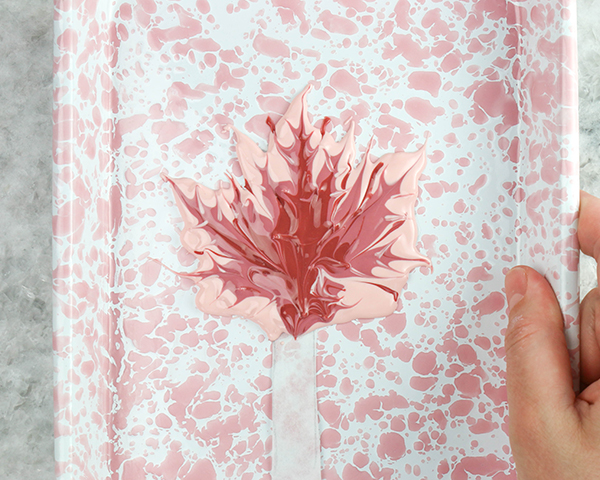
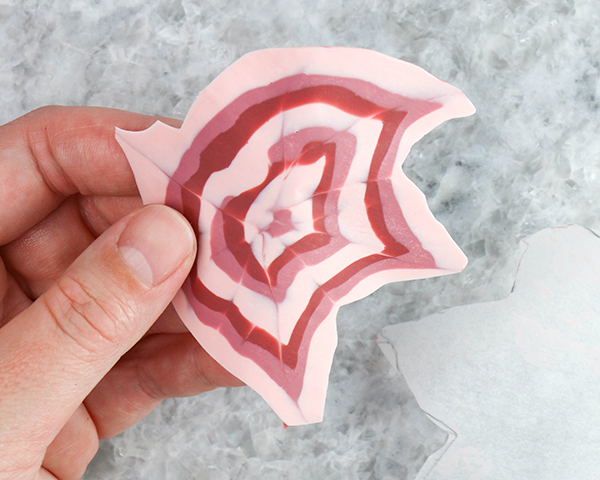
Place one of the leaf templates on a small tray. Pipe around the outer edge of the leaf with one of the colors. Let the color spread over the edge of the template and done worry about keeping it all on the paper. Pipe a second outline of coating chocolate within the first with one of the other colors. Repeat, alternating colors, until the leaf is filled with rings of chocolate.

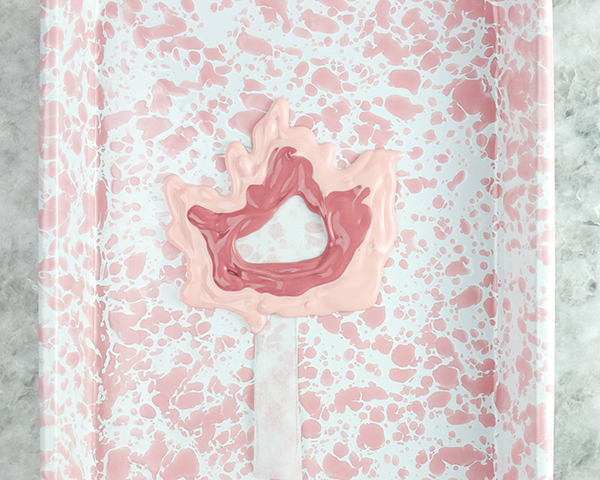
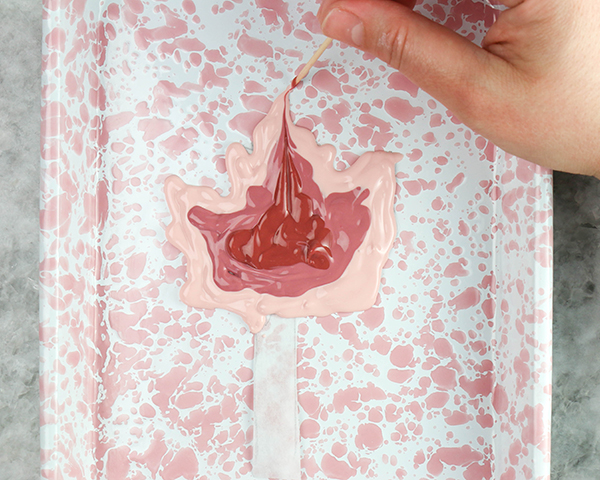
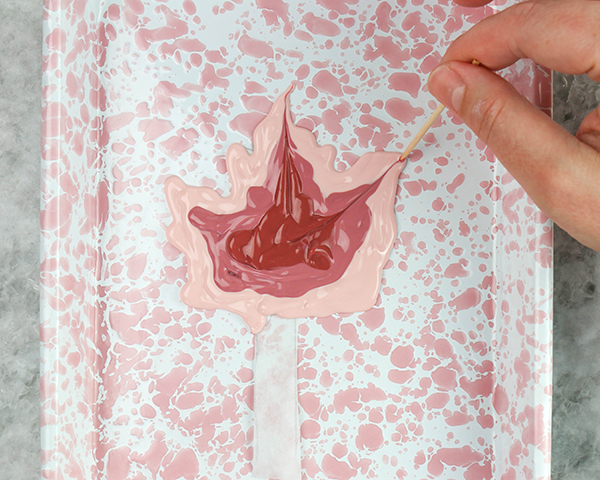
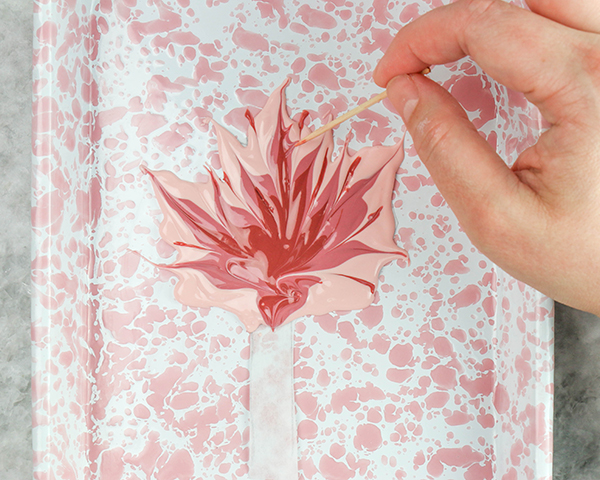
Use a tooth pick to draw lines through the melted candy. Start with the toothpick in the center of the leaf and drag it through the coating chocolate towards one of the pointy ends of the leaf. Repeat all around the leaf. Create lines going in the opposite direction by starting with the tooth pick just beyond the outer edge of the leaf between two points. Repeat the dragging process in both directions until you achieve your desired look.
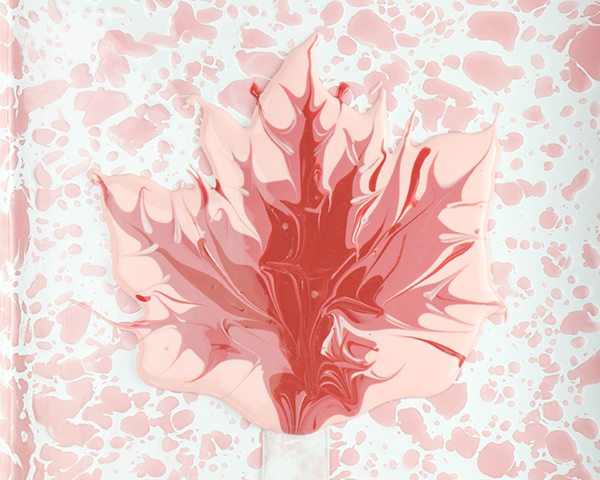
Gently tap the tray against your work surface to smooth over the surface of the melted candy and further blend the colors together.
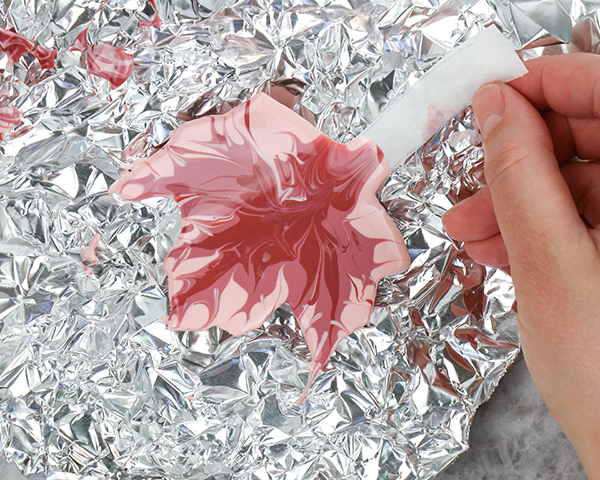
Tear off a large sheet of foil and crumple it into a ball. Spread the foil back out a little to create a space for your leaf to set up. Carefully slide the leaf onto the foil using the tab at the bottom of the leave. Set it aside until the chocolate has completely hardened, about 10 minutes. Repeat with more leaf shapes and varying patterns.
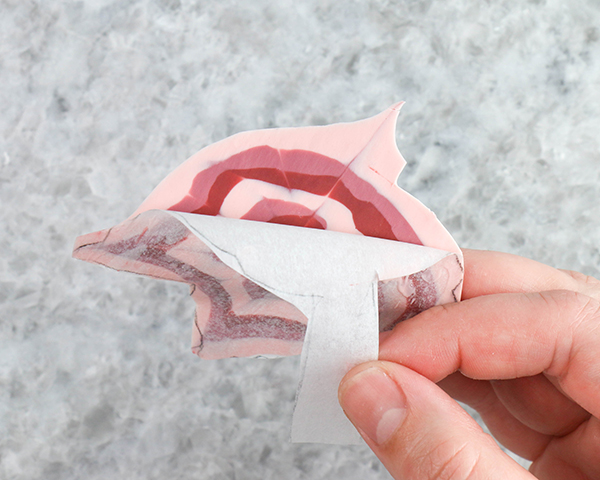
Carefully peel the parchment paper off of the hardened leaves. Use the leaves right away or store them in an airtight container at room temperature until the coating chocolate’s expiration date.

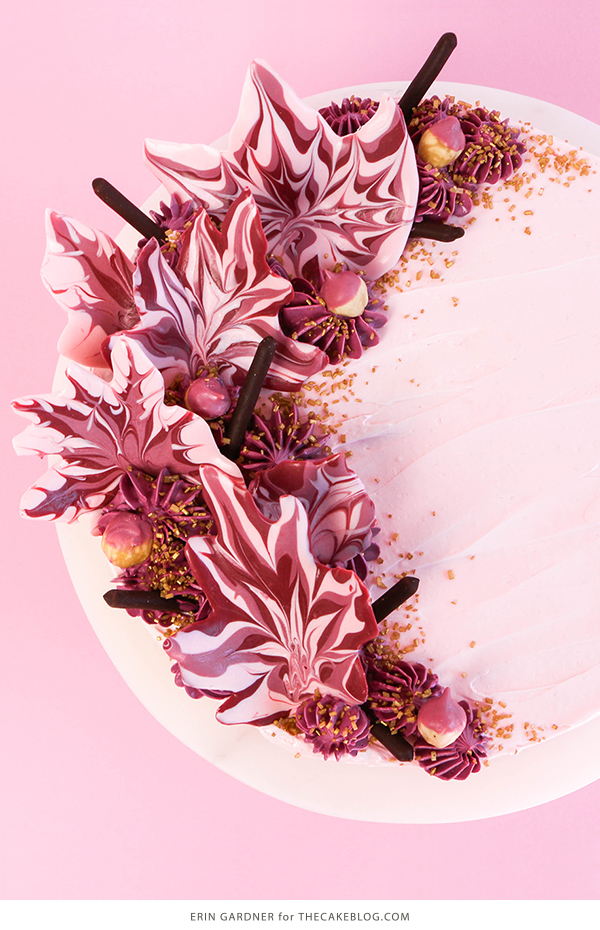
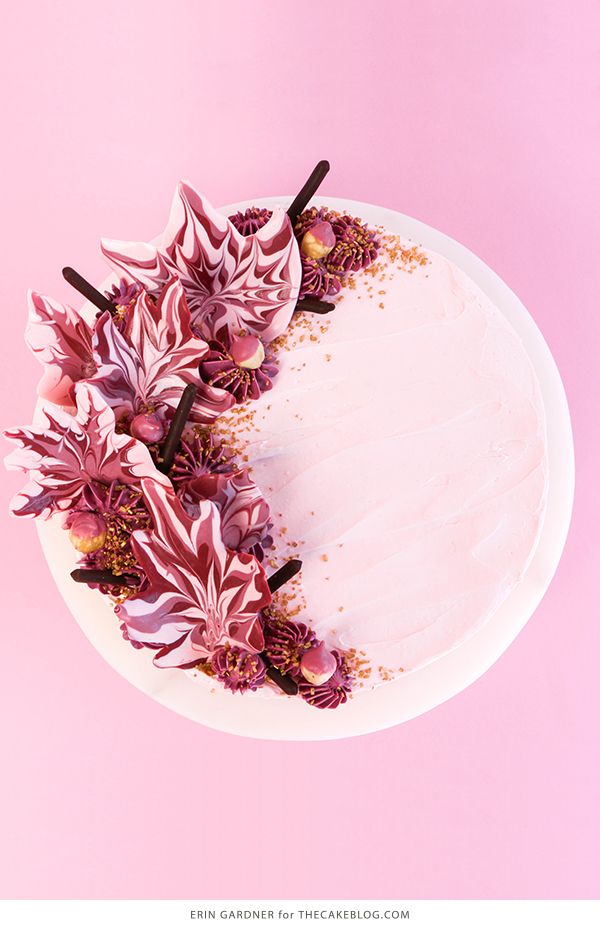
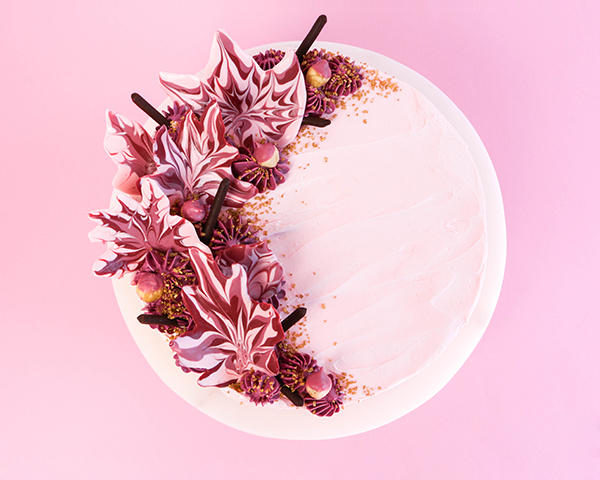
I’ve used my marbled leaves to garnish a simple 1 layer cake finished with pale pink buttercream, drop stars using a Wilton 1B tip, chocolate covered cookie sticks, gold sparkling sugar, and hazelnuts that I dipped in the medium pink shade to mimic acorns.
YOU MAY ALSO ENJOY:
Marble Chocolate Cake
Marble Chocolate Hearts
Candy Snowflakes
Christmas Cupcake Wreath
White Chocolate Flower


Absolutely amazing!!!
😍😍
I am obsessed with cake and pastry decorating at the moment and I cannot wait to make these for the cakes I’ll be making for Thanksgiving this year! Would white baker’s chocolate and food coloring work for this? Or will it not set properly?
Sure, white chocolate will work! The candy coating is more forgiving than white chocolate, especially if you’re new to candy work. White chocolate will need to be tempered or it will not set properly.
Muito Lindo!!! Obrigada!!!
I want to try it.