Marbled Chocolate Cake – how to wrap a cake with marbled chocolate.
A tutorial from the new book, Erin Bakes Cake by our contributor, Erin Gardner!
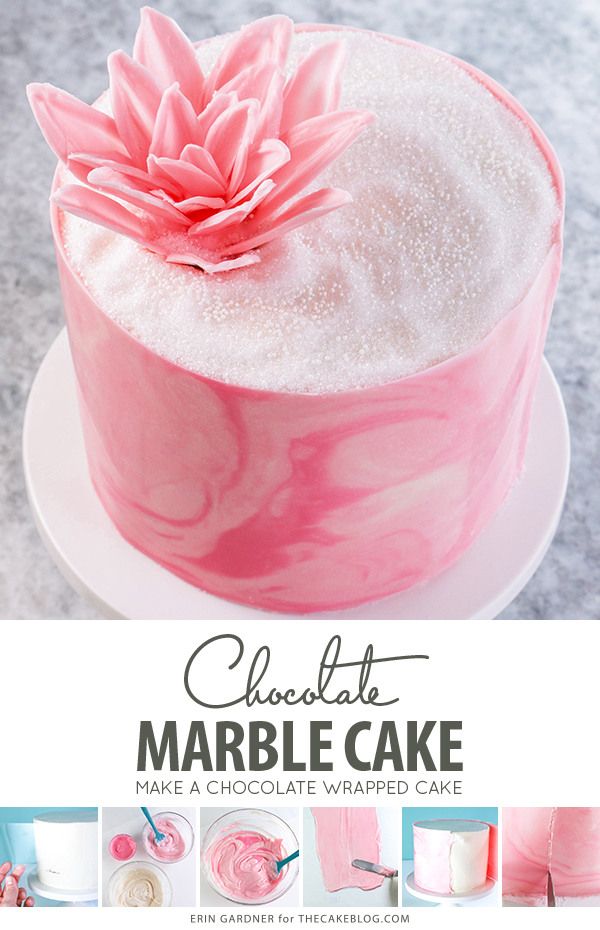
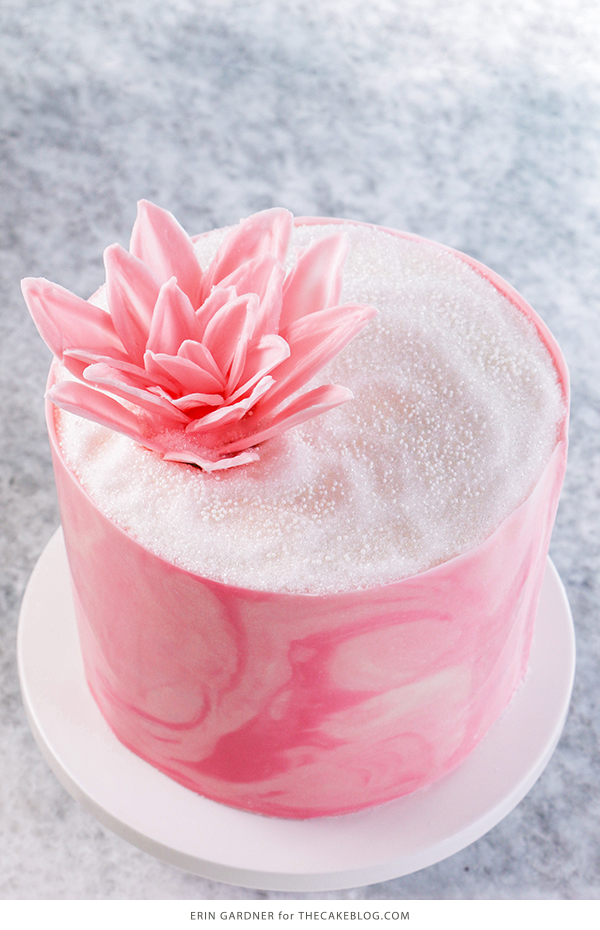
I have absolutely loved sharing fun, achievable, and delicious cake design projects with you here on The Cake Blog over the years. Now, I’m so excited to share with you two of the projects from my new book, Erin Bakes Cake! The chocolate wrap on this cake is part of my Potted Orchid Cake in the book. The fantasy chocolate flower is made with the same techniques I use to create the petals and leaves on my Spring in Bloom Cake. Rather than share either of those projects directly from the book, I thought it would be fun to combine ideas from both in a new way. After all, that is the spirit of the book. Choose your own cake adventure!
The book goes way beyond decorating techniques and includes cake, filling, frosting, cookie, and candy recipes with over 500 flavor variations. Along with the recipes you’ll also find my best baking tips, recipe tweaks for all dietary restrictions, and even notes from a unicorn along the way. I’ve packed a ton of information in a fun, rainbow-wrapped package. I hope you check it out and can’t wait to see what you whip up!
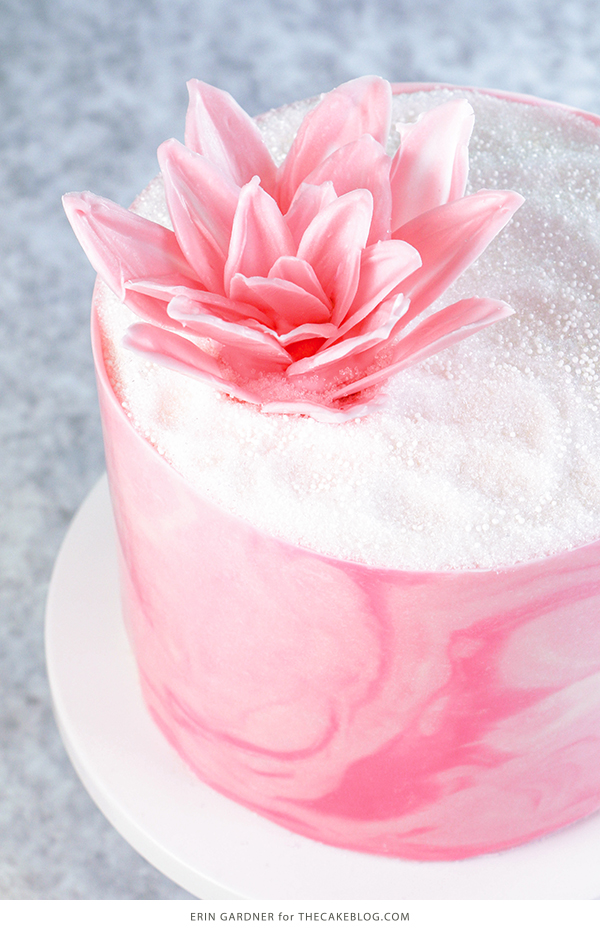
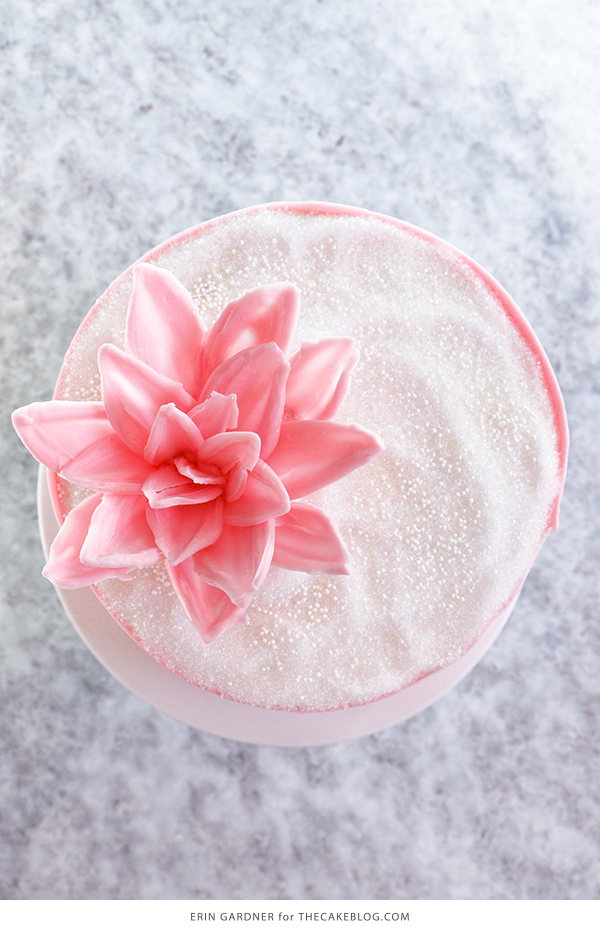
Like all of my chocolate projects both in the book and here on The Cake Blog, you can use regular chocolate or coating chocolate for both the wrap and the flower. Make this project exactly as I have here, or follow my lead and choose your own cake adventure! Change up the colors in the marble wrap to reflect real marble tones or go all out and create a whimsical rainbow marble effect. The petal technique is ideal for making any flowers with pointy tips, like poinsettias or dahlias. Both perfect for all of your upcoming holiday desserts!
MARBLED CHOCOLATE WRAP CAKE
a tutorial from Erin Bakes Cake by Erin Gardner
Supplies:
6” round crumb-coated cake, chilled
3 cups white coating chocolate or regular white chocolate
2 cups light pink coating chocolate or tinted white chocolate
1 cup dark pink coating chocolate or tinted white chocolate
Acetate sheet
Ruler
Scissors
Heavy duty aluminum foil
Small knife
Small bowl
1 cup clear sanding sugar
2 tablespoons white nonpareils
Start by making the flower.Tear off a 2-inch-wide strip of aluminum foil. Cut the strip into pieces approximately 3 inches long. Repeat until you have 20 or so small pieces of foil. Fold the pieces in half lengthwise and open them back up.
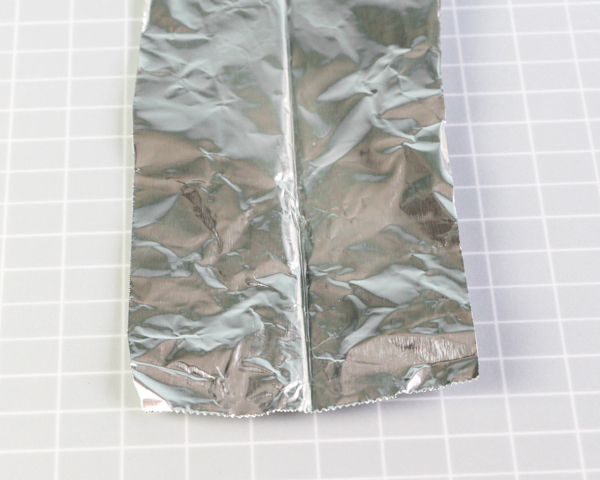
Melt the light pink coating chocolate in a small heatproof bowl. If using tinted regular chocolate, temper the chocolate before making the petals. Dip the flat side of a small knife into the melted pink chocolate so that about 3 inches of the knife is coated. Lay the coated side of the knife onto one of the pieces of foil (open-side up) so the the tip of the knife lines up with the crease in the foil. Pull the knife away, smearing the chocolate onto the foil in a petal shape. Rock the knife back and forth until your desired petal shape is achieved. Repeat this process to make approximately 20 petals. Make a few of the petals shorter to use in the center of the flower. Set the petals aside to completely harden before using, about 10 minutes.
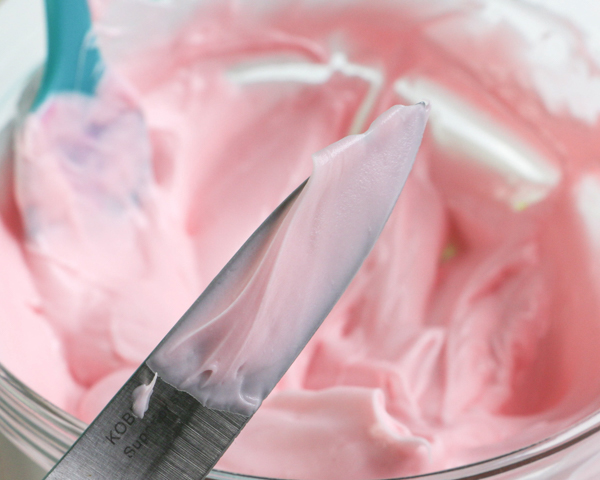
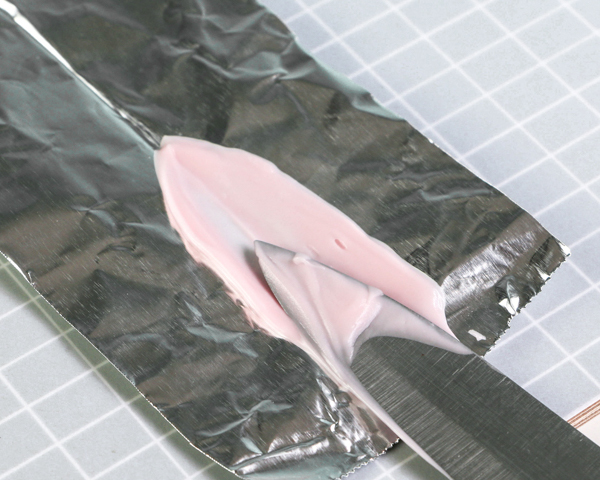
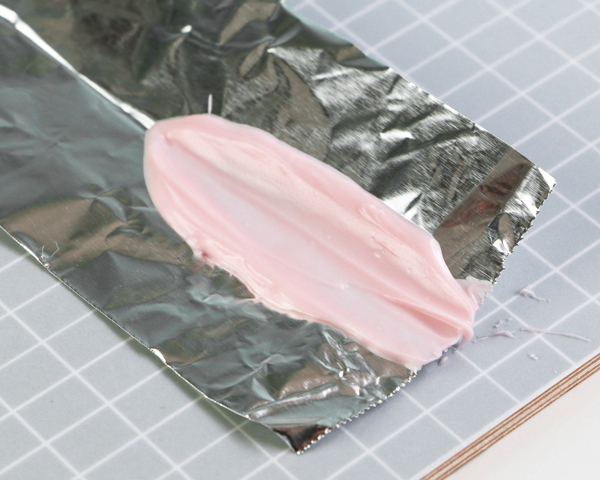
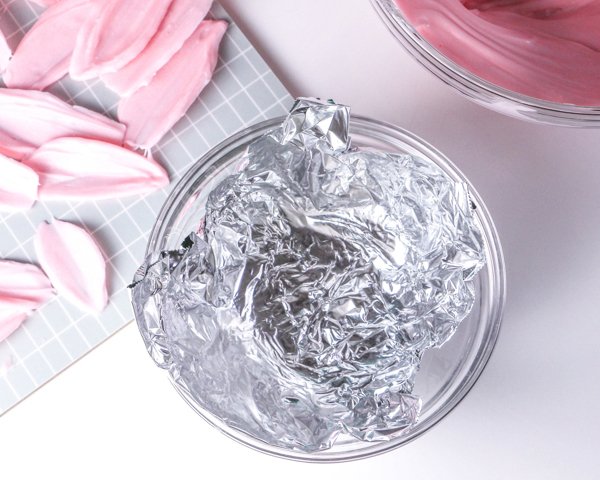
Tear off a 6-inch-wide piece of foil. Push the piece of foil into a small bowl to create a little cup. Spoon a small quarter-sided puddle of melted pink chocolate into the center of the cup. Place the flat end of one of the petals into the puddle of chocolate. Repeat with more petals, overlapping as you go.
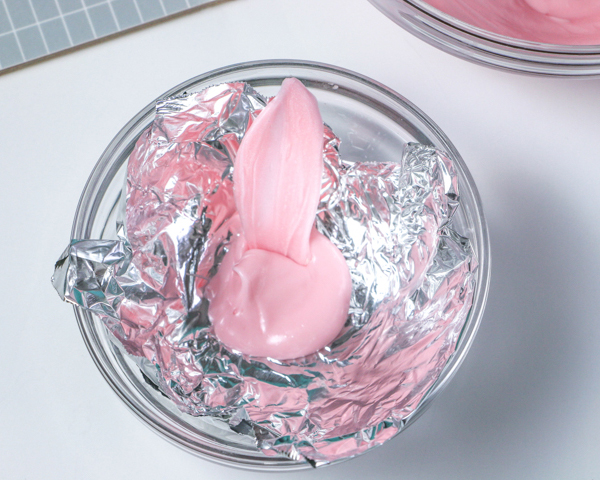
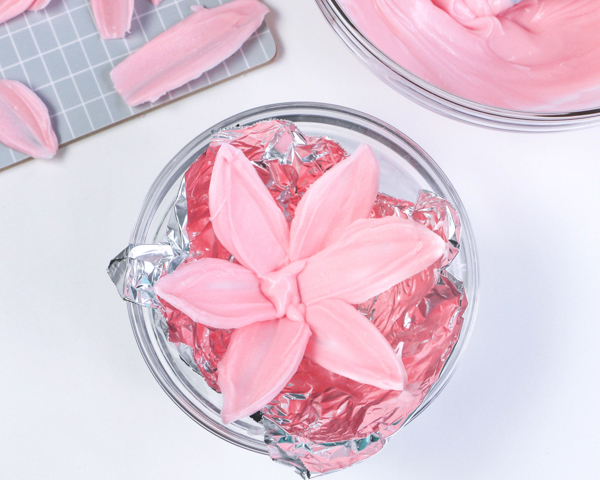
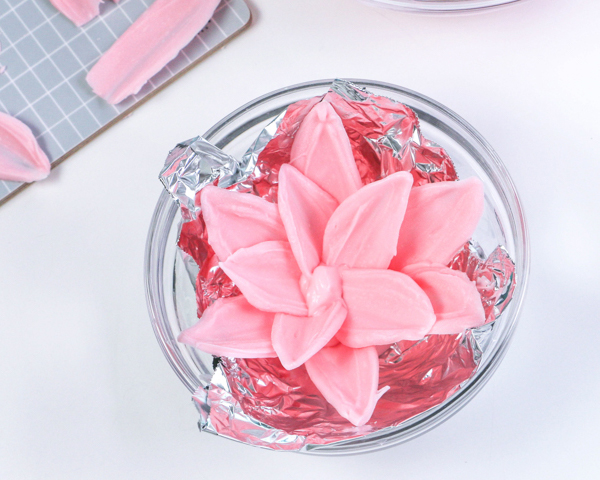
Spoon another smaller puddle of chocolate into the center of the first layer of petals. Add more petals the same way you create the first layer. Add the smaller petals to the center of the flower. Keep the remaining large petals on hand to fill in around the flower after placing it on the cake. Set the flower aside until the chocolate has completely hardened, about 10 minutes.
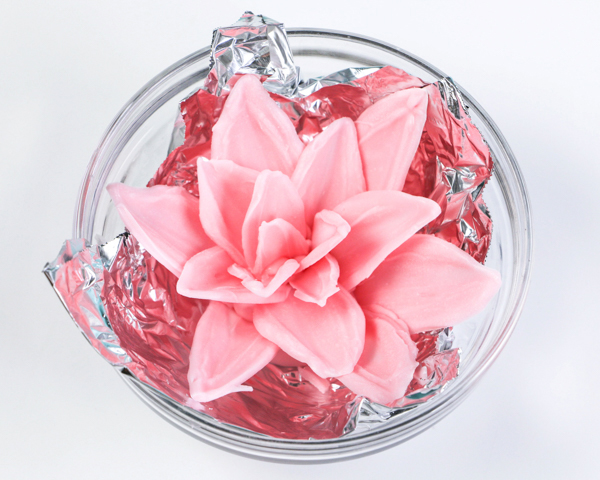
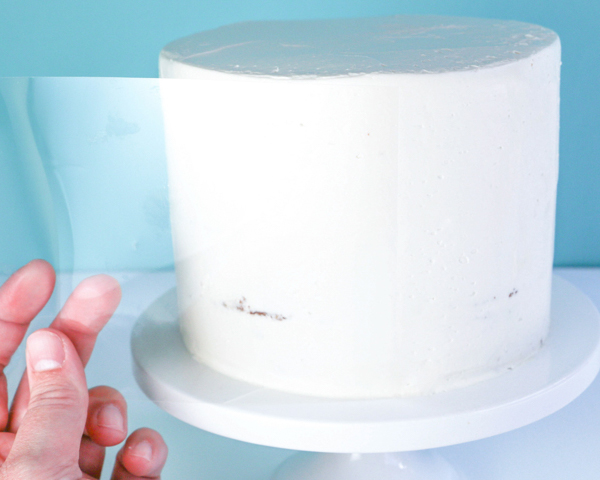
Now let’s move on to the chocolate wrap. In order to wrap your cake in chocolate, you’ll need a piece of acetate that’s as wide as your cake is tall and a few inches longer than your cake’s circumference. The circumference of a 6-inch round cake is a little less than 19 inches, so you may need to tape two sheets together depending on how large your acetate sheets are. Measure your sheet by wrapping it around the cake to double-check the size. Place a piece of scotch tape towards the top of each end of the sheet of acetate. Flip the sheet over so that the tape is sticky side up.
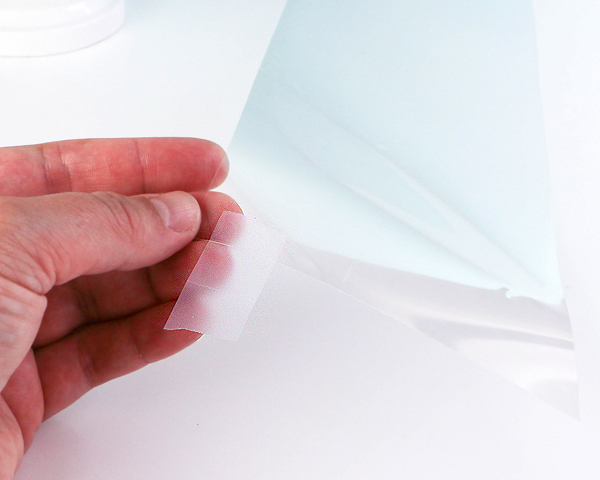
Melt the three cups of white coating chocolate or regular white chocolate. No need to temper for this technique; the chocolate will remain fluid longer if it is untempered, and it will also be much easier to cut the finished cake. Melt the dark pink chocolate and keep it nearby along with the already melted light pink chocolate.
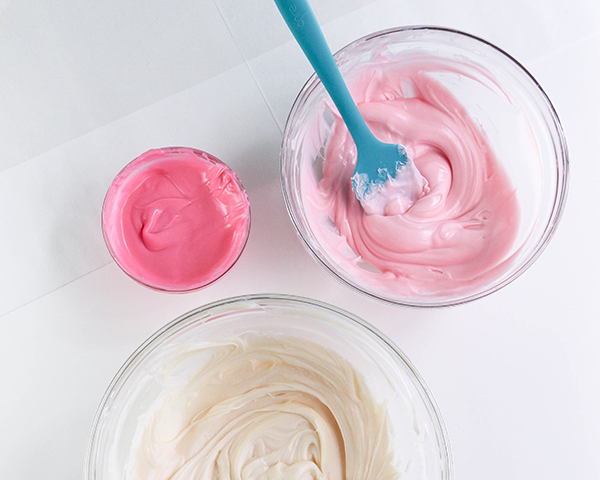
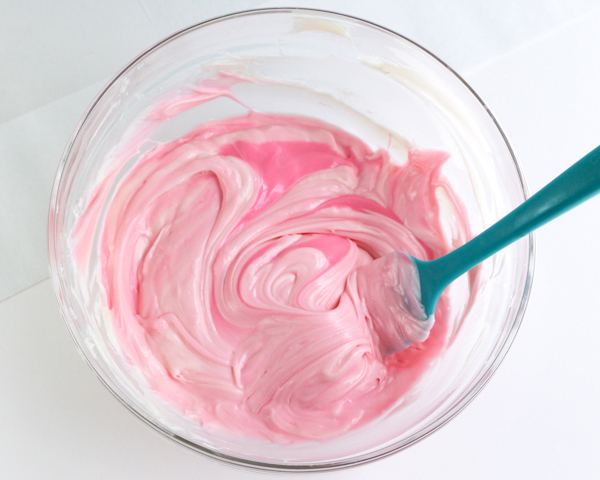
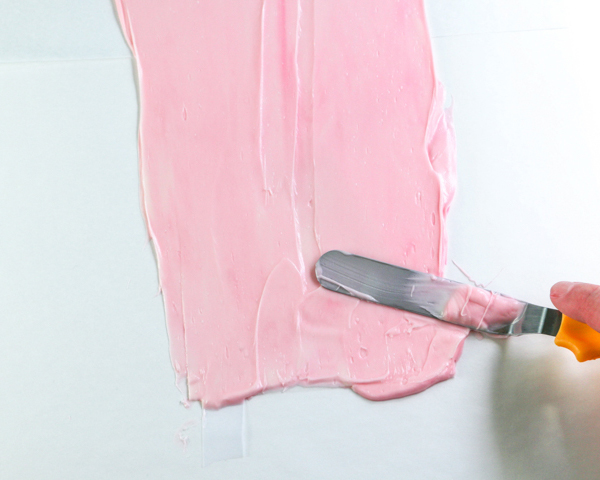
In the book I marble the chocolate on the acetate sheet, but for this project I decided to mix it up and marble the chocolate in the bowl first. Pour the dark pink and light pink chocolates into the bowl of white chocolate. Use a spatula to swirl the colors together. Pour the swirled chocolate onto the acetate sheet and, using an offset spatula, spread it out to the edges.
Use the pieces of tape to help lift up the sheet and wrap it around the chilled, crumb-coated cake. Start at one end, pulling the sheet around the cake as you go. Run your hand over the sheet to make sure all of it comes into contact with the buttercream. The end of the sheet should overlap the beginning of the sheet by a few inches. Don’t press the overlap onto the start of the sheet. Make sure the chocolate is touching and let any excess just hang off the side of the cake. You’ll trim it away once the wrap has set up. Pop the cake in the fridge until the chocolate has hardened, about 15 minutes. Be patient! Removing the wrap too soon will damage your chocolate finish.
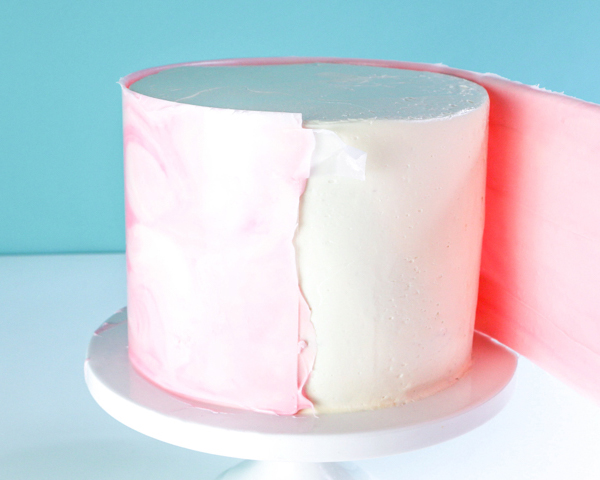
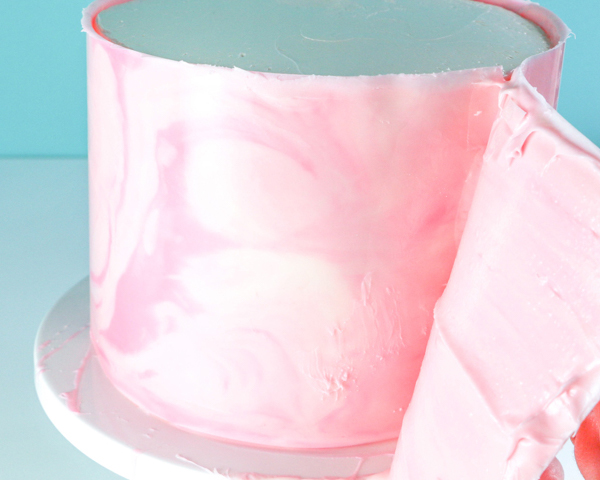
Remove the cake from the fridge and peel off the acetate sheet.
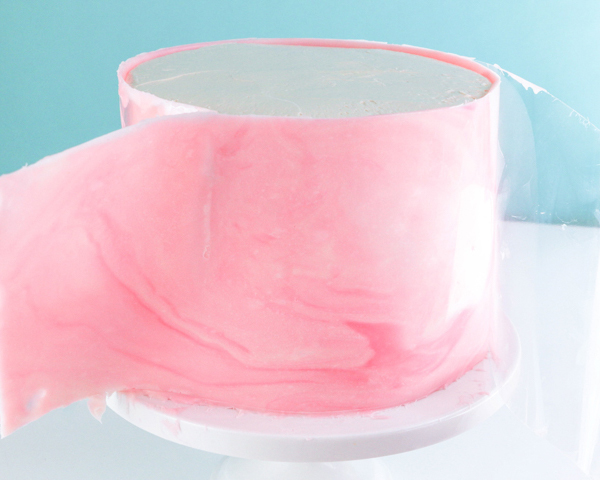
Use a knife to score a line where the ends of the wrap overlap. Gently apply pressure, running the tip of the knife up and down that line until it cuts through. Remove the extra chocolate. If you accidentally cause any breakage, just reattach the broken piece of chocolate using a little of the extra melted chocolate to secure it in place.
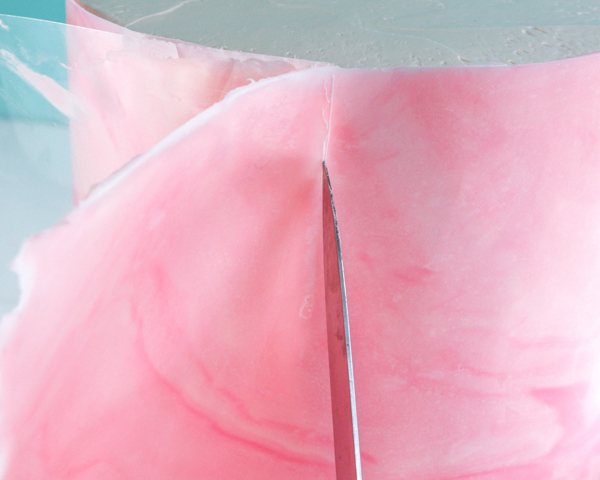
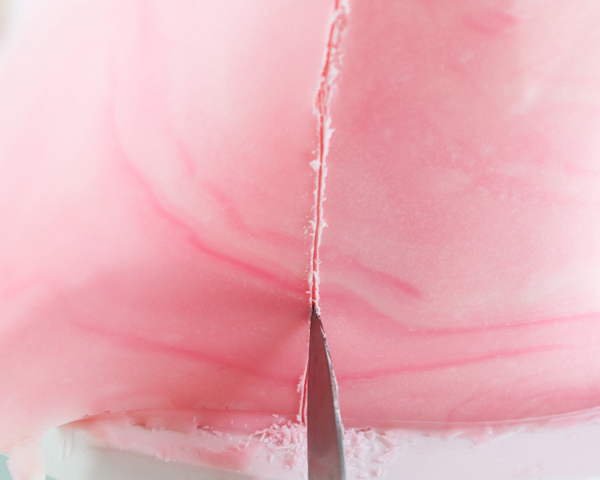
Spread a little of the extra chocolate over the seam and smooth it over with a clean finger tip or spatula.
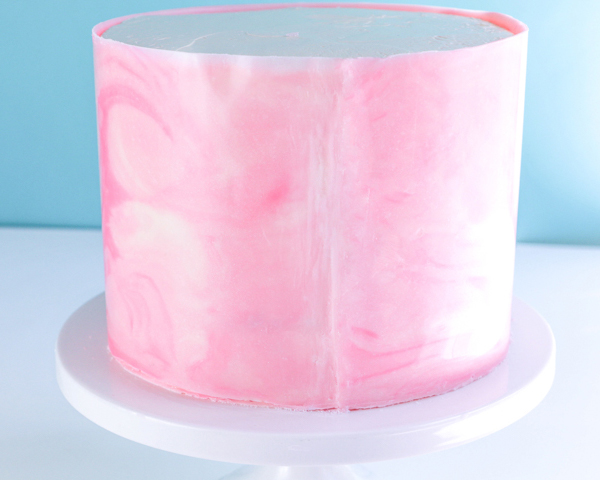
Lift the flower out of the cup by the edges of the foil. Carefully peel the foil away.
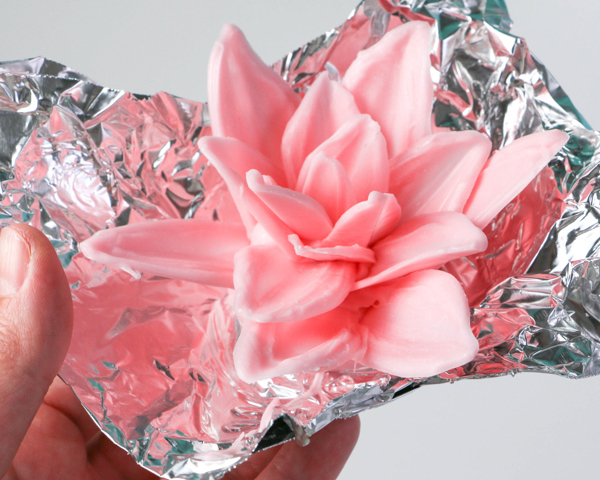
Place the flower on top of your cake. Use a little buttercream to secure it in place if needed. Fill in the top of the cake with sanding sugar and nonpareils. Tuck the extra petals in around the edges of the flower to fill in any gaps.
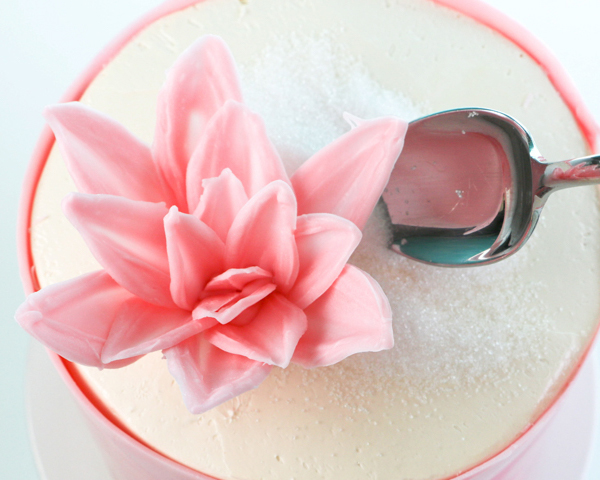
Store the cake at room temperature for the day or in the fridge for up to three days. Cut the cake with a knife that’s been dipped in hot water, wiping the blade between cuts.
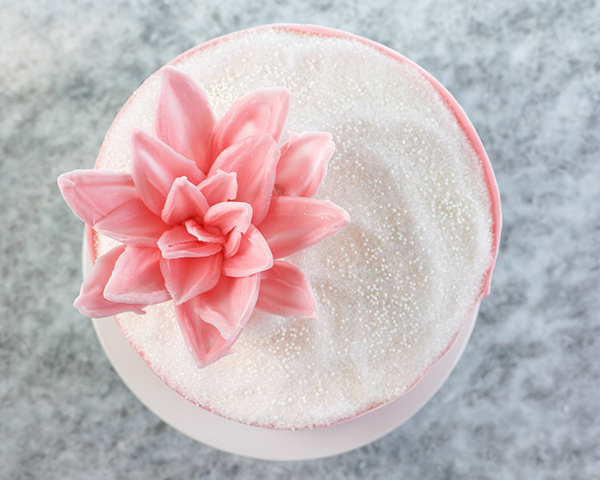
Thank you all for your years of support and helping make Erin Bakes Cake happen!
YOU MAY ALSO ENJOY:
Marble Chocolate Hearts
Chocolate Brushstroke Cake
Chocolate Flamingo Cake
Chocolate Flower Cake
Marble Chocolate Easter Eggs



The cake is really pretty but what is a crumb coated cake? The picture looks iced to me.
A crumb is the frosting put around the cake sparingly to trap cake crumbs from the cake so when you put on your icing, you will get a clean frosting without crumbs showing. I hope I made sense ☺
Looks delicious, can’t wait to bake this.