How to make Flower Sugar Cookies decorated with royal icing and nonpareil sprinkle centers! A new decorating tutorial created by our contributors, ellenJAY.
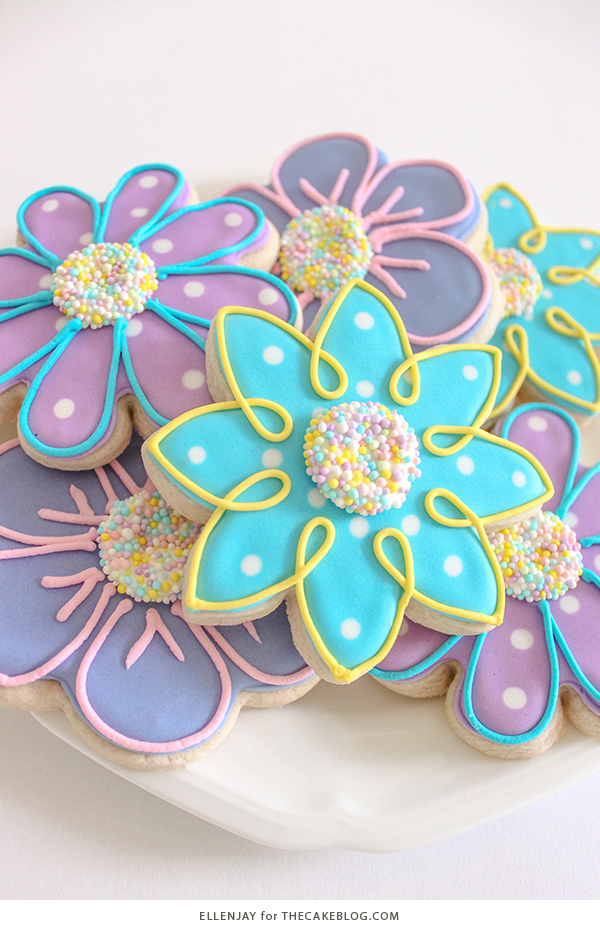
This time of year is our absolute favorite as all the spring flowers begin to bloom and line the streets all over town. Mobile is known as the “Azalea City” and if you’ve ever visited in the spring you’ll know why…it’s when the streets are lined with the most beautiful azalea bushes in shades of pink, purple and white. They are some of the most unique and vibrant flowers you will ever see and are literally lined up one after another everywhere you look. It truly is a treat to drive down our oak tree-lined streets and stare at the beautiful azalea bushes amongst all the historic homes.
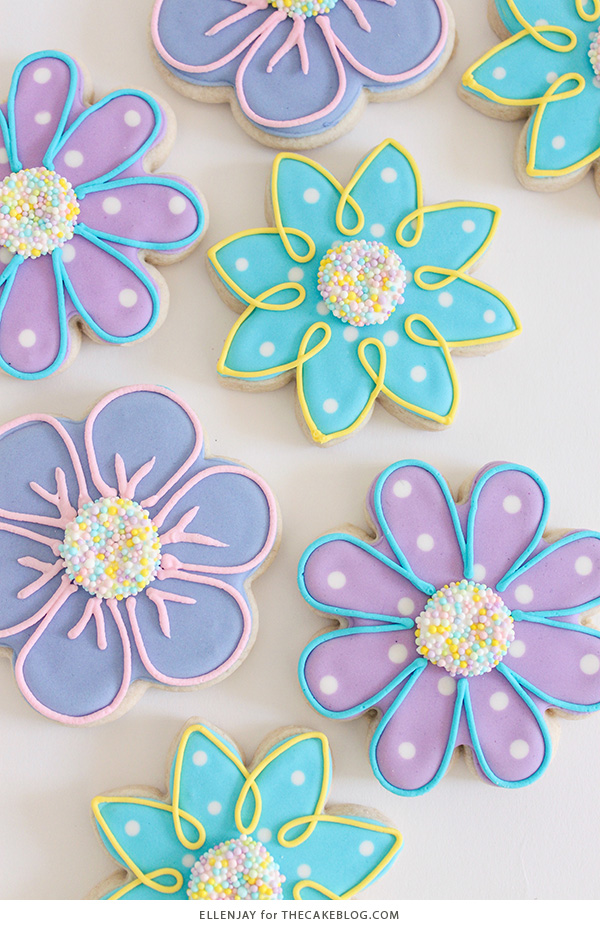
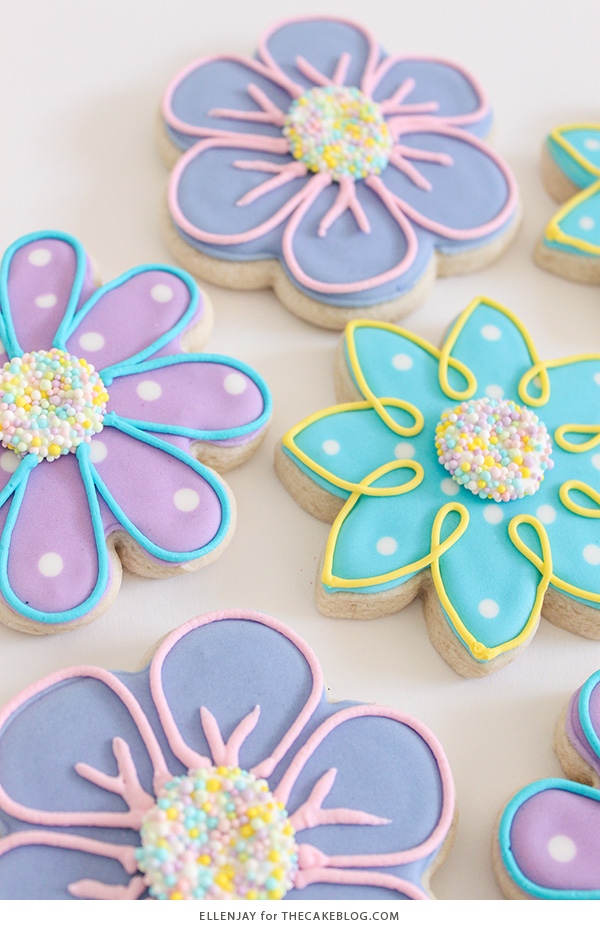
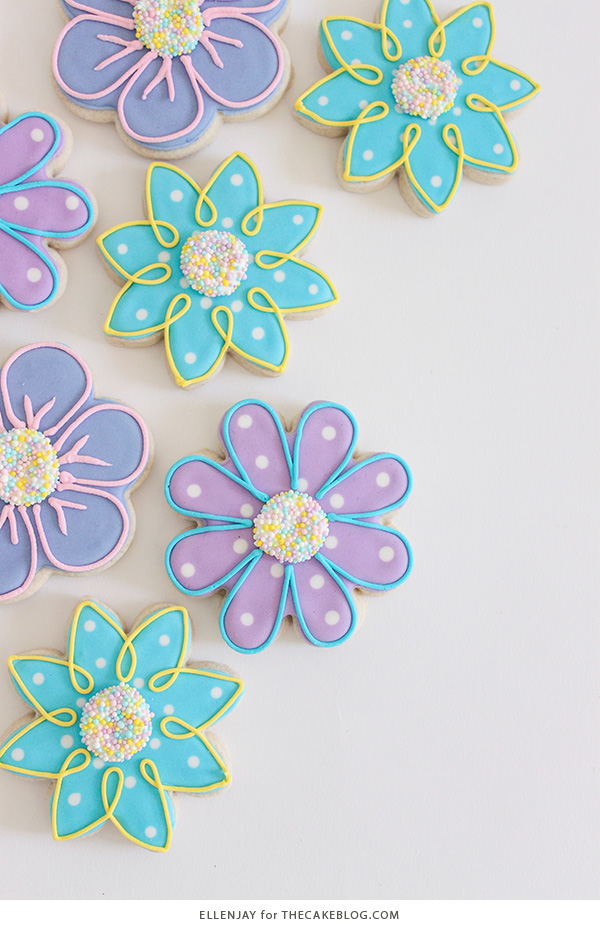
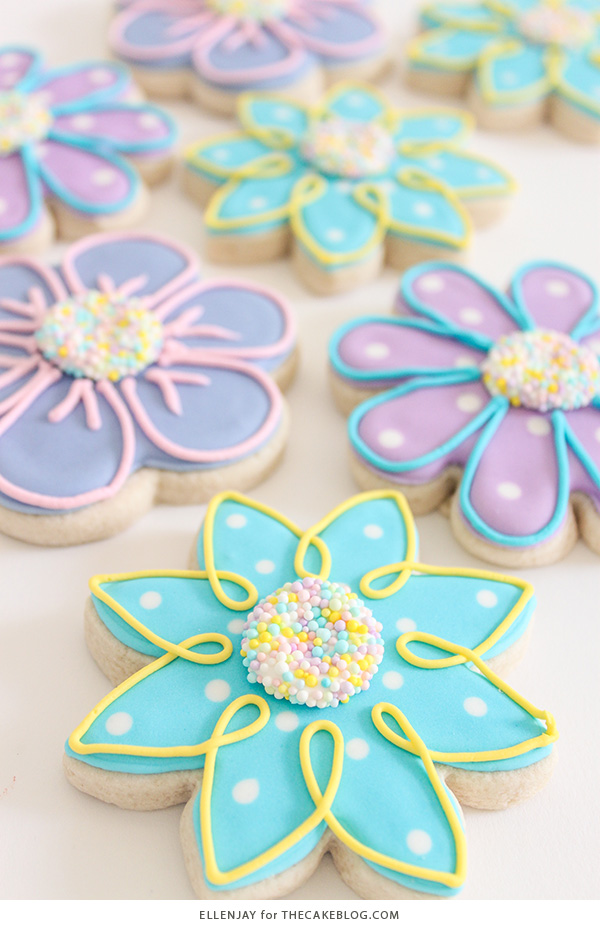
So today, we thought it would be fun to share a tutorial for decorated spring flower sugar cookies. The thing about flowers, is they come in so many shapes and colors, there are a million possibilities when it comes to decorating cookies. We took a more fun and playful approach to our collection and chose a whimsical palette of sky blue to lavender with light pink and yellow accents. We created a pastel nonpareil sprinkled center that can easily be made ahead of time and kept on hand to add that special touch to your cookies all year long. Our step-by-step tutorial for these cookies using our favorite roll out sugar cookie dough can be referenced for any flower shapes. Feel free to dream up your own fresh floral colors and use our designs for inspiration.
FLOWER COOKIES
a tutorial by ellenJAY
Supplies:
- Flower Shaped Cookie Cutters
- Rolling Pin
- Soft gel paste food color in Violet, Sky Blue, Deep Pink, Yellow
- 5 Piping Bags
- 5 Couplers
- 5 Wilton Tip #2
- 4 Flood Bottles
- Toothpicks
- Pastel Spring Nonpareils
- Baking Tray
- Parchment Paper
Make a batch of our sugar cookie dough or use your favorite sugar cookie dough. Roll dough to 1/4” thick. Cut out flower shapes with assorted cookie cutters (8 per shape). Place cookies on prepared baking sheet so they are evenly spaced and alternating about 1 inch apart. Bake per recipe instructions.
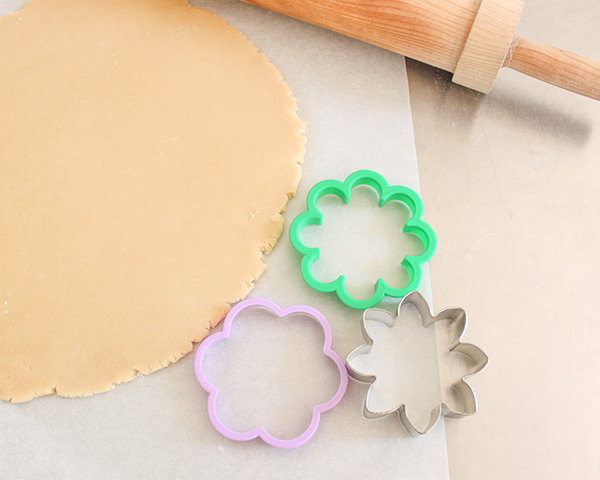
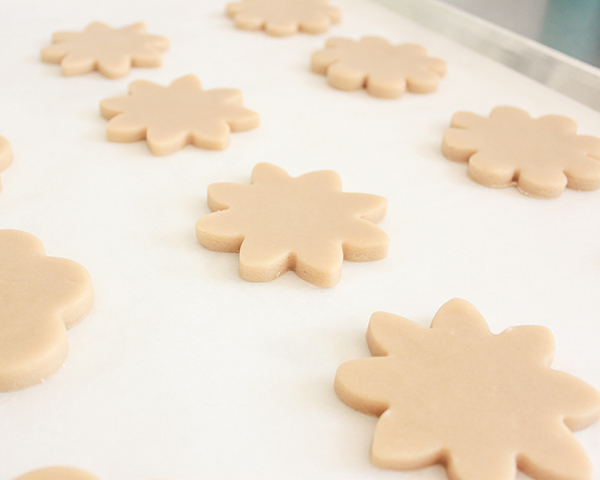
Make a batch of our favorite royal icing. Divide royal icing evenly into 4 containers. Tint 3 of the containers to be sky blue, periwinkle and lavender colors. Leave the last container as white. Make piping and flood consistency icing (per recipe instructions) for the sky blue, periwinkle and lavender colors. Place the piping consistency in piping bags fitted with a tip #2. Place the flood icing in squeeze bottles. Decide which cookie shape will be paired with each icing color.
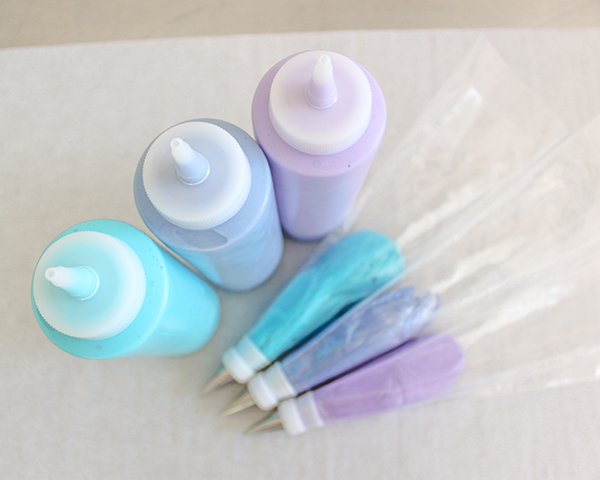
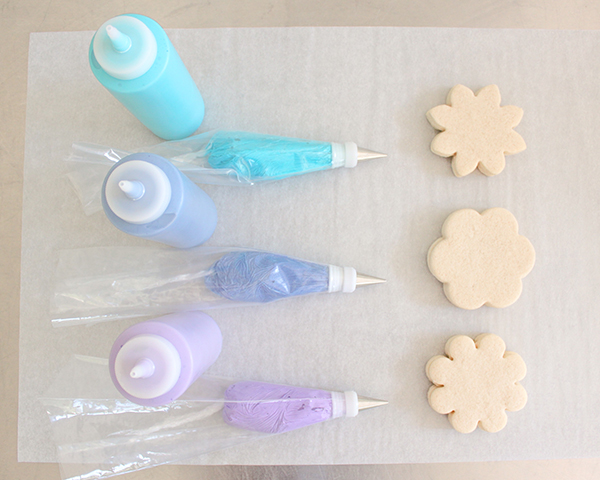
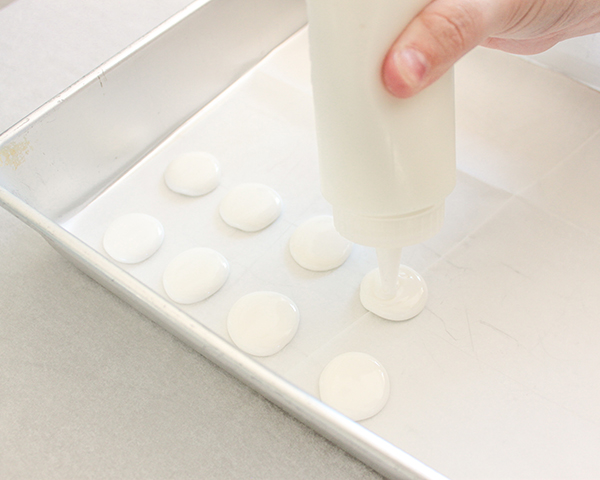
From the last container of icing, use half and prepare white icing for the nonpareil flower centers based on a “20-second” rule (same concept from the recipe, thinning down icing a little at a time until you reach desired consistency) and place in a squeeze bottle. This white will also be used for adding polka dots to the cookies. With the last half of the remaining icing divide this in two and make light pink and yellow piping consistency for final flower details.
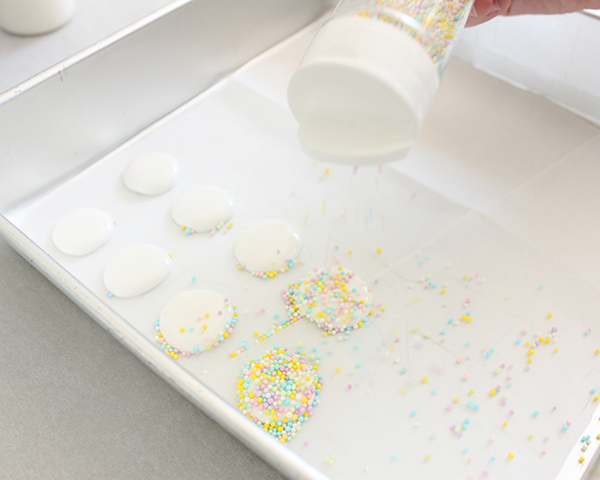
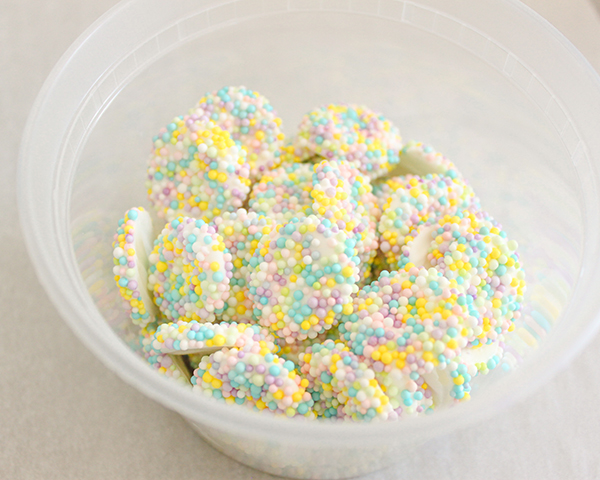
Line a cake pan with a sheet of parchment paper and then squeeze round dots in rows to create the flower centers. Gently sprinkle the pastel nonpareils on top of the icing circles. Allow to dry overnight, then remove flower centers from parchment paper and pour excess sprinkles back into the bottle. The flower centers can be stored in an air-tight container for future use.
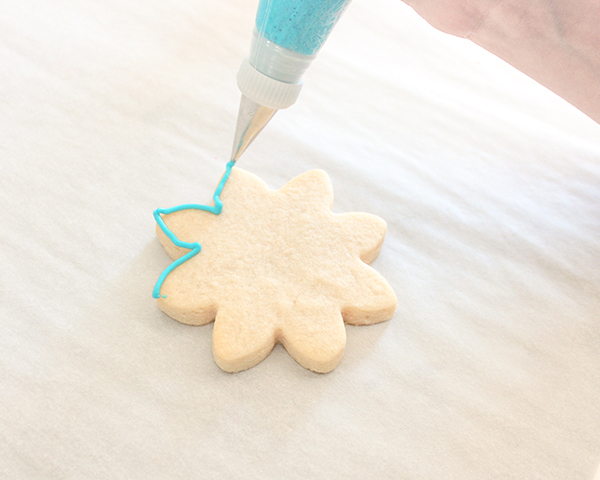
Trace the outline shape of the cookie with piping consistency icings. Use the flood consistency icings to fill in the cookies.
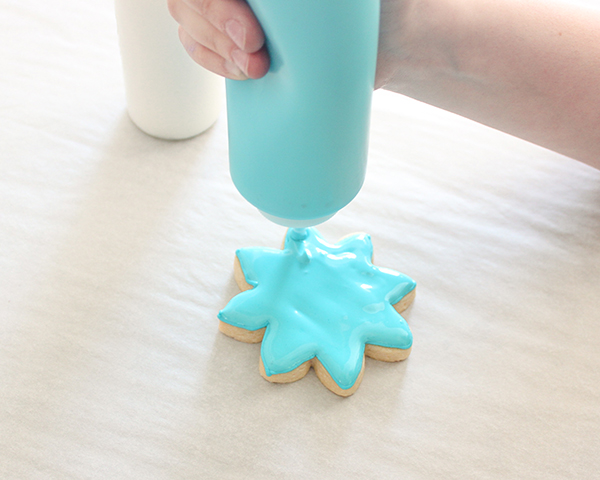
Add white polka dots by gently squeezing white flood bottle overtop of the flooded cookies.
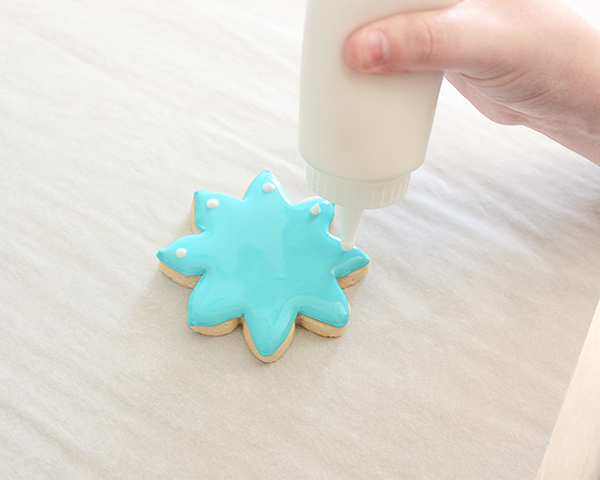
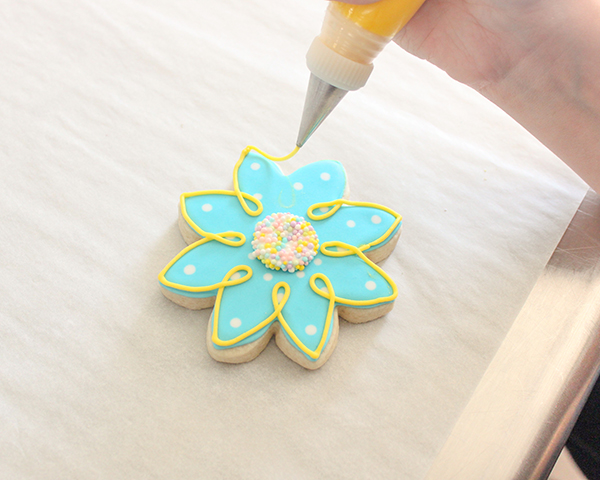
Allow the cookies to dry overnight before adding all the final details. Once cookies have dried add the round nonpareil flower centers by using a dab of royal icing from the piping bag. Add final piped flower borders on all 3 cookie designs.
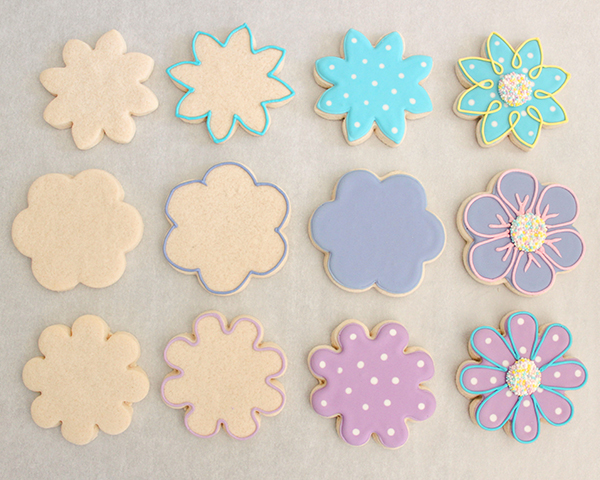
Once icing is completely dry, cookies can be stacked or individually packaged. Storing in an air tight container keeps them fresh for several days. Heat sealing in individual cello bag keeps them fresh even longer.
MORE SPRING DESSERTS TO TRY:
- Bunny Face Cookies
- Chocolate Flower Cake
- Spring Wreath Cake
- 10 Flower Cakes for Spring
- Teeny Tiny Flower Pot Cakes


Very pretty cookies! I love that you chose just three colors for the flowers and added pink and yellow for the accent colors. My favorite are the sky blue cookies…..so cheerful. 🙂
wow. these cookies are extraordinary! they’re super bright and screams Easter! 😀 I am going to try and make these for my students one day hehe Thank you 🙂