Painted Buttercream Flower Cake – how to paint buttercream flowers on a cake using a palette knife. A new tutorial by our contributor Whitney DePaoli.
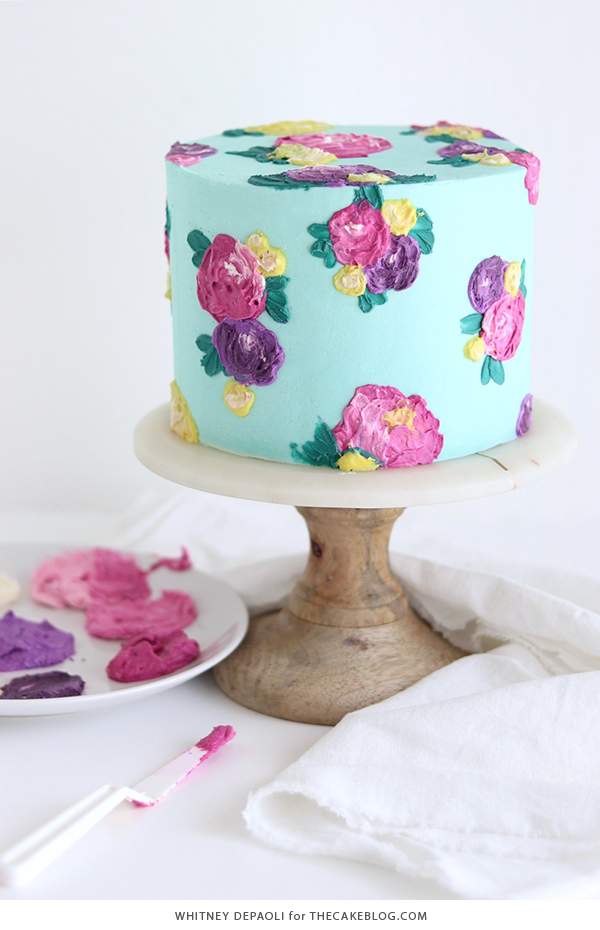
This time of year, I can’t help but be inspired by all the beautiful blooms. They make me want to incorporate flowers into all of my cake designs, and there’s no easier way than with this buttercream painted floral technique! All you need is a smooth frosted cake, a beautiful buttercream color scheme, and a few palette knives to get the look.
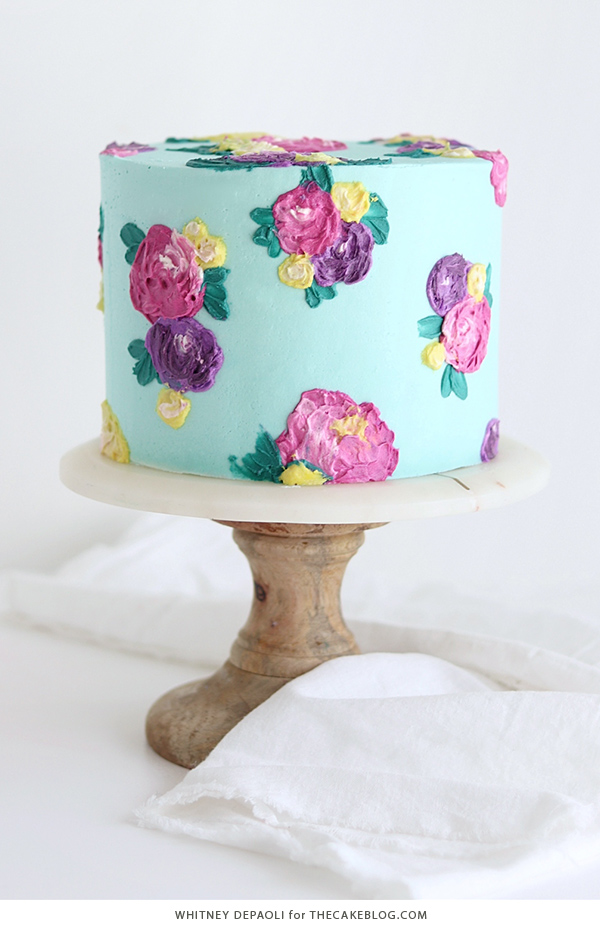
Pretty as a painting, right? Only much tastier!
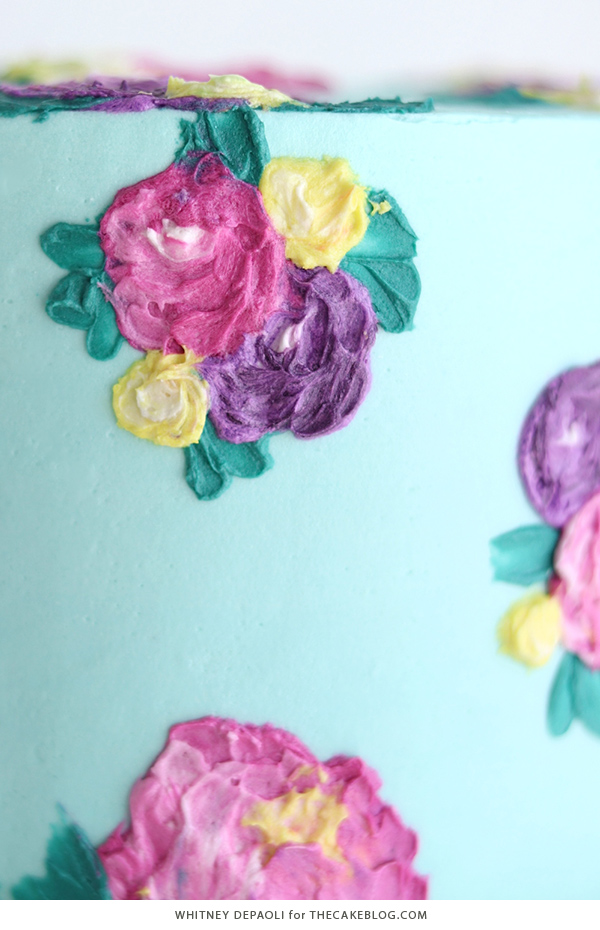
The best thing about painting flowers with buttercream is that it’s an incredibly forgiving technique, so don’t worry about being an artistic pro for this one (although the results will make you look like one!). The technique is meant to be perfectly imperfect, almost like an impressionist painting, so you don’t have to be too detailed to make those flowers pop. Whatever your cake decorating skill level, this buttercream painted technique will help you create a showstopper!
What Kind Of Buttercream Is Best For Painting?
Whether you prefer Swiss Meringue, American, or another type of buttercream, this painted technique will work with any tintable (white) buttercream! My go-to is this vanilla buttercream recipe, which I find to be the perfect consistency for both frosting the cake and painting on your flowers. If you don’t yet have a go-to buttercream recipe, give it a try with the tutorial below.
PAINTED BUTTERCREAM FLOWER CAKE
a tutorial by Whitney DePaoli
Supplies:
- A 6-inch round cake that’s been filled, stacked, and crumb coated
- 1.5 batches of vanilla buttercream (any tintable buttercream will do)
- Icing scraper
- Angled spatula
- Cake turntable
- Gel food coloring
- Small icing spatulas or palette knife set
FROST THE CAKE:
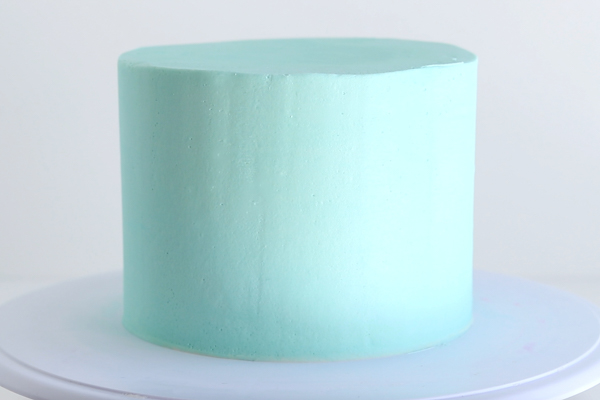
Take ⅔ of the buttercream and tint it whatever shade you’d like your background color to be. I used a tiny bit of Americolor Turquoise to get this light blue shade. With your cake on the turntable, frost the cake with the buttercream that you’ve tinted for your background color. Use your icing scraper to smooth the sides of the cake, then create a sharp top edge by swiping the buttercream from the outer edges toward the center of your cake on top. When your cake is looking perfectly smooth, pop it into the refrigerator for at least 20 minutes to firm up. The buttercream makes a much better canvas to paint on when it’s firm to the touch.
MIX UP A FLORAL COLOR PALETTE
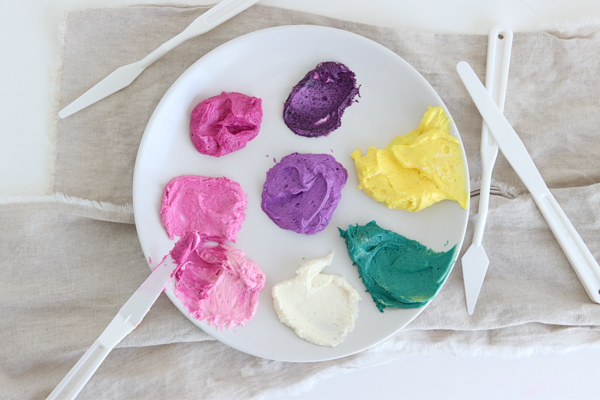
Divide the remaining buttercream into however many colors you’d like for your floral color palette and mix them up individually. My main floral color palette is fuschia, yellow, and purple, but for this technique it’s best to include white and a few extra shades of your main floral colors to create depth when you’re painting. Also, don’t forget to mix up a pretty green shade for painting leaves and greenery around your flowers.
PAINT A FLOWER SHAPE
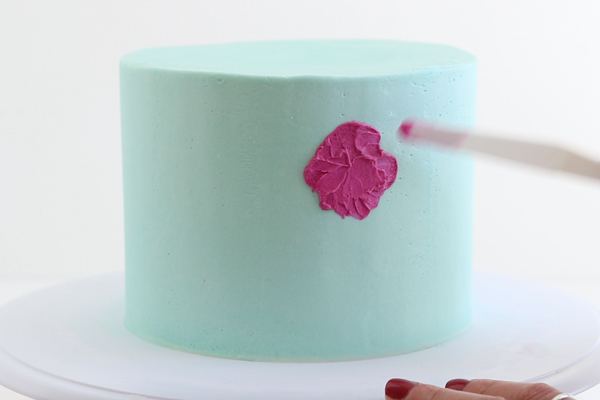
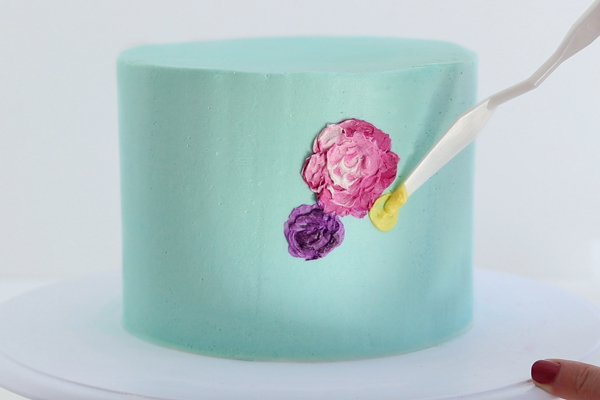
Using one of your darkest floral colors, paint the shape of a flower with your icing spatula or palette knife. It will look a bit like a blob of color and that is totally ok, because the detail work in the next step will make it come to life!
ADD FLOWER PETALS AND DETAIL WORK
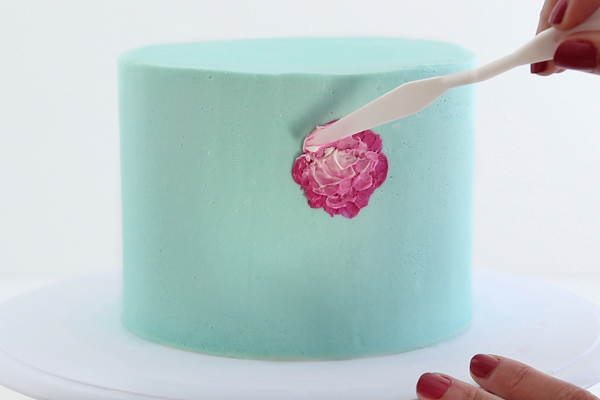
Next, use the white and lighter shades of buttercream to add dabs and swipes of texture on top of the floral shape. It will mix with your darker color underneath naturally, and the palette knife will help add the texture of your flower petals as you go around. In this case, I added more of the white and light colored buttercream on the left side of the flower to make it look like the other half is shadowed, thus creating some depth. Notice that it’s really imperfect, but just like an impressionist painting, it looks really blended and artistic when you step back and look at it.
PAINT SUPPORTING FLOWERS AND DETAIL WORK
Using the other darker floral colors, add some more floral shapes around your main flower wherever you feel inclined. Then, use your white and lighter colored buttercream to create depth and detail on those supporting flowers. I chose to group 3-5 flowers per bunch, but if you feel like more or less, that is completely up to you! No rules here, only creative freedom.
PAINT THE GREENERY
To finish off your first bunch of flowers, use your palette knife to swipe some green buttercream leaves around it. Again, there’s no rules as to where you should place the greenery. Just follow your heart and fill in some of the spaces that feel the most empty to create a balanced bouquet.

REPEAT ALL OVER THE CAKE
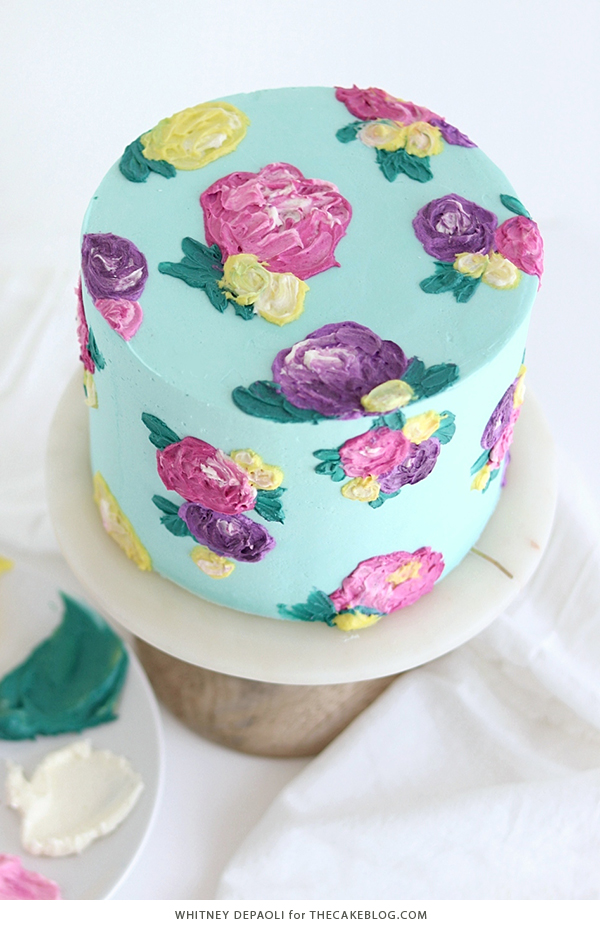
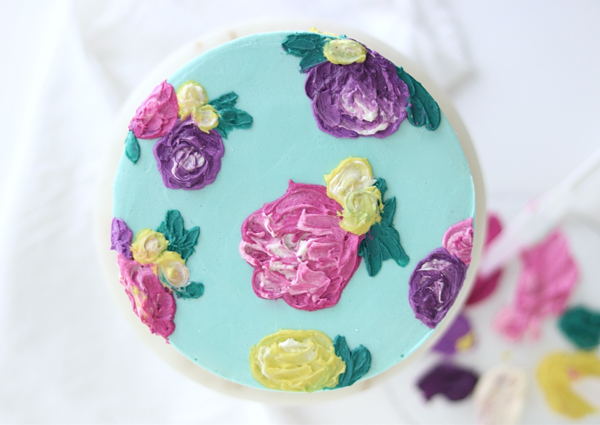
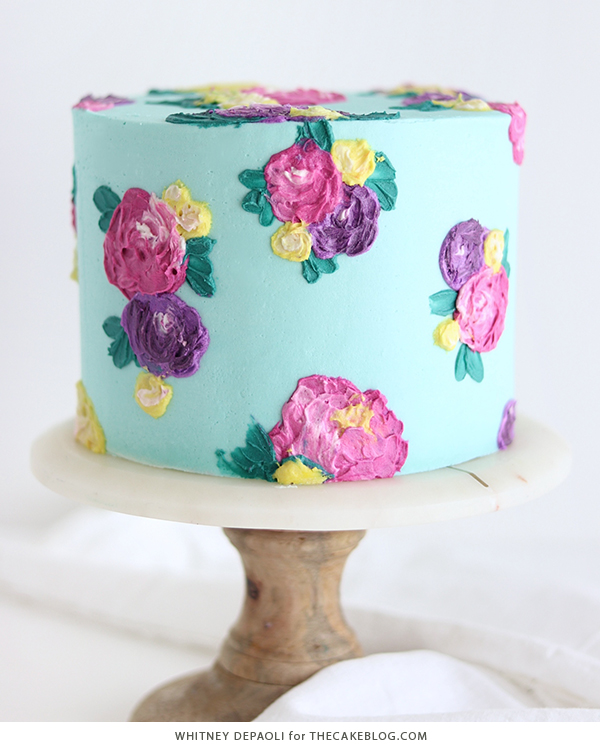
With your first bunch of flowers complete, all that’s left to do is repeat the process all around the cake. You can repeat the exact same flower placement in your next bouquet, or switch it up and use a different arrangement (like I have). The goal here is to go with the creative flow!
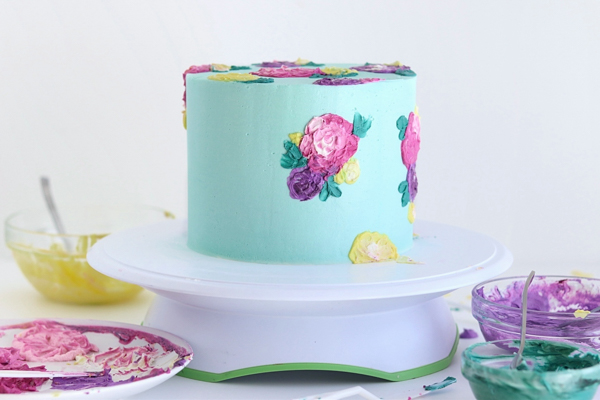
When you’ve finished adding all of your floral arrangements, step back and marvel at your work of art. It’s amazing what you can do with a great buttercream color scheme and a few palette knives!
MORE PAINTED CAKES TO TRY:


I was looking for a buttercream cake recipe for the whole family and I stumbled on this article. I read and followed the instructions carefully and I made it deliciously! Every member of my family is so happy! Thanks for this!
Loved the cake. Flowers are looking great on the cake and the color combination is also looking great. Thanks for sharing this wonderful article.