Archives for 2011
BRIDES Magazine’s Most Beautiful Cakes
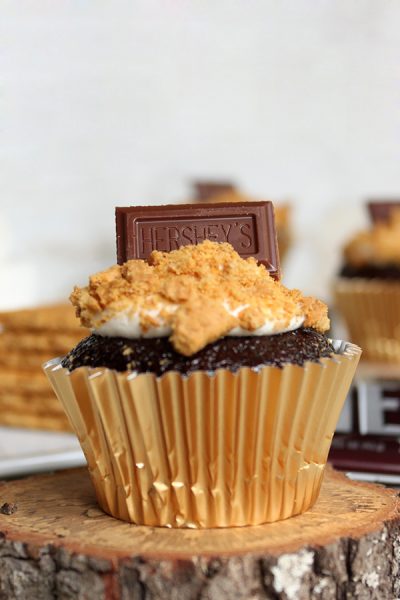
S’mores Cupcakes
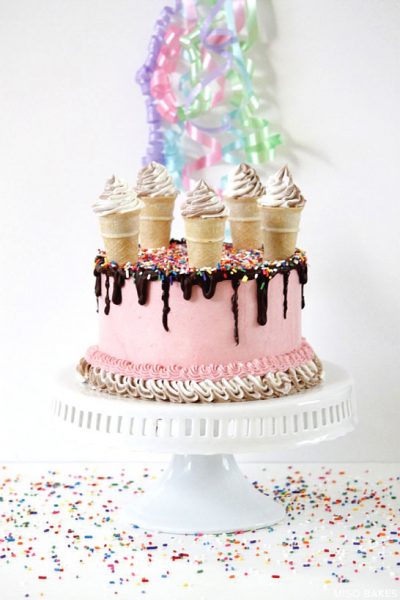
Ice Cream Cone Cake
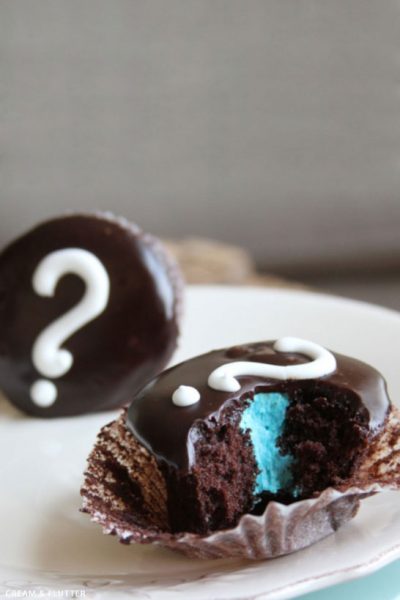
Gender Reveal Cupcakes
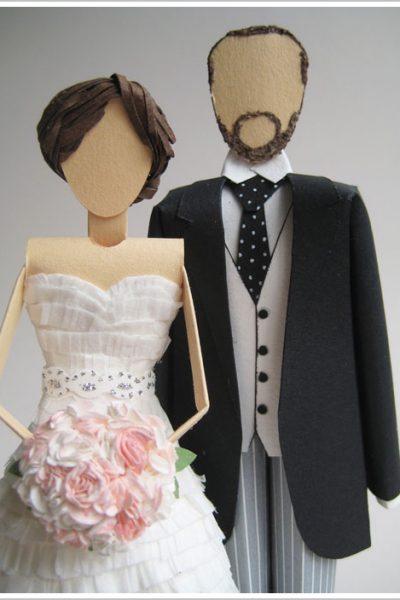
Fab Find: Paper Cake Toppers
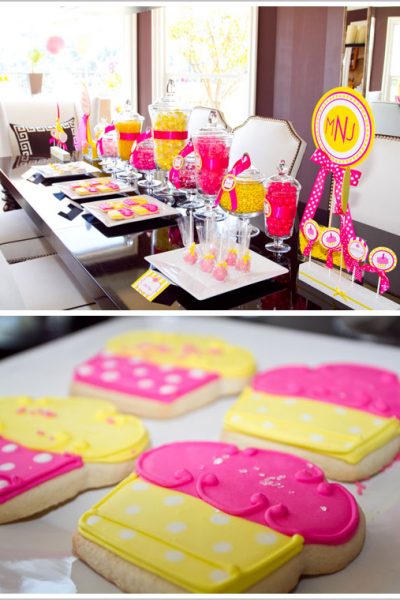
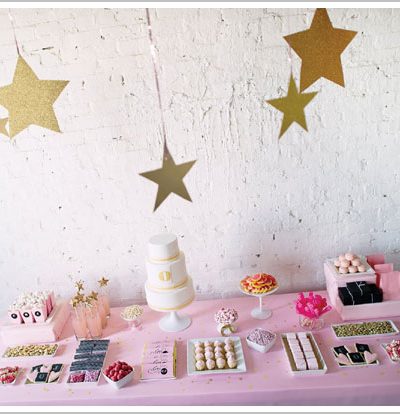
My Lil Sunshine 1st Birthday Party
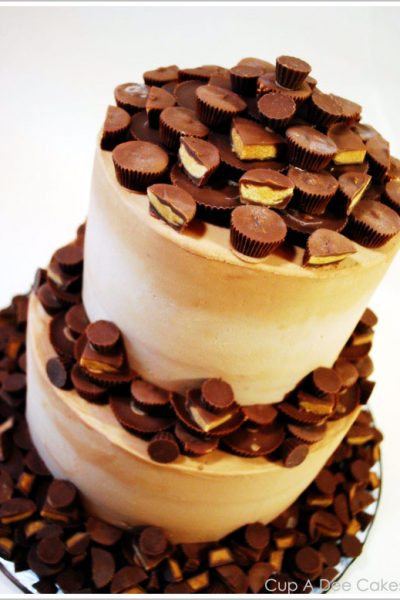
Peanut Butter Addiction Cake
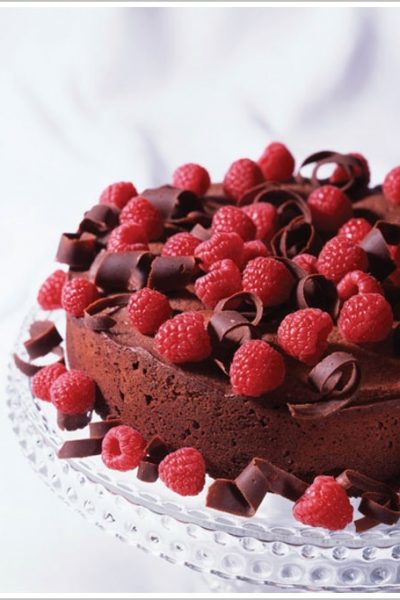
Chocolate Raspberry Cheesecake
Field Trip: Cake Opera Co.
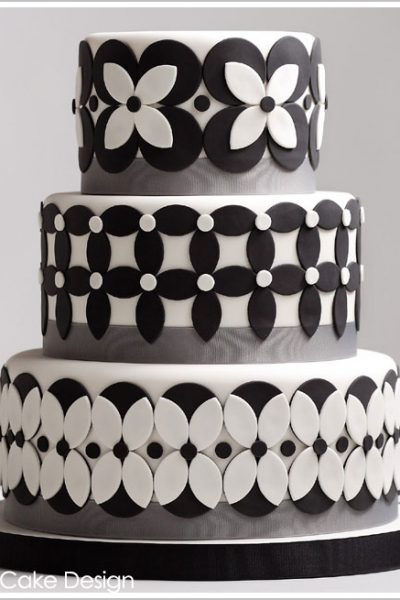
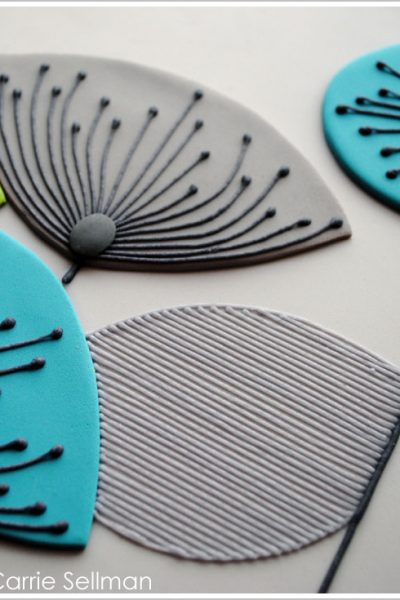
Black & White Petals Cake
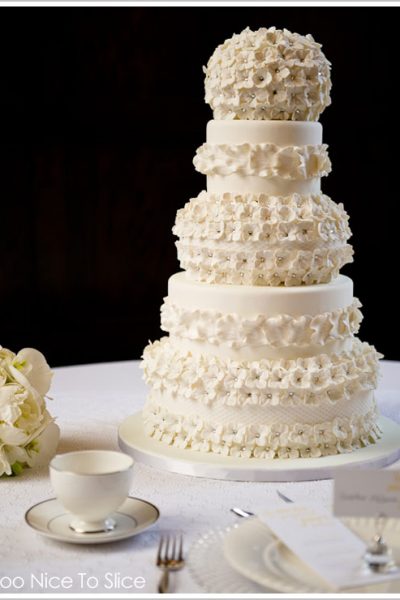
Vintage Eyelet & Buttons Wedding
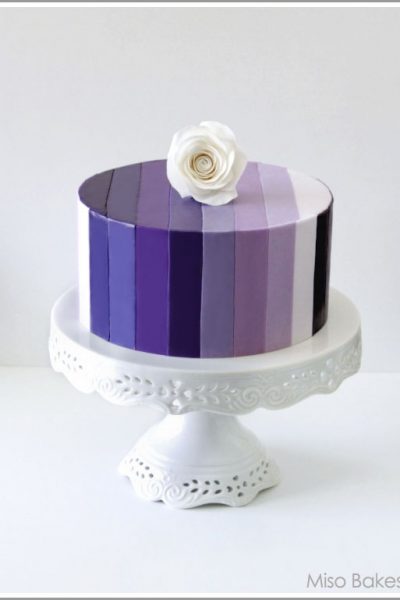
Ombre Cake Love
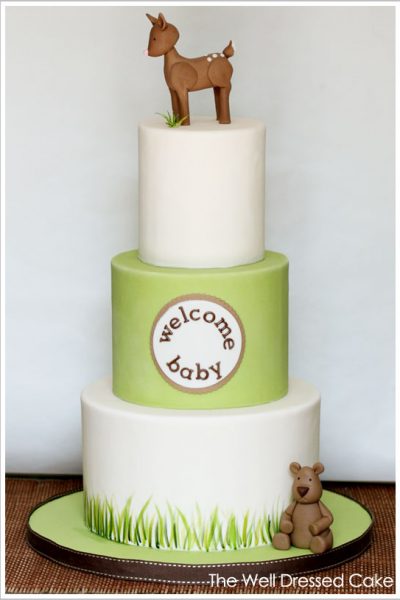
Woodland Forest Baby Shower Cake
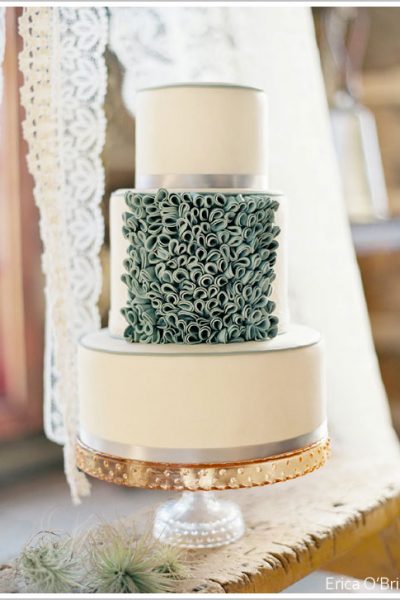
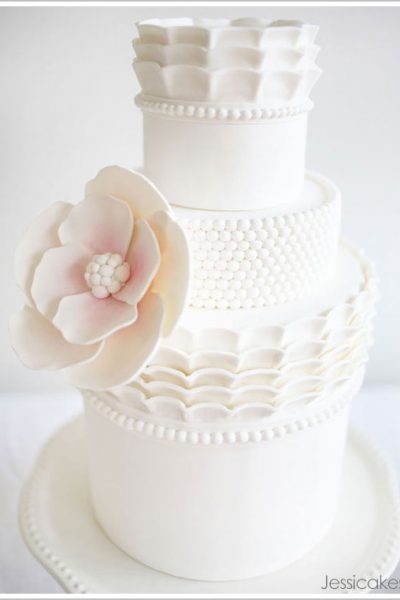
Ruffles & Lace
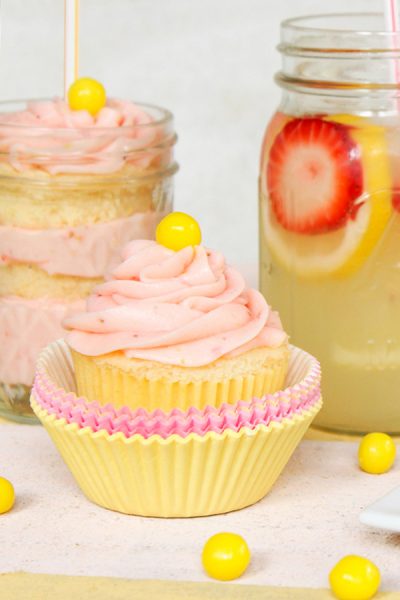
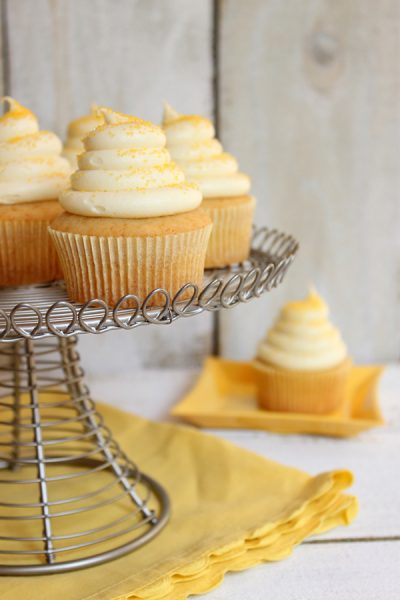
Strawberry Lemonade Cupcakes
From Plate to Cake
Graphic & Glitz
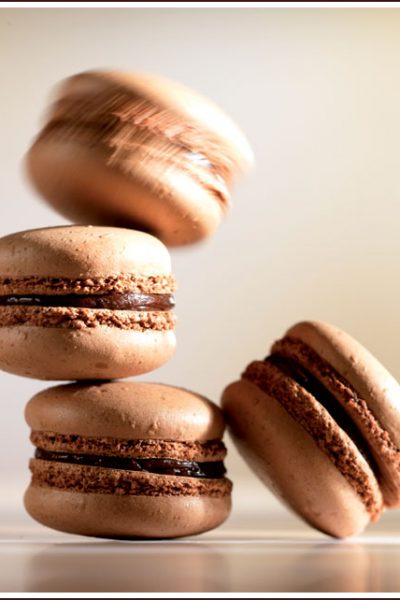
Chocolate Macarons with Chocolate Ganache
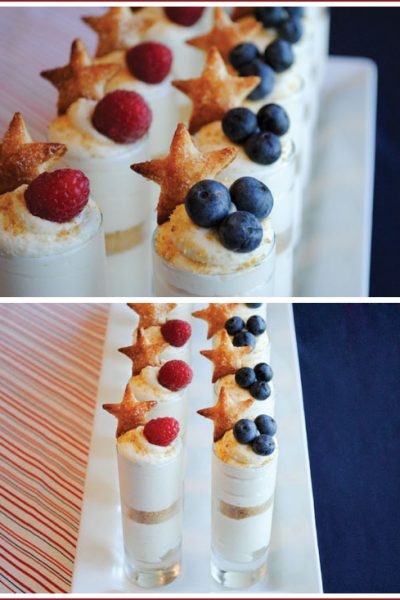
Patriotic Puff Pastry Stars
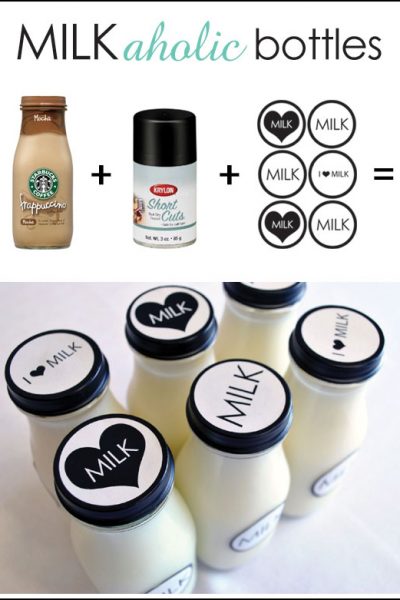
DIY: Milkaholic Bottles {& Free Printables!}
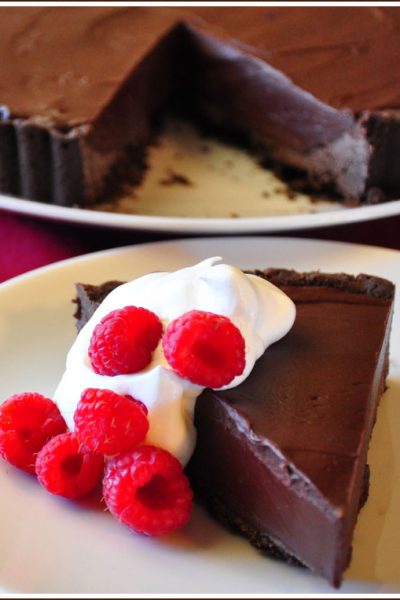
Double Chocolate Raspberry Tart
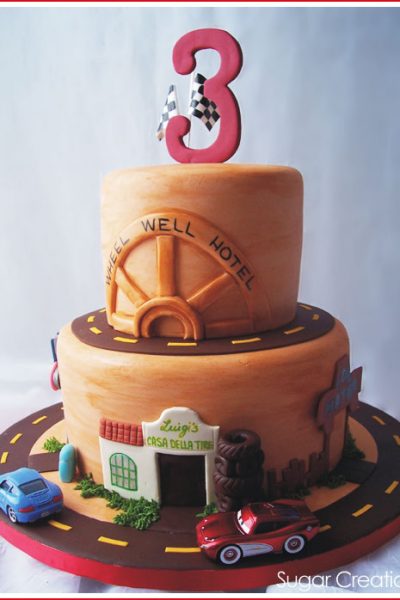
Cars 2 Cake Inspiration
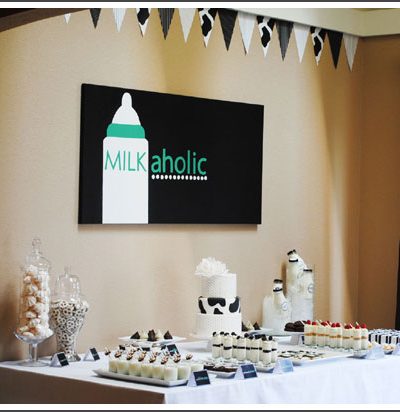
Milkaholic Sip & See
Honey Cupcakes with Honey Cream Cheese

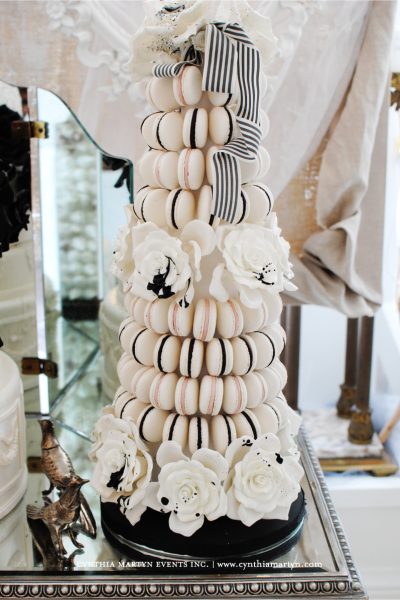
Fabric Flower Cake