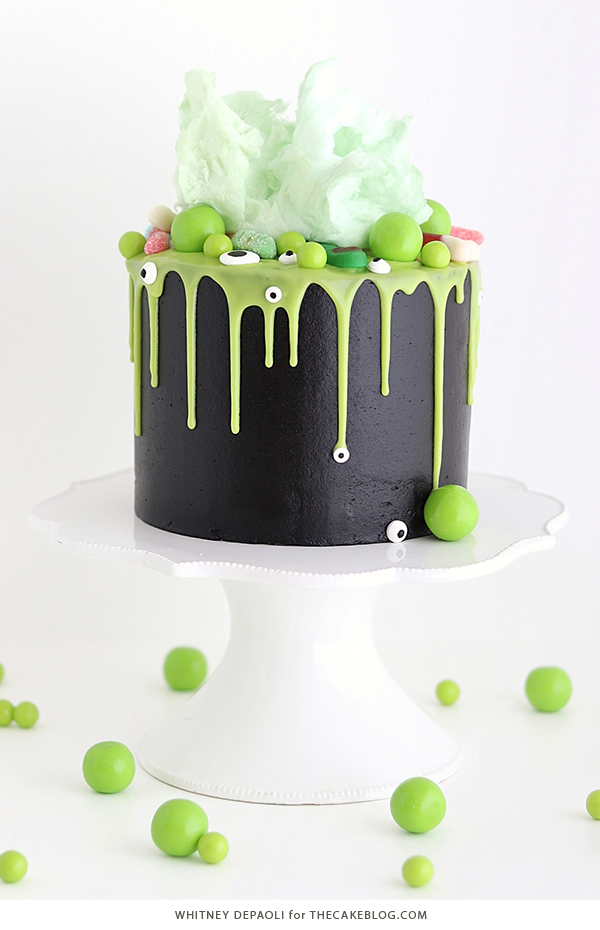
Witch Cauldron Cake – how to make an amazing Halloween cauldron cake that looks like bubbling witches’ brew with black buttercream, green ganache and gummy candies. A new tutorial by our contributor Whitney DePaoli.
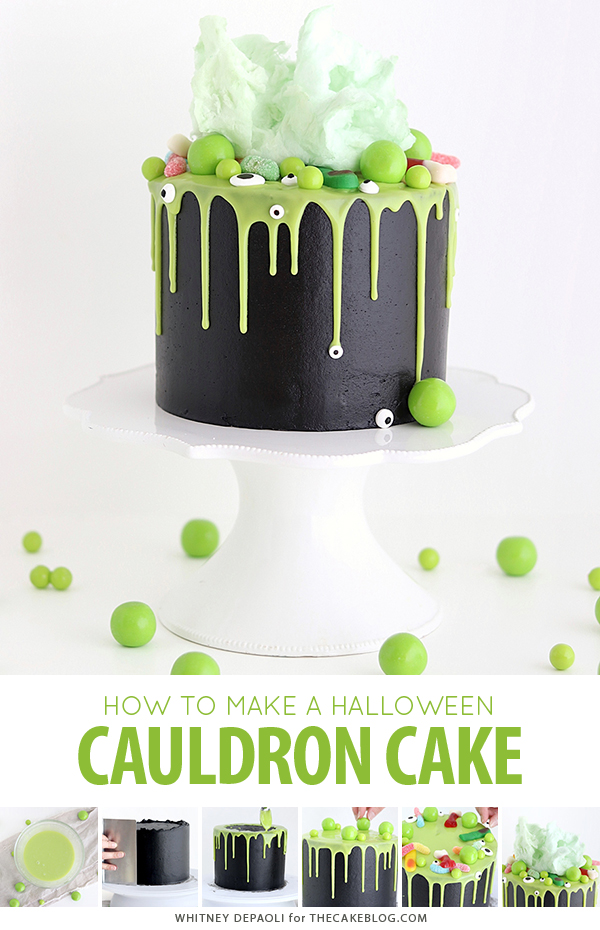
It’s the season of spooky desserts and I could not be more excited about it! I look forward to Halloween every year because it seems to bring about a wild sense of creativity and endless inspiration, especially when it comes to cake. This year I’m all about this Witch Cauldron Cake that’s bubbling with green ganache, candy eyeballs, gummy worms, and cotton candy “smoke.” It’s the perfect amount of cute and scary.
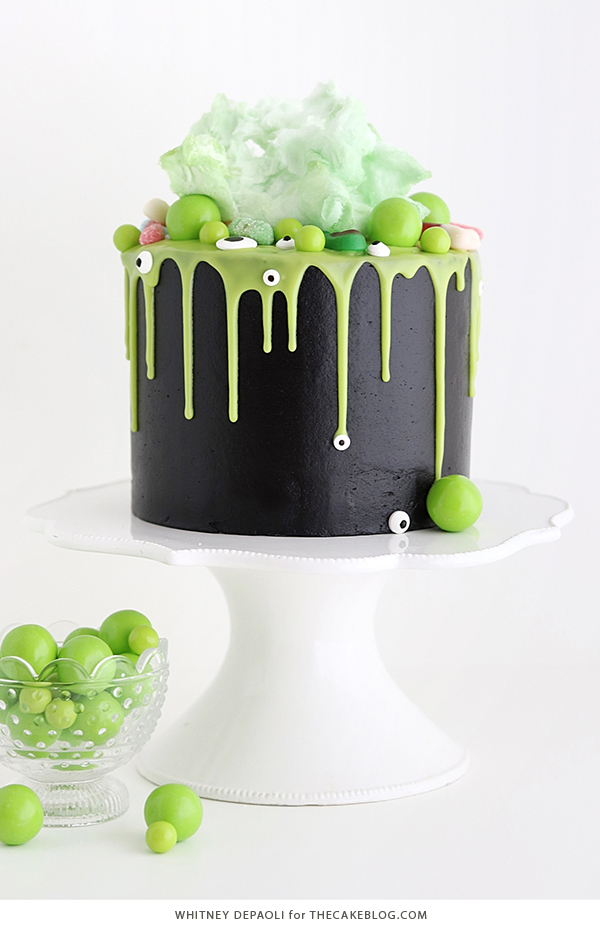
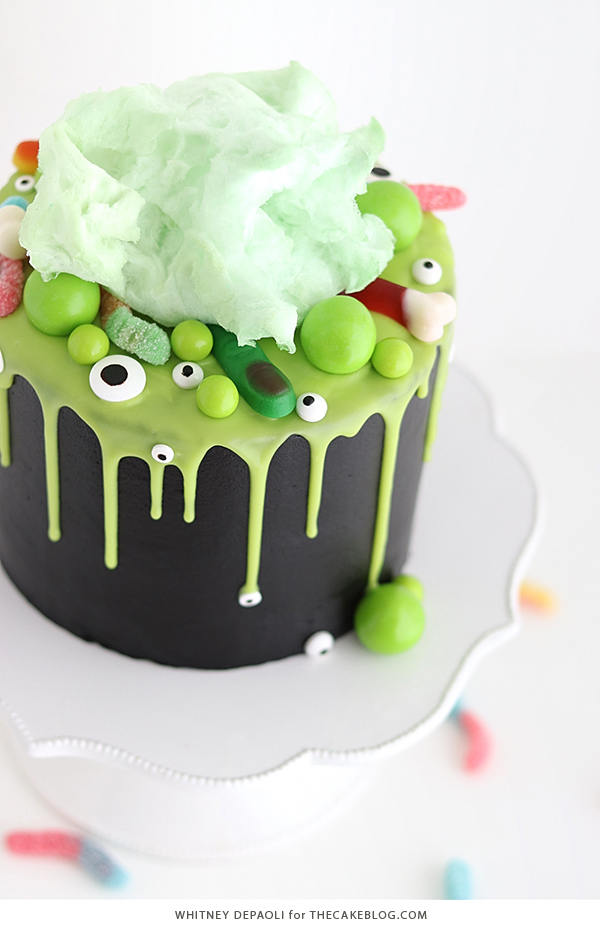
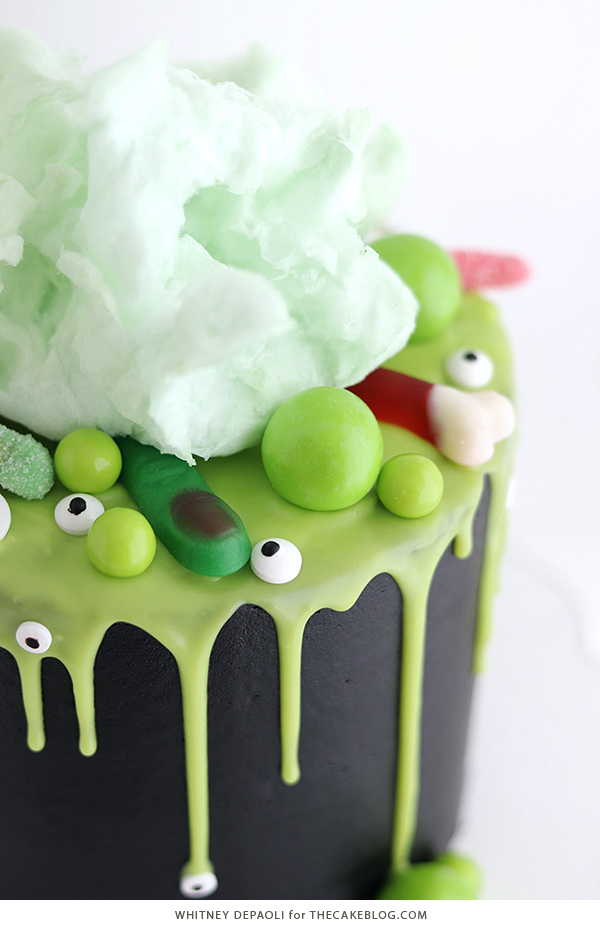
This cake all starts with a black buttercream finish. If you’ve ever tried to color buttercream black and failed (aka ended up with a gray soupy mess), I’ve gathered all my best tips for you below. Once you’ve achieved the smooth black buttercream finish, the fun of adding the oozing green ganache, gumball bubbles, and spooky candy can begin.
TIPS FOR PITCH BLACK BUTTERCREAM
When it comes to black buttercream, it’s easy to think you can start with a white vanilla buttercream and add enough black food color gel to darken it. In reality, it’s almost impossible to color a large batch of vanilla buttercream black without ending up with a runny gray mess. The secret is to start with chocolate buttercream, because it’s way easier to go from a dark brown color to black.
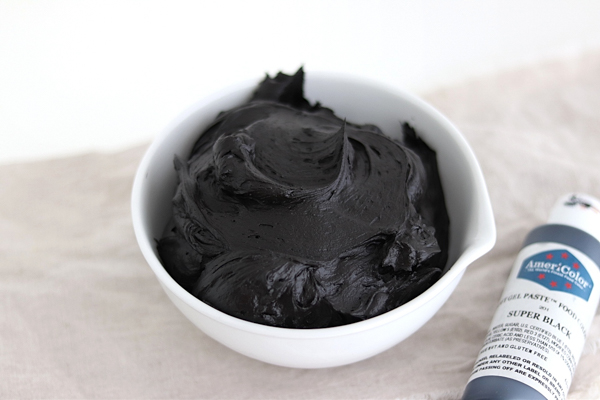
I always use American buttercream when decorating cakes, especially for creating dark colors like black. There’s something about American buttercream that makes it hold color better than Swiss Meringue, in my opinion. That being said, I recommend starting with a chocolate buttercream recipe and adding a few teaspoons of Americolor Super Black food color gel to it. This gel in particular is more concentrated than most, so it doesn’t take a whole lot to get a pitch black color. Keep in mind that buttercream will intensify in color the longer it sits, so I recommend storing your buttercream in an airtight container overnight. When you’re ready to use it, just bring it to room temperature (if it’s not already) and re-whip it with your stand mixer to bring it back to frosting consistency.
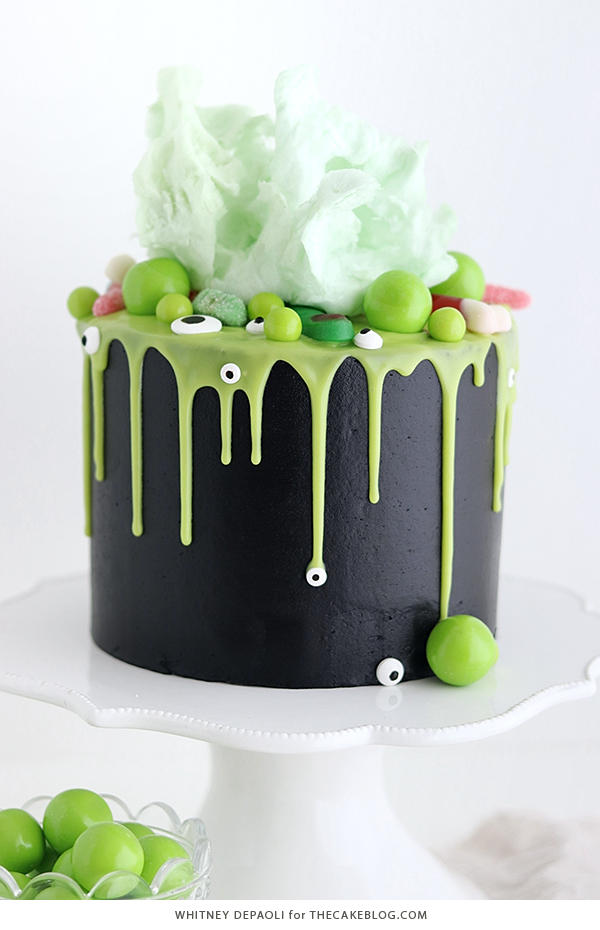
Now that you know the secret to coloring your buttercream black, here’s how to decorate this Halloween party cake to perfection:
HALLOWEEN CAULDRON CAKE
a tutorial by Whitney DePaoli
SUPPLIES
For the Green Ganache:
- 1 Cup of white chocolate chips
- ⅓ Cup of heavy whipping cream
- Small saucepan
- Whisk
- Glass or metal bowl
- Electric Green gel food color
For the Rest of the Cauldron Cake Assembly:
- A 6-inch round cake that’s been filled, crumb coated, and chilled
- 4-5 Cups buttercream, tinted with Super Black gel food color
- Cake turntable
- Icing smoother
- Angled spatula
- Small spoon for ganache dripping
- Green gumballs
- Candy eyeballs, worms, fingers and bones
- Green cotton candy
MAKE THE GREEN GANACHE
I recommend making the ganache right before you’re ready to frost the cake, just because it’ll be perfect drip consistency and temperature by the time you’re ready to use it. Place one cup of White Chocolate Chips into a glass or metal bowl and set it aside. Then, add ⅓ Cup of Heavy Whipping Cream into a saucepan over medium-high heat and whisk it continuously until it just starts to boil.
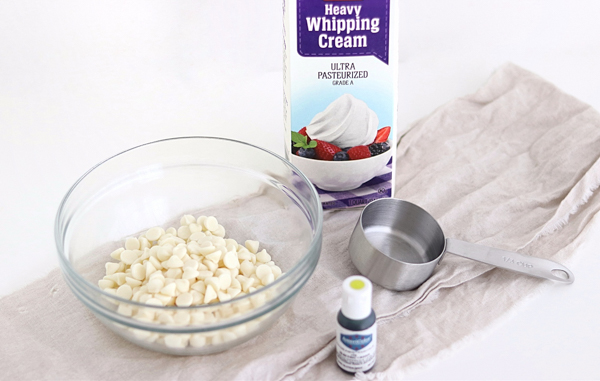
Remove it from the heat immediately at the first signs of boiling and pour it over the White Chocolate Chips, let it sit for about 15 seconds, then whisk the mixture together until it’s uniform in consistency and there are no White Chocolate lumps. You may need to place the bowl on top of the burner while you whisk to gently heat it as you whisk it all together.
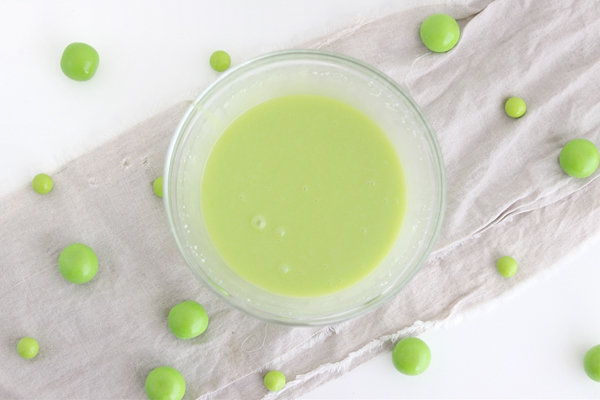
Once the ganache is uniform, add a few drops of green food color gel and mix it in until you’ve got the perfect color for your drip. I used Americolor Electric Green, because it perfectly matched the green gumballs that I added as bubbles on the cake.
FROST THE CAKE
While your ganache is cooling, frost the cake with black buttercream. Place the crumb coated cake onto the turntable and add a thin layer of buttercream to the top of the cake before smoothing it down with your angled spatula.
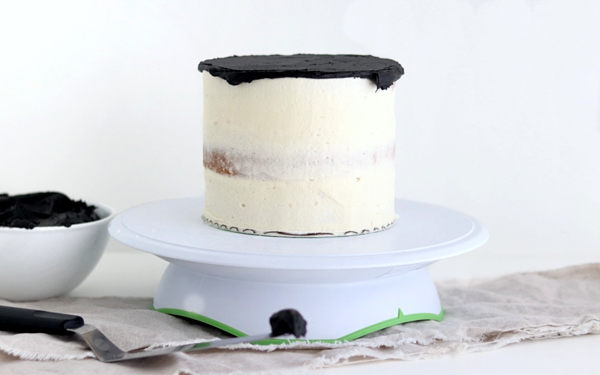
Then, add black buttercream to the sides of the cake and smooth it with your icing smoother until the sides are nice and straight.
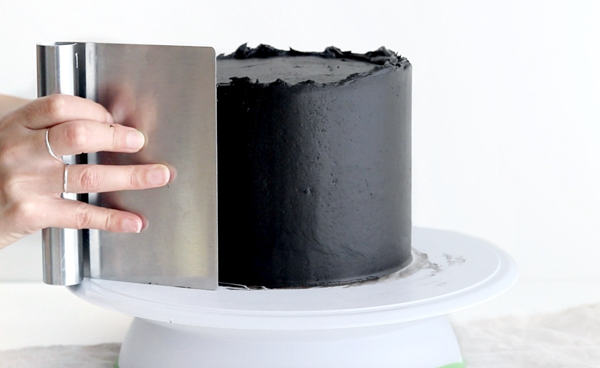
You’ll notice that a little buttercream crown will form around the top edges of the cake as you smooth the sides. To make those edges sharp, use your angled spatula to swipe the buttercream inward, toward the center of the cake.
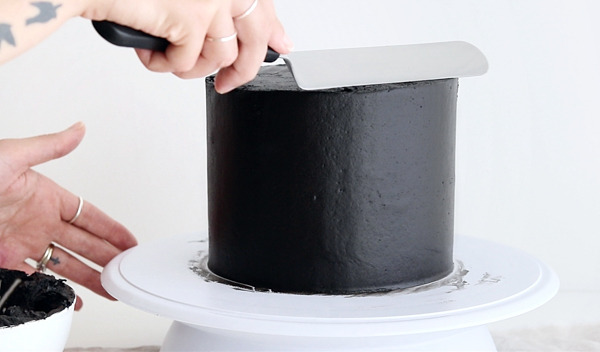
Once your smooth black buttercream finish is complete, pop the cake into the refrigerator for about 20 minutes to let it firm up before moving on to the next step.
DRIP THE CAKE WITH GREEN GANACHE
Once the ganache is room temperature, you’re ready to drip with it. Start by adding a test drip to the cake to see how far the drip runs naturally. If it runs all the way down and pools at the bottom, the ganache is too warm and needs more time to cool. If the ganache drip doesn’t travel very far, that means the ganache is too cool, in which case you can pop it into the microwave in 5-10 second spurts until you bring it back to room temperature. When you’re happy with how the ganache is dripping, use a small spoon to drip it over the edges all around the cake.
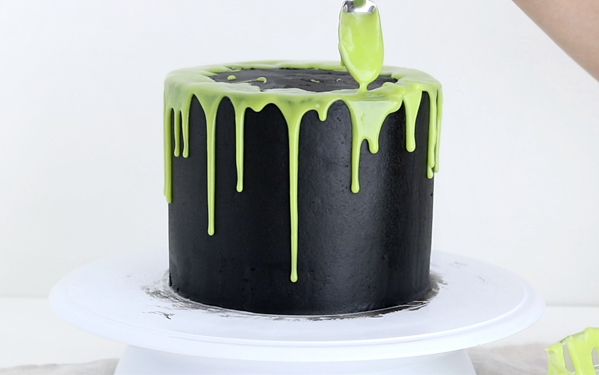
When you’re done dripping the sides, add some ganache to the top of the cake and smooth it with the back of the spoon until it just touches the edges of your drips. That way you fill in the top center of the cake without adding too much ganache (and creating too many drips).
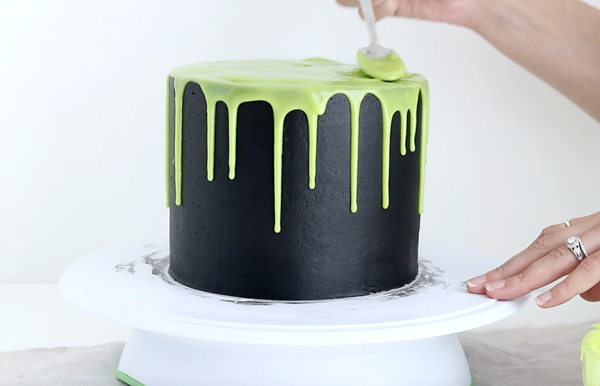
Pop the cake back into the refrigerator for about five minutes to let it set up a little before moving on.
ADD THE HALLOWEEN CANDY
With the ganache a little set, but still sticky, add the green gumballs around the top edge of the cake to resemble bubbles.
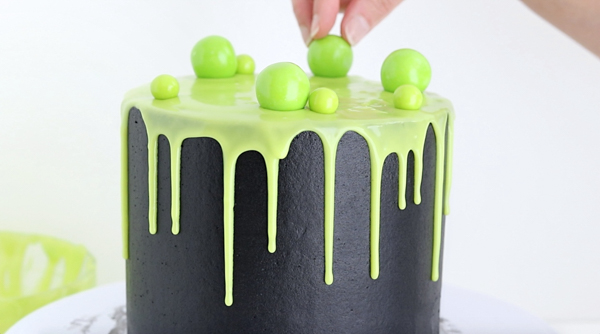
Next, get creative with your placement of the candy eyeballs, gummy worms, fingers, and bones, sticking them one by one around the top edge of the cake.
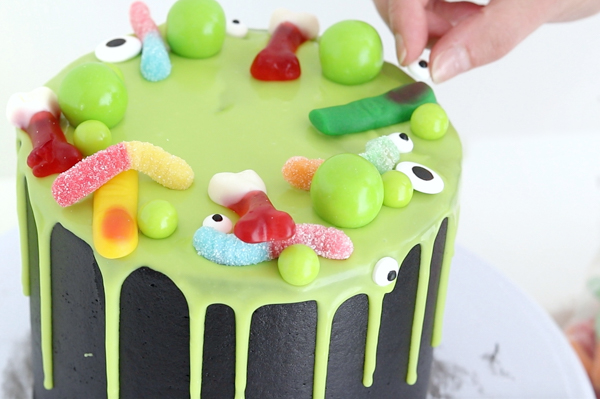
You can also place some of the candy eyeballs (or whatever you want!) onto some of the drips.
TOP WITH COTTON CANDY
The cotton candy should be added at the very last minute, since it doesn’t last in the refrigerator (condensation kills it!) and it will start to shrink in size after about an hour. So when you’re absolutely ready, place a chunk of green cotton candy on top to resemble cauldron smoke. Be sure to pull it apart in some places to tease it out a bit.
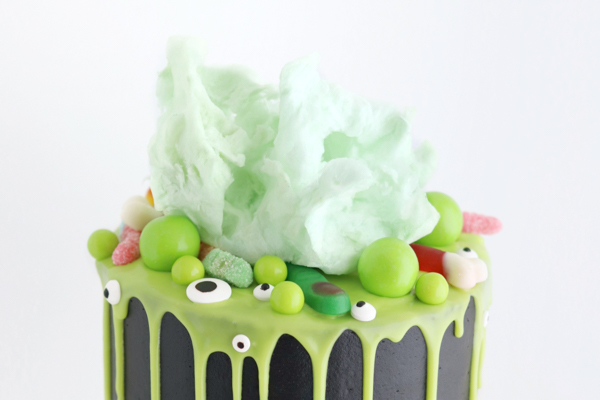
And now you’ve got the perfect Halloween party cake that’s a little spooky and mostly just cute.
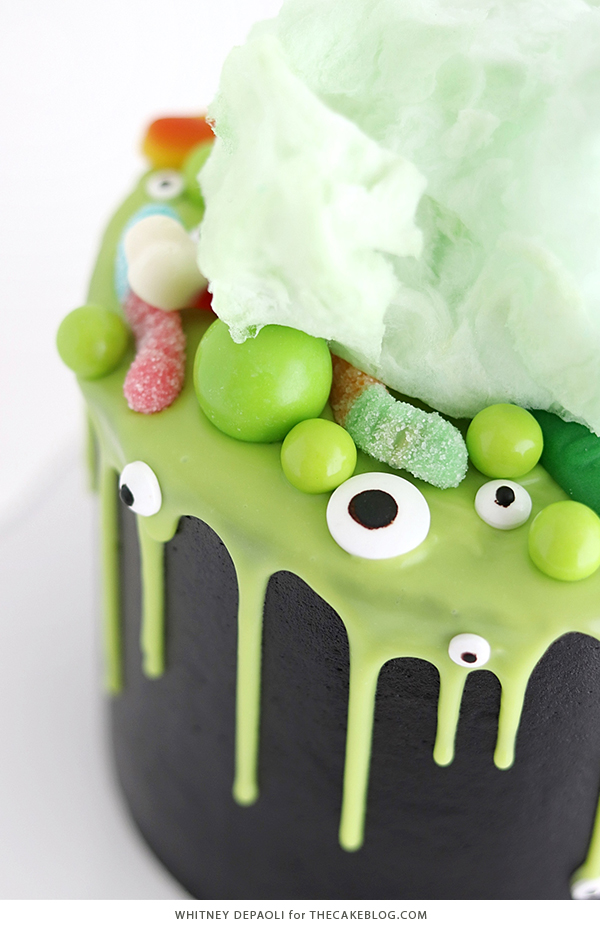
This cake design will work with any type of creepy Halloween candy, so just imagine what you’d find in a witch’s brew and make sure it comes in candy form. Happy season of scary desserts, everyone!
MORE HALLOWEEN CAKES TO MAKE:


What size cake and how many layers did you use?
Love this! Perfect for Halloween!
what a lovely cake?
how do you make cake in a cauldron?