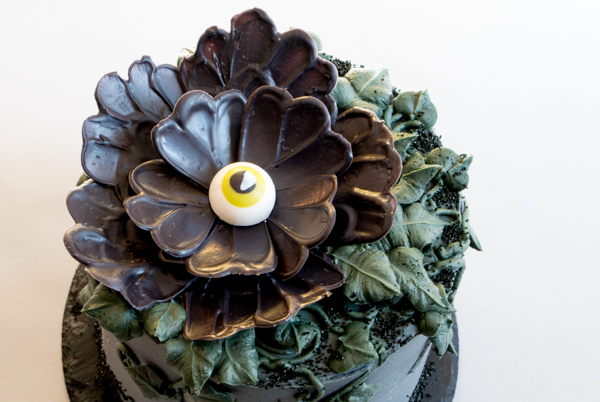
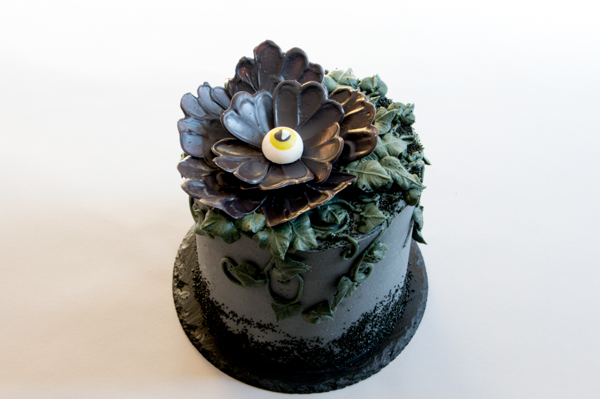
Chocolate Eyeball Flower – how to make a creepy black chocolate flower with an edible eyeball center. A new Halloween cake tutorial by our contributor, Erin Gardner.
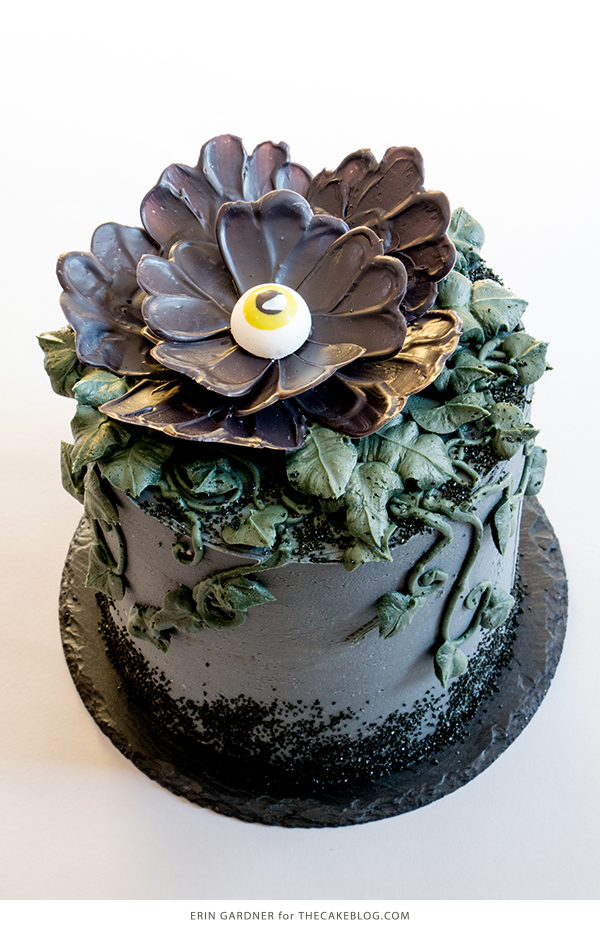
For this creeptastic tutorial I called upon the ghosts of cakes past and married two of my most popular techniques: giant chocolate flowers and chocolate eyeballs. Both methods are far easier to execute than they appear with seriously impressive results.
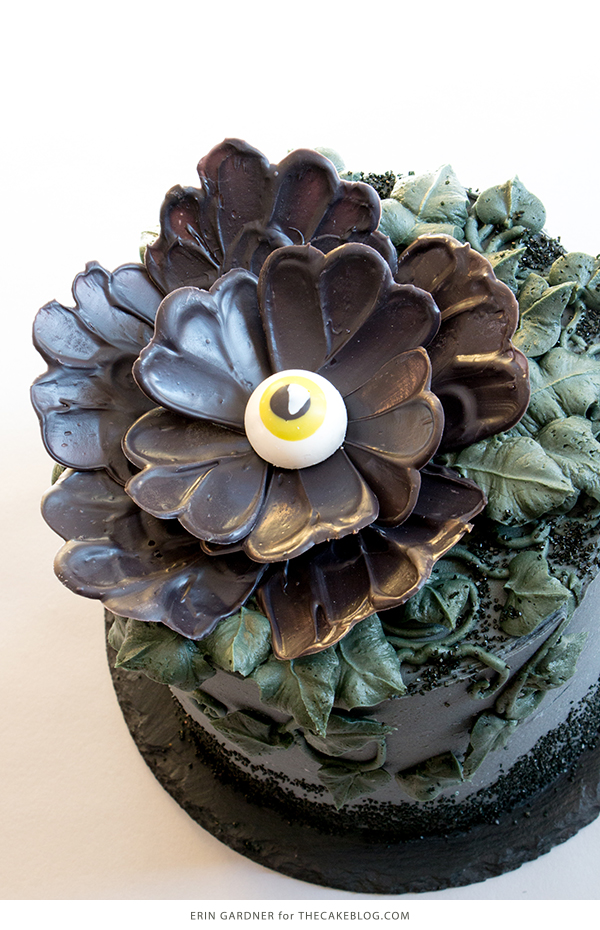
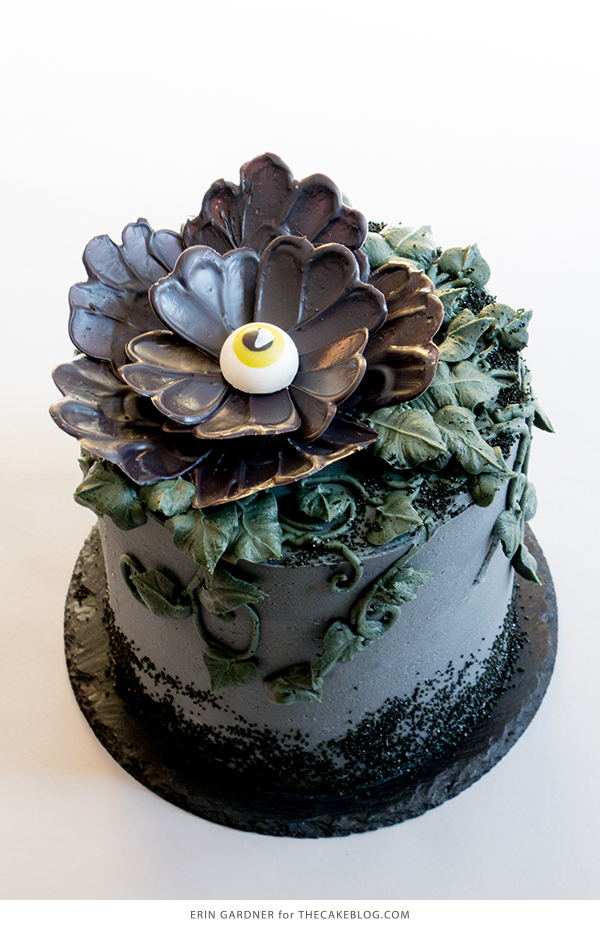
Make the eyes and petals as far in advance as you like and store in an airtight container at room temperature. Assemble your cake shortly before serving since the fridge’s humidity can cause chocolate to pit or soften. As devilishly delightful as this larger flower looks on a tall layer cake, small versions would be just as fabulous as hauntingly haute cupcake toppers.
CHOCOLATE EYEBALL FLOWER
a tutorial by Erin Gardner
Supplies:
- Black coating chocolate or chocolate tinted black
- White coating chocolate or white chocolate
- Green coating chocolate or white chocolate tinted green (or whatever eye color you’d like)
- Parchment paper
- Icing spatula
- Shallow bowl
- Small dome mold or circular ice cube tray
- 6-inch round cake finished with dark gray buttercream
- 2 cups dark green buttercream
- Small round piping tip
- Large round piping tip
- Large leaf tip
- Piping bags
- Black sanding sugar
VIDEO TUTORIAL
MAKE THE FLOWER PETALS
Cut small rectangles of parchment paper roughly 2 by 3-inches in size. Melt the black coating chocolate in a small heatproof bowl. Use a small icing spatula to spread a 2-inch wide petal-y fan of chocolate on one of the parchment rectangles.
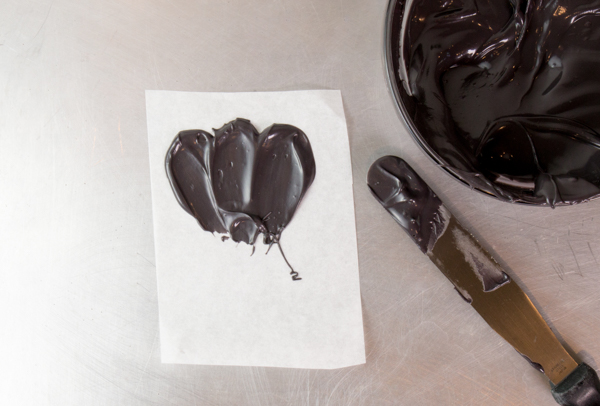
Dip the spatula in the chocolate again and spread another layer of petals just below the first layer, creating an overall triangular petal shape.
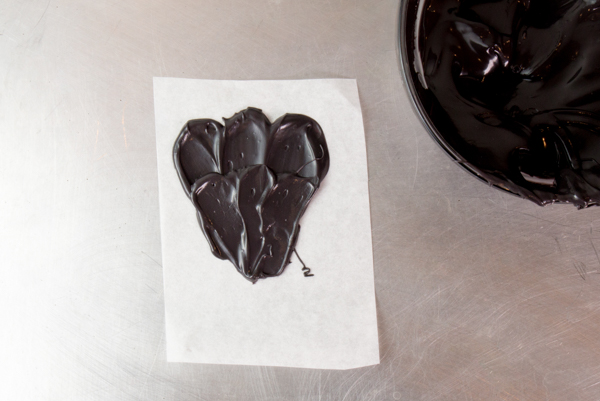
While the chocolate is still wet, drop it into a shallow bowl to give the petal a curved shape as it dries.
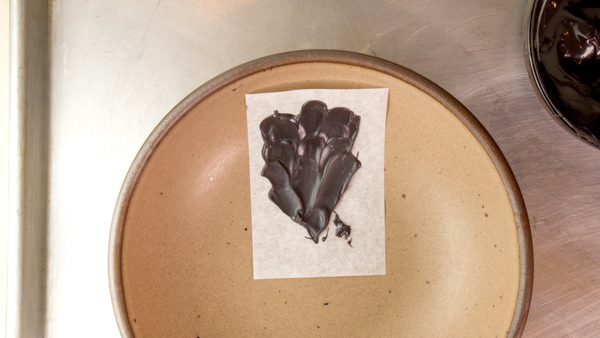
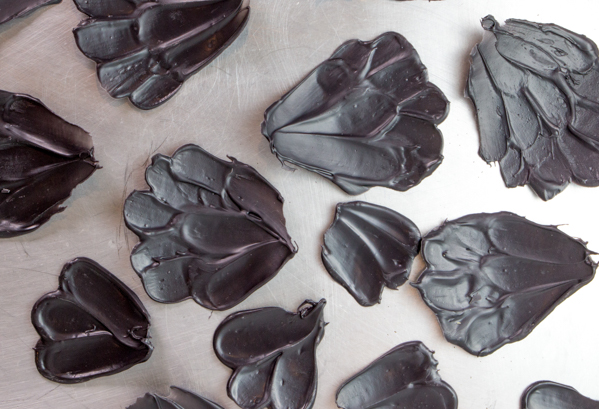
Repeat to make at least 4 more petals. Repeat the first part of the process at least 5 more times to make smaller petals for the interior of the flower. Allow all of the petals to dry completely, about 10 minutes, before peeling them from their paper backing.
MAKE THE CHOCOLATE EYEBALL
Melt the white and green chocolates in separate heatproof bowls. Fill small piping bags or paper cones with the white, green, and black chocolates. Pipe a small, thin line, about a centimeter in length, in the center of a small dome mold.
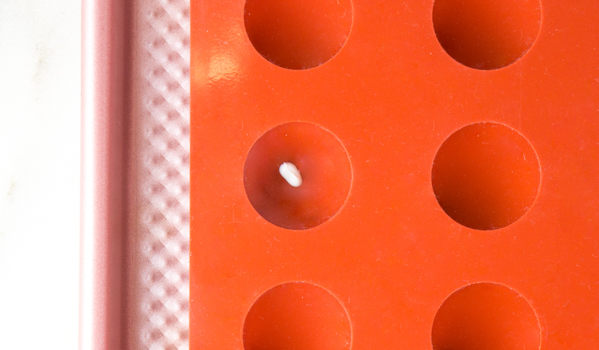
Pipe a pea-sized circle of black chocolate over the white line. Don’t worry if the line sticks out beyond the circle.
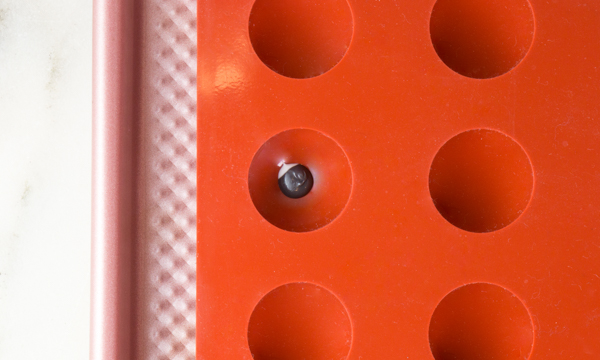
Pipe a ring of colored chocolate around the black circle. Gently tap the dome mold against your work surface to smooth the chocolate out.
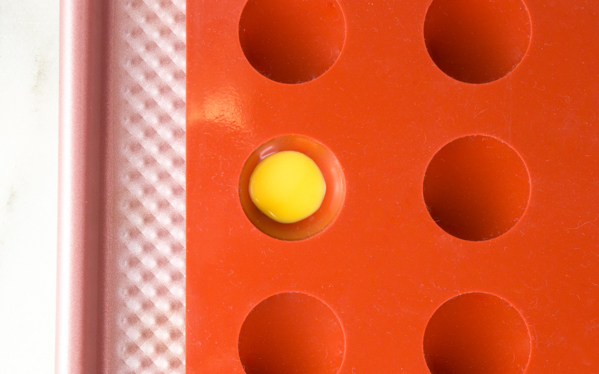
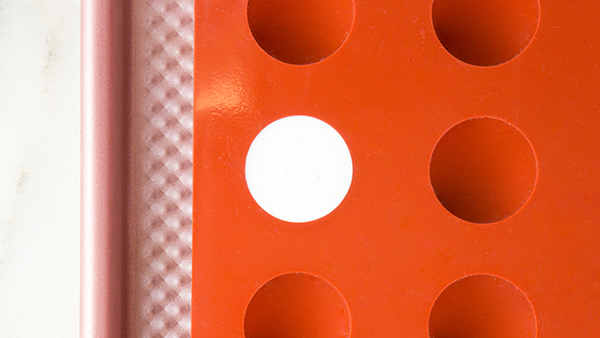
Pop the mold in the fridge for just a minute to firm up the layers of chocolate. Fill the rest of the mold with white chocolate. Tap the mold against your work surface one more time to spread and smooth the white chocolate. Allow the whole thing to completely harden before popping the eyeball out of the mold, about 10 minutes.
DECORATE THE CAKE
Fill a piping bag fitted with the small round tip with just a few tablespoons of the dark green buttercream. Fill a larger piping bag fitted with a large round tip and another with the large leaf tip. Add about a 1/4 cup of the green buttercream to bag with the round tip and the rest of the buttercream to the bag with the leaf tip.
Pipe vines of green buttercream over the top of the cake and allow them to hang over the sides.
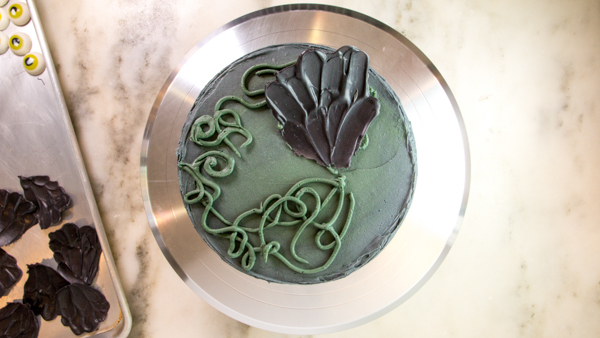
Place one of the larger petals on the top of the cake. Add 3 more petals overlapping each one as you go. Add the last large petal by overlapping the petal before it and tucking the other side under the first petal.
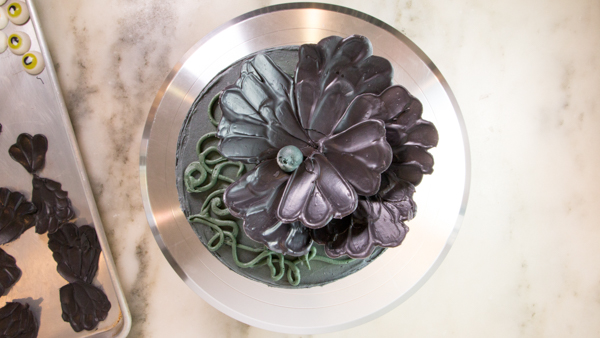
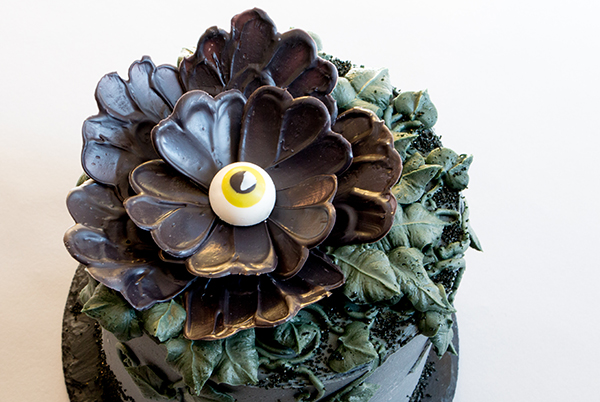
Use the piping bag fitted with the large tip to pipe a dollop of buttercream on the lower half of one of the larger petals. Top it with one of the small petals. Add 4 more petals the same way you placed the larger layer to complete the center of the flower. Pipe a dollop in the center of the flower and add the eyeball.
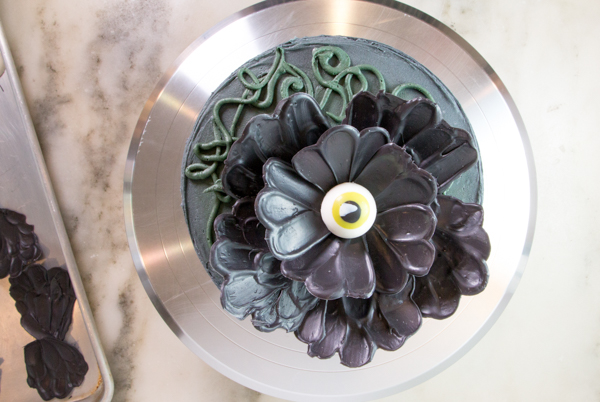
Use the bag fitted with the leaf tip to pipe leaves under the flower petals and along the vines.
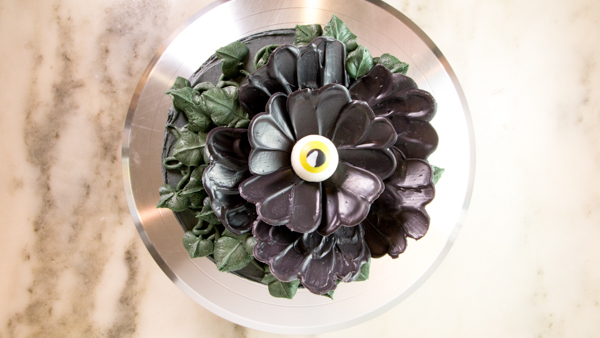
Sprinkle the black sanding sugar between the vines and toss some around the bottom edge of the cake.
MORE HALLOWEEN CAKES TO MAKE:


[…] Source link […]